


Absolutely, ensuring an adequate supply of liquid is fundamental for the operation of a high-pressure cleaner. Without this, the machine will struggle to generate the necessary force to effectively remove dirt and grime from surfaces. Always check the specifications of the model in use; most require a direct connection to a water source, while some portable versions might have a tank for storing the liquid.
From years of experience, I’ve found that connecting directly to a garden hose is often the most efficient method. This setup provides a steady flow, preventing any interruptions during cleaning tasks. In cases where a built-in reservoir is available, ensure it’s filled before starting the machine. A common mistake is to underestimate the significance of maintaining the proper level; running the machine dry can lead to severe damage, resulting in costly repairs.
It’s also worth considering the quality of the liquid used. Tap water is typically sufficient for most cleaning tasks, but for tougher jobs, using a suitable detergent can enhance the cleaning process. Always refer to the manufacturer’s recommendations regarding which solutions are appropriate, as some might affect the internal components of the device.
Do You Fill a Pressure Washer with Water
Starting up a high-pressure cleaning device requires pre-filling the tank with a suitable liquid. Most models are designed to be connected to a source, thus eliminating the need for manual loading. However, understanding the right approach to this task is crucial for optimal performance.
- Always check the manufacturer’s guidelines for specific instructions regarding water supply.
- Utilise clean, fresh liquid to avoid damaging the internal components.
- Ensure a proper connection to the water source, whether it’s a hose or a reservoir.
- Inspect hoses for leaks to prevent any interruptions during operation.
- Consider the temperature of the liquid; excessively hot fluids can cause damage to seals and hoses.
From personal experience, I recall a time when a friend attempted to operate their unit without connecting it properly. The motor struggled, leading to unnecessary wear and tear. A simple check of the intake system could have saved time and money.
For those interested in additional practical uses for such devices, consider learning how to can deer meat with a pressure cooker. It’s a fascinating way to combine culinary skills with practical equipment knowledge.
Understanding Pressure Washer Water Needs
Always ensure that the source of liquid is clean and free from debris before connecting to the unit. Contaminants can damage internal components, leading to costly repairs. Regular checks of the supply line for blockages or leaks will help maintain optimal performance.
Consider the capacity of the reservoir if the equipment features one. A larger tank may offer longer operation without interruption, but ensure it is not overfilled to avoid overflow issues. In my experience, working with different models revealed that some units perform better when the intake is directly connected to a steady supply rather than relying solely on an onboard tank.
Monitor the temperature of the liquid being drawn. Cold sources are standard, but certain applications may benefit from warm solutions. Just ensure that the temperature does not exceed the manufacturer’s specifications, as this can cause damage.
Using a garden hose with the appropriate diameter is key. A wider diameter facilitates better flow rates, especially for high-demand tasks. I once encountered a situation where using a standard hose significantly decreased efficiency during a heavy-duty clean, resulting in longer work times.
Regular maintenance of the inlet filter is crucial. This component prevents debris from entering the unit. Cleaning or replacing it as needed will prolong the lifespan of the system and enhance performance.
Lastly, always check local regulations regarding water usage. Some areas have restrictions that may affect how much liquid can be used, particularly during drought conditions. Understanding these guidelines will help in planning cleaning tasks effectively.
How to Prepare Your Pressure Washer for Use
Begin by checking the oil level in the engine, ensuring it meets the manufacturer’s specifications. A well-lubricated motor operates smoothly and extends the life of the equipment.
Next, inspect the hoses for any signs of wear or damage. Look for cracks or leaks that could hinder performance. If any issues are found, replace the affected hoses before proceeding.
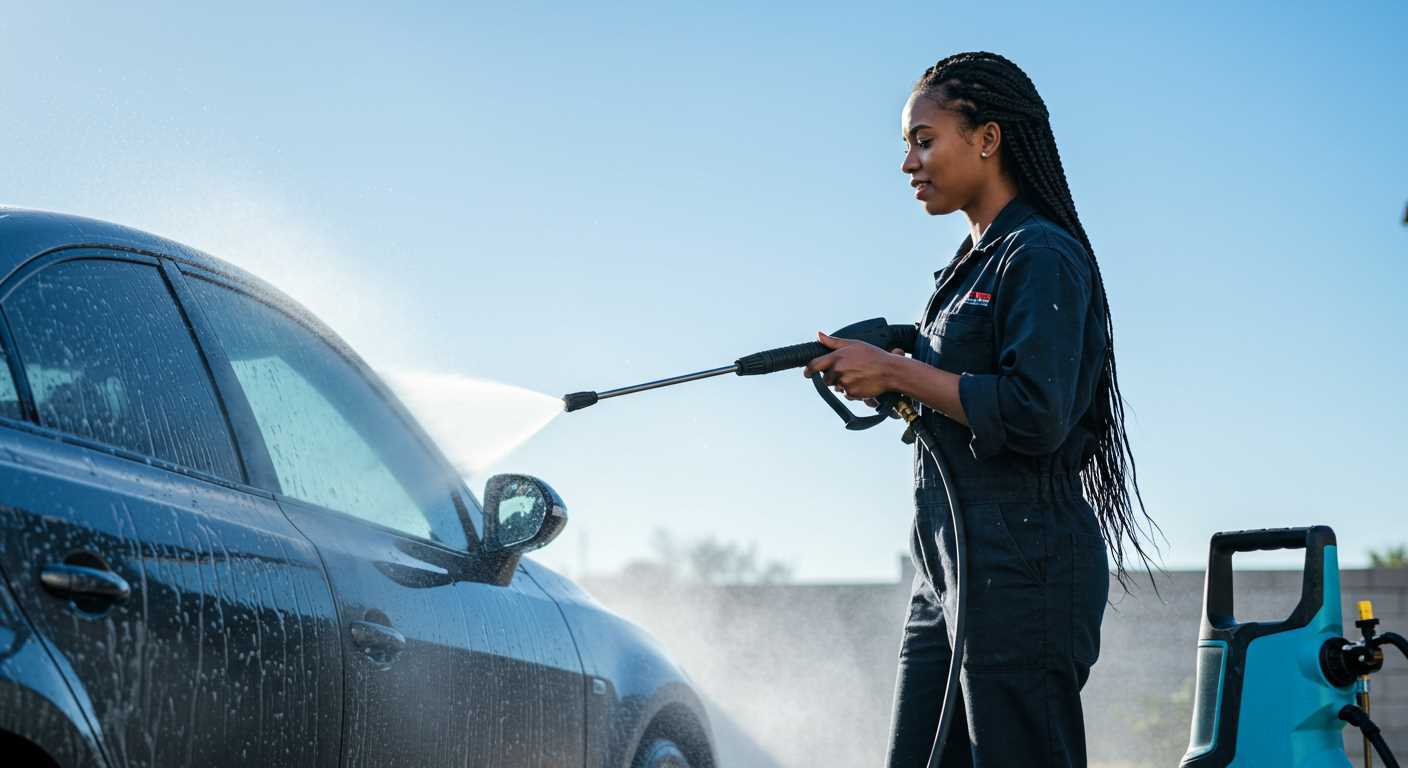
Connect the garden hose securely to the inlet. Ensure that the connection is tight to prevent any leaks during operation. It’s advisable to use a hose that is at least 5/8 inches in diameter for optimal flow.
Before starting, make sure the nozzle is properly attached and set to the desired spray pattern. A narrow setting is ideal for tough stains, while a wider angle suits delicate surfaces.
Check the fuel level if operating a gas-powered model. Always use fresh fuel to avoid starting problems. If the machine has been stored for a while, consider using a fuel stabiliser to maintain engine health.
After setting everything up, turn on the water supply and let it run for a minute to clear out any debris in the hose. This step prevents clogging during use.
Finally, plug in the electric model or prepare the gas version for ignition. Follow the starting instructions as outlined in the manual to ensure safe operation.
Importance of Using Clean Water in Pressure Washers
Utilisation of clean liquid is paramount for optimal equipment performance. Contaminated sources can cause significant issues, including clogs and damage to internal components. In my experience, a simple oversight can lead to expensive repairs or premature equipment failure.
During one of my early projects, I encountered a unit that was used with unfiltered water. Within weeks, the internal parts showed signs of wear and tear. The user had no idea that debris had gradually accumulated, affecting the overall function. This experience reinforced the necessity of ensuring a pristine source.
Employing pure liquid not only prolongs the lifespan of the device but also guarantees effective cleaning. Contaminants can hinder the performance, resulting in subpar results. Clean sources facilitate the application of detergents and cleaning agents, enhancing their effectiveness. A clean inlet leads to better pressure output and efficiency.
Here’s a quick comparison of the effects of using clean versus contaminated liquid:
| Aspect | Clean Water | Contaminated Water |
|---|---|---|
| Performance | Optimal cleaning efficiency | Reduced efficiency and effectiveness |
| Equipment Longevity | Increased lifespan | Frequent breakdowns and repairs |
| Maintenance | Lower maintenance costs | Higher maintenance and repair costs |
| Environmental Impact | Less chemical runoff | Potential contamination of local water sources |
In closing, always opt for the cleanest liquid available. It’s a small step that yields significant benefits, ensuring better outcomes and protecting investment in equipment. Taking this precaution can save time, money, and hassle in the long run.
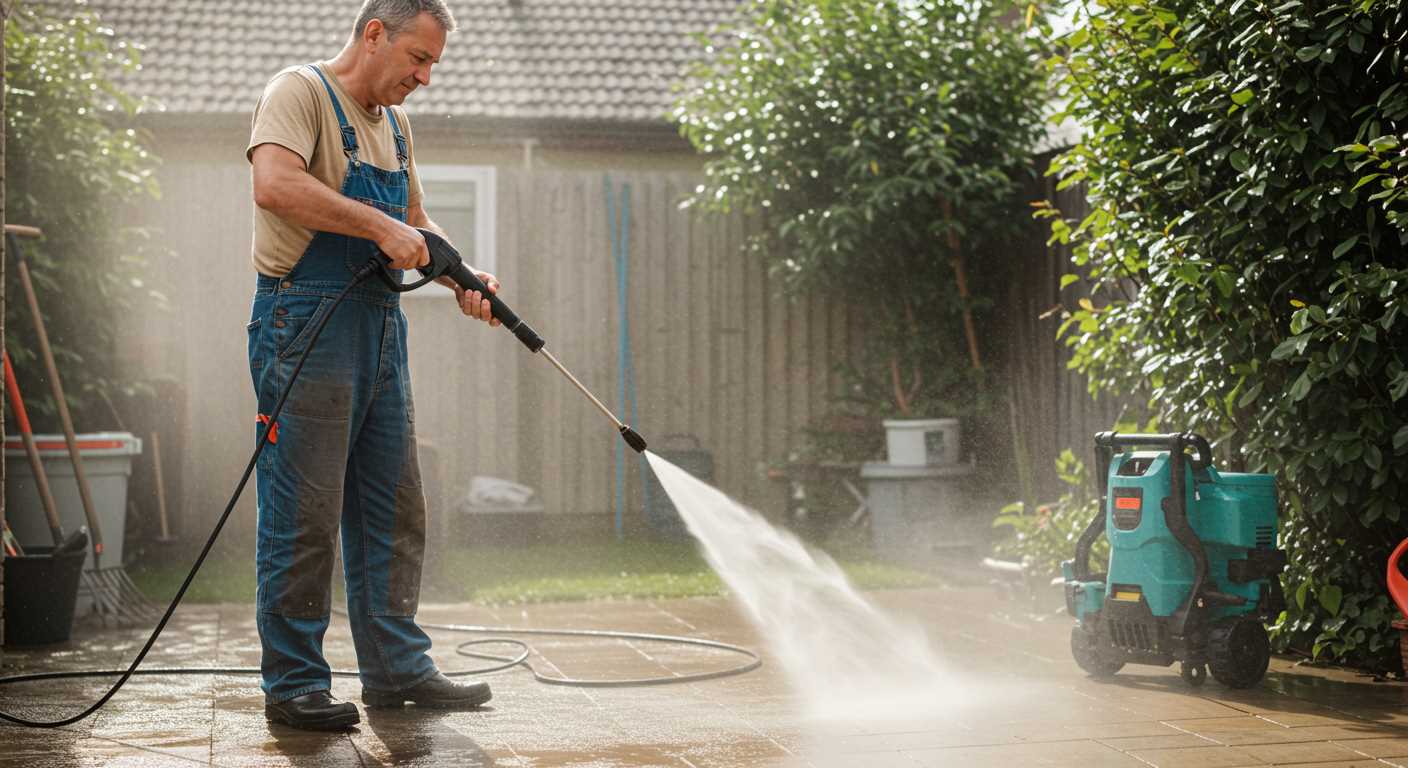
Connecting Your Pressure Washer to a Water Source
Establishing a reliable connection to a suitable supply is paramount for optimal functionality. Most units require a garden hose or similar line to draw from a tap or tank. Ensure the hose is free from kinks or blockages to maintain a steady flow.
Utilising a filter can prevent debris from entering the system. This simple addition can save time and repair costs down the line. I’ve seen too many machines fail prematurely because of contaminants in the inlet. Always check the filter regularly and clean or replace as needed.
| Connection Type | Recommended Diameter | Notes |
|---|---|---|
| Garden Hose | 3/4 inch | Standard for most residential connections. |
| Commercial Hose | 1 inch | Preferred for heavy-duty applications. |
| Water Tank | Varies | Ensure adequate pressure; gravity-fed systems may need elevation. |
Always confirm the specifications of the machine regarding inlet pressure and flow rate. Too little pressure can hinder performance, while excessive pressure might damage internal components. If using a tank, consider a submersible pump for consistent pressure.
Prior to starting, inspect all connections for leaks. A small drip can lead to significant loss during operation. Tighten fittings as needed to ensure a secure seal. Trust me, a little prevention goes a long way in maintaining longevity.
In my experience, using a quick-connect fitting can simplify the process of attaching and detaching hoses. It saves time and reduces wear on threads. Just make sure the fittings are compatible with the hose and the unit.
Lastly, always remember to turn on the supply before starting the machine. Running the unit dry can lead to serious internal damage, a mistake I’ve seen far too often. A simple checklist can help prevent this: check the connection, ensure there’s sufficient supply, and verify the filter is clean.
Common Mistakes When Filling a Pressure Washer
Using the right techniques is crucial for optimal operation. Here are some common errors to avoid:
1. Ignoring the Manufacturer’s Guidelines
- Every device comes with specific instructions regarding liquid intake. Disregarding these can lead to malfunctions.
- Consult the user manual for recommended types and conditions of liquid supply.
2. Using Contaminated or Impure Liquids
- Utilising contaminated sources can lead to blockages and damage. Always ensure the source is clean.
- Check for debris, algae, or any impurities before connecting to the supply line.
3. Overlooking Hose Condition
- Inspect hoses for cracks or leaks. Damaged hoses can lead to insufficient flow, hindering performance.
- Replace any worn-out hoses to maintain a consistent supply.
4. Failing to Check for Air Locks
- Air trapped in the lines can disrupt the flow. It’s important to bleed the system if necessary.
- Run the unit briefly before starting your task to ensure a steady stream.
5. Connecting to a Low-Pressure Source
- Using a low-pressure source can result in inadequate performance. Ensure the source can provide a sufficient flow rate.
- Test the supply beforehand to confirm it meets the required pressure specifications.
By avoiding these common pitfalls, performance can be maximised, ensuring effective cleaning and longevity of the equipment. Always prioritise preparation and thorough checks before commencing any task.
What to Do If Your Pressure Washer Runs Out of Water
Upon the realisation that the unit has run dry, immediate action is necessary to prevent damage. Here are the steps to take:
- Turn off the machine immediately. This prevents overheating and potential damage to the motor.
- Disconnect the hose from the water source. This helps in avoiding any further strain on the pump.
- Allow the machine to cool down. A few minutes of waiting can prevent thermal shock when water is reintroduced.
Purging the System
Next, it’s crucial to purge the system to remove air. Follow these steps:
- Reconnect the hose to the water supply.
- Open the trigger gun to let any trapped air escape.
- Once a steady stream of liquid emerges, release the trigger and turn the unit back on.
Regular Maintenance Tips
To avoid running dry in the future, consider these maintenance tips:
- Regularly check the water supply before each use.
- Inspect hoses for leaks that might interrupt the flow.
- Keep the intake filter clean to ensure efficient operation.
For those working with heavy-duty equipment, exploring options like a pressure washer for tractors can enhance productivity and efficiency.
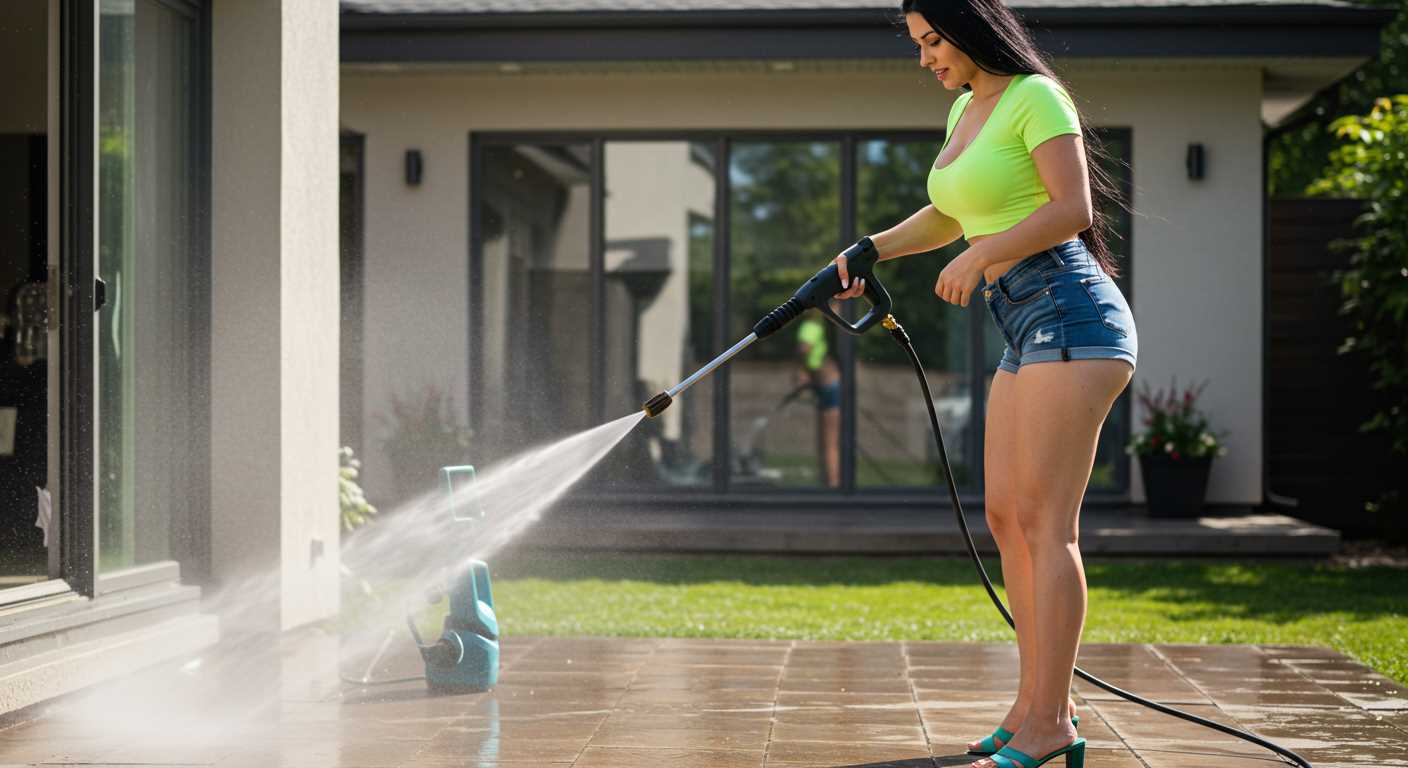
Tips for Maintaining Water Supply During Use
Ensure a consistent flow by regularly checking the water source for blockages or kinks in the hose. A clear path is crucial for uninterrupted operation. During one particular job, I encountered a situation where the hose was slightly pinched. It only took a moment to adjust, but that small change made a noticeable difference in performance.
Monitor the Hose Condition
Inspect the hose for any signs of wear or damage before starting. A frayed or cracked hose can lead to leaks, reducing pressure and efficiency. I once had a colleague who overlooked this step, resulting in a frustrating loss of pressure halfway through a project. A quick replacement would have saved valuable time and effort.
Maintain Temperature Awareness
Be mindful of the ambient temperature, as it can affect the fluid’s viscosity. Colder temperatures can lead to reduced flow, so storing equipment in a warmer area before use can help. On one occasion, I began a task in the early morning chill, and it took extra time to achieve the desired results. A simple adjustment in timing can make a significant impact.
Regularly check the connections to ensure they are secure. Loose fittings can lead to air entering the system, creating issues with performance. During a project, I learned the hard way that a loose connection can turn a straightforward task into a frustrating experience.
By keeping these practical tips in mind, maintaining a steady supply during operation becomes an easier task, leading to more effective and satisfying results.
How Water Temperature Affects Pressure Washing
Using heated liquid can significantly enhance the cleaning process. Hotter liquids break down grime and grease more effectively than cooler options. For instance, during a job involving oil stains on a driveway, I found that temperatures above 60°C made a noticeable difference in the results. The higher heat not only loosened the dirt but also reduced the need for harsh chemicals.
When working on delicate surfaces, be mindful of the temperature. For example, using excessively hot liquid on painted surfaces can lead to damage or peeling. A balance is key; temperatures around 50°C often work well for most surfaces without causing harm. I’ve seen too many DIY enthusiasts use boiling liquid on their decks, only to regret the decision when the finish bubbles up.
In colder weather, the temperature of the liquid can impact performance. Cold temperatures can lead to freezing, which may damage the equipment. I once had to troubleshoot a unit that wasn’t performing due to chilled conditions. Ensuring the liquid was at a suitable temperature prevented downtime and unnecessary repairs.
Incorporating the right temperature can also save time. On one occasion, I handled a large fleet of vehicles. Using heated liquid allowed me to cut the cleaning time almost in half compared to using cooler alternatives. The combination of heat and pressure resulted in a quicker turnaround, which was crucial for meeting deadlines.
Lastly, always consider the source of the liquid. Municipal supplies may vary in temperature, especially in winter months. I’ve learned to check the temperature before starting a job, ensuring optimal results every time. Consistency in temperature leads to reliable outcomes, making the entire process smoother and more efficient.
When to Seek Professional Help with Water Issues
Noticing irregularities in performance? It may be time to consult an expert. Common indicators include a significant drop in pressure or inconsistent flow. These signs often suggest underlying issues that might not be easily rectified through standard troubleshooting methods.
If strange noises accompany the operation, particularly grinding or rattling sounds, seeking professional assistance should be a priority. Such sounds can indicate mechanical problems that, if ignored, could escalate and lead to costly repairs.
Another critical moment arises when attempting to clear blockages. If persistent clogs remain even after thorough cleaning efforts, it’s wise to call in a professional. They possess the tools and expertise required to address more serious obstructions safely.
In cases of leaks, especially those originating from hoses or connectors, consider professional intervention. Leaks can compromise the entire system’s functionality and may pose safety risks if not handled correctly.
Lastly, if unfamiliar with specific technical requirements or maintenance procedures, seeking guidance from a skilled technician can prevent potential mishaps. Professional insights can enhance both the longevity and performance of the equipment.
.jpg)


