


Absolutely, a high-pressure cleaning device is highly recommended when applying snow foam products. During my tenure in the cleaning equipment industry, I often observed that a unit capable of generating sufficient force delivers the best results. The foam adheres better and covers surfaces more evenly, leading to optimal dirt and grime removal.
In practice, using a high-pressure device creates a rich, thick foam that clings to the vehicle’s surface, allowing for a more effective pre-wash stage. For instance, while testing various models, it became clear that those with adjustable pressure settings provided enhanced versatility, accommodating different types of surfaces and levels of dirt.

Additionally, the right attachment is crucial for achieving the desired foam thickness. A foam cannon paired with a high-capacity machine can make a significant difference. My experience shows that a unit with at least 1500 PSI is ideal for creating that luxurious foam blanket, ensuring that dirt is loosened and ready for rinsing.
Do You Need a Pressure Washer for Autoglym Snow Foam?
A dedicated cleaning tool is a significant asset when applying foam products. The right equipment ensures even coverage and maximises the cleaning potential. Without it, achieving the desired results becomes challenging. In my years as a consultant in the cleaning equipment sector, I have encountered various methods of application, yet nothing compares to the efficiency of a high-performance foam lance connected to a suitable machine.
Choosing the Right Equipment
Selection depends on several factors, including the desired thickness of the foam and the type of vehicle being cleaned. A unit capable of generating adequate water pressure will ensure that the foam adheres properly to surfaces, allowing it to break down dirt and grime effectively. A unit with adjustable settings can also enhance control over the foam application process, which is invaluable when detailing vehicles.
Personal Experience with Foam Application
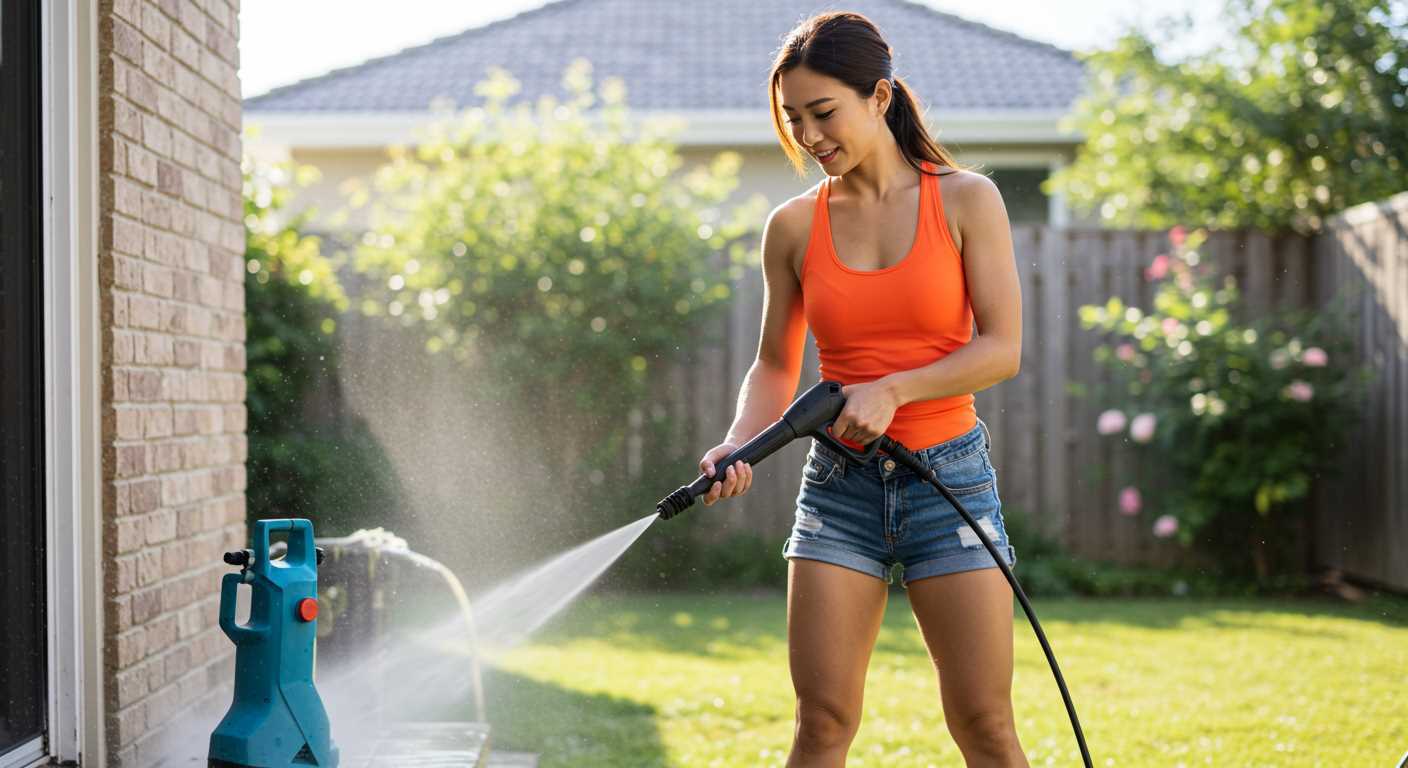
During one of my earlier projects, I decided to test a range of foam products, including a favourite among enthusiasts. The difference between using a conventional sprayer and a high-performance machine was astonishing. The latter produced a thick, clingy foam that clung to the paintwork, allowing ample time for the cleaning agents to work. A thorough rinse afterwards revealed a sparkling finish with minimal effort, proving that using the right equipment transforms the entire car care process.
In summary, investing in a quality cleaning device amplifies the effectiveness of foam products, ensuring a superior clean and enhancing the overall experience.
Understanding Autoglym Snow Foam Application
To achieve optimal results with snow foam application, proper dilution ratios are crucial. Mixing the foam product with water at the recommended ratio–typically around 1:10–ensures effective cling and coverage on the vehicle surface. Use a dedicated foam lance to create a thick, rich foam that adheres to grime and contaminants.
Temperature plays a significant role in foam performance. Warm water enhances the foam’s ability to encapsulate dirt, providing a more effective cleaning experience. When possible, utilise warm water to maximise the foam’s cleaning potential.
Application technique is equally important. Begin at the top of the vehicle and work downwards, allowing the foam to dwell for a few minutes. This dwell time is essential for breaking down stubborn dirt and grime. Avoid letting the foam dry out, as this can lead to streaks or residues.
Rinsing should follow the foam application. A thorough rinse with clean water removes both the foam and the loosened dirt, ensuring a spotless finish. Consider using a wide spray pattern for even distribution during rinsing, preventing any missed spots.
Regular maintenance of the foam lance will keep it functioning effectively. Clean the lance after each use to prevent clogs and maintain consistent foam production. This simple step enhances longevity and performance, making future applications more efficient.
Taking these factors into account will significantly improve the cleaning process. Proper preparation and technique can transform a standard wash into a thorough, effective cleansing experience, ensuring a pristine finish every time.
Benefits of Using a Pressure Washer with Snow Foam
Using a high-powered cleaning device alongside snow foam significantly enhances the cleaning process. The combination allows for thorough dirt removal while reducing the risk of scratches on the vehicle’s surface. The foamy solution clings to grime, allowing it to break down before the rinsing phase begins.
One of the standout advantages is the ability to cover large areas quickly. A robust unit facilitates an even distribution of the foam, ensuring every inch of the surface is treated. This efficiency saves considerable time, particularly for those managing multiple vehicles or large surfaces.
Another benefit stems from the adjustable settings available on many models. The option to modify the flow rate and pressure allows users to tailor the cleaning experience according to specific needs. For delicate areas, a gentler approach can be applied, while tougher spots can handle a more robust application.
Safety is enhanced as well. Applying the foam from a distance reduces the likelihood of physical strain associated with manual cleaning methods. This ergonomic advantage cannot be overlooked, especially during extended cleaning sessions.
Lastly, the use of a foaming agent coupled with a powerful device promotes a more effective pre-wash routine. It loosens contaminants such as dirt, bird droppings, and tree sap, making them easier to wash away. This pre-treatment can lead to improved results, leaving surfaces spotless and shiny.
Comparing Pressure Washers: Which Type is Best?
When selecting a cleaning machine, the choice often boils down to two types: electric and petrol. Each has distinct advantages based on specific needs and preferences.
Electric Models
Electric units are ideal for light to medium tasks. They are typically quieter, easier to handle, and require less maintenance. My experience with a compact electric model showed impressive performance on cars and patios without the hassle of fuel mixing or engine upkeep. A 130-160 bar pressure rating usually suffices for most automotive cleaning and light household tasks.
Petrol Variants
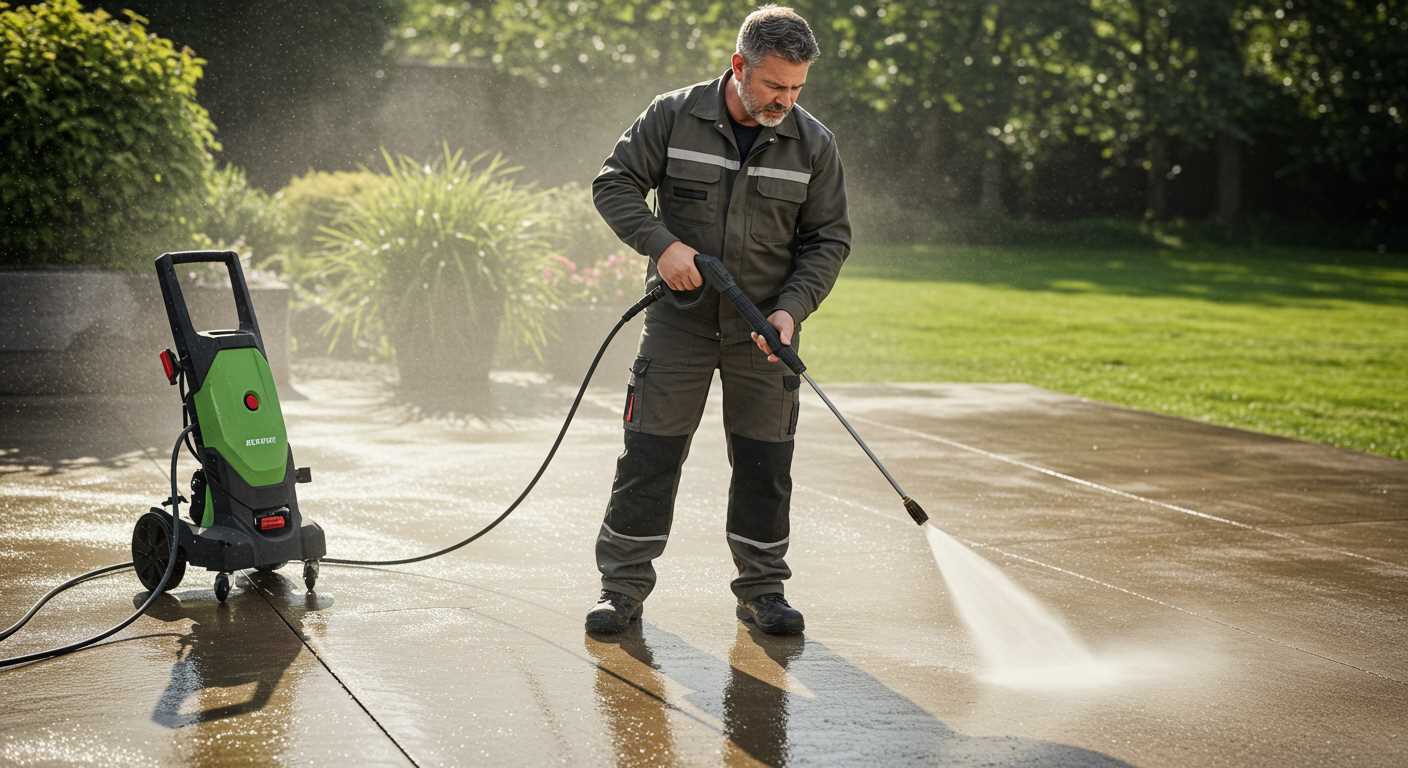
For heavy-duty applications, petrol machines excel. They generate higher pressure (often exceeding 200 bar) and can tackle tougher grime with ease. During a recent project, I used a petrol variant to clean an entire driveway, and the results were astonishing. However, the trade-off includes noise and a more complex maintenance routine.
| Type | Pressure Range | Best For | Maintenance |
|---|---|---|---|
| Electric | 130-160 bar | Cars, patios, light tasks | Low, simple |
| Petrol | 200+ bar | Heavy-duty cleaning | Higher, more complex |
Consider the intended use when making a decision. For those primarily focused on vehicle detailing and light outdoor cleaning, an electric model is often sufficient. However, if tackling larger projects or deeply ingrained dirt, investing in a more powerful petrol machine may yield better results. Each type has unique benefits, so assess the cleaning demands before committing.
How to Prepare Your Vehicle for Snow Foam Application
Prior to applying snow foam, thorough preparation enhances results significantly. Start by ensuring the vehicle is parked in a shaded area to prevent the foam from drying too quickly. Direct sunlight can lead to streaks and less effective cleaning.
Step-by-Step Preparation
- Remove loose dirt and debris using a soft brush or microfiber cloth. Focus on wheel arches and lower panels where grime accumulates.
- Ensure all windows and openings are closed tightly. This prevents foam from entering the interior and causing damage.
- If applicable, remove any accessories or items that might obstruct foam application, such as antennas, roof racks, or decorative trims.
- Rinse the vehicle with clean water to remove any remaining loose particles. This step ensures the snow foam adheres effectively.
Additional Considerations
- Inspect the vehicle’s surface for any imperfections or scratches. Treat these areas before foam application to avoid trapping contaminants.
- Gather all necessary tools, including a foam cannon and appropriate cleaning solutions. Having everything ready streamlines the process.
- Check the foam solution’s dilution ratio as recommended by the manufacturer. This maximises cleaning effectiveness.
Following these steps maximises the benefits of snow foam application, resulting in a cleaner and shinier vehicle. Taking time to prepare ensures an efficient and effective cleaning process.
Step-by-Step Guide to Using a Pressure Washer for Snow Foam
Begin with the selection of a suitable foam cannon that pairs well with the chosen cleaning solution. The right attachment ensures optimal foam coverage, which enhances cleaning efficiency. Adjust the nozzle to achieve the desired foam thickness–thicker foam adheres better and provides a more effective cleaning action.

Next, prepare the equipment. Fill the foam cannon with the recommended dilution ratio of the cleaning solution and water. Shake gently to mix thoroughly. Ensure that the connections between the foam cannon and the water source are secure to prevent any leaks during operation.
Position the vehicle away from direct sunlight to prevent the foam from drying too quickly. This step is crucial for achieving maximum dwell time, allowing the cleaning solution to break down dirt and grime effectively.
Once everything is in place, start the cleaning apparatus and allow it to reach optimal pressure. Test the foam cannon on a small, inconspicuous area first to check the foam application. Adjust the settings if necessary to achieve an even distribution.
Cover the vehicle with foam, starting from the top and working downwards. This method ensures that dirt and contaminants are pushed downwards and away from the surface. Allow the foam to dwell for the recommended time, typically around 10 minutes, to maximize its cleaning properties.
After the dwell period, rinse the vehicle thoroughly with clean water, ensuring all residues are removed. Pay special attention to areas where foam may have accumulated. This step is vital for preventing any streaks or spots.
Finally, dry the vehicle using a soft microfiber towel to avoid water spots and enhance the shine. Regular practice of this technique will lead to a more efficient cleaning process and better maintenance of the vehicle’s exterior.
Common Mistakes When Applying Snow Foam with a Pressure Washer
One frequent oversight is not adjusting the foam lance to the correct dilution ratio. Too concentrated or too diluted can lead to inadequate cleaning results. From my experience, experimenting with the mixture before the actual application can save time and improve the outcome significantly. A well-balanced solution clings better and breaks down grime more effectively.

Inadequate Coverage
Another common error is inconsistent coverage of the vehicle. Applying foam too quickly or from too far away results in patches. I’ve learned that working methodically, overlapping each pass slightly, ensures a uniform layer. A slower, controlled approach yields much better results.
Neglecting the Timing
Allowing the foam to dwell is crucial. Many skip this step, washing it off too soon. Foam needs time to break down dirt and contaminants. In my experience, letting it sit for about 10 minutes maximises cleaning efficiency. Be cautious, though; it shouldn’t dry on the surface, as this could lead to streaks.
Alternative Methods for Applying Snow Foam
A foam lance isn’t the only way to apply that thick layer of foam. One effective alternative involves using a simple garden sprayer. This method is particularly handy for those without access to more advanced equipment. A garden sprayer can create a decent foam application with the right mixture of water and product. Fill the sprayer with a diluted solution, adjusting the concentration based on the desired foam thickness. It’s essential to ensure the nozzle is adjusted to create a fine mist, which helps in evenly covering the vehicle’s surface.
Using a Bucket and Sponge Technique
An old-school approach is the bucket and sponge method. This technique utilises a bucket filled with a foamy mixture. A wash mitt or sponge can then be dipped into the foam and applied directly onto the car’s surface. While this method may not provide the same level of coverage as a foam lance or garden sprayer, it’s effective for targeted cleaning, especially in areas that require extra attention. It’s vital to ensure the sponge is clean to avoid scratching the paintwork.
Mixing with a Hose Attachment
A hose attachment specifically designed for foam application offers another practical solution. These attachments can be connected directly to standard garden hoses, creating foam while using the flow of water. This method is straightforward and allows for immediate application without needing additional equipment. Just mix the product according to the instructions and attach the nozzle to the hose. This is a great way to enjoy a foamy wash without the investment in more expensive machinery.

Regardless of the method chosen, thorough rinsing after application is crucial. Always follow up with a clean water rinse to ensure no residue remains. For those considering investing in more robust equipment, exploring industrial pressure washers could be worthwhile for enhanced cleaning capabilities.
Maintenance Tips for Your Cleaning Device After Use
After each session, a few simple steps ensure longevity and optimal performance of the cleaning machine. Neglecting maintenance can lead to reduced efficiency and potential damage.
Immediate Post-Use Care
- Flush the system with clean water to remove any residual detergent or foam. This prevents clogging of the nozzle and internal components.
- Inspect hoses and fittings for any signs of wear or leaks. Addressing these issues promptly can prevent further damage.
- Detach the spray nozzle and lance, allowing them to air dry. This helps avoid corrosion and blockages.
Long-Term Maintenance
- Store in a dry, sheltered location. Extreme temperatures can affect the integrity of components.
- Check oil levels if applicable, and replace as needed. Regular oil changes keep the motor running smoothly.
- Clean filters regularly to ensure optimal water flow and pressure. A clean filter helps maintain performance during use.
Implementing these practices not only extends the lifespan of the equipment but also enhances the overall experience during each cleaning task. Regular attention to detail pays off significantly in the long run.
Cost Considerations: Is a Pressure Washer Worth It?
Investing in an advanced cleaning unit can be justified through long-term savings and benefits. The initial outlay may seem considerable, but the efficiency gained during the cleaning process often offsets the costs. Regular maintenance of vehicles and outdoor equipment can be a significant expense if relying solely on professional services. Having a reliable cleaning device at home means not only saving money but also having the convenience of cleaning whenever necessary.
Evaluating Long-Term Savings
Consider the number of times cleaning services are needed annually. Each appointment adds up, especially for thorough cleaning involving foam products. If a cleaning tool reduces these costs significantly over time, the investment becomes logical. Beyond financial savings, having access to high-quality cleaning solutions can enhance the overall appearance and longevity of assets.
Additional Considerations
Maintenance of the cleaning unit itself should factor into the financial equation. Regular upkeep ensures longevity and performance. It’s advisable to follow manufacturer instructions and conduct periodic checks to avoid costly repairs. For example, maintaining the equipment after use is critical–proper cleaning and storage can make a difference in its lifespan. If seeking tips on maintaining equipment for other uses, such as how to clean an old aquarium glass, similar principles of care apply.
The decision to acquire such equipment should also consider potential alternatives. Renting devices for occasional use might be a viable option for those who clean infrequently. However, for regular users, ownership often proves more economical in the long run. Balancing initial costs with expected usage frequency ultimately guides the best choice.
.jpg)
.jpg)


