


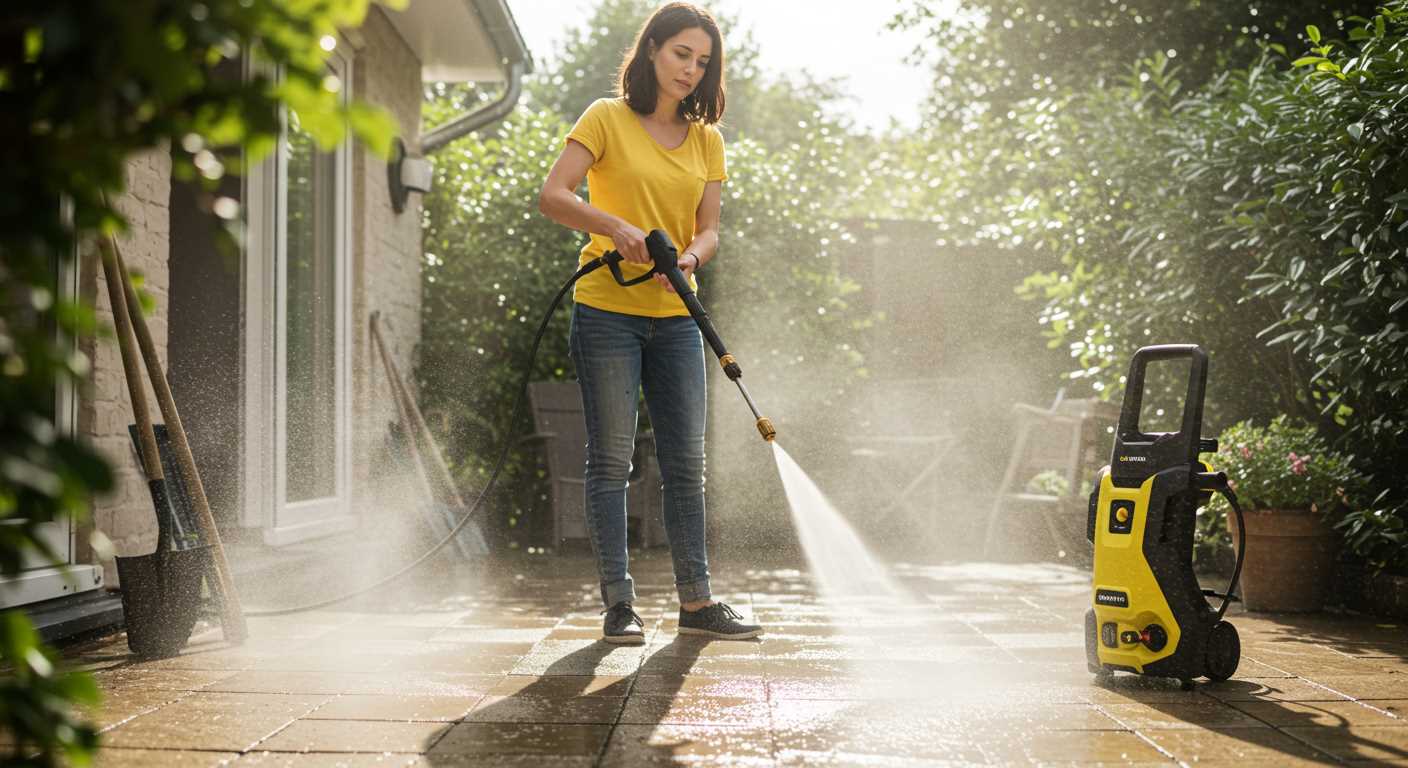
Absolutely, utilising high-pressure equipment is an outstanding approach for rejuvenating outdoor surfaces. I’ve witnessed its effectiveness firsthand in numerous situations, and the results are often remarkable. With the right technique and settings, grimy patios can transform into pristine areas in no time.
From my years of experience, I can confidently assert that selecting the appropriate nozzle and pressure setting is key. A wide-angle nozzle disperses water gently, making it ideal for delicate surfaces, while a narrower nozzle can tackle stubborn dirt and stains. Adjusting the pressure according to the surface material is essential–too much force can damage softer materials, while too little may not provide the desired results.

In my work, I’ve often recommended starting at a distance of around 30 centimetres, gradually moving closer as needed. This allows for a thorough cleaning without the risk of causing harm. Additionally, using a cleaning solution specifically designed for outdoor surfaces can enhance the process, breaking down tough grime more effectively.
After years of testing various models, I can say that consistency is key. Regular maintenance with this equipment not only keeps outdoor areas looking their best but can also prolong the life of the surfaces. Trust me, investing in high-quality gear pays off in both results and durability.
Cleaning Surfaces with High-Pressure Equipment
Absolutely, utilising high-pressure equipment can drastically improve the appearance of your outdoor surfaces. During my years in the cleaning equipment industry, I’ve witnessed remarkable transformations. For instance, a colleague of mine tackled a patio that had been neglected for years. After just one session with the right device, the grime and moss were gone, revealing the original colour of the stonework.
Choosing the correct nozzle is crucial. A narrow spray can effectively target stubborn stains, while a wider fan can facilitate quicker rinsing of larger areas. I fondly remember a DIY project where I switched from a 25-degree to a 15-degree nozzle on a particularly stubborn section. The results were astounding, and it cut the time spent significantly.
For optimal results, pre-treatment is advisable. Applying a suitable cleaner before using high-pressure tools can loosen dirt and stains. I often mixed a mild detergent with water, allowing it to sit for a few minutes. This step made a noticeable difference, especially in areas plagued by oil stains from various outdoor activities.
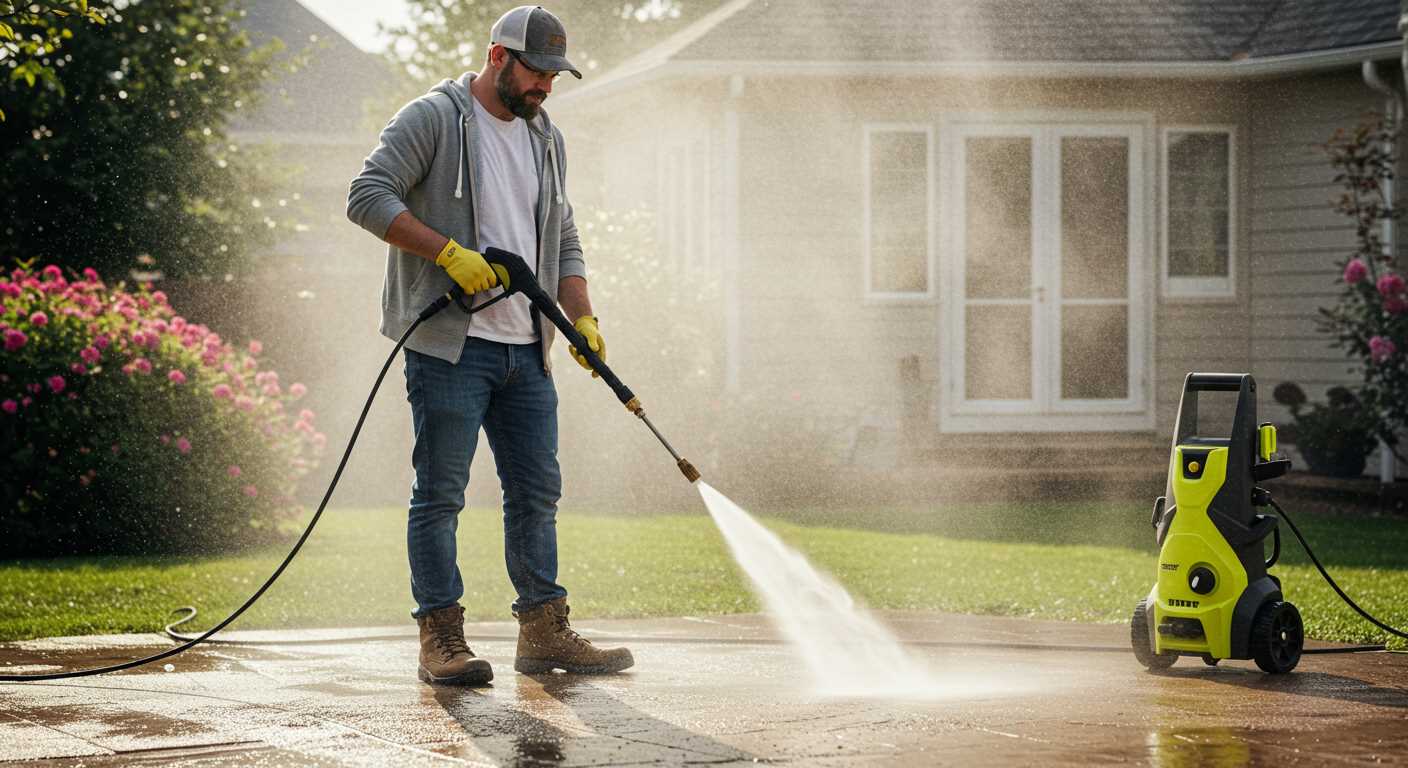
In terms of technique, maintaining a consistent distance from the surface is key. I’ve found that keeping the nozzle about 30 cm away prevents damage while still delivering sufficient force to lift dirt. Adjusting the angle of the spray also helps reach corners and crevices effectively.
Lastly, ensure that the equipment is in good working order. I once encountered a situation where a faulty device led to uneven cleaning, which was frustrating. Regular maintenance checks can save time and ensure consistent performance.
Choosing the Right Pressure Washer for Slabs
For optimal results on paving stones, look for a unit with a minimum pressure of 2000 PSI and a flow rate of at least 1.5 GPM. This combination will effectively remove dirt and grime without damaging the surface. I’ve seen many people struggle with lower-powered devices, only to find they leave behind stubborn stains.
Types of Cleaners
Electric models are quieter and suitable for smaller areas, while gas-powered machines deliver more power for larger surfaces. If you have a lot of moss or algae, consider a model that allows for detergent use, as this can enhance the cleaning process. I once used a gas model on a particularly grimy patio, and the difference was remarkable–much faster and more thorough than with my electric unit.
Accessories and Nozzles
Pay attention to the nozzle options. A rotating nozzle can help tackle tough spots, while a wide-angle one is great for more extensive areas. I often switch between nozzles, depending on the level of dirt. A surface cleaner attachment can also save time and ensure an even finish across larger areas.
Preparing Surfaces for High-Pressure Cleaning
Before you start the task, clear the area of any furniture, pots, or obstacles. This ensures that you have complete access to the surfaces you wish to treat. I once forgot to move a couple of garden gnomes, and let me tell you, they didn’t fare well under the force of the jet stream!
Next, inspect the surfaces for any loose debris, dirt, or moss. A simple broom or brush can help remove larger particles that might obstruct the cleaning process. I’ve found that sweeping beforehand not only makes the job smoother but also enhances the effectiveness of the equipment.
Look for any cracks or damage in the material. These imperfections can become more pronounced when subjected to high velocity. If needed, it might be wise to repair these areas before proceeding. I recall a time when I missed a few small cracks, and after washing, they became quite noticeable, requiring additional work down the line.
It’s also advisable to wet the surfaces slightly before applying the equipment. This helps to loosen any stubborn grime. I’ve had success with this approach during my own projects, and it saves a lot of hassle during the actual cleaning stage.
Finally, consider the weather. Avoid working on a windy day; it can blow debris back onto your surfaces just after you’ve cleaned them. I’ve learned the hard way that patience pays off–waiting for the right conditions can make all the difference.
Understanding Pressure Settings for Different Slab Materials
For concrete surfaces, a setting between 2500 to 3000 PSI is often ideal. This range effectively removes dirt, grime, and mildew without risking damage to the surface. I recall a time when I tackled an old driveway that hadn’t seen much care. Using a 2700 PSI setting, the transformation was remarkable–decades of stains vanished without chipping the concrete.
In contrast, natural stone requires a more delicate approach. A lower setting, around 1500 to 2000 PSI, is advisable. I once worked on a flagstone patio that had accumulated moss. By employing 1800 PSI, I cleared the surface without dislodging any stones or causing fractures, preserving its integrity.
For brick surfaces, maintain a pressure of 2000 to 2500 PSI. I remember cleaning a brick walkway that had become slippery due to algae. A setting of 2200 PSI effectively removed the slickness while ensuring the mortar joints remained intact. It’s crucial to keep the spray nozzle at a suitable distance to avoid dislodging bricks.
When dealing with pavers, a range of 2000 to 3000 PSI is typically safe. I’ve had great success cleaning a large patio made of interlocking pavers at 2500 PSI. The key is to keep the nozzle moving to prevent any one area from receiving too much concentrated force, which can cause shifting or damage.
Always adjust your distance from the surface based on the material. Closer proximity increases intensity, while staying further back decreases it. I’ve learned to test a small area first to gauge the effects before proceeding with larger sections. This ensures the best results while safeguarding the material being treated.
Best Cleaning Solutions to Use with a Pressure Washer
For optimal results, pairing the right cleaning agents with your equipment is key. I’ve tried numerous solutions over the years, and here are my go-to recommendations.
- Concrete Cleaners: Formulated specifically for removing tough stains like oil and grease. Look for biodegradable options that break down dirt without harming the environment.
- Deck Cleaners: If your outdoor area is made of wood, a dedicated deck cleaner will help lift grime without damaging the surface. Make sure it’s safe for the type of wood you have.
- Mildew Removers: Areas prone to dampness benefit from mildew-specific formulations. These solutions typically contain bleach or other agents to eliminate mould effectively.
- Brick and Paver Cleaners: If you have brick or stone surfaces, use a cleaner that penetrates the porous materials while avoiding any harsh acids that could erode the surface.
Always dilute the cleaners according to the manufacturer’s instructions. In my experience, using too concentrated a solution can lead to residue left behind, which defeats the purpose.
Applying the cleaner before washing is crucial. I often spray the solution on the surface and let it sit for 5-10 minutes to allow it to break down the dirt. Just don’t let it dry out!
For particularly challenging stains, consider using a dual-tank system that allows you to switch between cleaning agents without interruption. This feature can save time and effort.
Lastly, always test any cleaning agent on a small, inconspicuous area first. This simple step can prevent any unwanted reactions with the surface material.
Techniques for Pressure Washing Slabs
Begin with a sweeping motion to remove loose debris. I often recommend using a stiff-bristled broom beforehand; it makes a noticeable difference. For tough stains, pre-treating with a suitable cleaning solution can enhance results significantly.

Angle and Distance
Maintain a consistent angle of around 45 degrees while working. This technique prevents damage to surfaces and ensures an even application of water. Keep the nozzle approximately 12 to 18 inches away from the surface. I’ve seen too many people get too close, which can lead to etching or chipping.
Technique Variations
Adopt a side-to-side sweeping motion rather than concentrating on one spot. This approach helps to avoid streaking and promotes uniformity. For stubborn spots, pause briefly to allow the water to penetrate the grime, then continue with your sweeping technique. If you notice any missed areas, go back and touch them up after completing the main section.
Experimenting with different nozzles can yield better outcomes too. The 25-degree nozzle is a versatile choice for most surfaces, but the 15-degree nozzle is great for tougher stains that require more power. Just be cautious not to use it on delicate materials.
Common Mistakes When Cleaning Surfaces with a Pressure Cleaner

One common error is using an excessively high setting for the nozzle. I recall a time when a friend of mine aimed for the highest pressure, thinking it would yield the best results. Instead, it chipped the edges of his patio stones and left permanent scars. Always start with a lower setting and gradually increase it as needed.

Another frequent mistake is neglecting to test a small area first. I’ve seen many individuals jump straight into a large section without checking how their surface reacts. This can lead to unexpected damage. Always pick a corner or an inconspicuous spot to gauge the impact before proceeding further.
Using the incorrect nozzle type can also lead to suboptimal outcomes. I learned the hard way that a narrow jet can concentrate too much force on a small area, potentially causing erosion. Opt for a wider spray pattern for larger areas to ensure even coverage and safety.
Many underestimate the importance of a proper cleaning solution. I once attempted to tackle a particularly stubborn stain with plain water, which was a waste of time. Utilizing the right detergent not only enhances the cleaning process but can also protect the material against future grime.
Lastly, failing to maintain a consistent distance from the surface can cause uneven cleaning. I often advise maintaining a distance of about 30 cm. Too close, and you risk damage; too far, and you won’t achieve the desired cleanliness.
Avoid these pitfalls to ensure a successful cleaning session. If you’re curious about unconventional uses for cleaning equipment, check out cleaning the carpet with a pressure washer for some surprising insights.
Post-Cleaning Care for Slabs
After giving your surfaces a thorough wash, it’s crucial to maintain their appearance and longevity. Here are some actionable steps to consider:
- Inspect for Damage: Once cleaned, take a moment to check for any cracks or chips that may have been hidden under dirt. Addressing these issues promptly can prevent further deterioration.
- Sealant Application: If your surfaces were previously sealed, consider reapplying a sealant. This helps protect against stains and weathering. Choose a product specifically designed for the material of your surfaces.
- Regular Maintenance: Schedule routine inspections and light cleaning. A quick sweep or rinse can prevent the build-up of dirt and algae, making future deep cleans easier.
- Mind the Weeds: Keep an eye on the edges and joints of your paving. Weeds can poke through and cause damage; regular removal will keep your surfaces looking pristine.
- Plan for Weather: After washing, be aware of the forecast. Protect your surfaces from heavy rain or frost that can lead to staining or surface damage.
In my experience, neglecting these steps often leads to more extensive repairs down the line. A little effort now can save a lot of hassle later.
Frequency of Washing for Optimal Maintenance
The best practice for maintaining outdoor surfaces is to engage in washing sessions twice a year. This schedule ensures the removal of dirt, algae, and other build-up that could lead to deterioration over time. In regions with high rainfall or humidity, consider increasing the frequency to three or four times a year to prevent slippery conditions and unsightly stains.
Factors Influencing Frequency
Several factors will dictate how often you should perform the cleaning:
| Factor | Recommendation |
|---|---|
| Climate | More frequent in humid or rainy areas. |
| Usage | Commercial or high-traffic areas may require quarterly maintenance. |
| Surrounding Vegetation | Nearby trees can lead to additional debris; clean more often. |
| Surface Material | Porous materials can absorb stains; increase frequency for these. |
Long-term Benefits
Regular maintenance not only preserves the aesthetic appeal but also extends the lifespan of your surfaces. A few hours spent on upkeep can save significant costs in repairs or replacements down the line. For those tackling other cleaning tasks, you might find this guide on how to clean an old fish tank useful for keeping your environment in top condition.
.jpg)


