
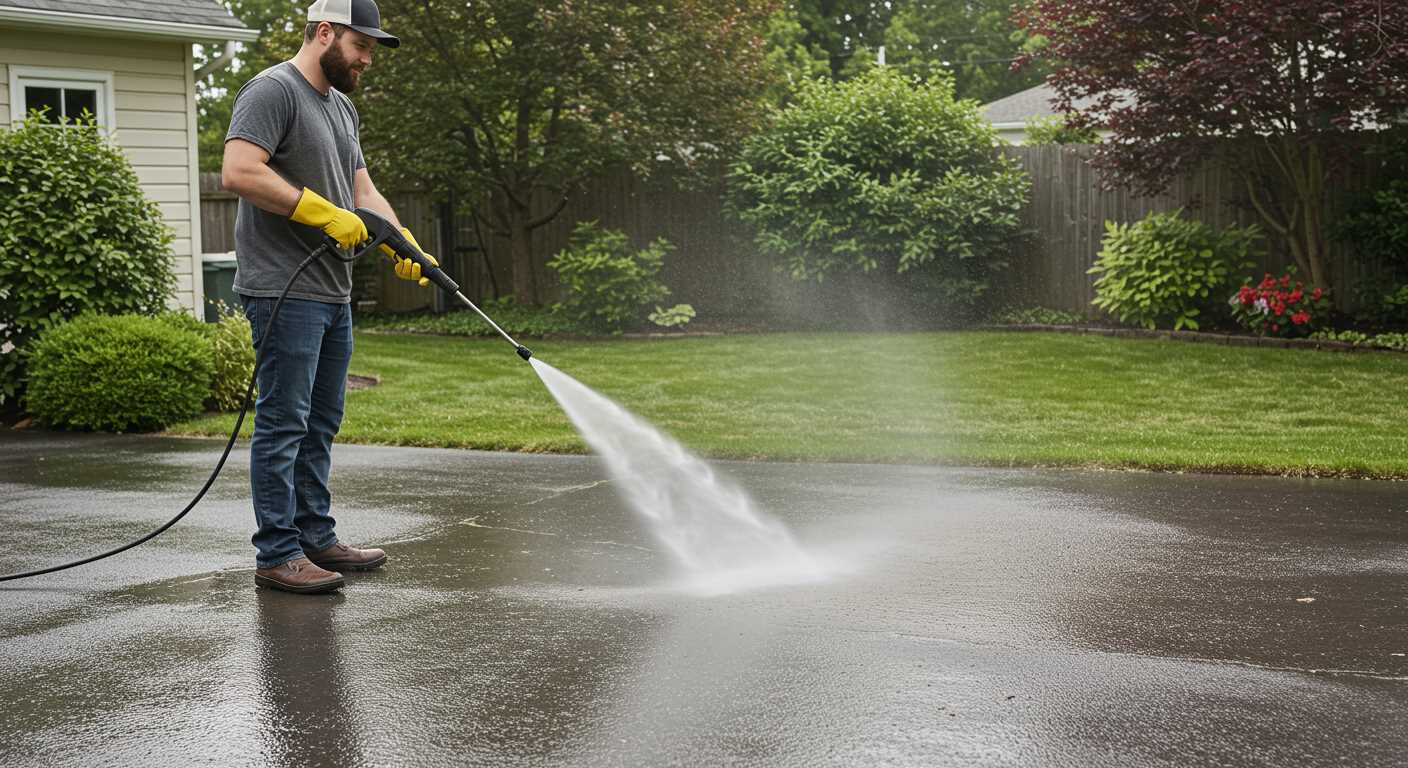


For optimal results, one should select a unit with a minimum output of 2000 PSI for most residential tasks. My experience has shown that units operating at this level can significantly reduce cleaning time and enhance the removal of stubborn grime and dirt. When I first started in this industry, I was sceptical about how much power truly mattered. However, after countless hours of testing various models, it became clear that higher output units consistently outperformed their lower-pressure counterparts.
Using a unit that offers adjustable settings can also be a game changer. In my early days, I often relied on the maximum setting for every task, only to discover that many surfaces can be damaged by excessive force. A versatile machine allows for a tailored approach, ensuring that delicate areas receive the gentler touch needed, while tougher surfaces benefit from full power. This adaptability has saved me from making costly mistakes and has improved the longevity of surfaces I’ve worked on.

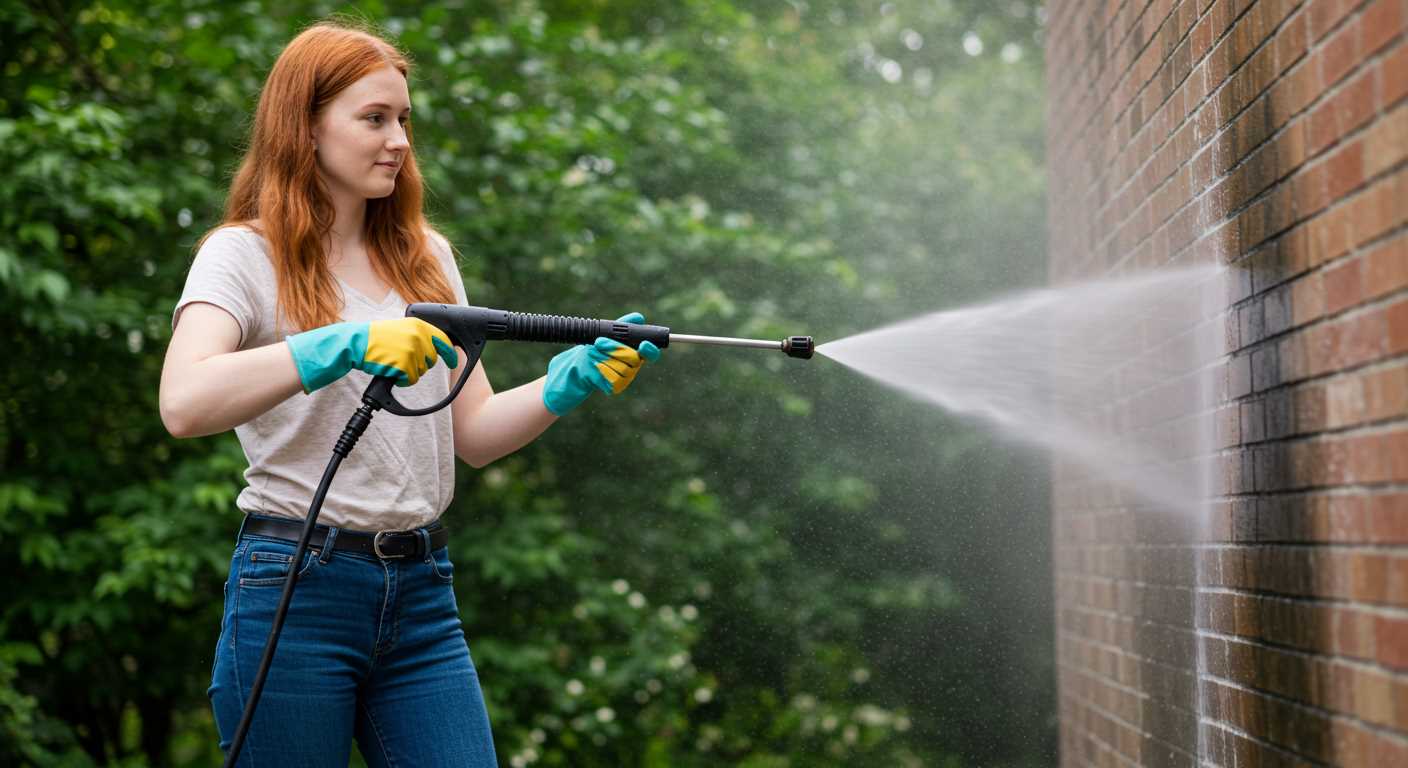
Another critical aspect is the nozzle type. Switching between different nozzles can drastically impact the effectiveness of the cleaning process. I learned this lesson the hard way during a particularly challenging job where a narrow spray pattern proved invaluable for getting into tight spaces. The right nozzle can transform a seemingly insurmountable task into a straightforward one, making it essential to have a range of options available.
Incorporating cleaning solutions can further enhance performance. I often mix specific detergents with water to tackle oily stains or mildew, and I’ve seen remarkable results. However, it’s essential to follow the manufacturer’s guidelines to avoid damaging the equipment or the surface being cleaned. This attention to detail has consistently yielded better results throughout my career.
Does Pressure Influence Cleaning Performance?
Higher output levels generally enhance the efficiency of your cleaning tasks. In my years of experience testing various models, I’ve observed that units operating at elevated power levels often remove stubborn grime more effectively. However, it’s essential to pair this force with the right attachment. For instance, using a pressure washer rotary nozzle can significantly amplify the cleaning action, allowing for a wider spray pattern while maintaining the intensity needed for tough jobs.
During a project at a local community centre, I chose a device with a high output, paired with a rotary nozzle. The results were striking; years of dirt lifted effortlessly from the concrete surfaces. This experience solidified my belief that while power plays a role, the right accessories can make all the difference in achieving optimal results.
It’s worth noting that not all surfaces require maximum output. For delicate materials, a gentler approach is advisable to avoid damage. Balance is key. The combination of suitable pressure settings and effective tools leads to superior outcomes, ensuring longevity for both your surfaces and your cleaning equipment.
Understanding Pressure Washer Basics
For optimal results, focus on the specifications of your cleaning machine. Selecting a unit with the right flow rate and force output is crucial. From my experience, a model delivering between 1300 to 3000 psi is generally suitable for most residential tasks.
Key Components
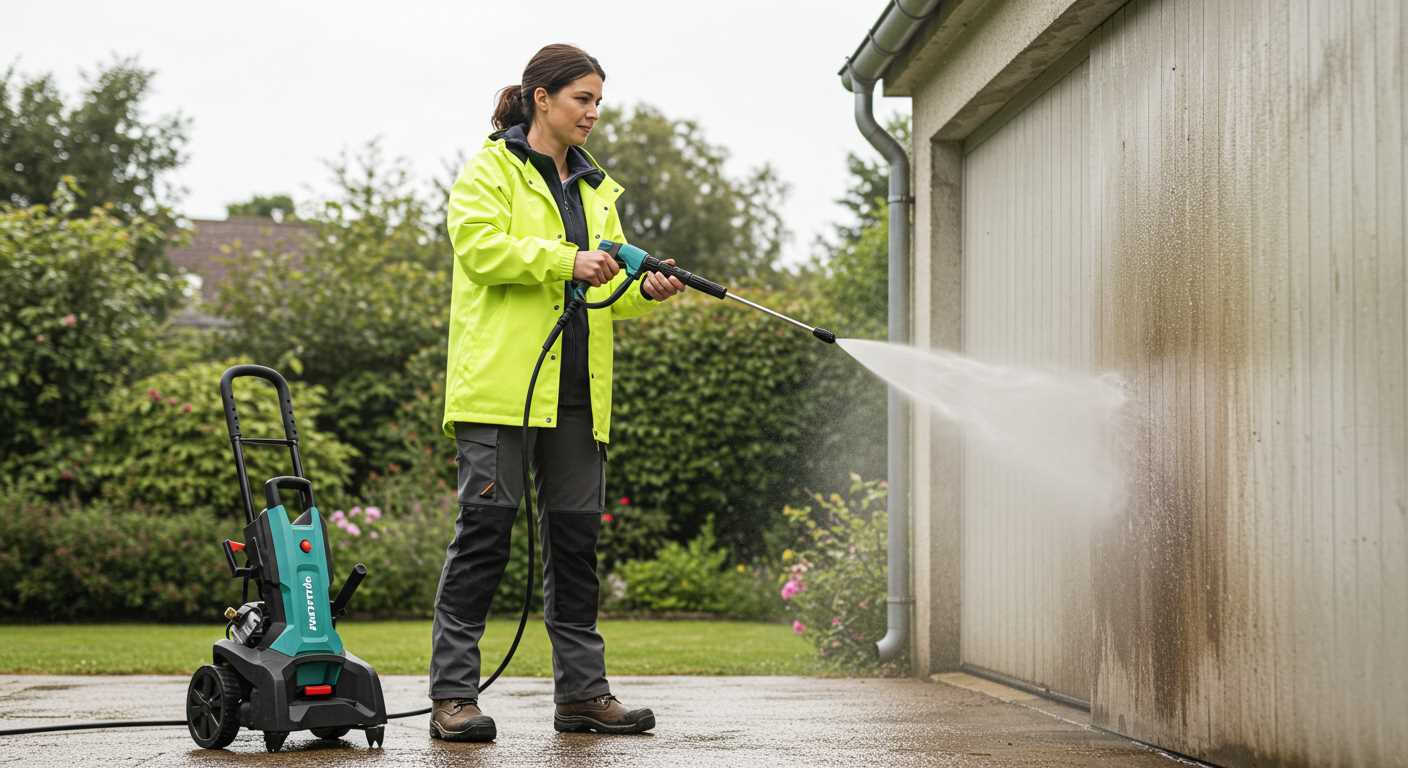
- Motor or Engine: Choose between electric and petrol-powered units. Electric versions are quieter and easier to maintain, while petrol models often offer more power for heavy-duty tasks.
- Water Flow Rate: Measured in litres per minute (LPM), a higher flow rate means quicker cleaning. Aim for at least 6 to 8 LPM for residential use.
- Nozzles: Different nozzles provide varying spray patterns. A 0-degree nozzle delivers a concentrated stream for tough stains, while a 25-degree nozzle is ideal for general cleaning.
- Detergent Injection: Many machines have a built-in system for soap application, which enhances cleaning efficiency.
Maintenance Tips
- Regularly check and clean the filter to prevent blockages.
- Inspect hoses and connections for leaks, replacing any damaged parts promptly.
- After each use, run clean water through the system to prevent detergent buildup.
- Store the unit in a dry place to avoid rust and corrosion.
In my experience, a well-maintained machine can last for many years. Always refer to the manufacturer’s guidelines for specific care instructions.
Understanding these basics will significantly improve your overall experience with your cleaning device. With the right approach, you’ll achieve impressive results every time.
How Pressure Affects Cleaning Performance
For optimal results, consider a balance between force and technique. Higher force can strip away dirt and grime, but it can also damage delicate surfaces if misused. I recall a time when I was cleaning an old brick patio. Initially, I cranked up the force, thinking it would expedite the process. Instead, I ended up eroding some of the mortar joints. It was a hard lesson learned about the need for precision.
When working with various surfaces, always start with the lowest setting. Gradually increase the force as needed. For example, while working on a driveway, I found that a medium setting effectively removed oil stains without risking the integrity of the concrete. This gradual approach not only protects your surfaces but also extends the life of your equipment.
Utilising the appropriate nozzle is equally important. A wide spray pattern disperses the force more gently, making it suitable for fragile areas like wooden decks or painted surfaces. In my experience, switching to a narrower nozzle can provide that extra boost when tackling stubborn stains on tougher materials like metal or concrete.
Temperature also plays a pivotal role in cleaning outcomes. Warm water can enhance the effectiveness of detergents, making grime easier to dislodge. During one particularly challenging job, using heated water with a mild detergent transformed my efforts on a greasy grill. The combination not only cut through the grease but also saved me time and effort.
Finally, the distance from the surface matters. Keeping the nozzle too close can lead to damage, while holding it too far away reduces effectiveness. I learned this the hard way while cleaning my car; I initially thought a closer approach would yield quicker results, only to find that I left unsightly scratches on the paint. A distance of around 12 to 18 inches usually strikes the right balance for most tasks.
Optimal Pressure Levels for Different Surfaces
For concrete surfaces, aim for around 2500 to 3000 psi. This level effectively removes stubborn stains and grime without damaging the texture. I recall a time when I tackled an old driveway covered in oil spots. Using 2800 psi, I watched as the marks disappeared effortlessly, revealing a much brighter surface.
When it comes to wooden decks and fences, lower settings of 1500 to 2000 psi are ideal. The softer wood can splinter with excessive force. I once made the mistake of using too high a setting on a weathered deck, which resulted in deep gouges. Switching to a gentler approach restored its beauty without causing harm.
For vehicles, a setting of 1200 to 1900 psi works wonders. This range is safe for paint and trims while still effectively removing dirt. I always use a nozzle with a wider spray to avoid concentrated streams that could chip the paint. I remember detailing my car last summer; the lower pressure helped maintain the gloss without any risk of damage.
For delicate surfaces like windows and screens, 1000 to 1200 psi is sufficient. This ensures a thorough clean while preventing breakage. I learned this the hard way when I accidentally cracked a window pane while overzealously cleaning. Since then, I’ve been meticulous about keeping the pressure low for such tasks.
Finally, for outdoor furniture and patios, 1500 to 2200 psi is a good range. It balances efficiency and safety, allowing you to refresh your outdoor space without fear of damaging the materials. I’ll never forget how my patio looked after using a moderate setting; it felt like a mini makeover.
Adjusting the force based on the surface type not only enhances the results but also extends the lifespan of your items. Experience has taught me that the right approach is always a blend of power and caution.
Impact of Nozzle Types on Cleaning Efficiency
Choosing the right nozzle can vastly improve your cleaning tasks. From my experience, nozzles are not just attachments; they play a crucial role in determining how effectively dirt and grime are removed from surfaces.
Each nozzle type serves a specific purpose. For instance, the 0-degree nozzle delivers a concentrated stream that excels at removing stubborn stains on hard surfaces like concrete. However, it requires careful handling due to its potential to damage softer materials.
On the other hand, the 25-degree nozzle is ideal for most general cleaning tasks. It provides a wider spray pattern, allowing for quicker coverage while still being effective against dirt. During my time testing various models, I found this nozzle particularly useful for decks and patios, where a balance between force and safety is essential.
Then there’s the 40-degree nozzle, which is perfect for delicate surfaces such as cars and wooden furniture. It offers a gentler approach, ensuring that you can clean without risking damage. I remember using it on my car, and it was remarkable how effortlessly it removed grime without leaving any scratches.
Additionally, turbo nozzles combine the benefits of different types by rotating the water stream, providing a powerful clean while maintaining a safe distance from the surface. I found them particularly effective for cleaning driveways and stubborn stains that other nozzles struggled with.
In summary, selecting the appropriate nozzle type is pivotal for maximizing cleaning performance. Understanding what each nozzle can do allows you to tailor your approach, achieving optimal results without unnecessary risk of damage. Always consider the surface you are tackling and choose accordingly for the best outcome.
Choosing the Right Cleaning Detergents
Using the right cleaning agents can significantly enhance the results of your cleaning sessions. Here’s a breakdown of what I’ve learned over the years about selecting suitable detergents.

- Know Your Surface: Different surfaces react differently to various chemicals. For example, a concrete driveway may require a stronger formula compared to delicate wooden decks. Always check the manufacturer’s recommendations.
- Concentrated Solutions: Opt for concentrated cleaning agents. They tend to be more effective and require mixing with water, allowing you to control the strength based on your needs.
- Eco-Friendly Options: Consider biodegradable detergents for a safer choice. These products are designed to break down naturally and are often less harmful to plants and pets.
- Specialised Formulas: For specific tasks, such as oil stain removal or mildew treatment, use detergents tailored for those issues. Using a general-purpose cleaner may not yield the desired results.
In my experience, I once tackled a particularly stubborn oil stain in a garage. I started with a standard cleaner, but it barely made a difference. Switching to a specialised degreaser not only lifted the stain but also made the surface look brand new. Always keep a selection of different types of cleaning agents on hand for various challenges.
- Mixing Instructions: Follow the mixing ratios recommended on the label. Over-concentrating can damage surfaces, while under-diluting may not provide the expected results.
- Application Methods: Some detergents work best when applied directly, while others need to be mixed into the water flow. Familiarise yourself with the proper application technique for optimal results.
- Safety First: Always wear protective gear when handling cleaning agents. Gloves and goggles can protect against splashes that might irritate your skin or eyes.
Experimenting with different products has taught me that sometimes, a little trial and error leads to the best results. The right cleaning agent can turn a laborious task into a quick and effective one, saving both time and effort in the long run.
Common Misconceptions About High-Pressure Equipment
Many users believe that increasing the force of the stream will always yield superior outcomes. In my years of experience, I’ve encountered numerous instances where this assumption leads to undesirable results. Using excessive force can cause damage to surfaces, particularly delicate materials. For instance, I once had a client who attempted to use high force on wooden decking, resulting in splintering and a costly repair. The key takeaway here is that more intensity doesn’t equate to enhanced results.
Surface Damage Risks
Another prevalent myth is that all surfaces can withstand the same level of force. From my observations, different materials require tailored approaches. For example, concrete and brick can handle a robust stream, but softer surfaces like painted wood or vinyl siding risk chipping or peeling. Always assess the material before deciding on the intensity required. Here’s a quick reference table that outlines recommended intensity levels for various surfaces:
| Surface Type | Recommended Intensity (PSI) |
|---|---|
| Concrete | 2500 – 3000 |
| Brick | 2000 – 2500 |
| Wood (untreated) | 1200 – 1500 |
| Vinyl siding | 1300 – 1600 |
| Glass | 1000 – 1200 |
Detergents and Their Role
Many users underestimate the impact of cleaning agents. I’ve seen outstanding results achieved simply by incorporating the right detergent into the process. For example, a biodegradable formula designed for use with high-velocity streams can enhance the cleaning action significantly, making it easier to remove grime without relying solely on force. Always choose a detergent compatible with the surface being treated to avoid damage.
Safety Considerations When Using High-Pressure Equipment
Always wear appropriate protective gear, including safety goggles, gloves, and sturdy footwear, to shield yourself from debris and chemicals. I recall a time when I neglected to wear goggles and ended up with a piece of grime in my eye during a particularly tough cleaning task. It was a painful reminder of the importance of safety equipment.

Handling Chemicals with Care
When using cleaning agents, ensure proper ventilation in your workspace. Many detergents can produce harmful fumes. I once used a highly concentrated formula without adequate airflow, which led to a severe headache. Always read the labels and follow the manufacturer’s instructions for dilution and application. For concrete surfaces, you might want to explore the best chemical for pressure washing concrete to ensure safety and effectiveness.
Positioning and Distance
Maintain a safe distance from the surface being treated. Getting too close can result in injury or damage. I’ve seen more than one individual accidentally gouge wood or damage paint by holding the nozzle too near. Always test in a small area first to determine the safest and most effective distance. Keeping a firm grip on the equipment is crucial to avoid slipping or losing control, especially on slippery surfaces.
Maintenance Tips for Pressure Cleaners
Regular maintenance is key to prolonging the lifespan of your cleaning equipment. Start by checking the oil levels and changing it as necessary, especially if you notice the engine running rough. I’ve seen too many machines fail simply due to neglecting this basic step.
Inspecting Hoses and Connections
Examine hoses for any signs of wear or leaks. A small crack can lead to a significant loss of power. I recall a time when I was helping a neighbour clean their driveway, and the hose burst midway through the job. It not only wasted time but also created an unexpected mess. Replace any damaged hoses immediately to avoid these scenarios.
Cleaning the Filter and Nozzles
Make it a habit to clean the filter and nozzles after every use. Clogged nozzles can drastically reduce performance. I remember once troubleshooting a unit that seemed weak, only to find the nozzle was nearly blocked. A quick clean restored its original efficiency. Also, ensure that you’re using the correct nozzle for your task; this makes a world of difference in achieving the desired outcome.
When to Call a Professional Instead of DIY

For larger projects or particularly stubborn stains, seeking assistance from a specialist can save time and yield superior results. I recall a time when I attempted to remove years of grime from a commercial building’s façade. Despite my extensive knowledge and high-quality equipment, I quickly realised the task required more than just my skills. A team of professionals tackled the job in a fraction of the time, utilising specialised techniques and tools I hadn’t considered.
Complex Surfaces and Materials
When dealing with delicate surfaces, such as wood decks or painted exteriors, it’s easy to cause damage if you’re not careful. I once damaged a beautiful cedar deck trying to restore it on my own. The wrong nozzle and excessive force led to splintering. Professionals often possess the experience to assess the best approach for various materials, ensuring they maintain the integrity of the surface.
Safety Risks
Some situations present safety hazards that necessitate expert intervention. High-altitude cleaning or accessing tight spaces can lead to accidents if not handled correctly. I learned this the hard way while trying to clean the roof of my house. A slip could have had serious consequences. In such cases, hiring a trained team is not just wise; it’s essential for personal safety.
.jpg)


