


If you’re battling with those stubborn green patches on your patio or driveway, using high-pressure cleaning equipment can be a game-changer. In my years of experience, I’ve seen how effectively these machines can tackle the problem of unwanted plant life. The combination of forceful water jets and the right nozzles can lift away even the most entrenched growths.
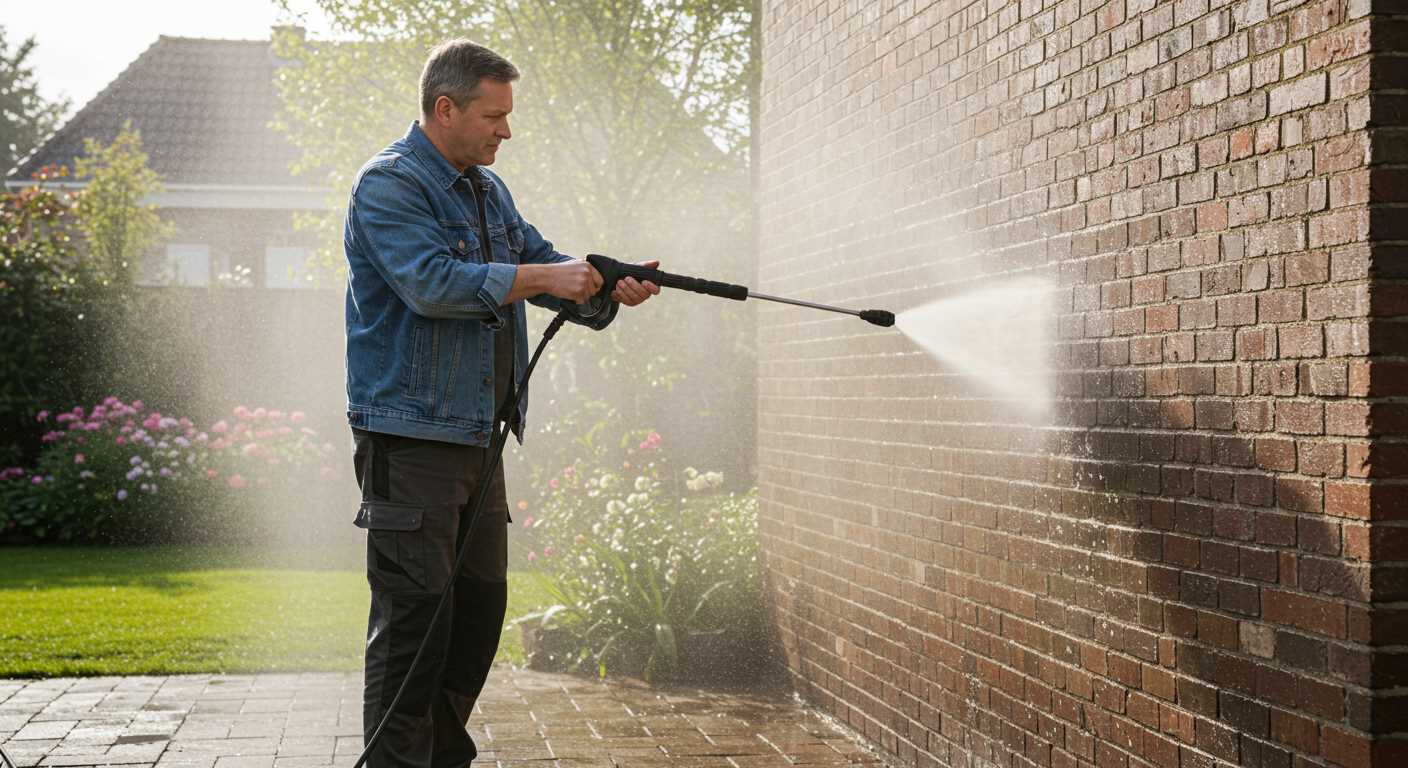
From my personal tests, I found that using a narrow nozzle can significantly enhance the impact of the water stream, allowing you to target those tricky areas where the green stuff likes to hide. A consistent distance of about 30–45cm from the surface is key to maximising the cleaning effect without causing damage to the underlying materials.

However, it’s not just about the equipment; preparation plays a crucial role. Before you start, I recommend clearing the area of any debris and loose dirt. This will ensure that the force of the water is directed at the green invaders rather than being wasted on unnecessary obstacles. Additionally, a pre-treatment with a suitable cleaning solution can further aid in breaking down the stubborn remnants.
In my experience, the results can be quite satisfying. After a thorough session, surfaces often look brand new, free from the green invaders that have plagued them for too long. So, if you’re considering tackling that unsightly growth, armed with the right tools and techniques, you’re well on your way to achieving a cleaner, more inviting exterior.
Does Pressure Washer Remove Moss
Absolutely, utilizing a high-powered cleaning tool can effectively tackle unwanted green growth on various surfaces. In my years of working with these machines, I’ve witnessed firsthand how well they can clear off stubborn patches. The key lies in selecting the right nozzle and maintaining an optimal distance from the surface.
For instance, a 15-degree nozzle delivers a concentrated stream that can dislodge thick layers with ease. I remember a particular project involving a stone patio heavily covered with algae. By adjusting the pressure and keeping the nozzle about 12 inches away, I managed to restore the surface without damaging the stones.
Pre-treatment with a suitable cleaning solution often enhances the outcome. I’ve found that applying a biodegradable cleaner before using the equipment can break down the organic material, making it easier to wash away. This two-step method has saved me considerable time and effort on multiple occasions.
After the initial clean, occasionally rinsing the area with a lower pressure setting can further ensure that any remaining spores are eliminated. I’ve seen many homeowners struggle with lingering spots after cleaning, only to realise that a gentle rinse can make a significant difference.
Lastly, regular maintenance is crucial. Establishing a routine cleaning schedule helps prevent the reappearance of green growth. I often recommend a seasonal clean, especially in damp climates, to keep surfaces looking their best year-round.
Understanding the Mechanism of High-Pressure Cleaning Equipment
For optimal results, it’s vital to grasp how high-pressure cleaning units function. These machines harness a motor to pump water at an elevated rate, creating a concentrated spray that strips away dirt, grime, and unwanted organic growth. The combination of high velocity and forceful flow plays a crucial role in achieving cleanliness, particularly on hard outdoor surfaces.
Operation and Components
At the heart of the unit lies the motor, which activates the pump. This pump draws in water from a source and pressurises it, allowing it to be expelled through a nozzle at high speed. The choice of nozzle affects the spray pattern and intensity. For instance, a narrow nozzle produces a focused stream, perfect for stubborn stains, while a wider nozzle covers more area, ideal for general cleaning tasks. Understanding these components enables better selection and usage, ensuring you tackle specific cleaning challenges effectively.
Water Temperature and Chemical Use
Another factor that enhances cleaning performance is the temperature of the water. Hot water can significantly increase the effectiveness of the cleaning process by breaking down grease and biological materials more efficiently. Additionally, integrating suitable cleaning agents can amplify the results. Always check compatibility before use, as not all detergents are designed for high-pressure applications. For more information on cleaning solutions, visit this resource.
Choosing the Right Pressure Washer for Moss Removal
For effective eradication of unwanted green growth, selecting the appropriate cleaning machine is vital. Based on my years of experience, here are key factors to consider:
- Pressure Output: A machine with a minimum of 2000 PSI is ideal. This level provides sufficient force to tackle stubborn growth, ensuring a thorough clean.
- Water Flow Rate: Look for a model with a high GPM (gallons per minute) rating. This enhances cleaning efficiency by allowing more water to flush away debris and residues.
- Nozzle Options: A range of nozzles is essential. The 25-degree nozzle works well for most surfaces, while a turbo nozzle can boost cleaning power for tougher areas.
- Detergent Compatibility: Choose a unit that can accommodate cleaning solutions. This can aid in breaking down organic growth more effectively and speed up the cleaning process.
- Portability: If you’re covering large areas, consider a model that’s easy to manoeuvre. Wheels and a lightweight design can save time and effort.
In my experience, electric models are quieter and suitable for smaller tasks, while gas-powered machines offer more power for bigger areas. I’ve often found that having both types can cover a range of cleaning needs effectively.
Don’t underestimate the importance of maintenance. Regularly checking filters and nozzles ensures optimal performance. I recall a time when a simple unclogging of the nozzle dramatically improved cleaning results.
Before purchasing, assess the surfaces you intend to clean. Some materials, like shingles, require lower pressure to avoid damage, while concrete can handle more force. Always prioritise safety; wearing protective gear is non-negotiable when operating such equipment.
Lastly, consider reading reviews and seeking recommendations from users. Personal accounts can provide invaluable insights that enhance your decision-making process.
Step-by-Step Guide to Eliminating Moss with a Pressure Cleaner
First, gather your equipment and ensure you have a suitable model for this task. I’ve tried various machines, and a unit with at least 2000 PSI is ideal for tackling stubborn growth. Before you begin, clear the area of any obstacles and debris to make your work easier and safer.
Preparation
Wear protective gear, including gloves, goggles, and non-slip footwear. Mix a cleaning solution designed for biological growth according to the manufacturer’s instructions. Some solutions work wonders in conjunction with the high-force cleaner, enhancing results.
Cleaning Process
Start by wetting the surface with plain water to soften the growth. Apply your cleaning solution evenly, allowing it to sit for a recommended time–usually around 10-15 minutes. This step is crucial as it loosens the grip of the green growth on surfaces.
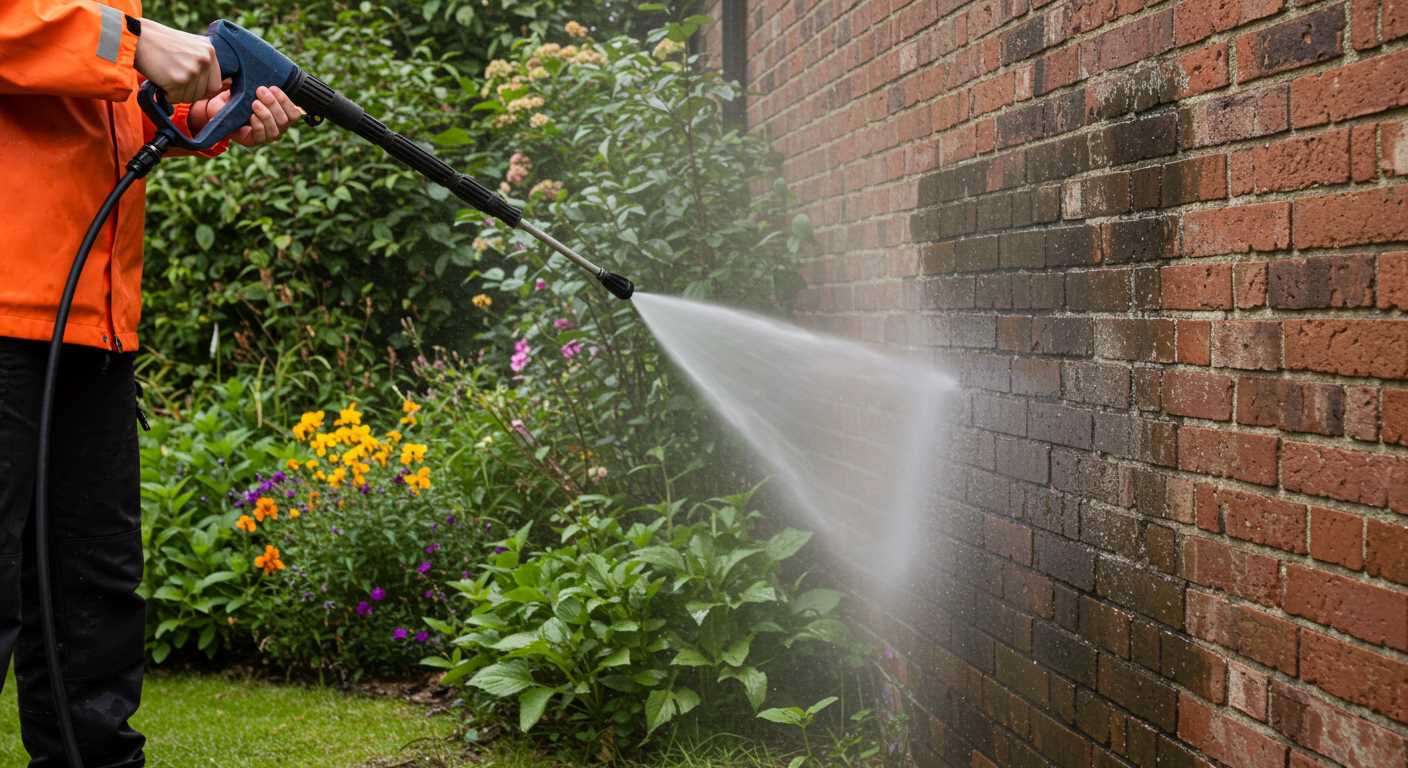
Next, attach a wide-angle nozzle to your machine. This will help distribute the force evenly and prevent damage to the underlying material. Begin at the top of the surface and work your way down, maintaining a consistent distance of about 12 inches from the surface. Move the wand in a sweeping motion, ensuring you cover all areas. For stubborn patches, you may need to go over them multiple times.
After cleaning, rinse the surface thoroughly to remove any residue from the cleaning solution. If you notice any remaining traces, you can repeat the process. For those with mobile homes, consider using a pressure washer for mobile homes to prevent damage while achieving a thorough clean.
Finally, inspect the area for any missed spots and address them as needed. Regular maintenance will help prevent the reappearance of unwanted growth in the future.
Safety Precautions When Using a Pressure Washer on Moss
Always wear protective gear before starting the cleaning process. This includes safety goggles to shield your eyes from debris, gloves to protect your hands, and sturdy footwear to guard against slips on wet surfaces. A raincoat or waterproof clothing can also be helpful if your work area is particularly damp.
Check Equipment Before Use
Inspect the device thoroughly prior to operation. Look for any leaks in hoses, frayed wires, or damaged nozzles. Ensure that connections are tight and secure. A malfunctioning unit can pose a risk not only to your safety but also to the efficiency of your cleaning efforts.

Maintain Proper Distance
Keep a safe distance from surfaces while cleaning. A distance of at least 2 feet is advisable to prevent damage to the underlying material. Adjust the nozzle to the appropriate setting to avoid excessive force, which can cause chipping or stripping of paint and lead to injuries from flying debris.
| Safety Tip | Description |
|---|---|
| Protective Gear | Wear goggles, gloves, and non-slip footwear. |
| Equipment Inspection | Check for leaks, frayed wires, and secure connections. |
| Distance Maintenance | Keep at least 2 feet away from surfaces to avoid damage. |
| Water Source | Ensure a stable water supply to avoid interruptions. |
| Electrical Safety | Keep electrical components away from water to prevent shock. |
Secure the water source and avoid working in wet conditions to minimise the risk of slips. Make sure that all electrical components are properly sealed and away from moisture. This reduces the danger of electric shock during operation.
Finally, be aware of your surroundings. Remove any obstacles that could cause tripping or falling. If you’re working on a ladder or elevated surface, ensure it is stable and secure before beginning your task.
Alternative Methods for Moss Removal
For those seeking to eliminate unwanted green growth without resorting to high-powered machinery, there are several effective methods to consider. Here are some approaches I’ve found useful over the years:

- Manual Scrubbing: A simple yet effective technique involves using a stiff-bristled brush. This method works well on smaller areas. Make sure to wear gloves and safety goggles to protect yourself during the process.
- Vinegar Solution: A mixture of white vinegar and water can act as a natural herbicide. Combine equal parts vinegar and water in a spray bottle, apply it directly onto the affected surfaces, and allow it to sit for a few hours before scrubbing. This method is ideal for patios and garden furniture.
- Baking Soda: This common household item can be sprinkled onto the affected area. It works by drying out the green growth. For best results, mix it with a small amount of water to create a paste, apply it, and let it sit before scrubbing.
- Commercial Products: There are numerous eco-friendly solutions available in stores specifically designed for tackling green growth. Look for products that contain natural ingredients and follow the instructions for application. I’ve had great success with these in both residential and commercial settings.
- Boiling Water: Pouring boiling water over the affected areas can kill unwanted growth almost instantly. This method is particularly effective on hard surfaces like walkways or driveways. Just be cautious of nearby plants that may be affected by the heat.
Each method has its own advantages and might suit different situations based on the extent of the problem and the surfaces involved. From my experience, combining a couple of these techniques often yields the best results. Regular maintenance can also prevent the recurrence of unwanted growth, keeping your outdoor spaces looking pristine.
.jpg)
.jpg)


