
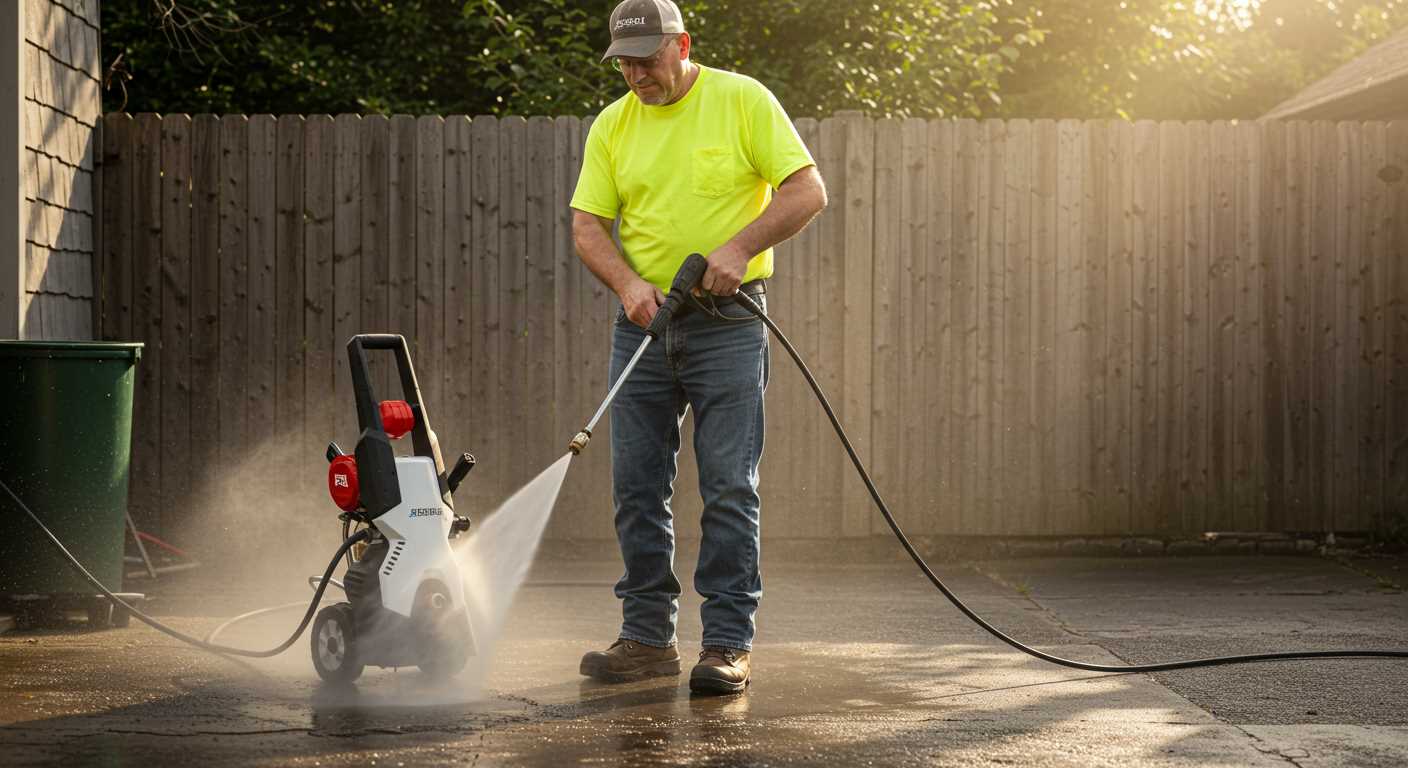


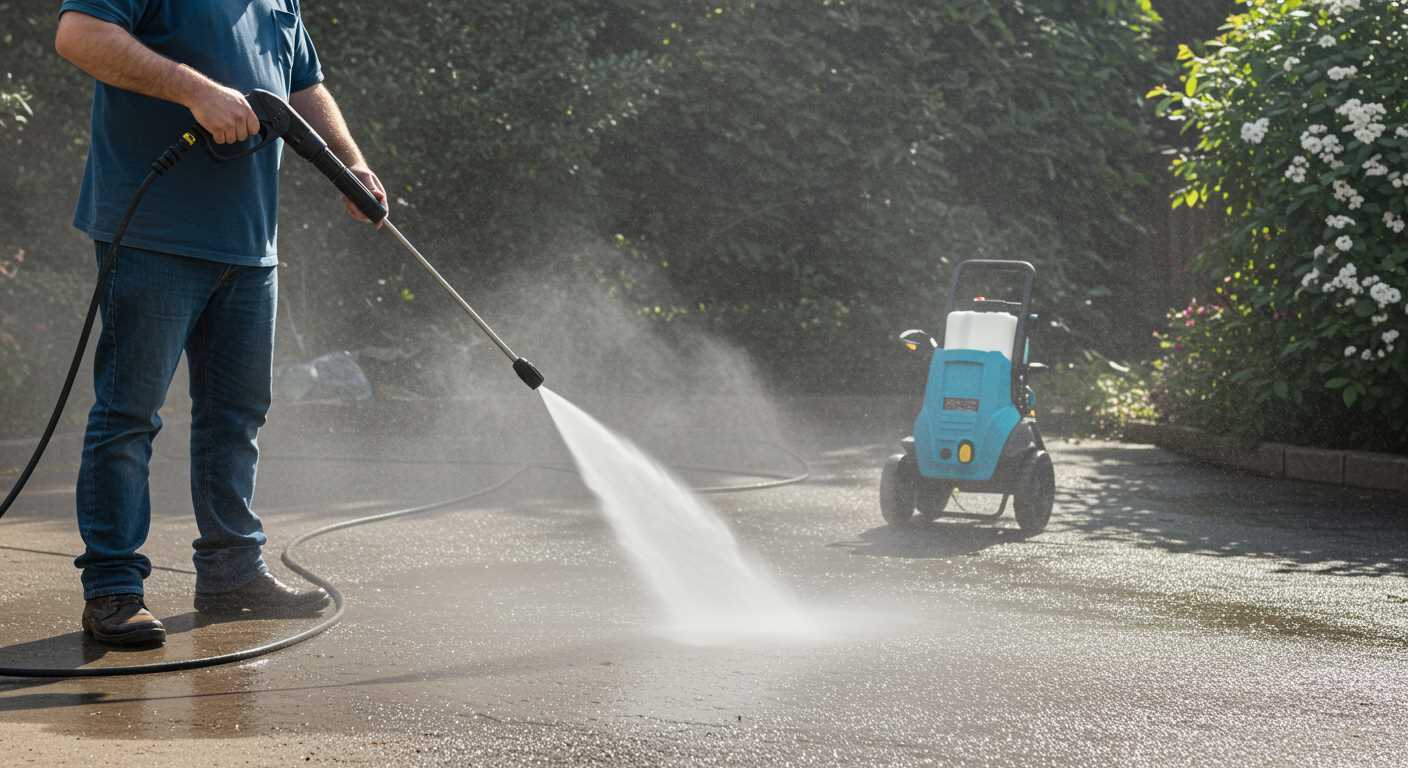
Consider incorporating a dedicated area that accommodates your cleaning device along with its accessories. A well-structured unit can significantly enhance your workflow by keeping everything organized and easily accessible. Begin with precise measurements of your equipment to determine the appropriate size for your assembly. Aim for a width of at least 120 cm and a depth of 60 cm to ensure ample space for the device and any additional items such as hoses and nozzles.
Utilize plywood or MDF for the construction, as these materials provide durability while remaining lightweight. For a sturdy base, opt for a thickness of 18 mm. When assembling, use screws and wood glue to reinforce joints, which will enhance stability and longevity. Incorporating shelves or compartments is advisable; this allows for the segregation of accessories, making retrieval straightforward. I once made the mistake of cramming everything into a single compartment, which led to frustration every time I needed to find a specific nozzle.

Adding wheels to the bottom can transform the unit into a mobile solution, allowing you to manoeuvre effortlessly between different areas of your workspace. Ensure the wheels lock in place to prevent unwanted movement during use. This feature became invaluable for me when I had to move my setup from the garage to the driveway for better access to water sources.
Lastly, consider finishing touches such as paint or varnish to protect the surfaces from moisture and wear. A coat of waterproof sealant not only enhances durability but also makes cleaning much simpler. From my experience, neglecting this part resulted in significant wear over time, leading to a regrettable need for repairs much sooner than expected.
Creating an Organised Space for Your Cleaning Equipment
Choose a suitable location with ample space and good ventilation. Ensure it’s easily accessible, as you’ll want to get to your equipment without hassle. I’ve found that a corner of the garage or a dedicated outdoor shed works best. Measure the area carefully to ensure your unit fits comfortably while leaving room for movement.
Use quality materials like plywood or MDF for durability. I recommend 18mm thickness for the shelves to support heavy items. Cut pieces to the dimensions you’ve planned, and don’t forget to sand the edges for a clean finish. Secure everything with screws and wood glue for added stability.
Incorporate adjustable shelving. This allows you to customise the height based on your needs. I’ve often had to rearrange my tools and equipment, and being able to shift shelves makes a world of difference.
Consider adding a work surface on top. A sturdy countertop can serve multiple purposes, from quick repairs to holding items while you clean. Use a laminate finish for easy cleaning and resistance to wear and tear.
Don’t overlook storage options. Baskets or bins can help keep smaller accessories organised and out of sight. Installing hooks on the side can accommodate hoses and cords, preventing tangles and keeping everything neat.
Finally, think about ventilation. If your equipment is electric, ensuring airflow can prevent overheating. I’ve installed a small fan in mine, which works wonders for maintaining a cool environment.
| Material | Thickness | Purpose |
|---|---|---|
| Plywood | 18mm | Shelves and structure |
| Laminate | 5mm | Countertop surface |
| Metal Hooks | N/A | Hose and cord storage |
| Baskets | N/A | Accessory organisation |
With these steps, you’ll have a functional and tidy area for your cleaning tools, making maintenance easier and more efficient. Trust me, once you’ve organised your space, it’ll save you time and effort in the long run.
Choosing the Right Materials for Your Storage Solution
Opt for marine-grade plywood when selecting materials. It’s resistant to moisture and ideal for outdoor settings, ensuring longevity. I recall a project where I used standard plywood; it warped after a few months of exposure. Marine-grade not only stood firm but also maintained its aesthetic appeal.
Metal vs. Wood
Consider using a metal frame for added sturdiness, especially if you plan to store heavier equipment. Steel or aluminium are excellent choices. I once built a unit with a wooden frame, and while it looked nice, the weight of the tools caused sagging over time. A metal frame can offer the right balance of durability and weight.
Finishes and Treatments
Always apply a weather-resistant finish to wood surfaces. I learned this the hard way; untreated wood can quickly succumb to rot. A good quality sealant or paint not only protects but enhances the look. In my experience, a satin finish provides a clean look while offering sufficient protection against the elements.
Determining the Size and Dimensions of the Cupboard
Start by measuring the dimensions of your pressure-cleaning unit. Most models fall between 30 to 40 inches in height, 24 to 30 inches in width, and about 18 to 24 inches in depth. These measurements will guide the overall dimensions of your unit.
Space Considerations
Assess the area where you plan to place the unit. Ensure there’s enough room for ventilation and access. A minimum clearance of 6 inches around the sides and top is advisable to prevent overheating. If you have additional accessories, like hoses and nozzles, factor in extra space of about 12 inches in width and depth to accommodate them comfortably.
Functional Layout
- For optimal accessibility, consider a height that allows you to reach the top shelf easily.
- Make sure the width allows for a stable base, ideally at least 30 inches.
- Depth should accommodate the unit without protruding excessively; 24 inches is often sufficient.
Once you’ve gathered these specifics, sketch a design that incorporates shelves or compartments for additional items. This approach maximises both functionality and efficiency in your workspace.
Designing the Layout for Optimal Storage
Begin with a clear vision of how to maximise the available area. My experience tells me that the arrangement should prioritise accessibility and organisation. Grouping similar items together not only saves time but also streamlines the cleaning process. For example, place the cleaner near the associated tools and accessories, ensuring quick access when tackling a project.
Vertical Space Utilisation
Consider vertical storage solutions. Shelving units mounted on walls can hold smaller items like nozzles, hoses, and cleaning agents. I once installed a pegboard above my workbench, which allowed me to hang tools and keep the workspace clutter-free. This approach not only conserves floor space but also creates an inviting environment for quick tasks.
Accessible Work Surfaces
Incorporate a designated area to handle equipment preparation. A sturdy work surface at a comfortable height is key; it should be large enough to accommodate various tasks, whether assembling components or rinsing attachments. I’ve found that a foldable table works wonders when space is limited. It can be stowed away when not in use, yet provides ample room when needed.
Position all components within arm’s reach to enhance workflow. Ensure that the hose is easily retrievable and can be wound up neatly after use. I learned the hard way that tangled hoses lead to frustration and wasted time. A simple hose reel can save a lot of hassle and keep everything tidy.
Finally, don’t underestimate the power of labels. Clearly marking shelves and boxes helps everyone know where items belong, reducing confusion and misplacement. With these strategies in place, your workspace will not only be functional but also a pleasure to use.
Necessary Tools for Construction
Gather a reliable assortment of tools before starting your project. A circular saw is invaluable for making precise cuts in various materials. Pair it with a quality measuring tape to ensure accuracy in your dimensions. A level is also critical for confirming that surfaces are straight and even; nothing disrupts functionality like a crooked shelf.
Hand Tools
Invest in a sturdy set of hand tools, including a hammer, screwdriver set, and pliers. A cordless drill will speed up the assembly process significantly; opt for one with multiple speed settings for versatility. Additionally, a square is useful for checking corners and ensuring everything fits as intended.
Safety Equipment
Don’t overlook safety gear. A good pair of safety goggles and a dust mask will protect your eyes and lungs from debris and sawdust. Sturdy gloves are also a must to prevent injuries while handling sharp materials. Consider using knee pads if you’re going to be working on the ground for extended periods.
Finally, a workbench or sturdy table can make a world of difference. It provides a solid surface for assembly, allowing for more efficiency and less frustration. Having the right tools and equipment not only enhances your building experience but also ensures a more polished and functional end product.
Step-by-Step Guide to Assembling the Cupboard
Begin with laying out all components. Ensure everything is accounted for before commencing assembly. This will save time and frustration later. Organise screws, hinges, and any other small parts in separate containers.
1. Assemble the Frame
- Start by constructing the base using the pre-cut pieces. Secure the corners with wood glue and screws for a robust structure.
- Attach the side panels to the base, ensuring they are flush with the edges. Reinforce with brackets if necessary.
- Once the sides are secure, attach the top panel. Again, use screws and glue, making sure everything is level.
2. Install Shelving and Doors
- Measure and mark where the shelves will go. Use shelf supports to ensure even spacing.
- Drill holes for the supports, then insert them into the pre-drilled openings.
- For the doors, attach hinges to the outer edges of the side panels, making sure they align properly for smooth operation.
Once the framework and shelving are complete, check for stability. Adjust any misalignments before applying finishing touches. A quick sand down of the surfaces will ensure a polished look. Choose a suitable finish that matches your environment, whether it’s paint, stain, or varnish.

Lastly, consider adding hooks or additional storage solutions inside the unit to maximise usability. This not only utilises space effectively but also keeps everything within reach.
Incorporating a Table Surface into the Design
Integrating a flat work area into your unit is a strategic move. It offers a functional space for various tasks, from prepping equipment to cleaning accessories, providing versatility that enhances usability. When planning this feature, consider a robust material like plywood or MDF, ensuring it can withstand weight and moisture during use.

Dimensions and Height Considerations
Determine the height of the surface based on your typical usage. A height of around 90 cm is comfortable for most tasks, allowing for easy access without straining your back. Ensure the surface is wide enough–at least 120 cm–to accommodate tools and products without feeling cramped.
Surface Treatment and Finishing Touches
Apply a weather-resistant finish to protect against spills and wear. A layer of varnish or a waterproof sealant can extend the lifespan significantly. Additionally, consider adding raised edges or a lip around the perimeter to prevent items from rolling off, keeping your workspace organised. If you plan to use a pressure washer for exterior of house, ensure the table surface is easy to clean for quick maintenance.
A thoughtful design allows for easy access to your equipment while providing a practical area for project tasks, making your setup not just functional but also efficient in managing your cleaning needs.
Finishing Touches: Painting and Sealing the Cupboard
Before applying any coating, ensure the surface is clean and free from dust. I recommend using a damp cloth to wipe down all areas, especially the corners where debris can accumulate. This step prevents imperfections in your finish.
Choosing the Right Paint
Select a weather-resistant paint designed for outdoor use. I’ve had great success with acrylic latex paints, as they provide durability and are easy to clean. Opt for a satin or semi-gloss finish; it not only looks appealing but also helps repel moisture, extending the lifespan of your project.
Sealing for Longevity
After the paint dries completely, apply a sealant. A clear polyurethane sealant works wonders. Use a brush for application, ensuring you cover all surfaces evenly. This adds an extra layer of protection against moisture and wear. From my experience, two coats of sealant will offer the best defence.
Allow it to cure fully before placing any items inside. Patience is key here; I once rushed this step and regretted it when the items started to stick to the still-tacky surface. Trust me, a few extra hours waiting will save a lot of hassle later.
Finally, consider adding a few decorative touches, like handles or a small shelf inside. These small details can enhance both functionality and aesthetics without compromising the integrity of the piece.
Organising Accessories and Supplies Inside the Cupboard
Start with clear bins or containers to keep hoses, nozzles, detergents, and brushes neatly arranged. Label each bin for quick access. I recall a time when I was in a rush for a job, fumbling through a jumbled mess of equipment. It cost me valuable minutes I could have spent working. Since then, organisation has been my mantra.
Utilising Vertical Space
Install shelves at varied heights to accommodate different sizes of items. For instance, smaller bottles of cleaning solutions can fit on lower shelves, while bulkier items can go higher. I once set up a cupboard where I used a pegboard on the inside of the door. It was a game changer; I could hang spray bottles and tools right where I needed them, saving me the hassle of searching through bins.
Creating a Dedicated Section
Designate one area specifically for maintenance supplies. Keep spare parts, like O-rings or filters, in a separate container. I learned the hard way that having these separated reduces the time spent searching for small but necessary components during maintenance. It’s all about being prepared and efficient!
Maintaining Your Storage Cupboard Over Time

Regular upkeep is crucial for ensuring longevity and functionality. Start with periodic cleaning to remove dust, debris, and moisture, which can lead to mould growth or deterioration. Use a mild detergent with water to wipe down surfaces, ensuring no harsh chemicals that could damage finishes are involved.
Check for signs of wear, such as loose hinges or peeling paint. Reinforce any weak spots with screws or brackets, and consider applying a fresh coat of paint or sealant every couple of years to protect against moisture and wear.
Organising contents is equally important. Group like items together, which not only optimises space but also makes finding tools and accessories easier. Store heavier items at the bottom and lighter items on shelves above.
For maintaining cleanliness, consider including a small cleaning kit within the setup. A quality scrubber, like the best algae scrubber for reef tank, can help tackle stubborn stains and grime that accumulate over time.
Lastly, evaluate your setup periodically to ensure that it still meets your needs. As your collection of tools grows or changes, be ready to adapt the layout or storage solutions accordingly. Keeping everything in order not only extends the life of your unit but also enhances your workflow.

.jpg)


