


Before you even think about connecting a high-pressure cleaner to your vehicle, ensure that your car’s battery has sufficient charge to support the equipment’s power needs. I’ve seen many enthusiasts make the mistake of underestimating the energy requirements. A typical model can draw anywhere from 12 to 15 amps, so check your vehicle’s specifications and ensure it can handle the load.
Next, gather the right adapters. Having the correct connectors is crucial. I recommend using a 12V power adapter that fits the cleaner’s specifications. In my experience, a direct connection to the car battery works best, avoiding complications with the vehicle’s electrical system. Just make sure you have quality alligator clips to avoid any risk of a short circuit.
While using your car’s water supply might seem convenient, I advise against it. Instead, consider filling a separate tank with clean water. This method not only ensures a steady flow but also protects your vehicle’s systems from any potential debris or contaminants that could get sucked in. I’ve witnessed firsthand the damage that can occur when debris clogs the lines.
Finally, keep an eye on the temperature. If you’re operating for extended periods, your car may overheat. I’ve had to halt a few projects because my engine was running too hot. It’s wise to take breaks, allowing your vehicle to cool down while ensuring your cleaning tasks remain efficient.
Connecting a High-Pressure Cleaner to Your Vehicle
To supply a high-pressure cleaner using your vehicle, ensure you have the appropriate inverter. A pure sine wave inverter rated at least 2000 watts will suffice for most machines. Start by connecting the inverter to your vehicle’s battery, using heavy-duty cables to prevent voltage drop.
Steps to Set Up
- Locate the vehicle battery and ensure the engine is turned off.
- Connect the inverter’s positive lead to the battery’s positive terminal.
- Attach the negative lead to the battery’s negative terminal.
- Secure the inverter in a stable position within your vehicle.
- Plug the cleaner into the inverter’s AC outlet.
Water Supply Considerations
For a reliable water source, consider using a large water tank or a portable container. Ensure the inlet filter is clean to avoid clogging. If you’re using a tank, place it at a height to allow gravity to assist with water flow. A submersible pump can also be utilized to draw water if needed.

- Check the water inlet specifications of your cleaner.
- Use a hose with the appropriate diameter to prevent pressure loss.
- Keep the water supply consistent to avoid interruptions during use.
This approach has proven effective during my various outdoor projects, allowing me to maintain equipment and vehicles easily. Always monitor the inverter’s load to prevent overheating and ensure optimal performance throughout your tasks.
Understanding Your Vehicle’s Power Output for a Washer
Familiarise yourself with your vehicle’s electrical capacity before connecting any cleaning device. Most cars have a 12-volt battery system, which typically supplies around 10-15 amps of current. To power a cleaning unit effectively, you need to determine its wattage requirements. A basic unit might operate at around 1,500 to 2,000 watts, translating to approximately 125 to 167 amps at 12 volts. This clearly exceeds what a standard car battery can deliver.
Alternatives for Power Supply
If you’re eager to utilise a cleaning tool while on the road, consider investing in a portable generator. These devices can provide the necessary wattage without straining your vehicle’s power system. When selecting a generator, ensure it meets the wattage demands of your equipment. A generator with a 2,500-watt output should suffice for most standard models, providing a reliable source of energy without depleting your car battery.
Safety Precautions
Always prioritise safety. Ensure that connections are secure and insulated to prevent any electrical mishaps. Avoid using extension cords that exceed the rated capacity, as this can lead to overheating or damage. It’s also wise to check local regulations regarding outdoor equipment usage, especially if you’re in a public area. A quick review of these guidelines can save you from potential fines or complications.
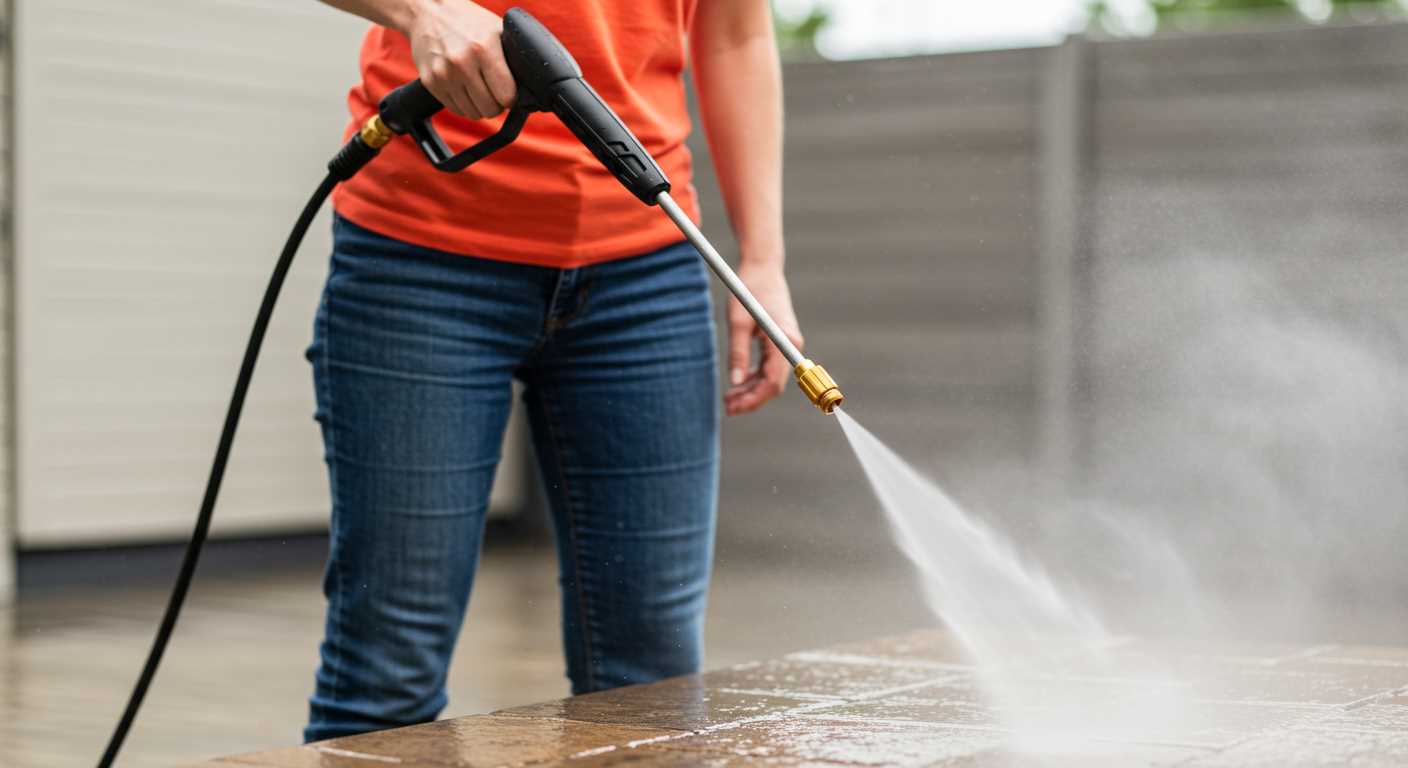
Selecting the Right Pressure Washer for Car Operation
Choosing an appropriate cleaning device for automotive use requires careful consideration of several factors that directly impact performance and safety. Here’s what I’ve learnt over the years.
Key Specifications to Consider
- PSI (Pounds per Square Inch): For vehicle care, a range of 1200 to 1900 PSI is typically sufficient. Higher settings can risk damage to paint or delicate components.
- GPM (Gallons per Minute): A flow rate of 1.2 to 1.5 GPM is ideal for washing cars. This balance ensures effective cleaning without excessive water usage.
- Motor Type: Electric models are usually quieter and easier to handle, while gas-powered versions offer more mobility and power but can be heavier and noisier.
Essential Features
- Adjustable Nozzles: Opt for a model that includes different nozzle options. A wide spray angle is suitable for rinsing, while a narrow angle can focus on stubborn grime.
- Detergent Injection: Built-in systems that mix cleaning solutions with water can enhance the cleaning process. Ensure the detergent used is safe for automotive finishes.
- Portability: Look for lightweight designs with wheels for easy manoeuvrability. A compact size fits well in vehicle storage spaces.
During my time in the industry, I’ve encountered various brands. I recommend testing a few models at a local retailer to see which feels comfortable. Knowing what you need based on the size of your vehicle and the level of dirt buildup makes a significant difference.
Lastly, don’t forget to consider the warranty and customer support offered by the manufacturer. Reliable service can be invaluable if issues arise.
Necessary equipment for connecting a pressure washer to your vehicle
To set up a high-pressure cleaning device using your vehicle, you need a few specific components. First and foremost, an inverter generator is crucial. Opt for a model with sufficient wattage to support the power requirements of your cleaning machine. Typically, a generator with at least 3000 watts will provide the necessary output.
Next, you’ll require appropriate cables. Heavy-duty extension cords with a gauge suitable for high amperage are essential. Choose cords that minimize voltage drop, ensuring your equipment operates smoothly.
A reliable water source is another critical aspect. Many cleaning units draw water from a tap, but if you aim to use your vehicle, consider a water tank. A portable tank with a capacity of at least 20 gallons will allow for extended cleaning sessions without constant refills.
Don’t underestimate the importance of adapters. Depending on your vehicle’s power outlet and the cleaning unit’s plug type, you might need specific connectors to ensure compatibility. Check the specifications of both devices to avoid any mismatches.
Lastly, safety equipment such as gloves and protective eyewear is non-negotiable. The force of the water can cause injuries if not handled properly. Always prioritise safety when engaging in this kind of work.
Steps to Safely Connect the Pressure Cleaner to Your Vehicle
First, ensure your vehicle is parked on a flat, stable surface. This will prevent any movement while you’re connecting the equipment. Next, switch off the engine and let it cool down if necessary. Safety goggles and gloves are a must during this process.
Connect the Power Source
Locate the vehicle’s power outlet, typically found in the cabin. Use a heavy-duty extension cord that matches the voltage requirements of the cleaner. Check for any signs of wear on the cord, as damaged cables can pose a safety risk. Plug one end into the outlet and the other into the cleaner’s power input, ensuring a snug fit to avoid disconnections.
Linking the Water Supply
Attach the water supply hose to the cleaner’s inlet. Make sure it’s secure to prevent leaks during operation. If your vehicle has a water tank, consider using a siphon or pump to draw water. Always inspect the hoses for any cracks or blockages before connecting. After everything is in place, perform a final check to ensure all connections are tight and there are no kinks in the hoses.
Operating the high-powered cleaner while connected to your vehicle
To optimise the functionality of your high-powered cleaner linked to your vehicle, ensure that your engine is running. This guarantees a consistent power supply, preventing potential interruptions during use. I recall a time when I was working on a particularly stubborn outdoor surface; I neglected to keep the engine on, resulting in my equipment losing power mid-clean. Lesson learned!
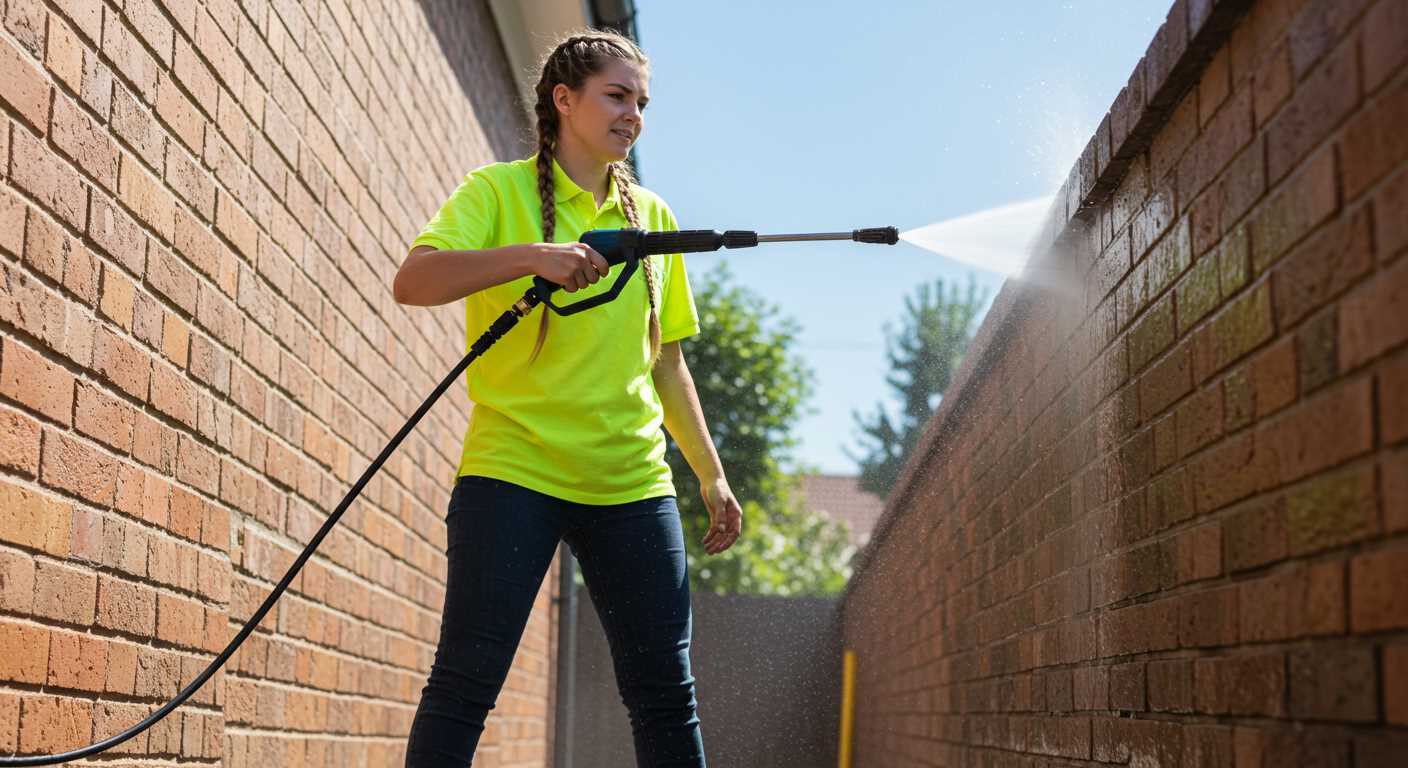
Managing water flow and pressure settings
Adjusting the water flow and pressure settings according to the task at hand is crucial. For delicate surfaces like roof tiles, I recommend using a lower pressure to avoid damage. During a recent project, I experimented with various settings to find that sweet spot that effectively cleaned without causing harm. If you’re interested in techniques specific to cleaning roof tiles, check out this resource for valuable insights.
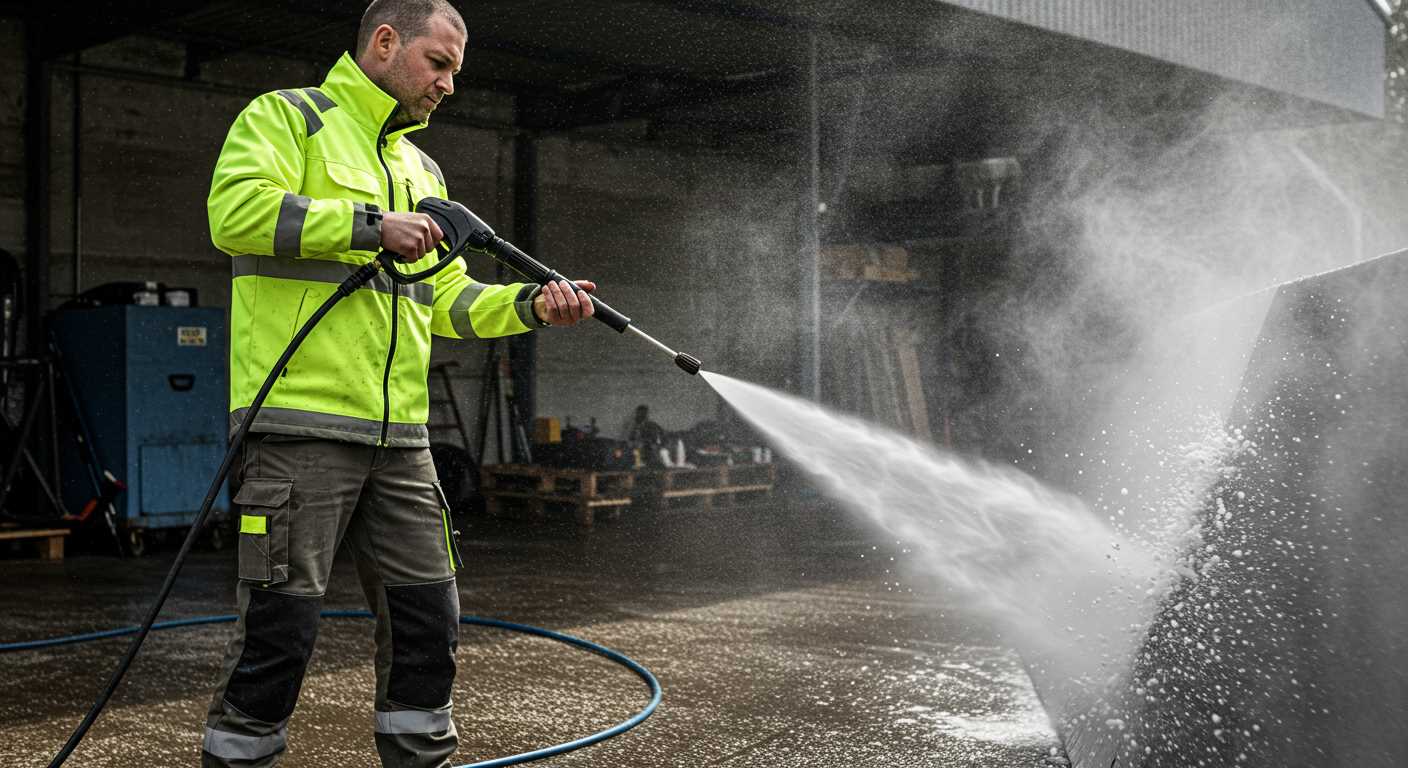
Monitoring equipment performance
Keep an eye on the performance of both your vehicle and the cleaning unit. Overheating can occur if the engine runs too long without a break. I’ve encountered this on occasions where I underestimated the duration of my cleaning tasks, leading to equipment failure. Regularly check for signs of strain in both the vehicle and the cleaner, ensuring everything operates smoothly throughout your session.
Safety precautions to consider during operation
Always wear appropriate personal protective equipment (PPE). I recommend safety goggles and a face shield to protect your eyes and face from debris. Thick gloves and waterproof footwear are also wise choices to prevent injuries from water pressure and slippery surfaces.
Before initiating the cleaning task, inspect all equipment for any signs of wear or damage. I once neglected this step and ended up with a burst hose that caused quite a mess and a potential hazard. Make sure all connections are secure and that there are no leaks.
Position your vehicle and the cleaning device on stable ground, avoiding slopes or loose surfaces. During one of my outdoor jobs, I experienced a sudden shift when working on an incline, which could have led to a dangerous situation. Keep your surroundings clear of obstacles and bystanders to prevent accidents.
Maintain a safe distance from electrical outlets and power sources. I learned this the hard way; water and electricity do not mix well. Ensure that the area is dry and avoid using extension cords that could create tripping hazards.
Be cautious with the nozzle. Direct the spray away from yourself and others, as the force can cause injury. I’ve seen colleagues accidentally spray their feet while adjusting the angle, leading to painful encounters. Always keep the nozzle pointed downward when not in use.
Read the manufacturer’s manual thoroughly. Each model has specific recommendations and safety warnings that should not be overlooked. My thorough understanding of guidelines has saved me from potential mishaps more than once.
Lastly, avoid using any cleaning agents unless specified by the manufacturer. Mixing chemicals can create harmful reactions. I once mistakenly added a cleaner that reacted poorly, creating a hazardous situation. Stick to what is recommended for optimal safety.
Troubleshooting Common Issues When Operating a Pressure Cleaner from a Vehicle
First and foremost, monitor the flow of water. Insufficient water supply leads to overheating and potential damage. Ensure the water source is consistent and the hoses are free of kinks or blockages.
Next, watch the power settings. If the unit fails to start or runs inconsistently, check the vehicle’s battery voltage. A weak battery may not provide enough power, especially if the cleaner demands high amperage. Consider using a multimeter to measure the voltage while in operation.
Noise levels can signal mechanical issues. If the unit makes unusual sounds, inspect for loose components or debris in the motor or pump. Regular maintenance, including cleaning filters and checking seals, can prevent these concerns.
Inconsistent spraying pressure might indicate a clogged nozzle. Remove the nozzle and clean it thoroughly. If the problem persists, examine the pump for air leaks or worn seals, which can affect pressure performance.
| Common Issues | Possible Causes | Solutions |
|---|---|---|
| Insufficient water flow | Kinked hoses, blocked inlet | Check hoses, clear blockage |
| Poor power supply | Weak vehicle battery | Test battery voltage, recharge or replace |
| Unusual noises | Loose components, debris | Tighten parts, clean motor and pump |
| Inconsistent pressure | Clogged nozzle, pump issues | Clean nozzle, inspect pump seals |
Another frequent issue is overheating. If the unit shuts down unexpectedly, allow it to cool before restarting. A thermal overload switch may have tripped. Regularly check for any blockages in the cooling system to prevent overheating.
For more tips on cleaning, check out this how to clean the plastic strip on a shower door ultimate guide.
.jpg)


