
.jpg)


.jpg "How do i use universal cleaner in karcher pressure washer")
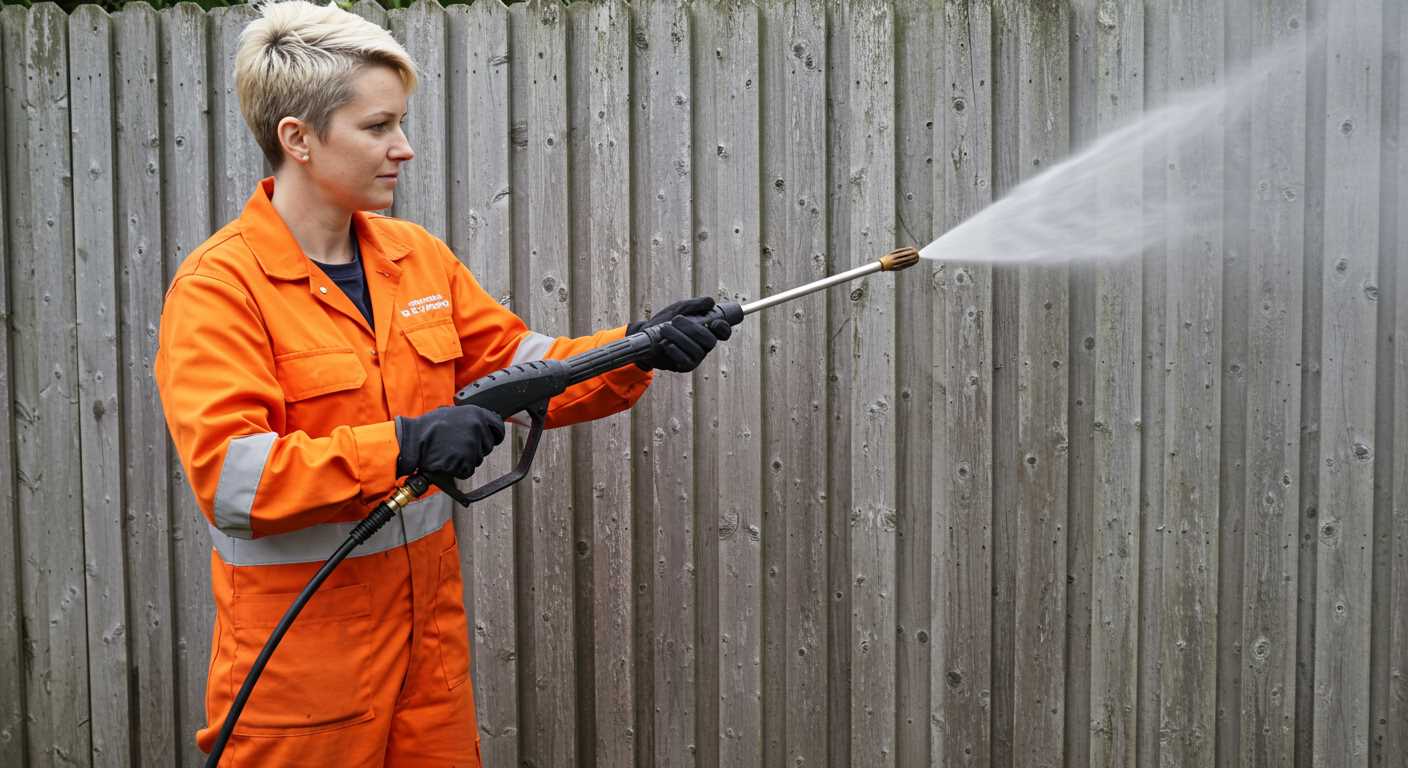
To achieve outstanding results with your Kärcher device, consider integrating a multi-purpose formulation specifically designed for cleaning tasks. This product enhances the performance of your machine, ensuring grime and dirt are removed effectively. I’ve personally tested various formulations, and this approach has consistently delivered superior outcomes.
Begin by mixing the solution with water according to the manufacturer’s instructions. The right ratio is crucial for optimal cleaning power without causing damage to surfaces. I recall a time when I underestimated the dilution, leading to excess residue that required additional rinsing. Trust me; following the guidelines pays off.
Once the mixture is ready, fill the detergent tank of your unit. It’s important to ensure the tank is clean before adding the solution, preventing cross-contamination of products. During my years in the field, I’ve seen how a small oversight can impact results drastically. Attach the appropriate nozzle for your task; a wide spray is ideal for larger areas, while a narrow jet works wonders on stubborn stains.

As you begin the cleaning process, maintain a steady, sweeping motion, allowing the formulation to penetrate the dirt. I’ve found that letting the solution sit for a minute before rinsing can significantly enhance its effectiveness. Afterward, rinse thoroughly with plain water to remove any residue, leaving surfaces spotless and refreshed.
Following these steps will not only improve your results but also extend the life of your equipment. Regular maintenance with the right products is a practice I stand by–years of experience have taught me the value of using high-quality cleaning agents.
Instructions for Incorporating Cleaning Solution with Your Equipment

Start by ensuring the machine is turned off and unplugged. Attach the appropriate nozzle for the task at hand, typically a wider spray for cleaning solutions. Locate the detergent tank on your machine; it’s usually situated near the handle or on the side. Pour the cleaning liquid directly into the tank, filling it according to the manufacturer’s guidelines. Avoid overfilling to prevent spillage during operation.
Mixing and Dilution Tips
For optimal results, adhere to the dilution recommendations specified on the product label. In my experience, mixing the solution with water in a separate container before transferring to the tank can enhance effectiveness. A good rule of thumb is a ratio of one part cleaning agent to five parts water. This ensures a balance that cleans without risking damage to surfaces.
Application Techniques
Once everything is set, plug in the machine and turn it on. Begin by applying the solution to the surface you wish to clean, holding the wand about 30 cm away for even distribution. You’ll notice that the foam clings well, allowing the active ingredients to break down grime effectively. After a short dwell time, usually around 5–10 minutes, switch to a high-pressure nozzle to rinse away the residue thoroughly.
Always test the mixture on a small, inconspicuous area first, especially on delicate surfaces, to prevent any potential damage. Regular maintenance of your machine after use, including rinsing the tank and nozzle, will prolong its lifespan and ensure consistent performance.
Choosing the Right Solution for Your Cleaning Equipment
Start by identifying the surface you’ll be tackling. For patios made of stone, a formulation specifically designed for hard surfaces will yield the best results. Remember, not all mixtures are created equal; some are tailored for wood, while others excel on concrete or tiles. This is crucial when aiming for maximum efficiency.
When selecting a product, consider its compatibility with your machine. Some cleaners can be too harsh and may damage components in your device. Always check the manufacturer’s recommendations; this will save you from potential headaches down the line.
Pay attention to the concentration levels as well. Higher concentrations often mean you can dilute the product yourself, allowing for flexibility depending on the severity of the stains. I’ve found that a concentrated solution works wonders on stubborn grime, while a milder option suffices for regular maintenance.
Another tip is to look for biodegradable options. These are not only better for the environment but also provide peace of mind, especially when cleaning around gardens or areas with pets. I once used a harsh chemical that left my plants wilted for days; a more eco-friendly choice would have spared me that trouble.
Lastly, consider the ease of application. Some products come with foaming capabilities, which can enhance adherence to vertical surfaces. This feature can make the cleaning process quicker and more effective. If you’re interested in enhancing your outdoor space, check out the equipment for patio stone pressure washer for recommendations on the best tools available.
Preparing Your Cleaning Device for Action
First, ensure the equipment is on a flat surface and you have easy access to water and power sources. Check the water supply hose for any kinks or damages; a smooth, unobstructed flow is key. I remember a time when I overlooked this simple step, resulting in reduced performance. Don’t make the same mistake!
Gathering Necessary Accessories
Before getting started, collect all required attachments and solutions. Ensure the nozzle is appropriate for your task. I’ve often switched nozzles mid-cleaning, which can be a hassle. Instead, decide on the right one beforehand based on the surface type and level of grime.
| Surface Type | Recommended Nozzle | Cleaning Solution |
|---|---|---|
| Concrete | 15° | Heavy-duty formula |
| Wood | 25° | Gentle solution |
| Car | 40° | Automotive cleaner |
Safety Precautions
Always wear protective gear: gloves, goggles, and non-slip footwear. A friend of mine once got a splash of detergent in his eye; it was an unpleasant experience. Make sure to read the safety instructions on the cleaning products. Check your device’s manual for any specific safety measures. Regularly inspect the power cord and connections for wear. Don’t risk it; safety first!
Once everything is in place, you’re ready to tackle the cleaning task ahead. Following these steps ensures a smoother operation and enhances your results significantly. After years of experience, trust me–preparation is half the battle won!
How to Properly Dilute Cleaner for Optimal Results
For the best results, follow a precise dilution ratio. Typically, a 1:10 mix of the solution to water works well. This means one part of the product to ten parts of water. If the stains are particularly stubborn, you might consider adjusting to a 1:5 ratio, but test it on a small area first.
Steps for Accurate Dilution
Begin by measuring the required amount of the solution. Use a clean container to avoid contaminants. Fill the container with the appropriate amount of water first, then add the measured solution. This prevents oversaturation and ensures even mixing. Stir the mixture gently until fully blended.
Storage and Usage Tips
Once diluted, use the mixture within a week for maximum effectiveness. Store any leftover in a cool, shaded area to maintain its potency. If you need to apply this mixture to vertical surfaces, a spray bottle can help achieve an even coat without drips. Always test the diluted product on a small, inconspicuous area to ensure compatibility with the surface being treated.
Connecting the Universal Cleaner to Your Karcher Pressure Washer
Begin by ensuring that your machine is powered off and unplugged. Locate the detergent tank on your unit; this is where the formula will be added. If your model has a separate siphon tube, connect it to the inlet on the detergent tank.
Next, take the siphon tube and submerge it into the container with the diluted solution. Ensure it is placed deep enough to draw the mixture without obstruction. If your model is equipped with adjustable settings, switch it to the low pressure mode, as this will allow for proper suction of the cleaning agent.
Now, attach the appropriate nozzle for your task. A wider spray pattern is suitable for larger areas, while a narrow nozzle works best for targeted cleaning. Once everything is connected, plug in your machine and turn it on. Start the application by pulling the trigger on the wand, allowing the solution to mix with the water flow.
Monitor the operation closely. If you notice any interruptions in the flow or suction, check the connections and the level of the solution in the container. It’s important to maintain a steady supply for optimal performance.
After you’ve completed the cleaning task, remember to detach the siphon tube and rinse it thoroughly. This prevents any residue from clogging the system and ensures longevity of your equipment. Store the container properly for future use, and you’re set for your next cleaning session!
Techniques for Applying Universal Cleaner with a Pressure Washer
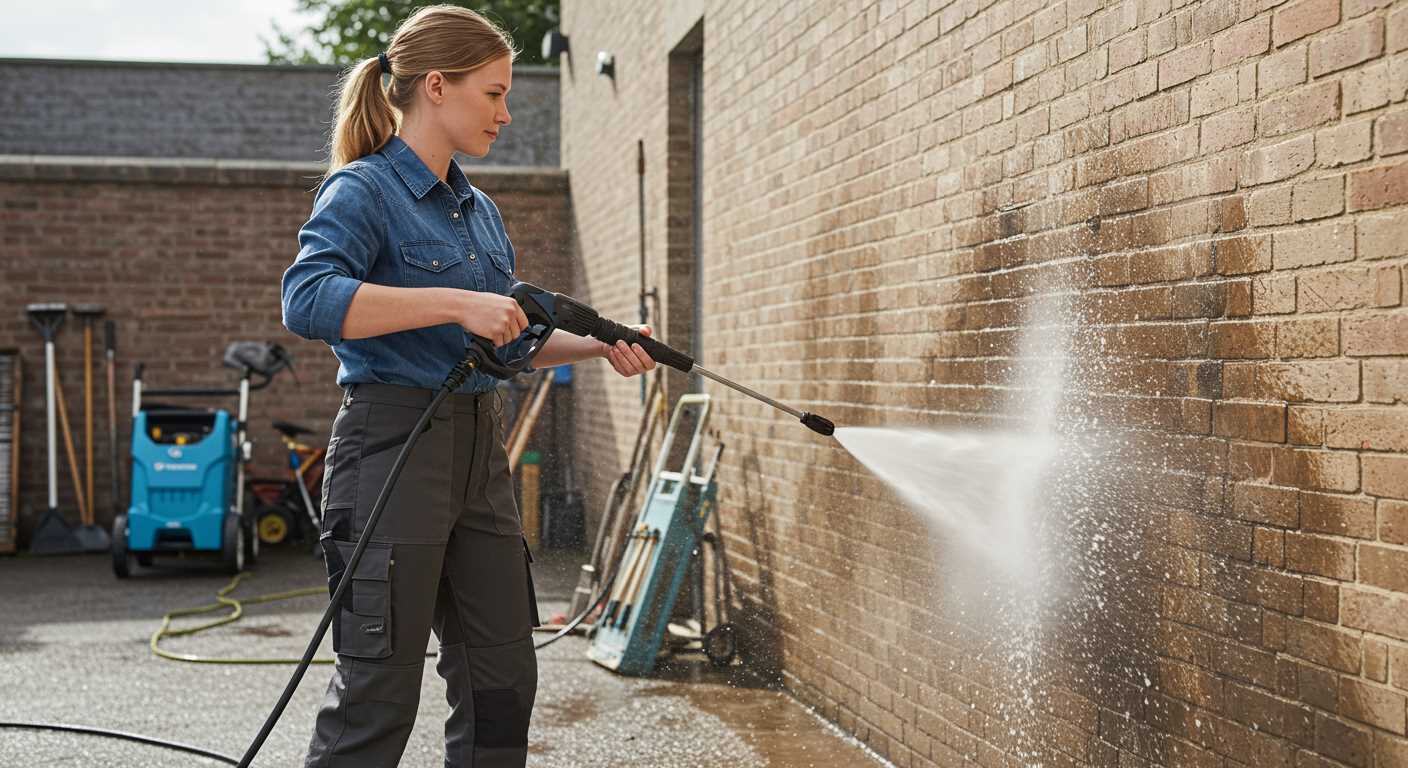
For optimal results, apply the solution using a low-pressure nozzle to avoid foaming and ensure even distribution. I recommend starting from the bottom and working your way up, which helps prevent streaks as the solution drips down. This method is particularly effective for vertical surfaces, such as walls and fences.
Employ a sweeping motion while moving the wand to cover larger areas efficiently. Keep the nozzle at a distance of approximately 30 to 40 centimetres from the surface to maintain a fine mist that adheres well. Avoid concentrating on one spot for too long to prevent damage.
After application, allow the solution to dwell for 5 to 10 minutes. This duration allows the formula to penetrate and break down grime without drying out. During this time, you can prepare to rinse the area; a high-pressure nozzle works best for this step, ensuring the removal of all residues.
For additional efficiency, consider using a surface cleaner attachment. This tool allows for a more uniform application and faster cleaning of large flat surfaces. Just remember to keep the attachment moving to avoid oversaturating any one area.
Lastly, maintain your equipment by regularly cleaning the nozzle and ensuring all connections are secure. A clean nozzle not only improves performance but also extends the life of your device. If you’re looking for tips on maintaining various cleaning tools, check out this resource on how to clean nozzle on shark steam mop.
Cleaning and Maintaining Your Pressure Washer After Use
After every cleaning session, it’s crucial to take a few minutes for maintenance. This not only prolongs the life of your equipment but also ensures optimum performance during future tasks.
Steps for Post-Cleaning Maintenance
- Disconnect all attachments. Always start by detaching the hose and any nozzles to prevent wear and tear.
- Flush the system. Run clean water through the unit for a few minutes. This removes any residual solution that might corrode internal components.
- Inspect the equipment. Look for signs of wear, particularly on hoses and seals. Replace any damaged parts immediately to avoid leaks or failures.
- Clean the filter. Most machines have a filter that can clog with debris. Remove it and rinse it under running water.
- Store properly. Keep the washer in a dry, sheltered place to protect it from the elements. If possible, use a cover to prevent dust accumulation.
Additional Tips for Longevity
- Regularly check the oil level if your model has a motor that requires lubrication. Change the oil as per manufacturer recommendations.
- Schedule a deep clean of the machine every few months. Disassemble and clean parts to ensure everything functions smoothly.
- Keep the user manual handy. Familiarising yourself with specific care instructions can save you from potential issues.
In my experience, following these steps diligently not only keeps the equipment in top shape but also enhances your cleaning experience. A well-maintained machine is always more efficient and reliable for any task at hand.
.jpg)


