


Begin by ensuring the machine is turned off and unplugged. This simple step prevents any accidental activation while working. Next, locate the nozzle, typically situated at the end of the lance. Grasp the nozzle firmly and twist it counterclockwise to release it from the lance. This action usually requires minimal force, so if it feels stuck, a gentle wiggle can help.
Once the original nozzle is removed, select the desired attachment from your collection. Attach it by aligning the base of the nozzle with the lance and twisting it clockwise until you hear a click, indicating a secure fit. Always double-check that the connection is tight to avoid any leaks during operation.
Before starting the cleaner, it’s wise to test the new nozzle on a small, inconspicuous area. This ensures the spray pattern and pressure are suitable for the task at hand. In my experience, having a variety of nozzles on hand can transform cleaning tasks, allowing for versatility from gentle rinsing to intense blasting.
Regular maintenance, including checking the nozzles for wear and tear, will prolong the lifespan of your equipment and enhance performance. Keeping everything clean and in good shape ensures that each cleaning session is as effective as possible.
Modifying the Nozzle on Your Pressure Cleaning Unit
Begin by ensuring the machine is powered off and disconnected from the water source. Safety is paramount. Look for the locking mechanism on the end of the lance where the spray attachment connects. Most models feature a simple twist-lock or a quick-release button.
Steps to Remove the Current Attachment
Grasp the lance firmly and rotate the nozzle counterclockwise until it releases. If it’s a quick-release type, simply press the button and pull the nozzle away. Occasionally, you might encounter stubborn nozzles that require a bit more effort. A gentle wiggle can often help dislodge it without causing damage.
Attaching the New Spray Tip
Align the new spray tip with the lance. If it has a locking mechanism, ensure it clicks into place securely. For those with a quick-release feature, align the arrows and push until you hear a click. Give it a gentle tug to confirm it’s firmly attached. This simple procedure allows for versatility in cleaning tasks, whether tackling delicate surfaces or heavy-duty grime.
After installation, reconnect the water supply, power up the unit, and test the new attachment by spraying a small area. Adjust the angle as needed for optimal performance.
Identifying the Correct Nozzle for Your Task
Choosing the right attachment can make a significant difference in your cleaning efforts. Each type of tip serves a unique purpose, tailored for specific tasks. Here’s a breakdown of the various options available:
- 0-degree nozzle: Produces a concentrated stream for heavy-duty tasks like removing stubborn stains or graffiti.
- 15-degree nozzle: Ideal for stripping paint or cleaning concrete surfaces, delivering a powerful spray while still being manageable.
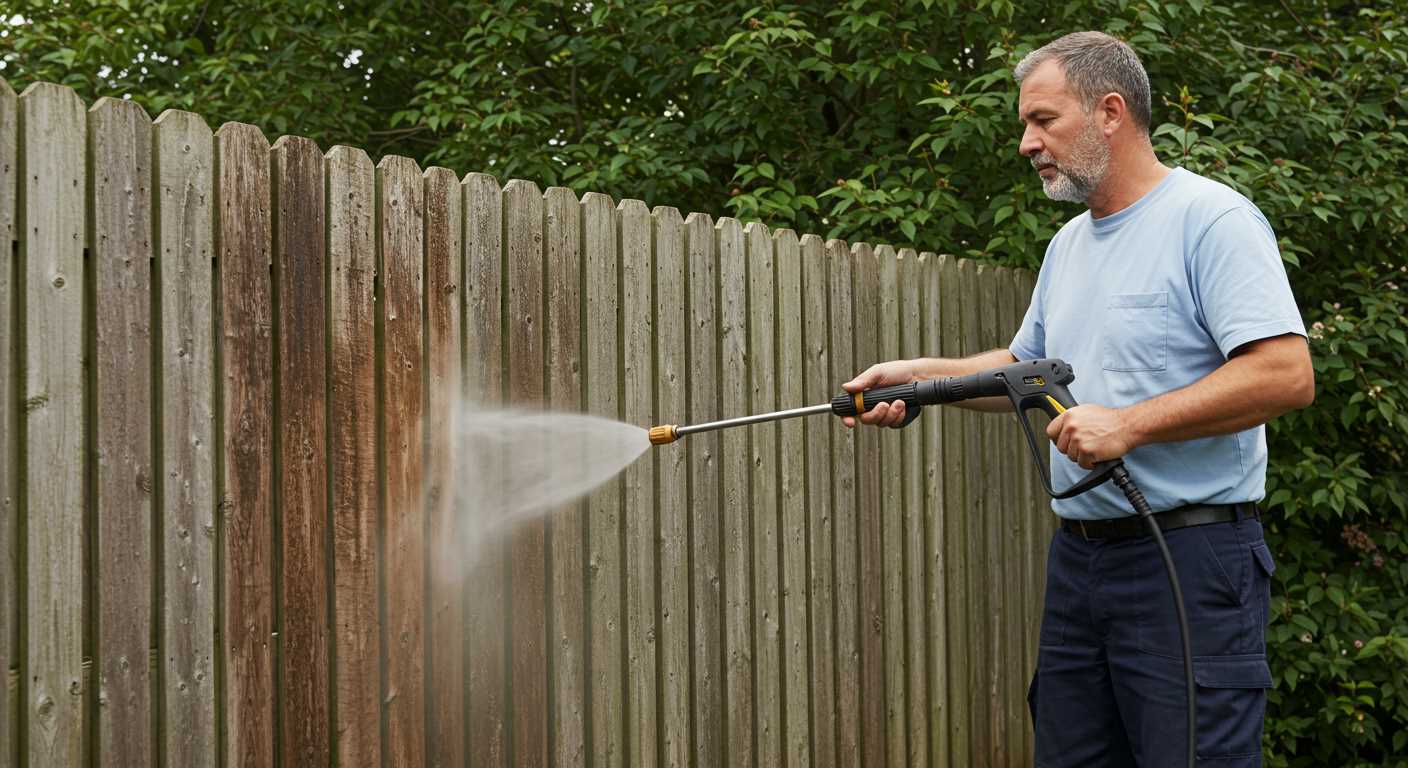
- 25-degree nozzle: A versatile choice for general cleaning tasks such as washing cars, siding, and driveways, providing a wider spray.
- 40-degree nozzle: Best suited for delicate surfaces like windows or wooden decks, offering a gentle mist that effectively cleans without causing damage.
- Soap nozzle: Used specifically for applying detergent, allowing for a more thorough clean when tackling grease or grime.
When selecting the appropriate tip, consider the surface material and the level of dirt or stains present. For example, if tackling a heavily soiled patio, starting with a 15-degree tip might be more effective. However, for regular maintenance of your car, the 40-degree attachment would be more suitable.
I’ve personally found that having a range of nozzles on hand allows for flexibility in various cleaning scenarios. When dealing with tough jobs, switching between tips can save time and enhance results. For instance, after using a more aggressive tip to dislodge grime, I often follow up with a gentler nozzle to rinse away detergent without risking damage.
If you’re interested in other applications for powerful cleaning tools, check out this guide on how to can green beans with a pressure cooker. It’s fascinating to see how versatile these devices can be beyond just cleaning. Understanding the right attachment can drastically improve your results in both cleaning and other tasks.
Preparing Your Washer for Nozzle Change
Before switching attachments, ensure the machine is completely powered down and unplugged. This simple step prevents accidental activation during the process. Always disconnect the water supply to avoid any unwanted spray. I remember a time when I rushed without disconnecting; it resulted in a rather messy situation that could have been easily avoided.
Check for Residual Pressure
After disconnecting the water source, engage the trigger on the lance to release any residual pressure. This action is crucial as it mitigates the risk of injury and ensures a smooth transition. I’ve encountered a few occasions where I overlooked this step, leading to a surprising jet of water at an inopportune moment. A safe approach is to refer to the user manual, which often outlines specific instructions for releasing pressure.
Gather Necessary Tools
Having the right tools on hand simplifies the process. Typically, a pair of pliers or a wrench might be required to loosen the nozzle attachment. Ensure these are within reach before starting to avoid unnecessary interruptions. There’s nothing more frustrating than hunting for tools mid-task, especially when you’re eager to dive into the cleaning project at hand.
Step-by-Step Guide to Removing the Existing Nozzle
Begin by ensuring the unit is switched off and unplugged. Safety precautions are paramount. Next, locate the nozzle attachment point; this is usually found at the end of the lance. Hold the lance securely with one hand while using the other to twist the nozzle in a counter-clockwise direction. In most cases, it should detach with a little force, but be mindful of any locking mechanisms which might require pressing a release button.
Inspecting the Connection
After removing the existing attachment, examine the connection point for any debris or damage. A clean connection ensures a proper fit for the new head. If dirt is present, wipe it clean with a cloth. Check for any wear and tear; if the threads are damaged, it may be necessary to replace the lance.
Final Steps Before Installing a New Attachment
Once the old accessory is removed and the area is clean, prepare for the installation of the new attachment. Align it properly with the lance, ensuring it matches the threading or connection type. A gentle twist in a clockwise direction should secure it in place, but do not overtighten to avoid damage. This straightforward process can enhance efficiency in your cleaning tasks and ensure optimal performance.
Installing the New Nozzle Safely and Securely
Ensure the new attachment fits snugly before usage. Align the connector with the lance and push until you hear a click, indicating it’s locked in place. This sound reassures you that it won’t detach during operation.
Testing the Connection
After securing the new component, test the connection by gently tugging on it. If it moves, it’s not attached properly. In this case, disconnect and repeat the attachment process. Once satisfied with the fit, turn on the machine at a low setting to check for leaks. If water sprays from the joint, reassess the connection.
Protective Measures
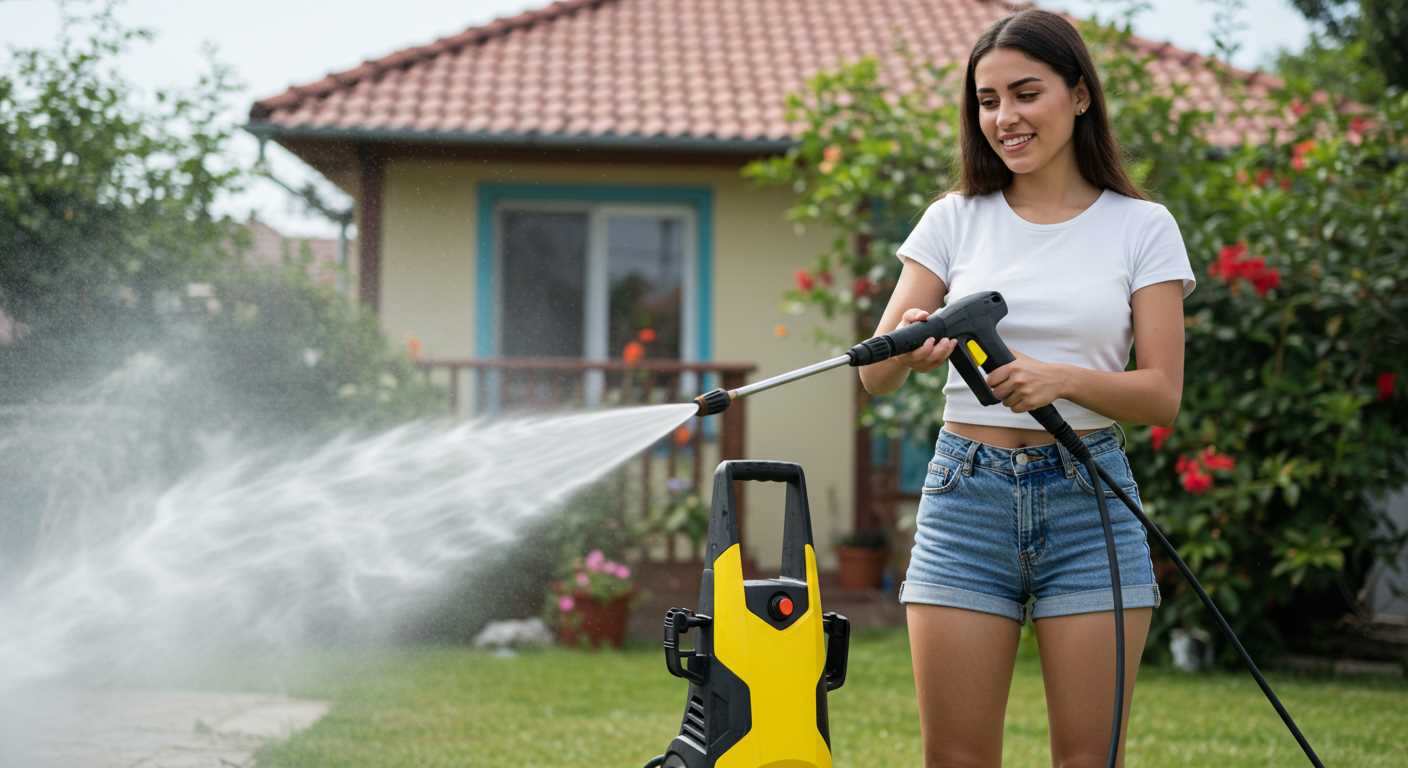
Always wear appropriate safety gear. Goggles shield your eyes from debris, while gloves protect your hands from chemicals and sharp edges. Additionally, ensure the work area is clear of obstructions. Keep a hose like a flexible hose for karcher pressure washer handy to manage water flow effectively.
Testing the New Nozzle for Proper Functionality
After installing the new attachment, the first step is to connect it to the water supply and power source. Turn on the machine but keep the trigger locked to prevent any unexpected spray. This initial check ensures that everything is properly secured before testing the functionality.
Performing a Dry Run
With the unit powered and the trigger locked, observe the connection point for any leaks. A well-installed piece should remain completely dry. If water seeps out, reassess the fit and ensure everything is tightly attached. Once satisfied with the installation, unlock the trigger and direct the spray towards a safe area, away from people and delicate surfaces.
Assessing Spray Patterns
Vary the settings based on the nozzle type. For a fan spray, check how well it disperses water. A narrow jet should produce a concentrated stream capable of removing stubborn grime. Test different surfaces to evaluate effectiveness. The nozzle should perform well across various tasks, from cleaning patios to vehicles. If the performance seems lacking, re-examine the attachment or consider whether the wrong type was selected for the task at hand.
Maintaining Nozzles for Longevity and Performance
Regular upkeep of spray attachments significantly enhances their lifespan and efficiency. After years of hands-on experience, I’ve learned that a few simple practices can keep these components in optimal condition.
Firstly, always rinse nozzles after each use. Residual dirt and debris can clog the openings, leading to reduced performance. A quick soak in warm soapy water followed by a gentle scrub with a soft brush can do wonders.
Secondly, inspect the nozzles for wear and tear. Look closely for cracks or deformities in the plastic or metal. If any signs of damage appear, replace the item immediately to avoid further complications during operation.
Thirdly, storing nozzles properly is key. Avoid leaving them exposed to harsh weather or direct sunlight, which can cause materials to degrade. Instead, keep them in a cool, dry place, preferably in a dedicated storage container, to prevent accidental damage.
Additionally, consider using a nozzle cleaner to maintain optimal water flow. A simple homemade solution of vinegar and water can dissolve mineral deposits that accumulate over time. Soaking the attachments for about 30 minutes can restore their functionality.
Lastly, always ensure compatibility when purchasing replacements. Each model may have specific requirements that, if overlooked, can lead to inefficiencies or damage. Always refer to the manufacturer’s specifications before making a selection.
| Tip | Description |
|---|---|
| Rinse After Use | Clears out debris and prevents clogging. |
| Inspect Regularly | Check for cracks and deformities. |
| Proper Storage | Keep in a cool, dry place away from sunlight. |
| Use a Cleaner | Soak in vinegar solution to remove mineral deposits. |
| Check Compatibility | Ensure replacements meet manufacturer’s specifications. |
Implementing these strategies ensures that spray attachments perform at their best, providing consistent results over time. Trust me; investing a bit of time in maintenance pays off in the long run.
.jpg)
.jpg)


