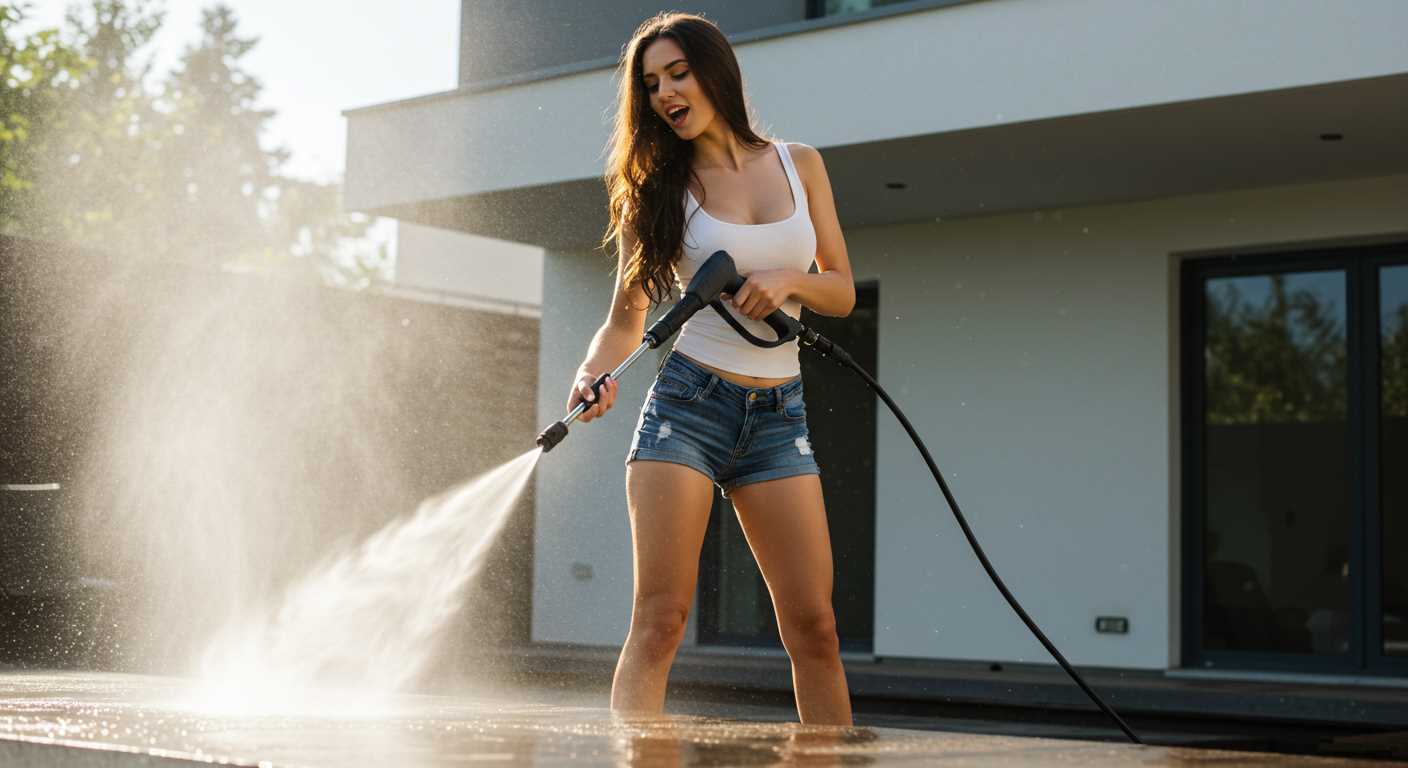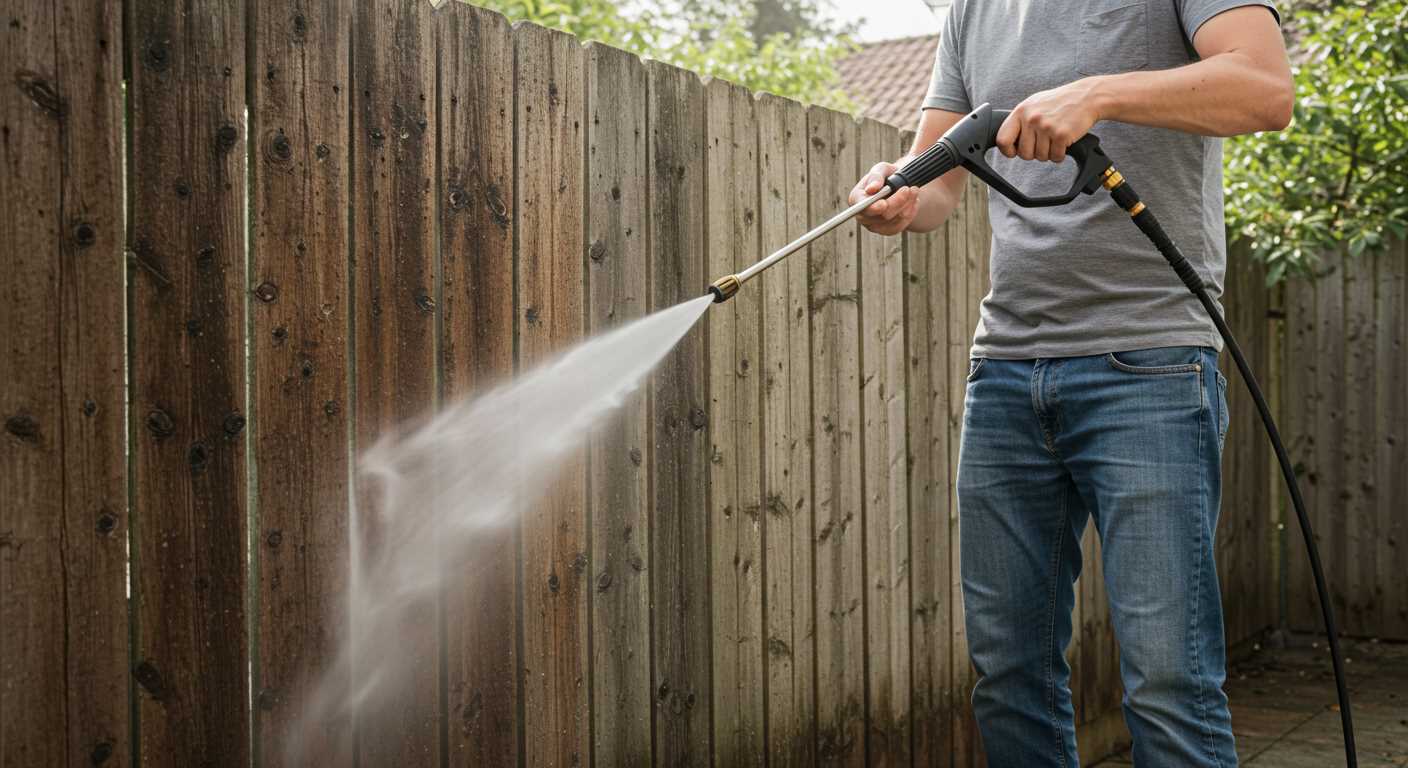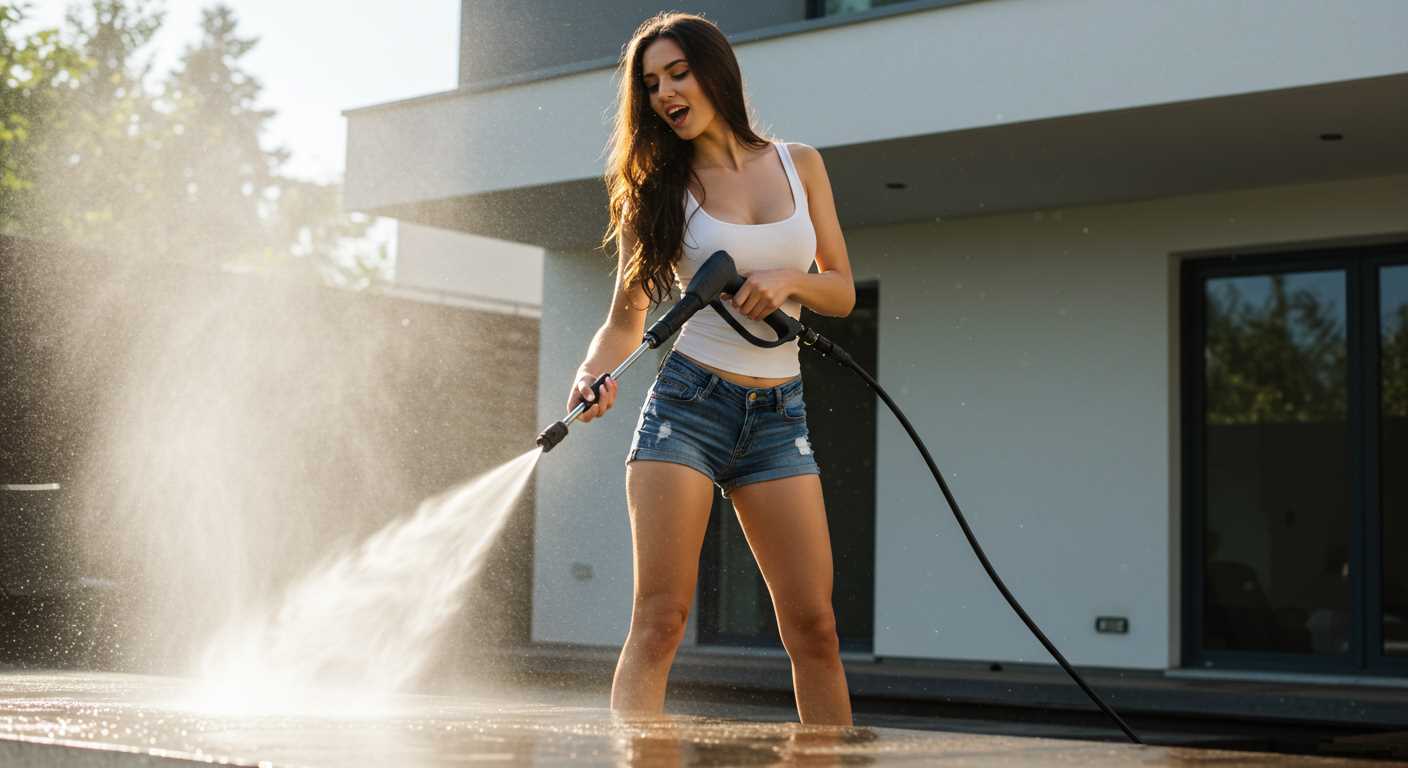


For those looking to restore the beauty of outdoor stone surfaces, a simple solution lies in a mix of warm water and a gentle, biodegradable soap. This combination can effectively lift dirt and grime, making the process straightforward and environmentally friendly. A stiff-bristled brush will aid in scrubbing away stubborn stains. It’s best to work in sections to ensure thorough coverage and avoid allowing the solution to dry before rinsing.
Consider adding baking soda to the warm soapy water for an extra boost of cleaning power. The abrasiveness of baking soda can tackle tougher stains without damaging the stone. After scrubbing, a thorough rinse with a garden hose will remove any residue, ensuring surfaces look pristine again.
If organic growth like moss or algae is an issue, a mixture of vinegar and water can be particularly effective. Spray the affected areas, let the solution sit for a few minutes, and then scrub with a brush. This process not only removes the growth but also helps to prevent it from returning, creating a cleaner and safer outdoor space.
Regular maintenance is key. Sweeping away debris and rinsing with water can significantly reduce the need for deep cleaning sessions. Incorporating these practices into a routine can keep outdoor stone surfaces looking their best with minimal effort.
Choosing the Right Cleaning Solution for Patio Slabs
Opt for a mixture of vinegar and water as a natural cleaner. Combine equal parts of white vinegar and warm water in a bucket. This solution effectively tackles grime and algae without harsh chemicals. Apply it generously using a mop or a stiff brush, then rinse with clean water.
For stubborn stains, baking soda proves beneficial. Create a paste by mixing baking soda with a small amount of water. Apply this paste to the stained areas and let it sit for 15-20 minutes before scrubbing. This method targets tough spots like oil and rust effectively.
Commercial Options
If preferring a commercial product, select one specifically designed for stone or concrete surfaces. Always read the label to ensure compatibility with the material. Look for biodegradable options that are environmentally friendly. These solutions often contain enzymes that break down organic material.
Testing Before Use
Regardless of the chosen method, conduct a patch test in an inconspicuous area first. This precaution helps ascertain that the solution does not discolour or damage the surface. Once verified, proceed confidently with the cleaning process, ensuring a tidy and welcoming outdoor space.
Preparing the Area Before Cleaning
Begin with a thorough clear-out of the space. Remove any furniture, plant pots, or decorations that could obstruct the process. This not only protects your items from potential damage but also ensures access to all surfaces needing attention.
Next, gather loose debris such as leaves, dirt, or stones. A best cordless garden vacuum and blower can be a valuable tool here, making it easier to gather and dispose of waste quickly. Ensuring a clean surface will enhance the effectiveness of your chosen cleaning solution.
Consider checking for any stubborn stains or growths, such as moss or algae. Identifying these areas beforehand allows for targeted treatment, ensuring a more thorough outcome. If needed, a stiff brush can help dislodge any particularly tenacious spots.
Finally, inspect the surrounding environment for any nearby plants or grass that may be sensitive to your cleaning agents. Taking precautions to shield them from potential harm will keep your garden healthy while you rejuvenate your outdoor area.
Using a Broom for Initial Debris Removal
Start the process with a sturdy broom, ideally one designed for outdoor surfaces. A stiff-bristled broom excels at dislodging dirt and leaves, making quick work of initial debris, which is crucial before any further cleaning steps.
Technique for Effective Sweeping
Begin at one end of the area and sweep towards the opposite side. This method ensures all debris is collected in one direction, preventing it from being pushed back onto already cleared sections. Pay attention to corners and edges where dirt tends to accumulate. A good tip is to use a dustpan to gather larger debris like twigs and stones, allowing for a more thorough clean.
Seasonal Considerations
During autumn, fallen leaves can create a thick layer on surfaces. Frequent sweeping is advisable to prevent mould and stains. In contrast, spring cleaning may require more intensive sweeping due to accumulated grime and pollen. Adjust the frequency of this task depending on the season and local conditions to maintain a tidy appearance.
After this preliminary step, the surface will be ready for further treatment, ensuring a more effective and thorough approach to maintaining outdoor areas.
Scrubbing Techniques for Stubborn Stains
For those tough blemishes on outdoor surfaces, a bit of elbow grease paired with the right tools makes a significant difference. Start with a sturdy, stiff-bristled brush; this is crucial for penetrating grime layers. Ensure the bristles are firm enough to tackle caked-on dirt without damaging the surface.
Brush Types to Consider
- Deck Brush: Ideal for large areas, allowing for broad strokes and efficient coverage.
- Handheld Scrub Brush: Perfect for tight corners and intricate designs, providing precision cleaning.
- Wire Brush: Use sparingly on concrete or stone surfaces to remove rust or heavy stains, but avoid softer materials.
Optimal Scrubbing Process
- Apply the chosen cleaning solution directly onto the stained area, allowing it to penetrate for a few minutes.
- Using the stiff brush, scrub in a circular motion, applying consistent pressure. Work from the outside of the stain towards the centre to avoid spreading it.
- For persistent stains, consider using a combination of scrubbing techniques, such as back-and-forth motions followed by circular scrubbing.
- Rinse the area with clean water after scrubbing to remove any residue from the cleaning solution.
In my experience, applying a bit of heat to the cleaning solution can enhance its effectiveness, especially for oil-based stains. Using hot water can help break down the stain more efficiently, yielding better results with less effort.
Lastly, always test any cleaning solution in an inconspicuous area before tackling the entire surface. This ensures the surface is resilient enough to handle the chosen method without discolouration or damage.
Natural Cleaning Alternatives You Can Make at Home
A simple yet effective blend for refreshing hard surfaces includes equal parts white vinegar and water. Pour this solution over the desired area and allow it to sit for 15-20 minutes. The acidity of the vinegar helps dissolve grime, making scrubbing easier.
Baking Soda Paste
For stubborn marks, create a paste using baking soda and water. Mix three parts baking soda with one part water until a thick consistency forms. Apply this paste directly to the affected areas and let it sit for at least 30 minutes before scrubbing. This method utilises the natural abrasive properties of baking soda to lift dirt without damaging the surface.
Oxygen Bleach Solution
Oxygen bleach is a safer alternative that is effective for cleaning porous materials. Dissolve a powdered oxygen bleach in warm water according to the package instructions. Apply this mixture to the surface and allow it to sit for several hours, then rinse thoroughly. This solution not only cleans but also helps to brighten the surface.
| Cleaning Solution | Ingredients | Application Time |
|---|---|---|
| Vinegar Solution | White vinegar, water | 15-20 minutes |
| Baking Soda Paste | Baking soda, water | 30 minutes |
| Oxygen Bleach Solution | Oxygen bleach, warm water | Several hours |
These natural alternatives are not only eco-friendly but also cost-effective, providing a practical approach to maintaining outdoor surfaces while minimising the use of harsh chemicals. Experiment with these options to find the most effective solution for your specific needs.
Rinsing and Drying the Slabs Properly
Thorough rinsing is crucial after applying any cleaning solution. Use a garden hose with a spray nozzle set to a gentle flow to avoid dislodging any newly cleaned debris. Start at one end and work your way to the other, ensuring that all residues from the cleaning agents are washed away. This step prevents the formation of streaks or residues that could mar the appearance of the surface.
Drying Techniques
After rinsing, it’s important to dry the surface effectively. Allowing the area to air-dry is one option, but for quicker results, consider using a squeegee or a soft broom to remove excess water. This method not only speeds up the drying process but also helps prevent water spots or mineral deposits from forming. On particularly sunny days, the heat can aid in evaporation, so timing your cleaning can enhance results.
Final Touches
For added protection against future stains, applying a sealant once the surface is completely dry can be beneficial. Regular maintenance and timely cleaning will keep the outdoor area looking fresh and inviting. If more robust cleaning is required in the future, exploring pressure washers for natural stone might be a worthwhile consideration.
Preventing Future Stains and Build-Up
To keep surfaces looking pristine, applying a sealant after cleaning is a game changer. This protective layer not only enhances appearance but also repels moisture, reducing the likelihood of staining. Ensure the surface is completely dry before applying the sealant for optimal adhesion.
Regular Maintenance Practices
Incorporate routine sweeping to remove debris. A quick sweep once a week can prevent dirt and grime from embedding into the surface. Additionally, consider using a gentle pH-balanced cleaner periodically to maintain cleanliness without harming the material.
Strategic Placement of Furniture and Plants
Be mindful of where furniture and potted plants are placed. Use pads or coasters under furniture legs to prevent scratches and stains from water runoff. Positioning plants strategically can also help divert water flow away from high-traffic areas, minimising the potential for build-up.
Lastly, address spills immediately. Wipe up liquids promptly to prevent them from soaking in and causing discolouration. A simple cloth or paper towel can make a significant difference in maintaining a clean and attractive outdoor area.
When to Consider Professional Cleaning Help
Seek assistance from specialists if stains persist despite your efforts. It’s common for tough marks, like oil or rust, to resist home remedies, requiring advanced techniques and equipment.
Signs It’s Time to Call the Experts
- Persistent stains that remain after multiple cleaning sessions.
- Large surface areas that are challenging to handle alone.
- Time constraints that prevent thorough cleaning.
- Desire for a long-lasting solution rather than temporary fixes.
- Concerns about damaging the surface or surrounding areas.
Benefits of Professional Services

- Access to high-grade cleaning agents and equipment.
- Expertise in handling various surface materials safely.
- Time-saving – letting professionals manage the task efficiently.
- Comprehensive services that may include sealing or protective treatments.
In my experience, opting for professional help often results in a transformation that far exceeds any DIY effort. I recall a particularly stubborn case involving a friend’s outdoor area; after several weekends of scrubbing, they decided to hire a team. The difference was remarkable, with surfaces restored to near-new condition.
Consider local reviews and ask for recommendations to find reliable services. A good cleaning company will assess the situation and provide a tailored approach, ensuring the best results possible.


.jpg)


