

For a quick refresh, a mixture of warm water and dish soap works wonders. Apply it generously with a stiff broom or brush, scrubbing away dirt and grime. Rinse thoroughly with a hose, ensuring no residue remains. This simple technique can reveal the original beauty of surfaces in no time.
For tougher stains, consider using a paste made from baking soda and water. Spread it over the affected areas, let it sit for about 30 minutes, and then scrub with a brush. This natural solution is not only safe but also highly effective at tackling stubborn marks.
If moss or algae become an issue, a solution of vinegar and water can be a game changer. Mix equal parts and spray it directly onto the problem areas. Allow it to sit for several hours before scrubbing away the growth. The acidity of vinegar acts as a natural disinfectant, leaving surfaces cleaner and safer.
Regular maintenance can prevent the build-up of dirt and organic matter. Sweeping surfaces weekly and treating them with a sealer every couple of years can significantly reduce the need for intensive cleaning. Investing time in upkeep pays off, keeping outdoor areas looking pristine longer.
Choosing the Right Cleaning Solution for Patio Stones
Opt for a mixture of warm water and white vinegar for a natural cleaning agent. This combination effectively cuts through grime and algae. For every litre of water, add approximately 250 ml of vinegar. Apply this solution with a stiff brush, scrubbing in circular motions to lift dirt and stains.
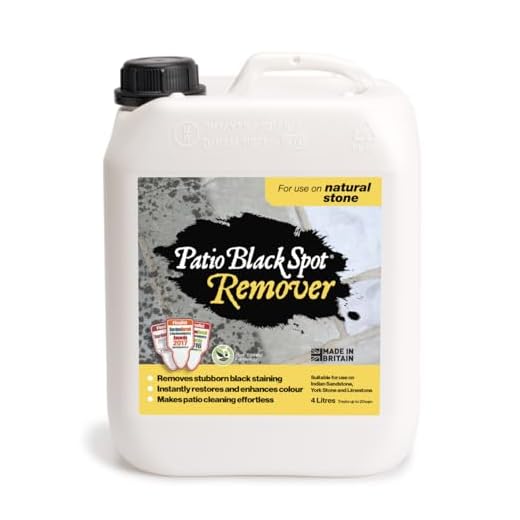
If a more robust approach is necessary, consider using a commercial cleaner specifically formulated for outdoor surfaces. Look for biodegradable products that are safe for plants and pets. Always follow the manufacturer’s instructions regarding dilution rates and application methods.
For stubborn stains, a paste made from baking soda and water can yield excellent results. Mix three parts baking soda with one part water to create a thick paste. Apply it directly to the stained area, allowing it to sit for at least 30 minutes before scrubbing.
For areas affected by mould or mildew, a solution of hydrogen peroxide can be beneficial. Mix equal parts of hydrogen peroxide and water, spray onto the affected areas, and let it sit for 10-15 minutes before scrubbing. This will not only help to remove stains but also disinfect the surface.
Always conduct a patch test in an inconspicuous area before applying any new solution to ensure it does not discolour or damage the surface. Regular maintenance with these methods will help preserve the appearance of your outdoor surfaces over time.
Preparing the Area Before Cleaning Your Outdoor Surfaces
Begin by removing all furniture, potted plants, and any other items from the surface. This ensures a clear workspace and prevents any damage to belongings during the cleaning process. It’s a simple step that can save a lot of hassle later on.
Next, sweep the area thoroughly to eliminate loose debris such as leaves, dirt, and dust. This prevents dirt from mixing with water or cleaning solutions, resulting in a more effective cleaning experience. A stiff broom works wonders for this task.
Inspect the surface for any stubborn stains or growth, such as algae or moss. Taking note of these areas allows for targeted treatment, ensuring they receive extra attention. Pre-treating these spots with a suitable cleaner can enhance results.
Protect Surrounding Areas
Cover nearby plants, flower beds, or delicate surfaces with tarps or plastic sheeting. This protects them from any cleaning solutions that could cause harm. If using a DIY cleaner, it’s wise to ensure that it won’t adversely affect the environment.
Clear any nearby drains or gutters to prevent water from pooling. Ensuring proper drainage helps avoid flooding and makes the entire process smoother. Checking for blockages ahead of time saves time and effort later.
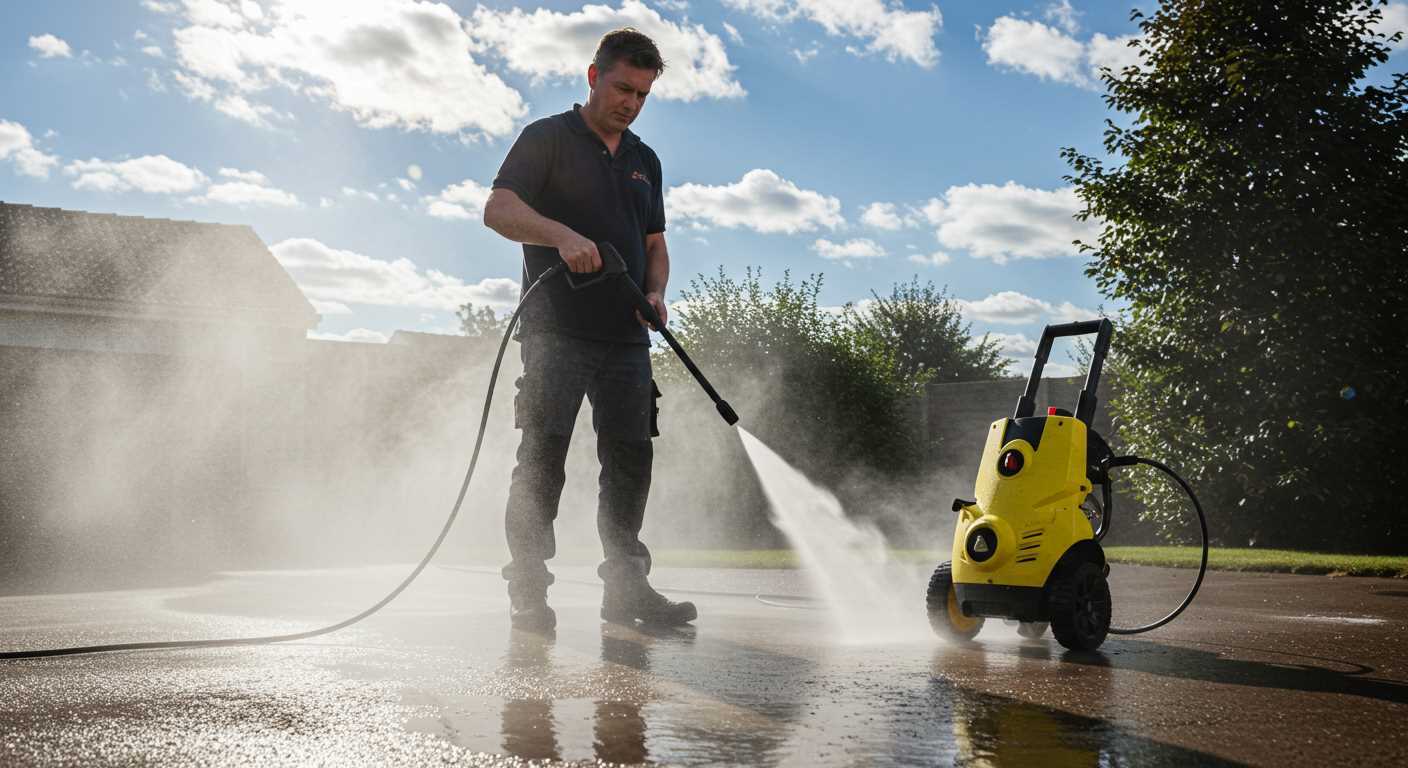
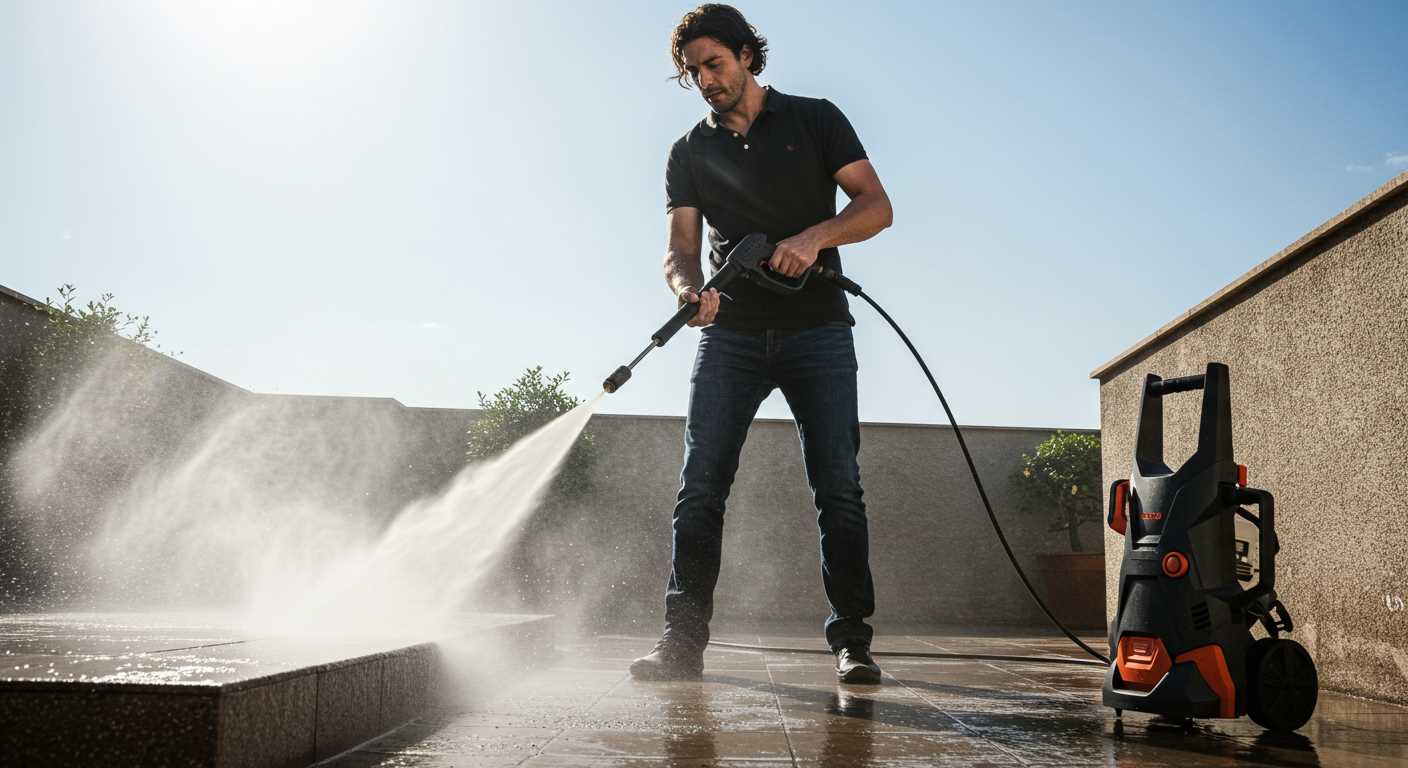
For those considering additional tools, a pressure washer gun for foam cannon can be quite beneficial, providing an extra layer of cleaning power if ever needed.
Using a Broom and Water for Basic Cleaning
A stiff broom paired with water can work wonders for removing dirt and grime from outdoor surfaces. Begin by sweeping the area thoroughly to dislodge loose debris like leaves and dust. This step is crucial; it prevents dirt from turning into mud when wet.
After sweeping, dampen the surface with water. A garden hose with a spray nozzle set to a gentle stream works well. Avoid soaking the area too much, as excessive water can lead to pooling and muddy conditions. The goal is to keep things moist enough to aid in the next steps.
Once the surface is damp, continue with the broom, using short, firm strokes. This technique helps lift stubborn dirt and stains. For particularly grimy spots, a little extra pressure may be necessary. If the broom bristles are too soft for your liking, consider switching to a broom with stiffer bristles for better scrubbing power.
For optimal results, repeat the process as needed. If certain areas remain dirty, it might be beneficial to alternate between sweeping and applying water until the desired cleanliness is achieved. This method is simple yet effective, ensuring that outdoor surfaces remain tidy and presentable.
Applying Vinegar or Baking Soda for Stain Removal
For tackling stubborn marks on outdoor surfaces, vinegar or baking soda can be remarkably effective. Vinegar is a natural acid that breaks down mineral deposits and organic stains. To use, mix equal parts of water and white vinegar in a spray bottle. Generously spray the affected area and let it sit for about 15 minutes. Afterward, scrub with a stiff-bristled brush and rinse thoroughly with clean water.
Baking Soda Solution
Baking soda serves as a gentle abrasive and deodoriser. Create a paste by mixing baking soda with a small amount of water until it reaches a thick consistency. Apply this paste directly onto the stain and allow it to sit for 15 to 30 minutes. Scrubbing with a brush will help lift the stain, and a final rinse will leave the surface fresh.
Combining Methods
For particularly tough stains, consider combining these two methods. Start with vinegar to break down the stain, followed by a baking soda paste for added scrubbing power. This dual approach can tackle even the most tenacious blemishes, ensuring a thorough clean without harsh chemicals.
Scrubbing Techniques: Brushes and Tools You Need
Invest in a good-quality stiff-bristle brush for effective scrubbing. The bristles should be tough enough to remove dirt and grime without damaging the surface. A long-handled brush can save you from unnecessary bending, making the task less strenuous.
Recommended Brushes
| Brush Type | Best Use |
|---|---|
| Stiff-Bristle Brush | General scrubbing for stubborn dirt |
| Deck Brush | Cleans larger areas efficiently |
| Corner Brush | Reaches tight spots and edges |
Besides brushes, consider a scrub pad for delicate surfaces. These pads provide a gentler scrubbing action while still being effective against lighter stains. A bucket for mixing cleaning solutions is also a must; it keeps everything organised and facilitates the process.
Additional Tools
A garden hose with a spray nozzle is useful for rinsing off debris after scrubbing. The adjustable nozzle allows control over water pressure, enabling a thorough rinse without overpowering the surface. For larger areas, a squeegee can assist in removing excess water and ensuring a clean finish.
For stubborn stains, a combination of vinegar or baking soda with your scrubbing tools can enhance effectiveness. While working on those tough spots, having a best chemical injector for pressure washer might also be beneficial for future reference.
Rinsing and Drying Your Patio Stones After Cleaning
Once the cleaning process is complete, proper rinsing and drying are crucial for maintaining the appearance and longevity of the surface. Here’s how to effectively rinse and dry your outdoor surfaces.
Begin by using a hose fitted with a spray nozzle to rinse away any remaining cleaning solution. Adjust the nozzle to a gentle spray to avoid dislodging any loosened debris:
- Start at one end and work your way systematically to the other to ensure thorough rinsing.
- Make sure to rinse adjacent areas to prevent residue from settling back onto the cleaned surface.
- Check for any stubborn spots that may need additional rinsing; it’s important to ensure all cleaning agents are washed away.
After rinsing, drying the surface properly will help prevent water spots and potential growth of moss or algae:
- Use a squeegee or a large push broom to remove excess water. This technique is especially useful for sloped surfaces where water can pool.
- For vertical surfaces or tight corners, soft cloths or towels can be employed to absorb moisture effectively.
- If the weather allows, leaving the area to air dry in the sun can be beneficial. Sunlight will help evaporate moisture quickly.
In case of cloudy or humid conditions, consider using fans or a leaf blower to expedite the drying process. This helps maintain the cleanliness achieved during your efforts.
Regular maintenance after rinsing will also keep your outdoor surfaces looking their best and prevent future buildup.
Maintaining Clean Patio Stones: Tips for Longevity
Regular maintenance is key to ensuring the durability and aesthetics of your outdoor surfaces. A few simple practices can significantly extend their lifespan.
- Sealant Application: Every couple of years, apply a sealant specifically formulated for natural stone or concrete. This creates a protective barrier against stains and moisture infiltration.
- Routine Inspections: Conduct seasonal inspections to identify any cracks or chips. Addressing these issues early prevents further damage and costly repairs later.
- Weed Control: Regularly remove weeds that can grow between the slabs. Consider using a natural herbicide or boiling water to kill unwanted plants without harming the surrounding environment.
- Proper Drainage: Ensure that water drains away from surfaces to avoid pooling, which can lead to algae growth and deterioration. Adjust landscaping or install drainage solutions if necessary.
- Seasonal Cleaning: Schedule a thorough cleaning at least twice a year, ideally in spring and autumn, to remove dirt and prevent buildup of debris that can stain surfaces.
Implementing these strategies will not only preserve the appearance of your outdoor areas but also contribute to their longevity, making them a lasting feature of your home.
FAQ:
What materials do I need to clean patio stones without a pressure washer?
To clean patio stones without a pressure washer, you will need a few basic materials. Start with a broom or a brush to remove loose dirt and debris. Then, gather a bucket, water, and a mild detergent or vinegar for cleaning. If there are stubborn stains, you may also need a stiff-bristled brush or a scrubbing pad. For tougher grime, consider using baking soda as a gentle abrasive. Protective gloves can also be useful to keep your hands clean and safe.
Can I use vinegar to clean my patio stones?
Yes, vinegar is a great natural cleaning solution for patio stones. Its acidity helps break down dirt and grime. To use vinegar, mix equal parts of water and white vinegar in a bucket. Apply the solution to the stones with a brush or cloth, focusing on stained areas. Allow it to sit for a few minutes before scrubbing and rinsing with clean water. However, be cautious when using vinegar on certain types of stones, like limestone, as it can damage them.
How do I remove algae or moss from patio stones?
To remove algae or moss, start by sweeping the area to remove loose debris. Then, mix a solution of water and a mild detergent or vinegar. Apply the solution to the affected stones and let it sit for about 15-30 minutes. Afterward, scrub the stones with a stiff brush to dislodge the algae or moss. Rinse thoroughly with water to remove any remaining residue. For persistent growth, you may need to repeat the process or use a mixture of baking soda and water as an alternative treatment.
Is it necessary to seal patio stones after cleaning?
While it is not strictly necessary to seal patio stones after cleaning, doing so can provide added protection against stains and weathering. Sealing creates a barrier that helps prevent dirt and grime from penetrating the surface, making future cleaning easier. If you choose to seal your stones, ensure they are completely dry after cleaning, and follow the manufacturer’s instructions for the sealing product. Regular maintenance, including cleaning and resealing as needed, will help keep your patio looking its best.
What should I do if my patio stones have stubborn stains?
If you have stubborn stains on your patio stones, you can try a few different approaches. First, create a paste using baking soda and water, apply it to the stain, and let it sit for about 15-20 minutes before scrubbing and rinsing. For oil-based stains, a mixture of dish soap and warm water may be effective. Apply it to the stain, scrub gently, and rinse thoroughly. For very tough stains, you might consider using a commercial cleaner specifically designed for stone surfaces, following the instructions carefully.


.jpg)
.jpg)


