


Begin with the removal of the nozzle and any attached accessories. This is typically accomplished by unscrewing the locking mechanism, which should be done by turning it counterclockwise. A gentle pull may be required to detach the components fully. Ensuring a clean workspace will help keep track of all parts as they come apart.
Next, focus on the casing of the unit. Look for screws or clips that secure the outer shell. A Phillips screwdriver usually suffices for this task. Carefully lift the casing away from the internal components, taking care not to damage any wiring or seals in the process. Pay attention to the arrangement of the internal parts; a quick snapshot can serve as a helpful reference during reassembly.
Once the outer casing is removed, inspect the internal assembly. The motor and pump should be clearly visible. Disconnect any electrical connectors by gently pulling them apart, ensuring no pins are bent. The pump may also have a series of bolts securing it in place, which can be removed with the appropriate socket wrench. This step requires caution to avoid stripping the bolts.
With the pump free, the remaining components can be examined for wear or damage. Replacing worn seals or o-rings at this stage can extend the lifespan of the equipment. Assemble the parts in reverse order, ensuring that all connections are secure and that the casing fits snugly. Finally, test the unit before returning it to regular use, checking for leaks or unusual noises.
Identifying the Model of Your Nilfisk Pressure Washer
Locate the model number on the unit. Typically, it can be found on a label or sticker, usually on the side or back of the machine. This number is crucial for any repairs or replacements.
Check the user manual. If the original documentation is available, the model information will be clearly stated. Manuals often include troubleshooting tips and specifications that can assist with maintenance.
Observe the design features. Different models have distinct characteristics such as hose connections, motor types, or the presence of specific accessories. Familiarity with these can help narrow down the options.
Visit the manufacturer’s website. There’s often a dedicated section for identifying models based on visual cues or specifications. Comparing images can quickly reveal which version is in possession.
Consider the purchase date. Knowing when the unit was bought can provide context, as some models are only produced for specific years. Cross-referencing this information with the manufacturer’s history can aid in identification.
Join online forums or groups. Engaging with fellow enthusiasts or professionals can yield insights. Members often share experiences or have resources that can help match a specific machine to its model number.
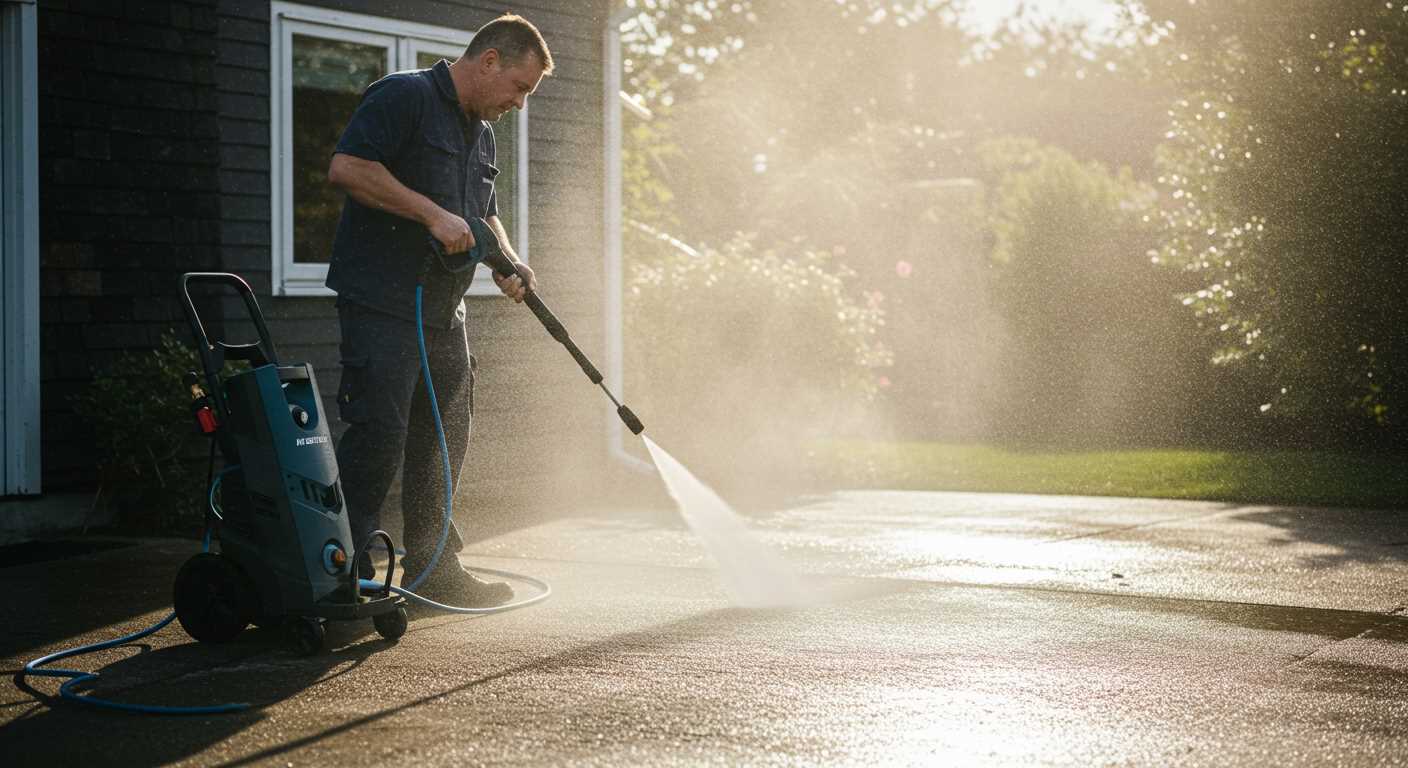
Gathering Necessary Tools for Dismantling
To tackle this task effectively, equip yourself with the right tools. A basic toolkit should include a set of screwdrivers, both flat and Phillips, as well as a socket wrench for any bolts you might encounter. Having pliers on hand can be beneficial for gripping and twisting stubborn components.
Consider a soft cloth or rag to catch any residual water and prevent slipping during the process. A small container is useful for keeping screws and small parts organised, ensuring nothing gets lost amidst the assembly.
For thorough cleaning, a brush with stiff bristles can help remove debris from inside the unit. If you have access to an air compressor, it can be handy for blowing out dust and dirt from tight spaces.
Lastly, a good pair of gloves protects your hands from any sharp edges and keeps them clean. Preparing these items in advance streamlines the process and makes it more manageable.
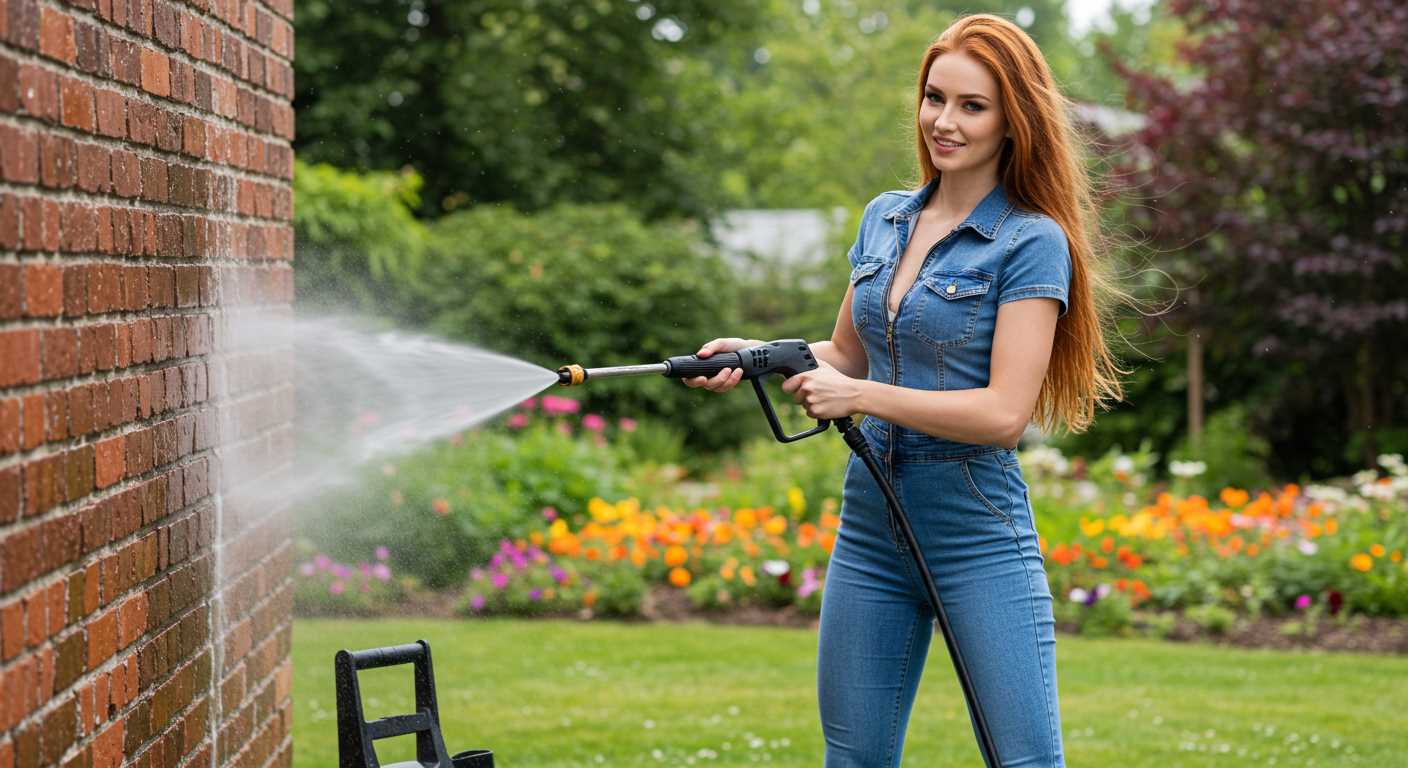
Disconnecting the Appliance from Power and Water Supply

Ensure the unit is unplugged from the electrical outlet before attempting any maintenance. I recall a time when I was in a hurry and forgot this step; the shock was a wake-up call that taught me to always double-check. Look for the power switch, usually located on the front or side, and turn it off. Then, disconnect the plug from the socket to prevent any accidental activation.
Next, turn off the water supply. Locate the valve connected to the hose and rotate it clockwise until it stops. I’ve seen some users forget this step, leading to water spray everywhere when disconnecting hoses. After shutting off the water, relieve any pressure in the system by pulling the trigger on the gun. This action releases any trapped water and pressure, making it safer to handle the equipment.
Disconnect the hose from the unit. This typically involves loosening a connector, which can be done by hand or with a wrench, depending on the model. Always ensure the hose is fully detached before proceeding with any further disassembly. I remember one instance where I rushed this step, and water sprayed all over, creating quite the mess!
Finally, after disconnecting the water source and power, give the appliance a brief visual inspection. Look for any signs of wear or damage. Catching these issues early can save a lot of trouble down the line. From my experience, taking these precautions makes the entire maintenance process smoother and more efficient.
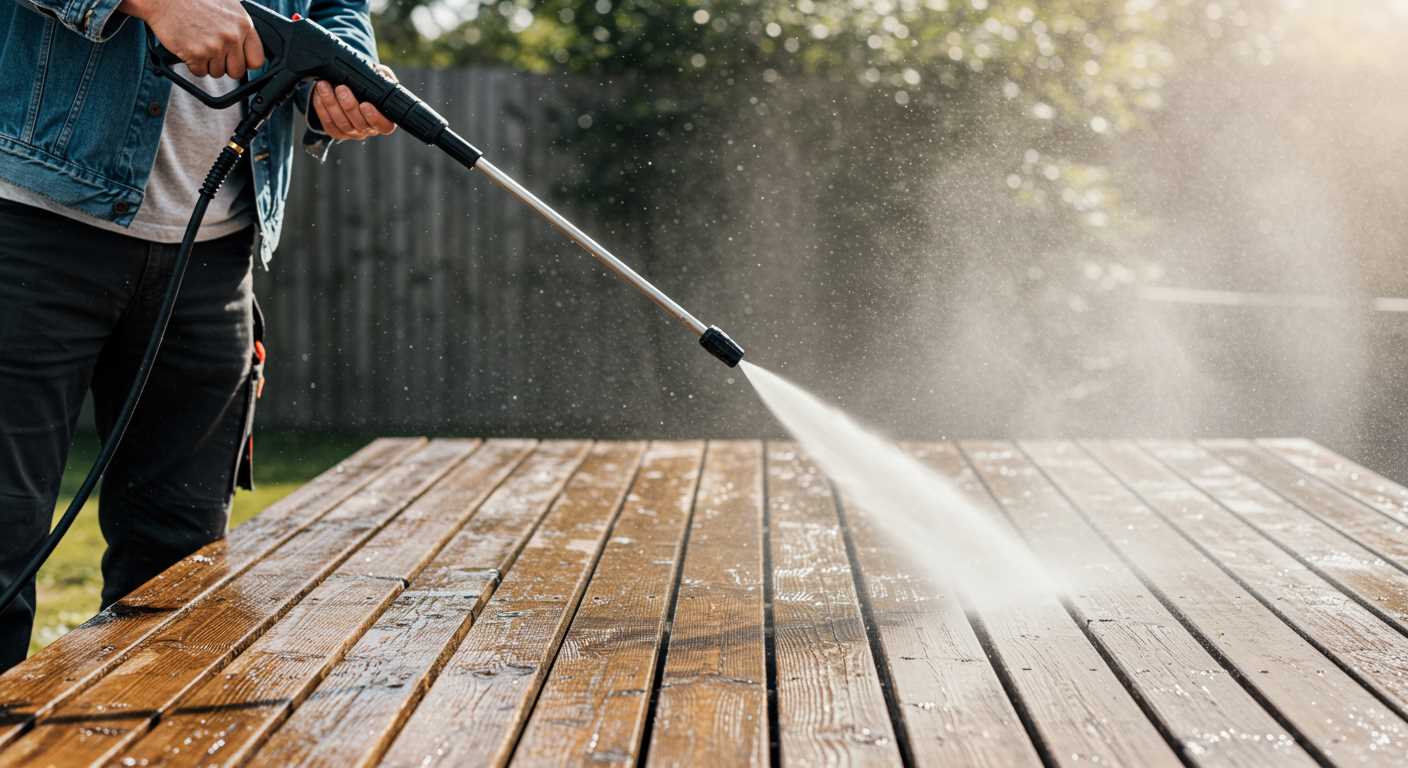
Removing the Nozzle from the Pressure Washer Head
Begin by ensuring the machine is completely disconnected from both power and water. This step is vital for safety. Once verified, locate the nozzle at the front of the unit. Most nozzles are secured with either a simple twist mechanism or a locking pin.
- If it’s a twist nozzle, rotate it counter-clockwise until it releases. Be cautious of any pressure that may still be present in the system.
- For models with a locking pin, look for a small lever or button that needs to be pressed while pulling the nozzle away from the head. This often requires a bit of force.
After removing the nozzle, inspect the connection point for any debris or wear. Regular maintenance of this area can significantly enhance the performance of your unit. If you notice any damage, consider replacing the nozzle to maintain optimal functionality.
For those looking to enhance their cleaning experience, using the best car wash soap for pressure washers can yield impressive results.
Dismantling the Spray Gun and Lance Assembly
First, disconnect the lance from the spray gun. Locate the release mechanism, usually a simple push or twist system, and carefully detach the lance. This step is straightforward but requires a gentle touch to prevent any damage to the fittings.
Separating the Trigger Mechanism
Next, focus on the trigger assembly. Look for screws at the base of the trigger guard. Using a suitable screwdriver, remove them carefully. Keep these screws in a safe place for reassembly. Once the screws are out, gently pull the trigger guard away from the gun body. Be cautious; there may be springs or small components that can fall out.
Accessing Internal Components
With the trigger guard removed, you can now see the internal components. Take note of how everything fits together before removing anything. If there are any clips holding parts in place, gently pry them off using a flathead screwdriver. Once free, the internal mechanism can be removed for cleaning or replacement.
For those maintaining equipment for specific uses, such as a pressure washer for van, ensuring the spray gun and lance are in top condition is crucial for optimal performance.
After all parts are separated, inspect them for wear. If any components seem damaged, consider replacing them to ensure longevity and efficiency of the entire system.
Cleaning and Inspecting Components During Dismantling
Thorough cleaning of each component is a fundamental step after removal. Begin by rinsing major parts with water to eliminate any residual dirt and grime. Use a soft brush to scrub areas that require extra attention, particularly around seals and grooves where debris tends to accumulate.
Pay close attention to the nozzle and its internal pathways. Blockages can lead to reduced performance and increased pressure levels. A gentle cleaning solution can effectively break down any stubborn deposits. Rinse well to avoid chemical residue.
Inspect all components for wear and damage. Check for cracks in the plastic parts, corrosion on metal components, and deterioration of rubber seals. Replace any damaged items immediately to prevent further issues during reassembly.
Consider creating a checklist during this inspection process. Documenting any findings ensures that nothing is overlooked. Here’s a simple format for your inspection:
| Component | Condition | Action Required |
|---|---|---|
| Nozzle | Clear / Blocked | Clean / Replace |
| Gun Body | Intact / Cracked | Inspect / Replace |
| Seals | Good / Worn | Replace |
Once cleaning and inspection are complete, allow all parts to dry fully before reassembly. Any moisture can cause issues when reconnected to power or water supply. This meticulous approach not only prolongs the lifespan of the equipment but also enhances overall functionality.
.jpg)


