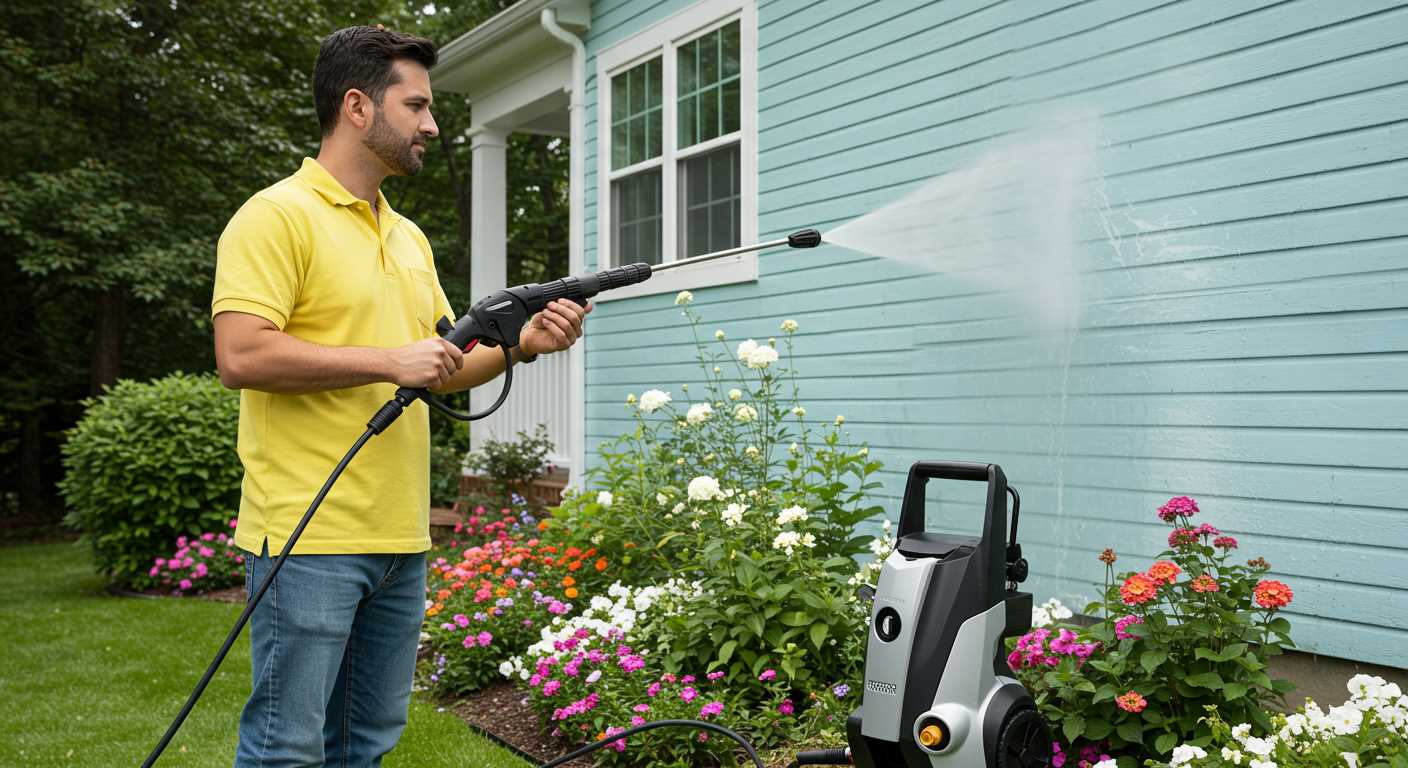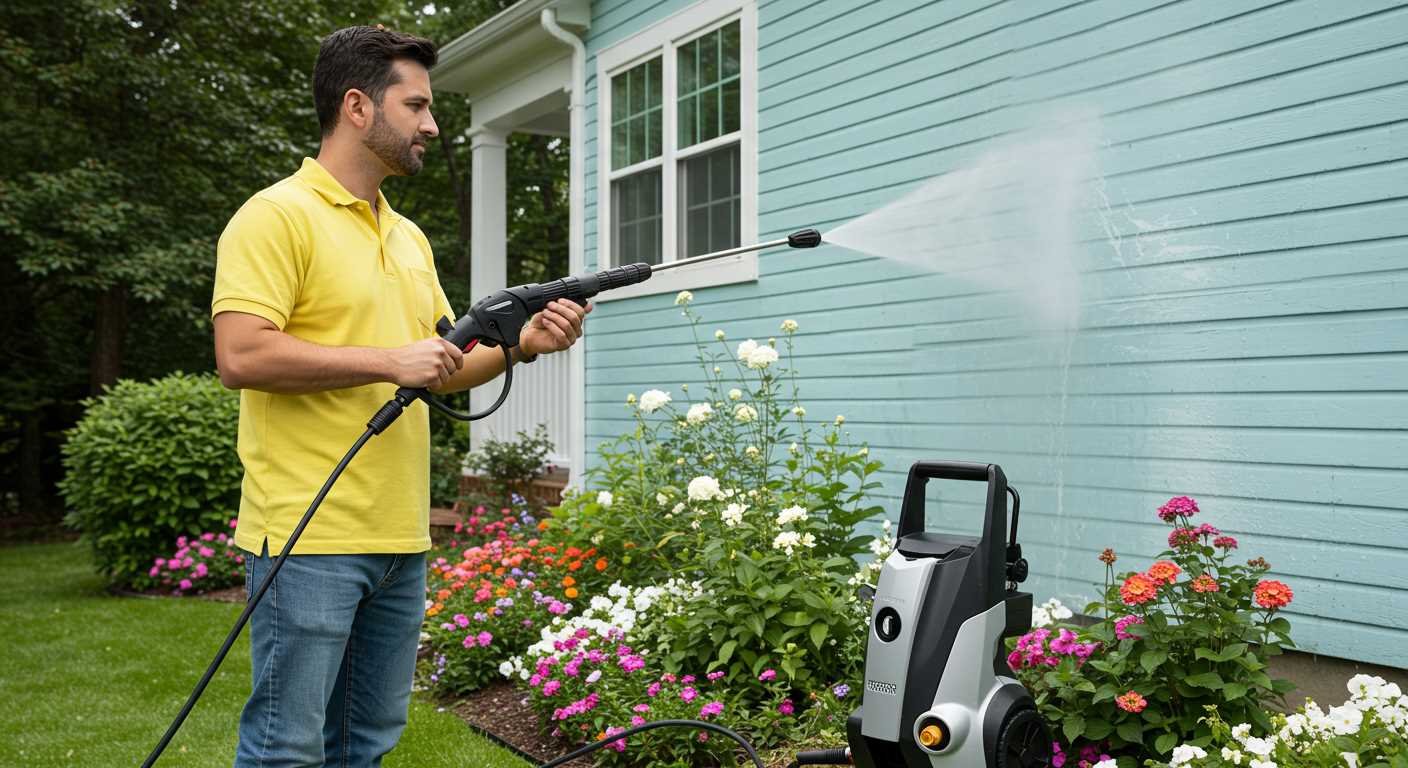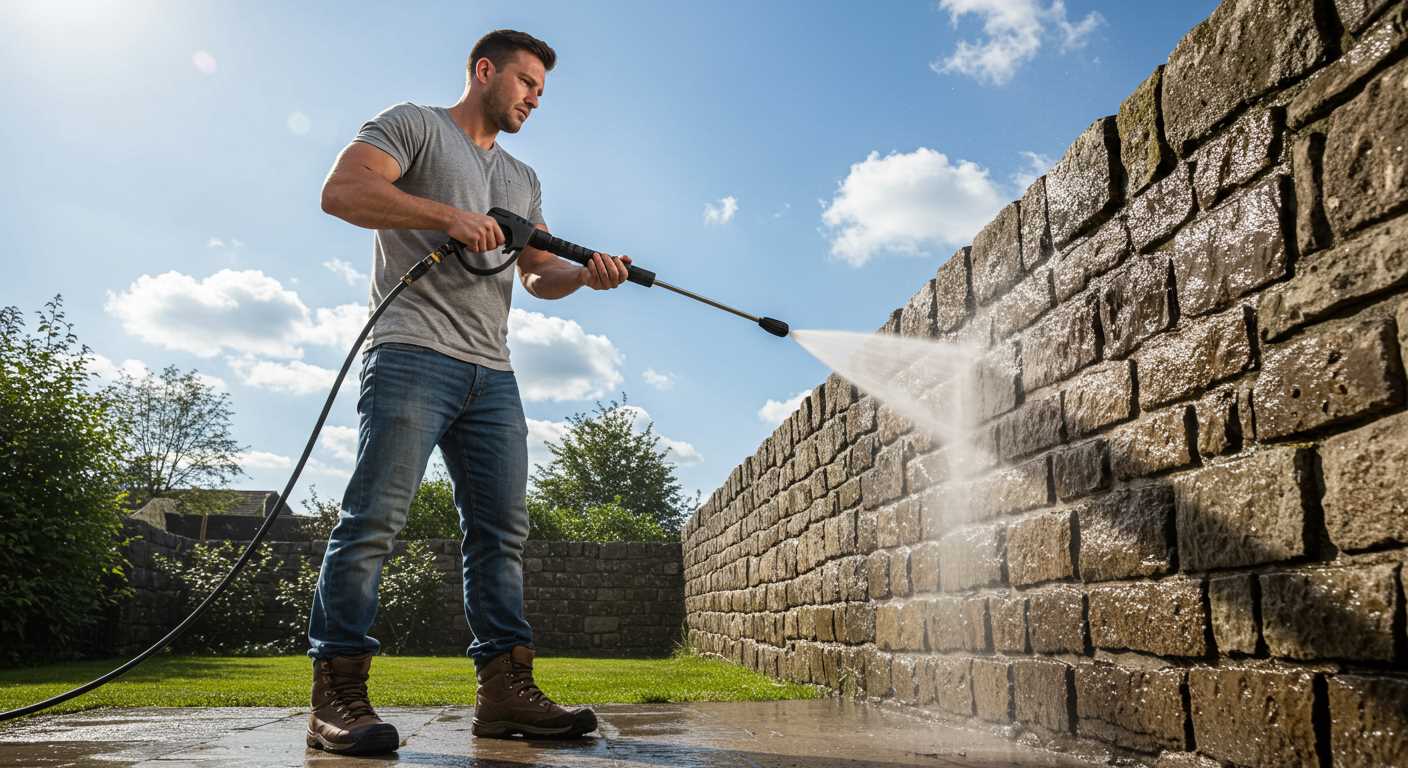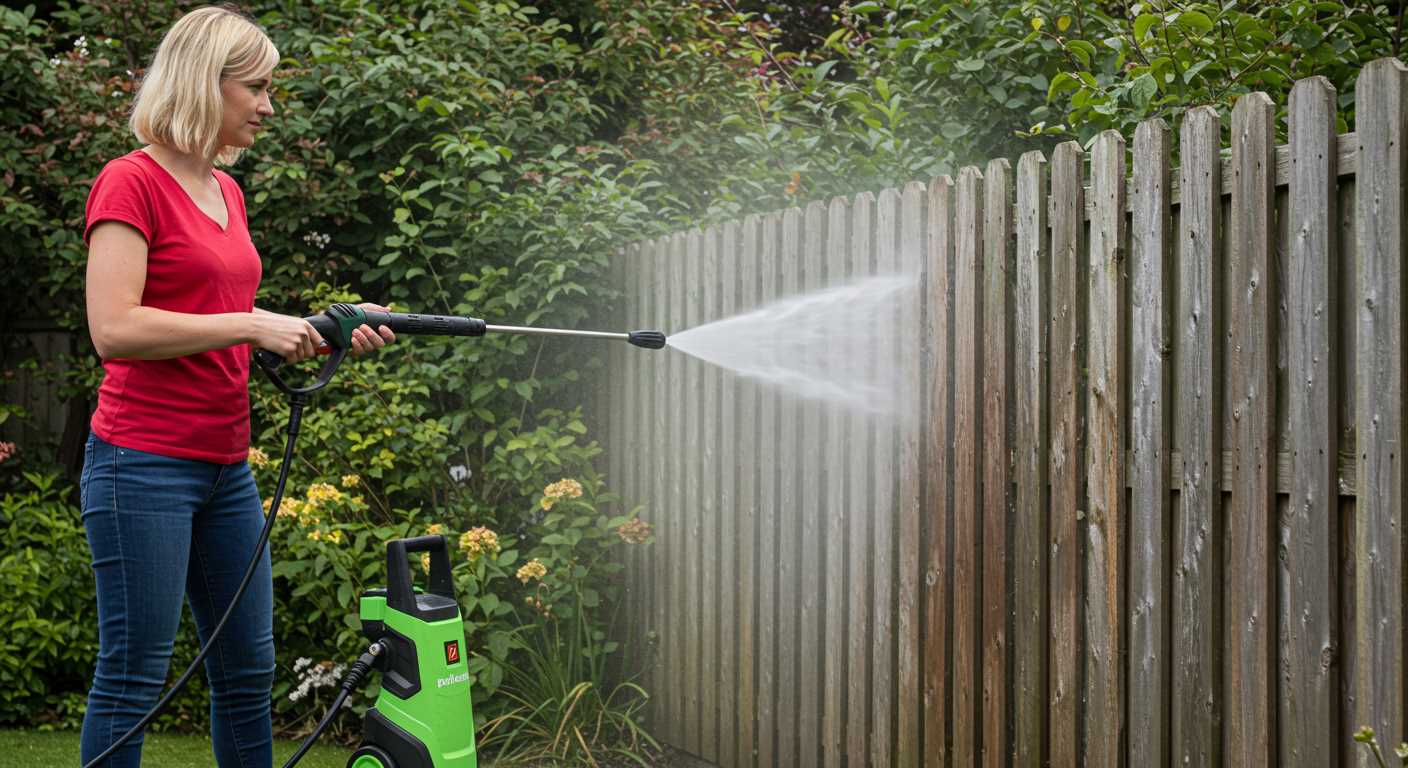


Begin by disconnecting the high-pressure hose and the water supply. This prevents any unwanted pressure build-up and allows for a safer process. Next, locate the drain plug typically found at the base of the unit. It’s essential to have a bucket or container ready to catch any remaining liquid.
After positioning the container, remove the drain plug carefully. At this stage, it’s wise to wear gloves to protect hands from any residual chemicals or contaminants that may have been used during cleaning tasks. Allow the fluid to flow completely out, ensuring the interior is free of any residual moisture that could lead to damage during storage.
Once the fluid has fully drained, replace the drain plug securely to prevent any debris from entering the system. If the model includes a winterisation feature, it’s beneficial to engage this to ensure the internal components are safeguarded against freezing temperatures. This process, while straightforward, is crucial for maintaining the longevity of the equipment.
Understanding the Importance of Draining the Pump
Removing fluid from the mechanism after use is critical for longevity. During colder months, remaining liquid can freeze, causing damage that leads to costly repairs. I once encountered a customer whose unit suffered severe cracking due to neglecting this simple task. The unit became unusable, and the repair bill was hefty. A regular maintenance routine that includes emptying the system pays off significantly.
Preventing Corrosion and Build-Up
Leftover moisture can lead to corrosion, impacting performance. I’ve seen units that were practically unusable due to rust accumulation inside. A few minutes spent ensuring the interior is dry can save a machine from premature degradation. It’s worth taking the time to check all outlets and hoses for residual liquid after each use.
Maintaining Optimal Performance
A clean and dry mechanism ensures optimal functionality. I recall a situation where a colleague’s equipment struggled to reach the desired pressure due to trapped fluid. After a thorough purge, the performance improved drastically. This highlights how vital it is to keep the inner workings clear of any remnants to maintain efficiency and reliability.
Gathering Necessary Tools for the Task
For this job, having the right tools can make all the difference. Start with a flathead screwdriver; it’s handy for removing any screws or fasteners that might be holding components in place. A pair of pliers is also useful for gripping and twisting any stubborn hoses or fittings. If you have a bucket or a large container, keep it nearby to collect any residual fluid.
Additional Equipment
Consider using a garden hose to flush out the system more thoroughly. A funnel can help direct any fluid into your bucket, preventing spills and messes. Wearing gloves is a smart move, especially if you’re handling any chemicals or lubricants during this process. Don’t forget a towel or rag for cleaning up afterwards–it’s the little things that keep your workspace neat.
Helpful Accessories
Having a shop vacuum on standby can make clean-up a breeze. This tool can swiftly eliminate any excess liquid that might escape during the procedure. If you’re dealing with a particularly large unit, a second pair of hands can be invaluable; just having someone to assist can streamline the entire operation.
With these tools and accessories at hand, the task ahead becomes much more manageable. Each item plays a role in ensuring everything is done correctly and smoothly, allowing for a straightforward experience.
Locating the Drain Plug on Your Pressure Washer
Begin by examining the underside of the unit. The drain plug is typically situated on the bottom or side of the housing, designed specifically for expelling liquid. If the model manual is available, refer to it for precise location details.
In many cases, the drain plug looks like a small cylindrical valve, often made of plastic or brass. It may be necessary to remove a protective cover or shield to access it. Some models may feature a coloured cap, making identification easier.
To illustrate, I once encountered a particularly stubborn model where the plug was cleverly concealed behind a panel. After a thorough inspection, I found it tucked away, and removing the panel revealed not only the plug but also other maintenance points I hadn’t anticipated. This led to an unexpected improvement in the machine’s performance.
Ensure the surface is stable while working. If the washer is on uneven ground, it could shift, making access more difficult. A level surface allows for better visibility and ease of use.
| Model | Drain Plug Location |
|---|---|
| Model A | Bottom left side |
| Model B | Rear panel, behind cover |
| Model C | Front base near wheels |
| Model D | Side, underneath a plastic cap |
For those unfamiliar with their equipment, it can be beneficial to take photos of the area around the plug for future reference. This simple act can save time when returning to this task later. Familiarity with the layout of the unit not only aids in locating the drain point but also enhances overall maintenance efficiency.
Preparing the Area for Water Drainage
Before starting the removal process, ensure the workspace is suitable. A clean, flat surface is ideal to prevent slips and spills. Here’s what I recommend based on my years in the field:
- Select a Location: Choose an outdoor area where any excess liquid can flow freely. Avoid places near electrical outlets or sensitive equipment.
- Clear Obstacles: Remove any debris, tools, or other items from the vicinity. This creates a safe environment and improves accessibility.
- Prepare a Container: Have a bucket or large container ready to catch the expelled fluid. This will help manage the mess and protect your surroundings.
- Use Absorbent Materials: Place towels or rags nearby to clean up any spills. This is a precaution I always take; it saves time and effort in the long run.
- Check Weather Conditions: Avoid performing this task in adverse weather. Rain or high winds can complicate the process and create hazards.
Over the years, I’ve learned that a little preparation goes a long way. Taking these steps ensures a smooth and hassle-free operation, allowing you to focus on the task at hand without distractions.
Steps to Safely Open the Drain Plug
Follow these precise steps to ensure the successful removal of the drain plug without mishaps:
- Ensure the unit is completely powered off and disconnected from any electrical source.
- Place a suitable container directly beneath the drain plug to collect residual liquid.
- Identify the appropriate tool needed to loosen the plug, typically a wrench or pliers, based on the design.
- Carefully position the tool on the plug, applying a steady, gentle pressure to avoid stripping the threads.
- Turn the plug counter-clockwise slowly until it begins to loosen. Avoid excessive force that could damage the component.
- Once loose, unscrew the plug by hand to prevent any sudden releases or spills.
- Allow the remaining liquid to fully exit into the container. Monitor for any obstructions that may hinder the flow.
- After complete drainage, securely reattach the drain plug, ensuring it is tightened adequately to prevent leaks during future use.
It’s wise to keep a towel or rag nearby to wipe any spills and maintain a clean workspace. Always prioritise safety and cleanliness during this process.
Ensuring Complete Water Removal from the Pump
After locating the drain plug, it’s crucial to ensure that all residual fluid is expelled. I recommend tilting the machine at an angle to encourage any trapped liquid to flow toward the drain area. This simple adjustment can make a significant difference in achieving a thorough purge.
Utilising a bucket or a suitable container beneath the outlet can prevent mess and collect any remaining fluid. This practice not only keeps the workspace tidy but also allows for easy disposal of the runoff. I’ve seen too many colleagues overlook this step, leading to unnecessary clean-up efforts later.
Once the majority has been released, I suggest giving the unit a light shake. This technique helps dislodge any stubborn droplets clinging to internal surfaces. A couple of gentle taps on the sides can also encourage any lingering moisture to exit. In my experience, taking these extra precautions ensures that the system is dry and ready for storage, reducing the risk of damage during colder months.
After completing the process, it’s wise to inspect the drain plug and surrounding areas for any signs of leakage. A quick visual check can save you from future headaches. I’ve learned the hard way that even a small amount of leftover fluid can lead to serious issues if left unchecked.
Inspecting the Pump After Draining
Check the condition of the unit by examining the exterior for any signs of damage or wear. Look for cracks, corrosion, or loose fittings, which can indicate potential issues. Ensure that all seals and gaskets are intact. A compromised seal can lead to leaks, diminishing efficiency and performance.
Conducting a Visual Inspection
Inspect the inlet and outlet ports for debris or blockages. Clear any obstructions to guarantee smooth operation. Take a moment to look at the mounting brackets and connections; tight fittings are necessary to maintain optimal pressure. If anything seems off, consider replacing worn parts before reassembling.
Testing the Unit
After the visual check, it’s wise to run a quick functionality test. Reconnect the necessary components and power up the machine briefly to assess performance. Listen for unusual sounds or vibrations that might suggest issues within the internal mechanics. If you notice anything abnormal, further investigation or professional advice may be needed. Regular maintenance can extend the lifespan of your equipment significantly. For those who enjoy attachments, using a foam cannon for ryobi electric pressure washer can enhance cleaning efficiency while ensuring that the pump remains in top condition.
Storing Your Pressure Washer Properly Post-Drainage
Always ensure the unit is stored upright after removing any residual liquid. This prevents any leftover moisture from causing damage to internal components. Choose a cool, dry place that is protected from extreme temperatures. Ideally, a garage or a shed works well.
Before putting it away, clean the exterior. A simple wipe with a damp cloth can eliminate dust and grime. If there are stubborn stains, consider using a mild detergent. This step not only maintains the appearance but also prevents corrosion.
Check the hoses for any signs of wear or leaks. If you spot any damage, replace them before the next use to avoid complications later. Store hoses neatly, avoiding tight bends that can cause kinks.
Consider using a cover to protect the equipment from dust and debris. A fitted cover can also prevent any accidental damage. If you have a dedicated storage space, keeping the unit on a shelf can assist in avoiding potential impacts.
Lastly, keep tools and accessories organised. Using a tool box or storage bin ensures everything is in one place, making it easier to prepare for your next cleaning task. For those looking to enhance their cleaning arsenal, investing in the best air scrubber for hvac can also be a wise choice for maintaining air quality during projects.


.jpg)


