


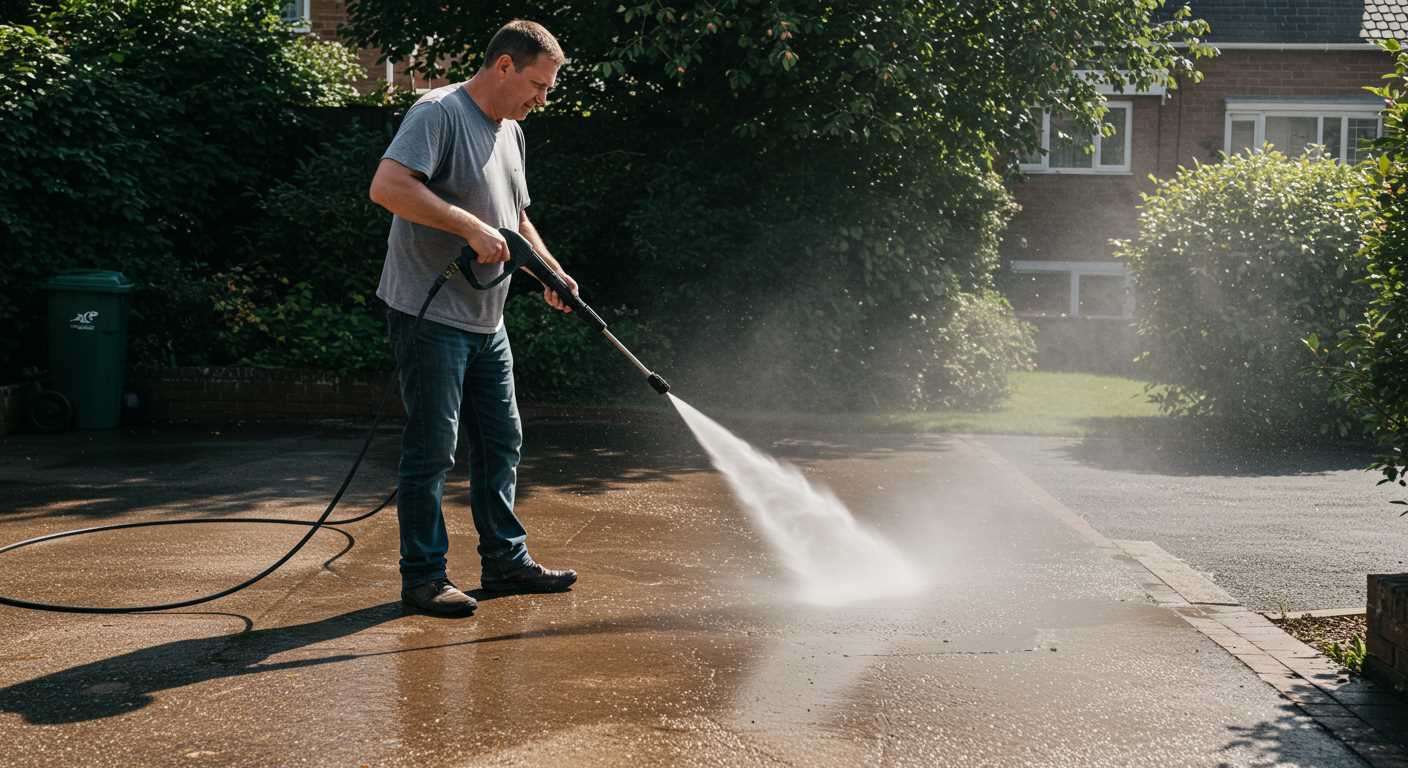
Check the power source first. Ensure the outlet is functioning and the cord is not damaged. A simple multimeter test can reveal if power is reaching the appliance. If the power supply checks out, examine the reset switch or circuit breaker; sometimes, a minor overload can cause a shutdown.
Inspect the water supply. A blocked inlet filter can lead to insufficient water flow, causing the unit to malfunction. Remove the filter, clean it thoroughly, and ensure the water hose is kink-free and properly connected. If the water pressure appears low, assess the source; it should meet the minimum requirements specified by the manufacturer.
Examine the trigger gun and nozzle. A clogged nozzle can hinder performance, so unclog it using a pin or a soft brush. If the trigger gun leaks or fails to engage, it may require replacement. Regular maintenance of these components can prevent future issues.
Inspect the pump for any visible signs of wear. Look for leaks or unusual noises that could indicate internal damage. If the pump is the culprit, consider whether it’s more economical to repair or replace it based on the age and condition of the cleaner.
In my years working with various brands, I’ve seen many users overlook simple checks. A thorough inspection often reveals the root cause without needing to call for professional assistance. Keep a maintenance log, and be proactive; it can save a lot of time and frustration down the line.
Diagnosing a Non-Starting Cleaning Device
Check the fuel or power supply first. If it’s electric, ensure the outlet is functional and the cord is intact. For gas-operated units, confirm there’s enough fuel and it’s fresh. Stale petrol can cause starting issues.
Inspect the ignition system next. For gasoline engines, look at the spark plug. If it appears worn or dirty, replace it. A clean spark plug helps ensure proper ignition.
Evaluate the air filter as well. A clogged filter restricts airflow, making it hard for the engine to start. Clean or replace it if necessary. It’s a simple task that can significantly improve performance.
Fuel lines should be examined. Cracks or blockages can prevent fuel from reaching the engine. Clear any obstructions or replace damaged lines to restore function.
| Component | Action |
|---|---|
| Fuel Source | Check for sufficient and fresh fuel or power supply |
| Ignition System | Inspect and replace spark plug if necessary |
| Air Filter | Clean or replace if clogged |
| Fuel Lines | Inspect for cracks or blockages |
If the unit still doesn’t respond, examine the pressure relief valve. Sometimes, the valve can be stuck, preventing the machine from starting. Resetting this valve may solve the problem.
Lastly, if all else fails, refer to the manual for troubleshooting tips. If needed, professional assistance can provide insights that may not be immediately obvious.
For maintenance tips that can enhance your overall cleaning experience, check out this guide on how to clean algae off plastic aquarium plants.
Check the Power Supply and Connection
Begin with verifying the power source. Ensure the outlet is functional by plugging in another device. I recall a time when a colleague struggled with a unit that wouldn’t start, only to discover a tripped circuit breaker. Resetting it solved the issue instantly.
Inspect the power cord for any visible damage. Frayed wires can disrupt the flow of electricity. One of my friends lost a weekend to a malfunctioning cleaner because he overlooked a small tear in the cord. A replacement was all it needed.
Examine Connections
Check the connection between the power cord and the machine. Sometimes, dirt or corrosion can hinder a proper connection. Cleaning the terminals can often resolve this issue. I’ve seen many users overlook this detail, resulting in unnecessary frustration.
Lastly, ensure the machine’s switch is in the ‘on’ position. It may sound basic, but I’ve encountered situations where the simplest mistakes led to hours of troubleshooting. A quick glance can save a lot of time.
Inspect the Water Supply and Hose
Ensure the water source provides a steady flow. A garden tap works best; check for blockages or kinks in the hose. A common issue I’ve encountered is a partially closed tap, which restricts water supply. To resolve this, turn the tap fully counterclockwise until it stops.
Check for Leaks
Inspect the hose for any signs of wear or leaks. Even small cracks can lead to significant pressure loss. If a leak is found, consider replacing the hose entirely, as repairs may not hold up under high pressure. I once had a customer who tried patching a hose with tape, but it failed during use, leading to a messy situation.
Filter Maintenance
Don’t overlook the filter located at the inlet. A clogged filter can impede water flow. Remove the filter and rinse it under running water to clean out debris. I’ve seen many units struggle due to a dirty filter, which is an easy fix that often gets overlooked. Regular maintenance here can save a lot of trouble down the line.
Examine the Pressure Washer Pump
Inspecting the pump must be your next step if the equipment struggles to generate adequate water pressure or refuses to operate altogether. Here’s how to approach this crucial component:
- Check for Leaks: Look for any signs of water leakage around the pump housing. A leak can indicate a worn-out seal or gasket.
- Inspect the Inlet and Outlet Ports: Ensure that both ports are free from debris. Blockages can hinder water flow, affecting performance.
- Examine the Unloader Valve: This valve regulates pressure. If it’s stuck or malfunctioning, it can lead to pressure issues. Test it by manually activating it to see if it releases pressure.
- Assess the Pump Oil: Check the oil level if your model requires lubrication. Low oil can cause overheating and damage.
- Listen for Unusual Noises: Any rattling or grinding sounds can indicate internal damage or wear. Pay attention to these signs as they may signal a need for replacement.
- Test the Pressure Relief Valve: This valve ensures that excess pressure is released. If it’s faulty, it can affect the entire system’s operation.
After conducting these checks, if the pump still shows signs of malfunction, consider consulting a professional for further assistance. For local expert help, visit pressure washer repair near me.
Review the Spray Gun and Nozzle Functionality
Start by inspecting the spray gun for any visible damage or blockages. A malfunctioning trigger mechanism can cause inconsistent water flow or prevent operation entirely. Check for cracks or leaks in the gun housing; these can lead to pressure loss and reduced performance.
- Ensure the trigger functions smoothly. If it feels stuck or doesn’t engage properly, disassemble the gun to clean and lubricate the internal components.
- Look for debris in the spray gun filter. A clogged filter can restrict water flow. Remove it and clean thoroughly; replace if damaged.
Next, examine the nozzles. These components control the spray pattern and pressure, so any issues here can drastically affect cleaning effectiveness.
- Inspect each nozzle for clogs. Use a small wire or a needle to clear any obstructions. A blocked nozzle might cause uneven water distribution, impacting cleaning results.
- Check the nozzle size. Using a nozzle that doesn’t match the machine’s specifications can lead to improper operation. Refer to the user manual to verify compatibility.
Adjustments can also enhance performance. Many models allow for variable spray patterns. Experiment with different settings to find the optimal spray for your cleaning task.
If all else fails, consider replacing the spray gun or nozzles. Investing in higher quality accessories can yield better results and prolong the life of the equipment. Remember, a little maintenance goes a long way in keeping these tools in top shape.
Test the Engine or Motor Performance
Begin with a visual inspection of the engine or motor. Look for any signs of damage, such as cracks or leaks. If the equipment has an internal combustion engine, check the oil level and quality; dirty or low oil can significantly affect performance. For electric motors, ensure that the power cord and connections are intact and free from fraying or corrosion.
Next, listen closely while the engine runs. An unusual sound, like knocking or excessive vibration, can indicate a problem. If the motor is electric, ensure it hums steadily without sputtering or cutting out. These sounds often reveal underlying issues that require attention.
After that, check the spark plug for gas engines. Remove it and inspect for wear or carbon buildup. A damaged spark plug can prevent proper ignition, leading to starting issues. Replace it if necessary, ensuring the gap is set correctly according to the manufacturer’s specifications.
For electric variants, assess the capacitor, which can fail over time. A faulty capacitor may prevent the motor from starting or running at full capacity. Testing with a multimeter can help determine if the capacitor is functioning as it should.
Finally, test the throttle response. For gas-powered machines, rev the engine and observe its reaction. If it hesitates or stutters, this could indicate fuel delivery issues or a clogged air filter. For electric models, ensure that any speed settings are functioning correctly, as this impacts overall performance.
Identify and Replace Faulty Components
Begin by examining internal components for wear or damage. A common culprit is the O-ring, located in various parts of the system. If leaks are present, consider replacing it immediately. These small seals can wear out, leading to pressure loss.
Next, check the inlet filter. Over time, debris can clog this component, causing inadequate water flow. If it appears dirty or blocked, remove and clean or replace it as necessary. A clean filter ensures optimal performance.
Inspect the unloader valve, a critical part of the system responsible for regulating pressure. If it becomes stuck or damaged, it can prevent proper operation. Disassemble it carefully, clean it, and replace any worn springs or seals. This small adjustment can drastically improve functionality.
Look at the pump itself. Signs of leaking fluid or unusual noises indicate potential failure. If the pump has not been serviced in a while, consider replacing seals and gaskets. A well-maintained pump can make all the difference in performance.
Additionally, evaluate the electric motor or gas engine. Listen for unusual sounds while it runs; this might signal deeper issues. If the motor struggles to start or runs inconsistently, it might require brushes or other internal components to be replaced.
Finally, don’t overlook the wand and nozzle. Inspect for clogs or cracks that may hinder water flow. A blocked nozzle can reduce pressure significantly. Replace it with the correct size and type to ensure an effective cleaning experience.



.jpg)


