


Begin by ensuring all components are present before connecting anything. Check the manual for a parts list; it often highlights essential items you might overlook. I recall my first experience – excitement turned to frustration when I found a missing nozzle after starting the assembly.
Next, attach the hose to the unit securely. A loose connection can lead to leaks and diminish performance. I once had a colleague who ignored this step and ended up with a soaking wet garage. The correct attachment should click into place, providing peace of mind.
After securing the hose, focus on connecting the water supply. Ensure the inlet filter is clean to prevent debris from damaging the motor. During my years of testing, I discovered that taking this precaution at the outset significantly extends the lifespan of the equipment.

Fill the detergent tank if applicable, using only the recommended cleaning solutions. I made the mistake of using a generic product once, which resulted in foam everywhere. Always verify compatibility with specific models to avoid mishaps.
Lastly, plug the unit into an appropriate power source and check for any visible damage. Safety comes first; I often remind myself that taking a moment to inspect the device prevents accidents later. A quick glance can save a lot of hassle down the line.
Choosing the Right Location for Your Equipment
For optimal performance, select a flat, stable surface for the apparatus. This prevents any tipping or movement during operation, ensuring safety and effectiveness. If using on an incline, take extra precautions to secure the unit.
Proximity to Water Supply
Positioning close to a water source is vital. A long hose can reduce water pressure, compromising efficiency. Ensure the intake hose fits securely to avoid leaks. If using a garden tap, check that it provides sufficient water flow to meet the machine’s requirements–typically at least 4 litres per minute.
Power Source Considerations
Access to an electrical outlet is necessary. Ensure the location is within reach of a suitable extension cord if needed. Avoid daisy-chaining multiple cords, as this can lead to power loss or overheating. Outdoor-rated cords are a must for safety.
Connecting the Water Supply to Your Karcher Pressure Washer
Begin with a reliable water source; this is fundamental for optimal performance. Use a standard garden hose that meets the required specifications, typically around 3/4 inch in diameter. Ensure the hose is in good condition, without kinks or leaks, as these can reduce flow rate and pressure.
Attaching the Hose
Securely connect one end of the hose to the water inlet on the machine. Make sure to tighten the connection to prevent any leaks. It’s advisable to use a hose connector with a rubber seal for an airtight fit. The other end should be linked to a tap with a steady water supply. If the tap has a filter, ensure it’s clean to avoid obstruction.
Checking Water Quality and Pressure
Before starting, check the water quality. Clear, debris-free water is essential. If there are concerns about sediment, consider using a water filter. Next, turn on the tap fully. The water pressure should be adequate–typically at least 1 bar. If the water flow seems weak, inspect for blockages in the hose or tap.
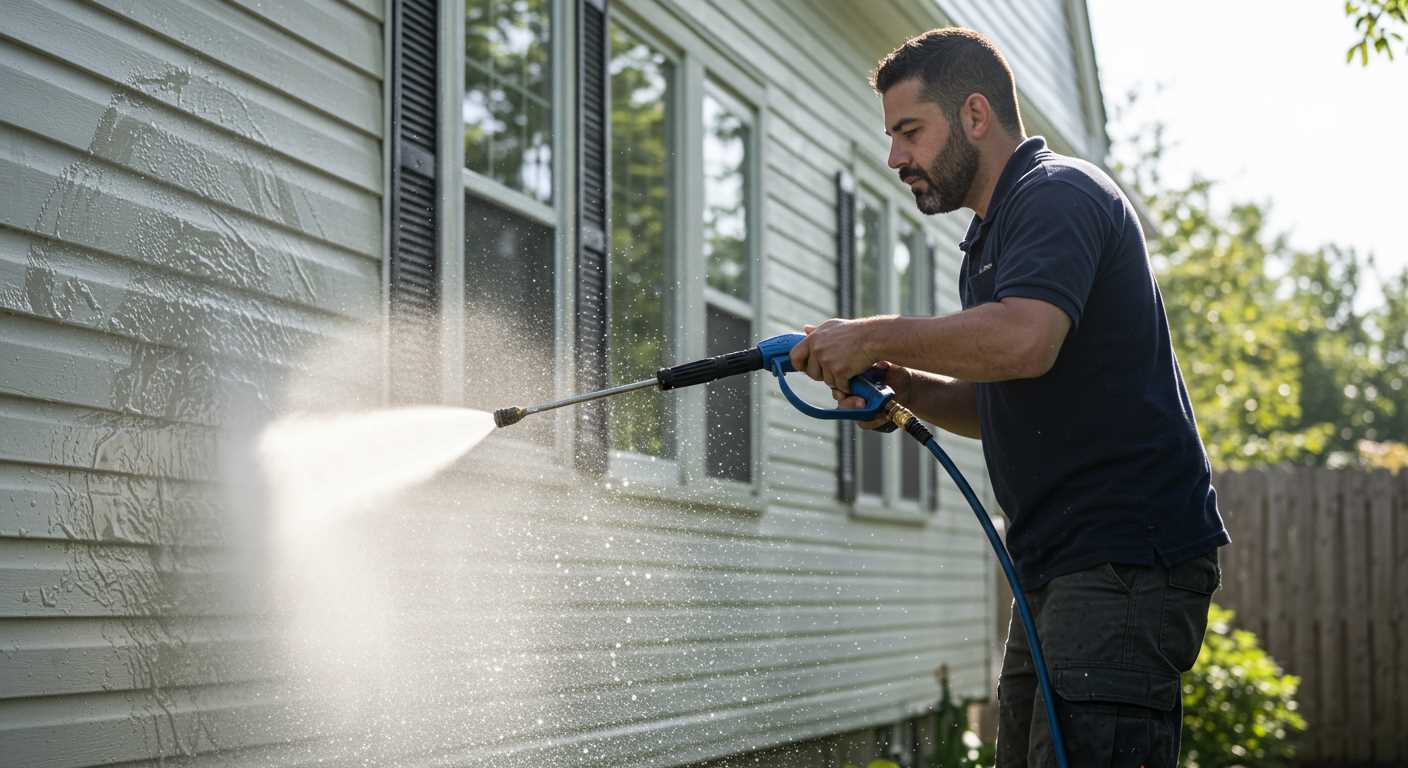
Assembling the Pressure Washer Components Correctly
Begin by ensuring all parts are accessible. Lay out the components on a flat surface. This includes the main unit, hose, gun, nozzle, and any additional accessories. Examine the manual for specific assembly instructions tailored to the model.
First, attach the hose to the main unit. Locate the water inlet, usually marked clearly, and securely fasten the hose end. It should click into place without excessive force; a snug fit is crucial to prevent leaks during operation.
Next, connect the spray gun to the other end of the hose. Align the fittings and twist until tight. Avoid overtightening, as this can damage the threads. A smooth connection ensures optimal performance.
Now, choose the appropriate nozzle for your task. Nozzles typically twist on or click into the gun. Make sure it locks in securely. The right nozzle ensures the correct spray pattern, whether for delicate surfaces or stubborn grime.
Finally, if your model includes additional features like detergent tanks or extension wands, install them according to the guidelines. Ensure each component is firmly attached and check for any visible gaps. This assembly process not only guarantees functionality but also enhances safety during use.
Once everything is in place, conduct a quick visual inspection. Look for any kinks in the hose or loose connections. A thorough check before starting will save time and effort later, ensuring a smooth cleaning experience.
Attaching the High-Pressure Hose and Gun
First, ensure the machine is powered off and unplugged for safety. Locate the high-pressure hose and gun, which are typically stored with the unit. The hose will have specific fittings designed to connect securely to the machine and the gun.
Connecting the Hose
Begin by taking one end of the high-pressure hose and align it with the designated outlet on the unit. Push it firmly into place until you hear a click, indicating it’s locked securely. If there is a locking mechanism, twist it to ensure the hose is fastened properly. This prevents any leaks during operation.
Attaching the Gun
Next, take the other end of the hose and connect it to the gun. Similar to the previous step, insert the hose fitting into the gun’s inlet. Make sure it’s seated correctly and then tighten any clamps or fittings to avoid disconnections while in use. A snug fit is essential to maintain the required pressure.
After both connections, it’s wise to check for any leaks before starting. Turn on the water supply and briefly power on the unit without activating the trigger on the gun. Inspect the hose and gun for any signs of water escaping. If everything looks good, you’re ready for the next step in your cleaning process.
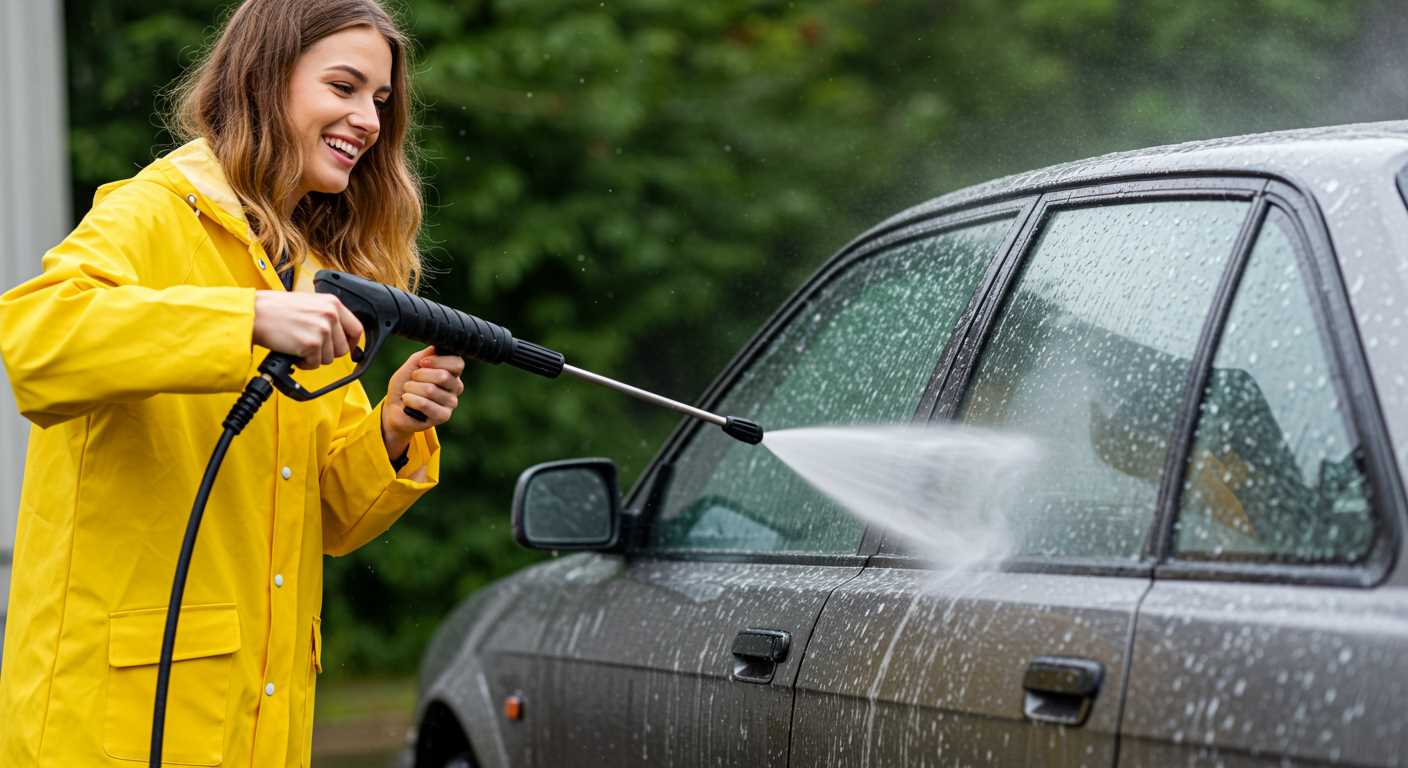
Selecting the Appropriate Nozzle for Your Task
Choosing the correct nozzle can significantly impact your cleaning results. Each nozzle type is designed for specific tasks, ensuring optimal performance and safety.
Types of Nozzles
- 0-degree nozzle: This nozzle creates a concentrated stream, perfect for tough stains on hard surfaces. Use it sparingly to avoid damage.
- 15-degree nozzle: Ideal for removing paint or grime from driveways and patios, it strikes a balance between power and area coverage.
- 25-degree nozzle: A versatile nozzle for general cleaning tasks, suitable for vehicles and outdoor furniture.
- 40-degree nozzle: Designed for light cleaning, such as washing windows or delicate surfaces.
- Soap nozzle: Specifically for applying cleaning solutions, this nozzle has a wider spray pattern that helps distribute soap evenly.
Choosing the Right Nozzle for Your Task
Consider the surface and the type of dirt when selecting a nozzle. For instance, a 0-degree nozzle is effective but may cause damage on softer surfaces if used incorrectly. I recall a client who inadvertently stripped paint from a wooden deck using the wrong nozzle; a lesson learned the hard way.
For vehicles, start with a 25-degree nozzle. This provides enough cleaning power without risking scratches. When dealing with tougher stains, switch to a 15-degree nozzle but maintain a safe distance.
Always test on a small, inconspicuous area first. This approach prevents any unexpected damage and ensures you achieve the desired results. If you’re unsure, refer to manufacturer guidelines or seek advice from experienced users.
Don’t forget to check the compatibility of the nozzle with your equipment model. Using the wrong nozzle can lead to performance issues and might even void your warranty.
Lastly, if you plan to travel with your cleaning equipment, ensure you understand regulations regarding equipment, similar to how you would inquire about are digital cameras allowed in carry on luggage.
Filling the Detergent Tank and Mixing Solutions
Begin with selecting a suitable detergent that aligns with the task at hand. For instance, if tackling grime on a patio, a specific patio cleaner is ideal. Always consult the manufacturer’s guidelines for compatibility.
Follow these steps to fill the detergent tank:

- Ensure the machine is turned off and unplugged.
- Locate the detergent tank, usually positioned near the rear of the unit.
- Open the tank cap carefully to avoid spills.
- Measure the required amount of detergent as per the instructions on the label. Most products will specify a dilution ratio.
- Pour the measured solution into the tank, adding water if necessary to achieve the recommended mix.
- Secure the tank cap tightly to prevent leaks during operation.
It’s wise to keep in mind the following tips:
- Using too much detergent can create excessive foam, hindering the cleaning process.
- Stir the mixture gently if possible, ensuring even distribution of the detergent.
- For stubborn stains, pre-treating the area with a concentrated solution may enhance results.
After filling, test the detergent application by activating the trigger on the lance at a low pressure setting. This ensures proper mixing and flow before tackling larger surfaces. Regularly check the tank during use to maintain optimal detergent levels, especially during extensive cleaning sessions.
Powering On the Pressure Washer Safely
Before activating the machine, ensure all connections are secure and the unit is positioned correctly. A reliable power source is critical; connect the device to an appropriate outlet that matches the voltage requirements specified in the manual. Avoid using extension cords as they can lead to voltage drops, which may harm your equipment.
Checking the Power Supply
Inspect the power cord for any visible damage. A frayed or worn cable can pose a safety hazard. Plug the cord directly into a wall socket, ensuring a snug fit. If the outlet shows signs of wear or damage, do not use it until repaired.

Activating the Equipment
Once the unit is connected, locate the power switch. Engage it to turn on the machine. Allow a moment for the pump to prime. This step is crucial for preventing air from entering the system, ensuring smooth operation. Keep the trigger gun locked until you confirm water is flowing through the nozzle.
| Step | Action |
|---|---|
| 1 | Ensure all connections are secure. |
| 2 | Check the power cord for damage. |
| 3 | Plug directly into a suitable outlet. |
| 4 | Engage the power switch. |
| 5 | Wait for the pump to prime. |
Following these steps safeguards both the user and the equipment. A little caution goes a long way in ensuring a safe and successful cleaning experience.
Conducting a Pre-Use Inspection Before Operating
Begin with a thorough examination of the unit. Check for any visible damage on the frame and components. Look for cracks, dents, or rust that might affect performance. Pay special attention to the power cord; any fraying or exposed wires can pose serious hazards.
Next, inspect the water inlet filter. Debris can obstruct water flow, leading to reduced efficiency. If you notice any clogs, clean it promptly to ensure optimal functioning. Also, examine the high-pressure hose for kinks or leaks; a compromised hose can lead to dangerous situations during operation.
Before powering on, verify that all connections are secure. Loose fittings can result in leaks or pressure loss while in use. I recall a time when I overlooked a loose connection, and it caused a frustrating delay in my cleaning task. Tighten everything to avoid such issues.
Test the safety features. Engage the trigger lock to ensure it functions correctly, preventing accidental activation. This simple step can prevent injuries or mishaps, especially when working in an environment with others around.
Lastly, ensure that the detergent tank is clean and free of residue from previous use. A contaminated tank can affect the mixture and cleaning performance. If you’re using a specific solution, check the manufacturer’s guidelines to ensure compatibility.
Taking these precautions not only enhances safety but also optimises performance. With everything in place, you’ll be ready to tackle the toughest cleaning jobs effectively. If you’re looking for additional tools to assist with your outdoor tasks, consider investing in lawn levelling rakes for that perfect finish.
FAQ:
What do I need to do before using my Karcher pressure washer?
Before using your Karcher pressure washer, it’s important to read the user manual thoroughly. Ensure that you have all necessary components, including the pressure washer itself, the appropriate nozzle, and any attachments you might need. Check the water supply to ensure it is sufficient and clean. Make sure to connect the pressure washer to a power source that matches its specifications. Lastly, inspect the washer for any visible damage or wear that could affect its performance.
How do I connect the hose to my Karcher pressure washer?
To connect the hose to your Karcher pressure washer, locate the water inlet on the machine. Take your garden hose, ensuring it is clean and free of kinks, and attach one end to the water supply. The other end should be securely connected to the water inlet of the pressure washer. Make sure it fits tightly to prevent leaks. Once connected, turn on the water supply to check for any leaks before starting the pressure washer.
What are the different nozzles for and how do I choose the right one?
Karcher pressure washers typically come with various nozzles that have different spray patterns and pressure levels. The most common types are the zero-degree nozzle for concentrated high pressure, the 15-degree nozzle for removing tough grime, the 25-degree nozzle for general cleaning, and the 40-degree nozzle for delicate surfaces. To choose the right one, consider the surface you are cleaning. For heavy-duty tasks like removing paint or oil stains, use a more concentrated nozzle. For washing cars or gentle surfaces, opt for the wider spray angle.
How do I properly maintain my Karcher pressure washer after use?
After using your Karcher pressure washer, it’s important to perform some maintenance to keep it in good condition. First, disconnect the water supply and the power source. Run the machine for a few seconds without water to clear any remaining water from the pump. Clean the nozzles with a small brush to remove any debris that may have accumulated. Store the pressure washer in a dry place, and if you live in a colder climate, consider winterising it to prevent damage from freezing temperatures. Regularly check the hoses and connections for wear and tear.
.jpg)


