


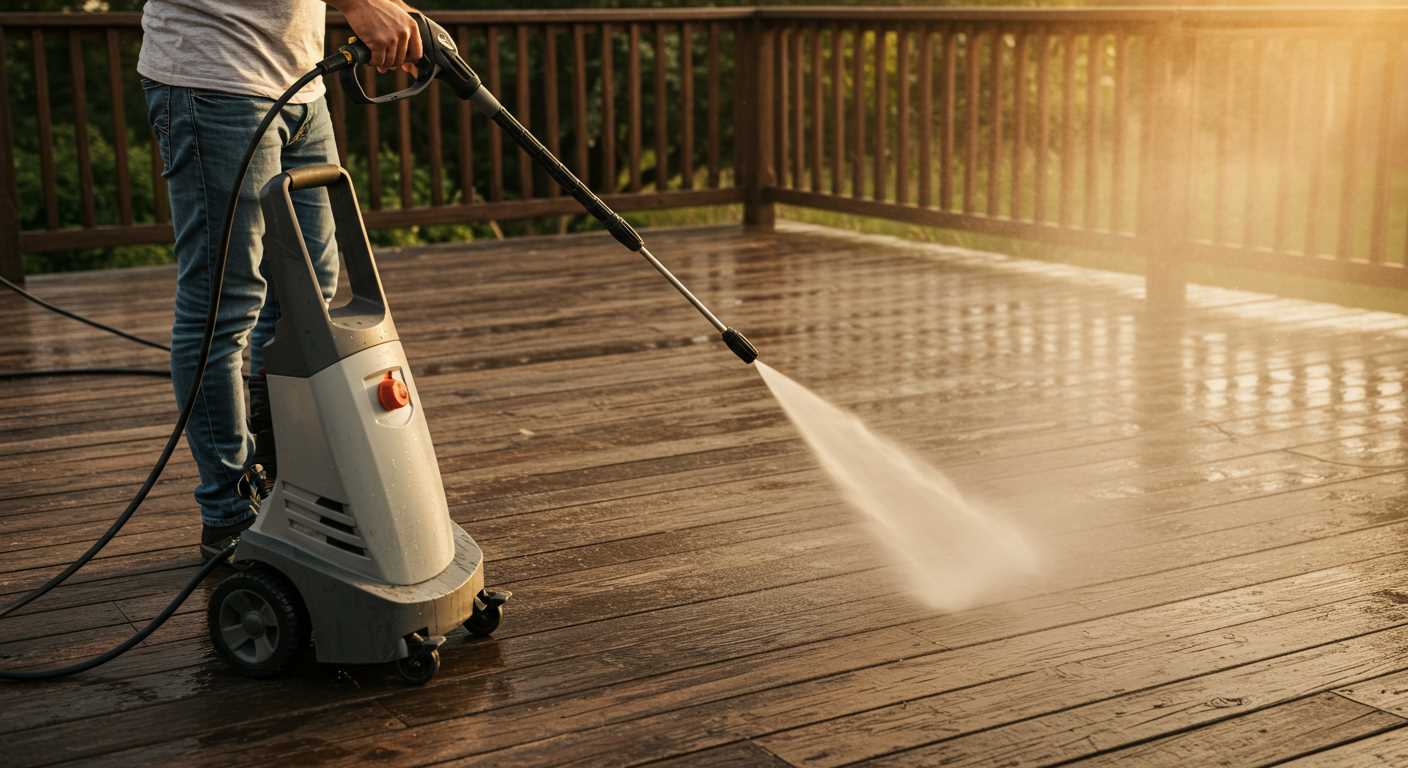
Begin by selecting a suitable cleaning solution designed for high-pressure equipment. Avoid generic household detergents; they can cause damage to the machine or create excessive foam. Look for products specifically formulated for the task at hand, ensuring compatibility with the nozzle and system.
Next, fill the detergent tank with the chosen solution, ensuring not to exceed the recommended fill line. This step is crucial for achieving optimal cleaning results without risking overflow or dilution issues. Secure the lid tightly to prevent any spillage during operation.
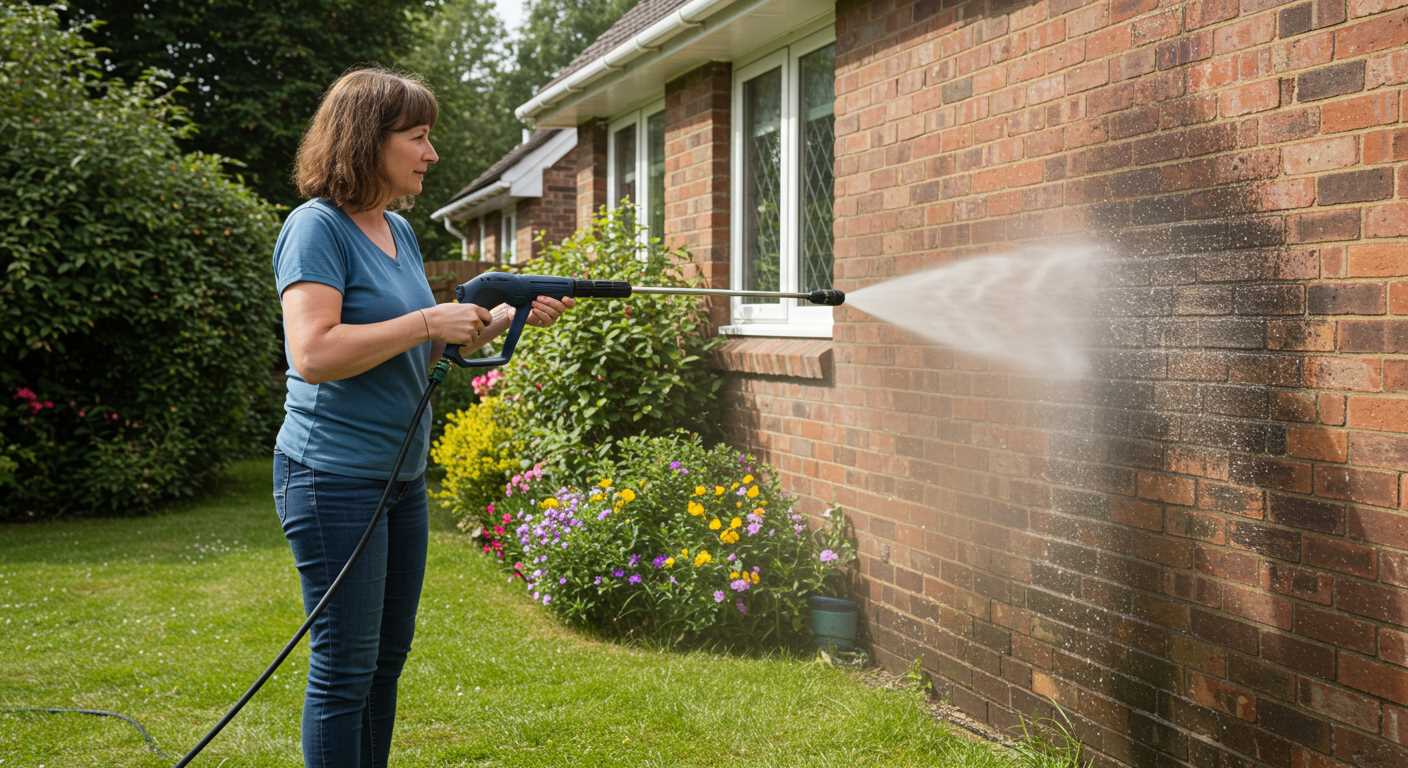
Once everything is in place, adjust the nozzle to the appropriate setting for applying the detergent. A wider spray pattern helps cover larger areas while preventing the risk of damaging fragile surfaces. Start the machine and apply the solution evenly across the surface to be cleaned, allowing it to sit for a few minutes for effective dirt penetration.
After the detergent has had time to work, switch the nozzle to a narrower setting for rinsing. This adjustment will help remove the cleaning solution along with the grime and dirt it has loosened. Rinse thoroughly to ensure no residue remains, as this could lead to streaking or discolouration.
Finally, clean the nozzle and tank after each use to maintain the equipment and ensure longevity. A quick rinse with clean water will suffice, keeping the system ready for the next cleaning task.
Utilising Cleaning Solution with a Ryobi Unit
For optimal results, follow these precise steps when incorporating a cleaning agent into the unit:
- Check the type of detergent compatible with your equipment. Most models support specific formulations designed for pressure applications.
- Locate the detergent tank, usually situated at the rear or side of the machine. Ensure it’s clean and free from any residue from previous use.
- Pour the cleaning solution into the tank, filling it to the indicated level. Avoid overfilling to prevent spills during operation.
- Attach the appropriate nozzle. A low-pressure nozzle is typically required when applying the detergent.
- Start the device and allow it to run for a few moments before activating the detergent function. This primes the system.
- Engage the trigger and begin applying the cleaning solution. Maintain a consistent distance from the surface for even coverage.
- Let the cleaning agent sit for a few minutes to break down grime effectively, but do not allow it to dry on the surface.
After the application, it’s essential to rinse thoroughly with clean water using a high-pressure setting. This ensures all residues are removed, leaving surfaces spotless.
- Regular maintenance of the detergent tank and nozzle will enhance performance and longevity.
- Store any unused cleaning agent in a cool, dry place to maintain its efficacy.
From my experience, testing various formulations revealed that some cleaners work better on specific surfaces than others. Always conduct a small test patch if unsure about compatibility.
Selecting the Right Soap for Your Pressure Washer
The effectiveness of your cleaning task greatly hinges on the type of detergent chosen. Opt for a biodegradable formula specifically designed for high-pressure cleaning equipment. These products are gentle on surfaces while still delivering impressive results. One standout option I’ve frequently recommended is a concentrated cleaner that works particularly well with stubborn stains, such as grease or mould.
Compatibility with Equipment
Always check the manufacturer’s guidelines to ensure compatibility with your equipment. Some cleaners may be too harsh for certain materials, leading to damage. I’ve seen cases where using an unsuitable detergent resulted in the rapid degradation of surface finishes. Look for options that suit the specific types of surfaces you plan to clean, whether it’s concrete, wood, or vehicles.
Environmental Considerations
Choosing eco-friendly products not only protects surfaces but also the environment. Many brands now offer concentrated, eco-friendly options that provide excellent cleaning without harmful chemicals. My personal experience has shown that these alternatives often work just as well as traditional detergents, if not better, while being safer for plants and wildlife. For those considering smaller models, check out small pressure washers aldi for compatible detergents that complement these machines.
Preparing the Equipment for Soap Application
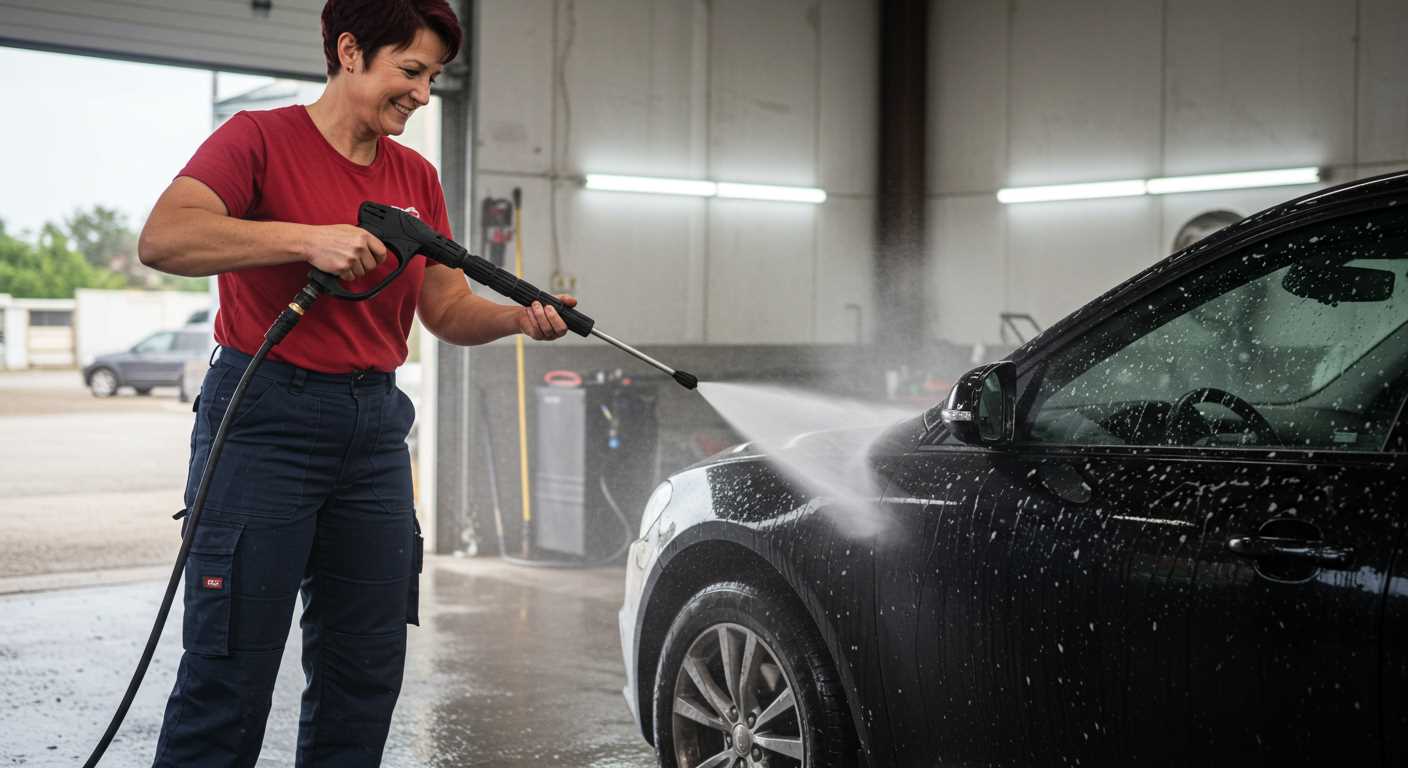
Begin by ensuring the device is turned off and unplugged. This prevents any accidental activation while setting up. Next, inspect the detergent tank for cleanliness. Any residue from previous cleaning agents can affect performance. Rinse the tank thoroughly with water to eliminate any unwanted remnants.
Once the tank is clean, fill it with the selected cleaning solution. Be mindful of the manufacturer’s recommendations regarding dilution ratios. Using the correct concentration maximises the cleaning potential without causing harm to surfaces or the machine.
Attach the appropriate nozzle for soap application. Typically, a low-pressure nozzle facilitates even distribution of the cleaning agent. Ensure it’s securely fastened to prevent any leaks during operation. Check the hose connections for tightness as well; loose fittings can lead to pressure loss.
After securing the nozzle, reconnect the water supply and switch on the device. Allow it to run briefly to ensure that the cleaning solution is being drawn into the system. Observing the flow through the nozzle confirms proper setup.
Finally, adjust the pressure setting if necessary. Lower settings are recommended for applying the cleaning agent, while higher settings can be reserved for rinsing. This ensures thorough application and prevents damage to delicate surfaces.
Mixing Soap with Water: The Correct Ratio
For optimal cleaning results, a specific ratio of detergent to water is critical. Based on my experience, a mix of 1 part soap to 5 parts water works effectively for most applications. This dilution ensures that the cleaning solution adheres well to surfaces while preventing any residue that could harm the equipment or surfaces being cleaned.
- For light cleaning: Use a ratio of 1:10 (1 part detergent to 10 parts water). This is suitable for dust or light grime.
- For moderate stains: A mix of 1:5 strikes the right balance, tackling tougher dirt without risking damage.
- For heavy-duty tasks: A stronger blend of 1:3 may be necessary for stubborn stains, but always test a small area first.
Mix the solution in a clean container, stirring gently to avoid excessive foaming. This will ensure an even distribution of the detergent, making it easier to apply. After mixing, pour the solution into the designated soap reservoir of your cleaning device.
Always follow the manufacturer’s guidelines on the detergent to avoid compatibility issues. Some soaps can be too harsh and may damage components. If unsure, consult product documentation or contact the manufacturer.
When cleaning with these mixtures, it’s wise to wear protective gear and ensure the area is well-ventilated. For those curious about travel restrictions with equipment, check out this resource on digital cameras and airplane policies.
Loading Soap into the Pressure Washer Detergent Tank
Begin by ensuring the machine is off and disconnected from the power source. Open the detergent tank, typically located on the side or rear of the unit. Depending on the model, it may require twisting or lifting the cap. Fill the tank with the recommended cleaning solution, ensuring not to exceed the maximum fill line indicated inside the tank. A funnel can simplify this step, reducing spills and mess.
Checking for Compatibility
Verify the cleaning product is suitable for high-pressure applications. Some solutions are too thick and can clog the system. A liquid detergent that is specifically designed for pressure cleaning equipment is ideal. If unsure, consult the user manual or the manufacturer’s website. It’s wise to test a small batch first to observe how well the solution mixes and flows through the system.
Securing the Tank
After filling, securely close the detergent tank to prevent leaks during operation. Double-check that the cap is tightened adequately. The last thing needed is a mess while working on a cleaning task. Once everything is in place, you’re set for an effective wash session. Happy cleaning!
Adjusting the Pressure Washer Settings for Soap Use
Setting the correct pressure is crucial for optimal detergent application. Begin by switching the device to the low-pressure setting, typically indicated by a specific nozzle, often coloured differently from the high-pressure options. This adjustment ensures a gentle distribution of the cleaning solution without risking damage to surfaces.
For most applications, a fan nozzle or soap nozzle works best. These nozzles create a wider spray pattern, allowing for even coverage. I recall a time when I mistakenly used a narrow nozzle while applying a cleaning agent, resulting in uneven distribution and an unclean finish. Lesson learned: always choose the right nozzle for soap.
Next, check the detergent flow control. Some models feature a dial or lever that regulates how much solution is mixed with the water. Adjust this to a medium setting initially, then increase or decrease based on the surface being cleaned. A too-high concentration can lead to residue, while too little may not provide adequate cleaning power.
Before starting, ensure the solution is primed in the system. Run the unit briefly without the nozzle to allow the detergent to flow through the hose. This step prevents air locks and guarantees that the soap reaches its destination effectively.
Finally, after applying the cleaning agent, always rinse thoroughly with clean water. This step not only ensures that no residue remains but also helps to prevent streaks or marks on the surface. Following these adjustments and practices will lead to a more satisfying cleaning experience.
Applying Soap to Surfaces: Best Practices
For optimal results, always start from the bottom and work your way up. This technique allows the cleaning solution to cling to vertical surfaces for longer, ensuring a thorough clean. If you’re tackling a particularly dirty area, consider applying a second coat after the initial layer has set for a few minutes. This approach breaks down stubborn grime effectively.
Surface Preparation
Before applying any cleaning solution, ensure the surface is free from loose debris. A quick sweep or rinse can prevent dirt from mixing with the detergent, which can lead to streaks. For porous surfaces, like concrete or brick, pre-wetting is advisable. This helps the cleaner penetrate better and reduces absorption, making the cleaning process more effective.
Timing and Technique
Allow the cleaning agent to sit for the recommended time, usually around 5 to 10 minutes, depending on the product. Avoid letting it dry on the surface, as this can leave residue. For rinsing, use a wider fan spray pattern to avoid damaging delicate surfaces, and maintain a safe distance to prevent any potential harm. Always rinse from the top down, following the same order as the application.
Lastly, consider the weather. Avoid applying in direct sunlight or windy conditions; these factors can cause the solution to dry out too quickly, reducing its effectiveness. By following these simple practices, you can ensure a thorough and efficient cleaning process every time.
Cleaning and Storing the Pressure Washer After Use
After each cleaning session, an immediate rinse of the unit is crucial. Disconnect the water supply and run the machine for a minute to clear out any residue. This prevents soap from clogging the components.
For best results, follow these steps:
| Step | Action |
|---|---|
| 1 | Detach all hoses and nozzles. |
| 2 | Flush the detergent tank with clean water, ensuring no remnants are left behind. |
| 3 | Clean the filter screen; this helps maintain optimal performance. |
| 4 | Inspect the spray gun and wand for any blockages. |
| 5 | Wipe down the exterior surfaces to remove any dirt or soap residue. |
Storing the unit properly extends its lifespan. Keep it in a cool, dry place, away from direct sunlight. If the temperature drops below freezing, winterize by draining all water from the system. This prevents damage from ice expansion.
Lastly, consider covering the equipment with a protective tarp or bag to shield it from dust and moisture. A well-maintained piece of equipment will always deliver reliable results for future cleaning tasks.
FAQ:
How do I add soap to my Ryobi pressure washer?
To add soap to your Ryobi pressure washer, locate the soap tank, which is typically found on the machine’s body. Open the tank and pour in the appropriate pressure washer soap, following the manufacturer’s instructions for dilution if necessary. Once filled, ensure the tank is securely closed before starting the pressure washer.
Can I use any soap in my Ryobi pressure washer?
No, it is recommended to use a soap specifically designed for pressure washers. Regular household soaps may create excessive foam or damage the machine. Check the user manual for compatible soap brands or types to ensure optimal performance and safety.
What is the correct soap-to-water ratio for my Ryobi pressure washer?
The soap-to-water ratio can vary depending on the product you are using. Generally, it is advisable to follow the instructions provided on the soap container. Most pressure washer soaps recommend a dilution ratio of around 1:5 or 1:10, depending on the level of cleaning required.
How do I switch from soap mode back to regular pressure washing?
To switch from soap mode back to regular pressure washing on your Ryobi pressure washer, you need to change the nozzle. Remove the soap nozzle and replace it with a high-pressure nozzle, usually coloured green or yellow. Ensure the soap tank is either empty or rinsed out to avoid mixing soaps with water during regular use.
Is it safe to leave soap in the tank of my Ryobi pressure washer?
It is not advisable to leave soap in the tank for extended periods. Soap can become thick and clog the system, affecting performance. After using the soap, it is best to rinse the tank with clean water to remove any residue, ensuring the pressure washer works effectively next time.

.jpg)


