


To achieve optimal performance from a karate pressure cleaner, ensure the nozzle is correctly adjusted for the task at hand. For instance, using a narrow nozzle for stubborn stains on concrete surfaces dramatically boosts cleaning power. Conversely, a wider nozzle is ideal for delicate surfaces like wood or vehicles, preventing damage while still delivering effective results.
Before starting, check the water supply thoroughly. A consistent flow is vital; any interruptions can hinder the cleaning process. I recall a time when I neglected this step, leading to a frustrating pause in my work as I had to resolve a low water flow issue mid-clean. A simple pre-check could have saved me time and effort.

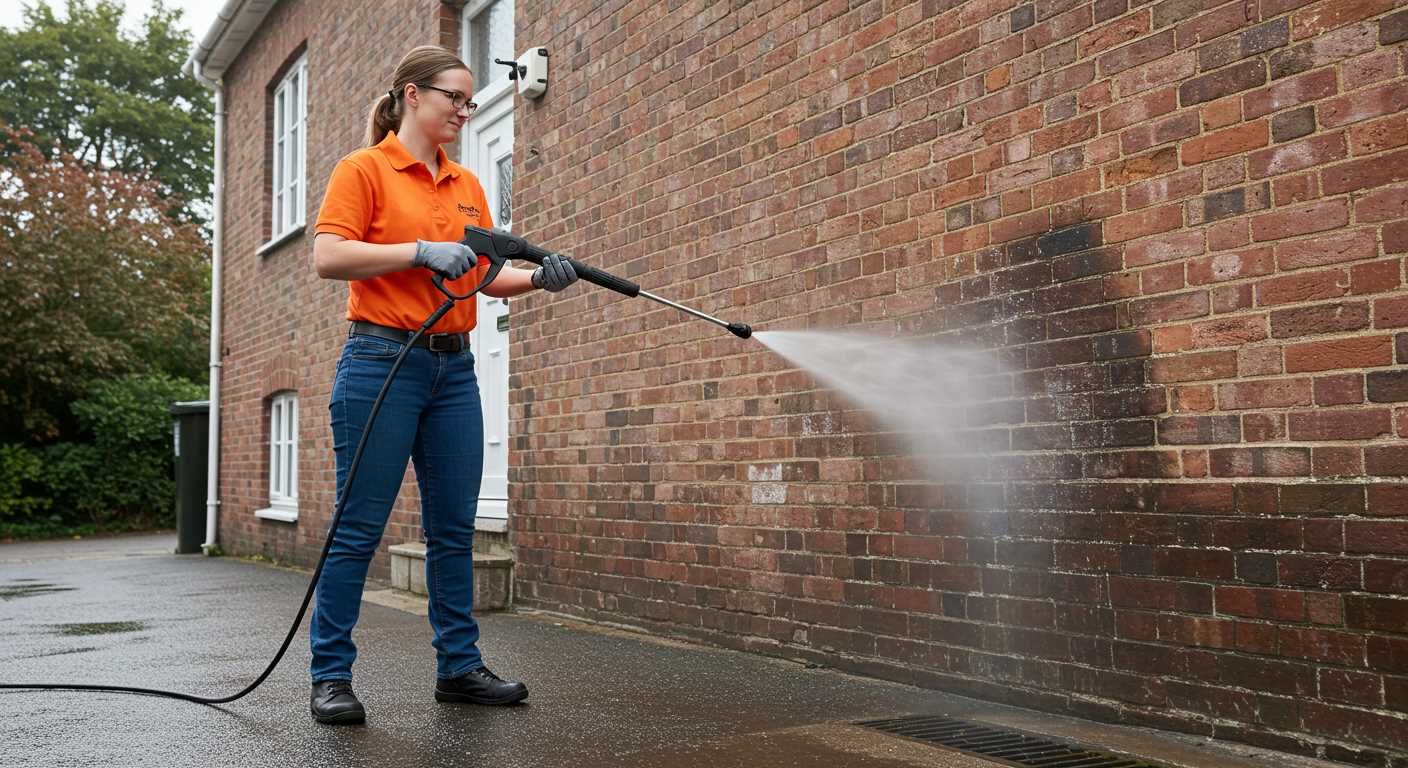
Always keep safety in mind. Protective gear, including gloves and goggles, is non-negotiable. I’ve experienced the sting of water spray hitting my skin, especially at high pressure. It’s a lesson learned the hard way. Ensuring a firm grip on the handle and a stable stance also minimises the risk of slips or accidents during operation.
Regular maintenance of the equipment is as crucial as its use. After each cleaning session, I take the time to flush out any remaining detergent and check for clogs in the nozzle. This practice extends the life of the machine and preserves its effectiveness. The cleaner the machine, the better the results, as I’ve consistently found throughout my years of experience.
Understanding the Components of a Karate Pressure Washer
Familiarity with key elements of this cleaning apparatus significantly enhances operational proficiency. The motor serves as the powerhouse, converting electrical energy into mechanical power, which drives the pump. A robust motor ensures consistent performance and durability.
The pump is critical, as it generates high-pressure water flow. Types include axial and triplex, with triplex pumps often being more durable and efficient for heavy-duty tasks. Regular maintenance of the pump, including checking for leaks and ensuring proper lubrication, extends its lifespan.
Next, consider the nozzle assembly, which determines water spray pattern and pressure. Various nozzles, such as adjustable or quick-connect types, allow for versatile applications. Choosing the right nozzle for the task at hand optimises cleaning effectiveness while preventing damage to surfaces.
The hose, typically reinforced and of varying lengths, must withstand high pressure without kinking or leaking. A longer hose provides flexibility but may reduce pressure slightly due to friction; balance is key. Regularly inspect the hose for wear and replace it if necessary.
Many models feature a detergent tank, enabling the use of cleaning solutions. This component should be compatible with the machine and safe for the surfaces being treated. Proper dilution and application techniques are crucial for achieving the desired results without residue.
Finally, the chassis or frame provides structural integrity and portability. A sturdy frame supports the machine during operation, while wheels facilitate mobility. Ensure that the frame is lightweight yet robust enough to handle the rigours of frequent use.
Understanding these components not only aids in efficient operation but also informs maintenance practices. Regular checks and timely replacements can prevent costly repairs and ensure reliable performance over time.
Preparing Your Workspace Before Using the Washer
Clear the area of any obstacles. Move furniture, planters, or vehicles out of the way to ensure unimpeded access to the surfaces needing attention. This not only prevents damage but also allows for a thorough clean.
Check the surroundings for delicate items. Remove or cover fragile objects like garden ornaments or outdoor decorations. It’s surprising how a stray stream of water can cause unintended consequences.
Assess for electrical hazards. Ensure no power cords or outlets are within the splash zone. Wet electrical components can pose serious risks, so maintaining a dry environment is paramount.
Prepare the surface to be cleaned. Sweep away debris, dirt, and leaves. A clean surface allows for better results, as it prevents larger particles from scratching the area during the cleaning process.
Identify and secure any nearby plants. Cover them with tarps or plastic sheets to protect from overspray and chemical cleaners. I once neglected this step and ended up with a few wilting plants after a deep clean.
Gather all necessary supplies. Ensure the solution tank is filled with the correct cleaning formula, if applicable, and check that all attachments are readily available. Having everything at hand streamlines the task and enhances productivity.
Ensure proper drainage. If working on a sloped surface, position yourself so that water flows away from structures and does not pool. This small detail prevents water damage and allows for easy clean-up afterwards.
Finally, double-check the weather. A sudden rain can ruin the whole operation. If conditions are unfavourable, it’s wise to postpone. I’ve experienced the frustration of having to halt a project midway due to unexpected downpours.
Connecting the Washer to a Water Source
Begin by ensuring the water supply is turned on. Attach one end of the garden hose to the tap, ensuring a tight fit to prevent leaks. The other end connects to the inlet on the cleaning device. Check that the connection is secure, as a loose joint can lead to pressure loss and inefficient operation.
For optimal performance, utilise a hose of at least 3/4 inch diameter. Thinner hoses can restrict water flow, affecting pressure output. If the distance from the water source is considerable, consider using a longer hose, but avoid excessive length to maintain water pressure.
If using a portable water source, such as a tank, ensure it is filled adequately. An insufficient water supply can cause the motor to overheat. It’s wise to inspect the hose for any kinks or damage before starting the equipment.
In situations with fluctuating water pressure, installing a pressure regulator may be beneficial. This device helps manage the flow, ensuring consistent performance. Always ensure the hose is free from blockages before connecting.
Once everything is connected, briefly turn on the unit to clear any air from the line. This step primes the system and prepares it for use. Check for leaks at all connection points; any signs of dripping should be addressed immediately to avoid further complications during operation.
Choosing the Appropriate Nozzle for Your Task
Selecting the right nozzle can drastically alter the outcome of any cleaning project. Each nozzle type serves a specific purpose, allowing for optimal performance based on the surface and dirt level.
| Nozzle Type | Angle | Best For | Pressure |
|---|---|---|---|
| Red | 0° | Heavy-duty tasks, stubborn stains | High pressure |
| Yellow | 15° | Paint stripping, tough grime | High pressure |
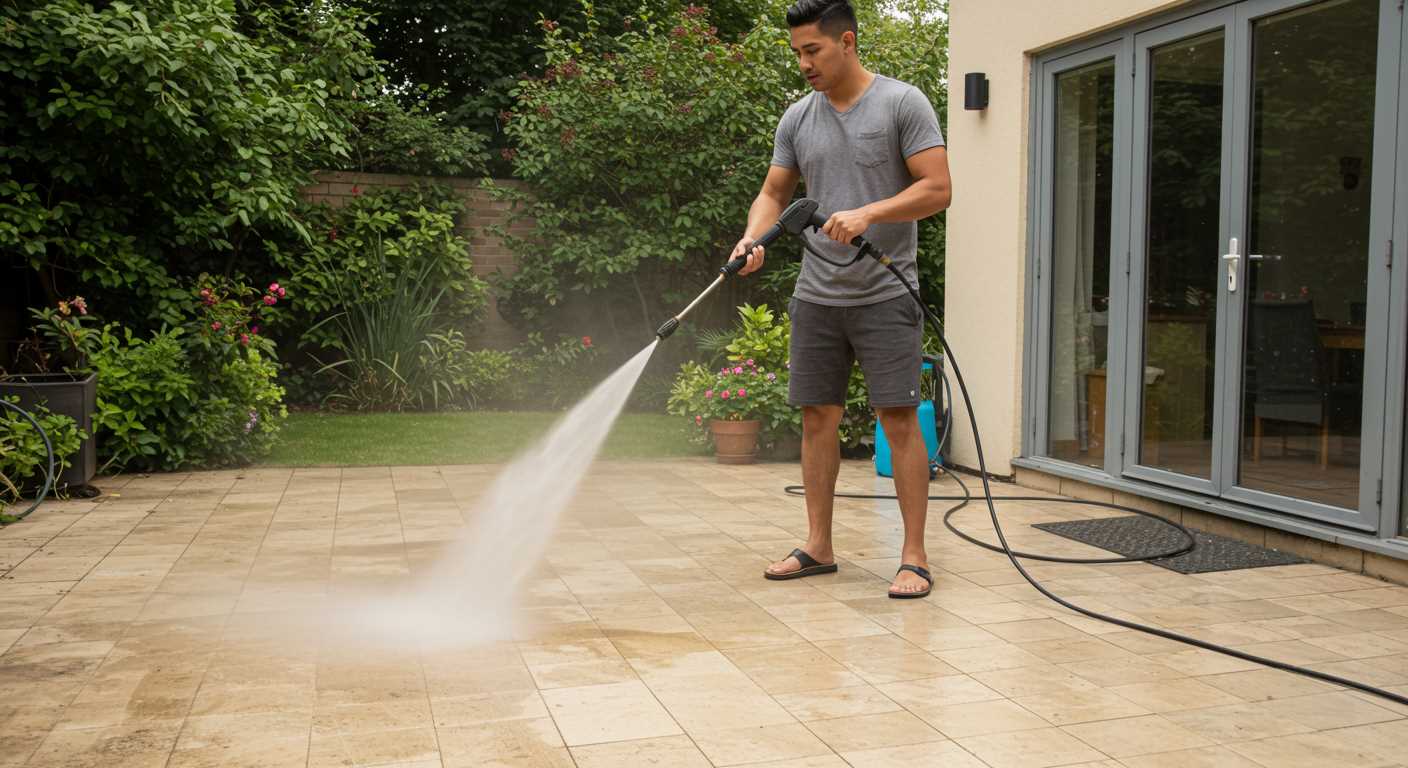
| Green | 25° | General cleaning, driveways, patios | Medium pressure |
| White | 40° | Washing vehicles, delicate surfaces | Low pressure |
| Soap | N/A | Applying detergents | Low pressure |
A personal experience comes to mind regarding the red nozzle. I was tackling an old, oil-stained driveway that had seen better days. Armed with this nozzle, I was able to blast away years of grime with precision. However, caution is key; the power can easily damage softer surfaces if misused. For less resilient areas like vehicles, a white nozzle is ideal. It provides a gentle yet thorough clean without risking scratches.
For general outdoor surfaces, the green nozzle strikes a balance between pressure and coverage. I often recommend it for tackling patio furniture and outdoor equipment. It’s versatile enough for various tasks and makes swift work of common debris.
Remember to consider the specific cleaning agents needed for certain nozzles. The soap nozzle is indispensable for applying detergents, ensuring they penetrate effectively before rinsing. Understanding the function of each nozzle type will enhance overall efficiency and results.
Setting up the washer for optimal performance
Ensure the following steps are taken to maximise efficiency and longevity of the device:
-
Check the oil level: For models that require engine oil, verify the oil level before starting. Low oil can lead to engine damage.
Must-Have Westinghouse ePX3100v Electric Pressure WasherPortable power for all your cleaning needsWith 2100 PSI and a lightweight design, this electric pressure washer offers deep-cleaning power and excellent portability, making it suitable for a variety of outdoor tasks.
 -
Inspect hoses and connections: Look for any signs of wear or leaks in hoses. A damaged hose can reduce pressure and cause inefficiencies.
-
Choose the right detergent: Selecting a suitable cleaning solution enhances performance. For instance, using pressure washer detergent for vinyl siding can significantly improve cleaning results on vinyl surfaces.
-
Adjust water flow: Ensure the water supply is adequate. Insufficient water can lead to overheating and reduced effectiveness. Aim for a steady flow without restrictions.
-
Warm-up period: Allow the unit to warm up for a few minutes if it has a combustion engine. This helps in achieving better performance right from the start.
-
Test spray pattern: Before tackling the main task, test the spray on a small, inconspicuous area. This ensures that the chosen nozzle and pressure settings are appropriate.
-
Maintain cleanliness: After each use, clean out any remaining detergent from the system to prevent clogging. This simple action can prolong the lifespan of the equipment.
Every detail counts in achieving the desired results. A well-maintained device not only performs better but also extends its operational life. Just like a digital camera is an example of a computer peripheral, proper setup is key to capturing the right moments, or in this case, ensuring a clean finish on your surfaces.
Operating the Equipment Safely and Effectively
Always wear protective gear, including safety goggles, gloves, and non-slip footwear. This safeguards against debris and any potential harm from the intense stream of water. A moment of carelessness can lead to injuries, so prioritising safety is paramount.
Before starting, ensure the area is clear of any obstacles or hazards. Inspect the surroundings for electrical wires or fragile items that could be damaged. A clean workspace minimises distractions and potential accidents.
Maintain Proper Distance
Keep a safe distance from surfaces and objects while using the device. Typically, a distance of 2 to 4 feet is advisable to avoid damage. Adjust your stance and angle to control the force of the stream, reducing the risk of unwanted gouges or scratches.
Monitor Water Supply
Check for consistent water flow throughout the operation. An interruption can lead to overheating or damage to the motor. If the flow decreases, pause and investigate the cause before continuing. Staying alert to changes ensures smooth operation and prolongs the lifespan of the equipment.
Maintaining the Equipment After Use
After a session of cleaning, a few straightforward steps ensure longevity and consistent performance of the unit.
Cleaning the Components
Begin with detaching the hose and nozzle. Rinse them thoroughly to eliminate any residual detergent or dirt. A simple water flush can prevent clogs.
- Inspect the nozzle for blockages; use a straightened paperclip if needed.
- Check for any wear on hoses and connections.
Storing Safely
Proper storage is crucial. Store the unit indoors to protect it from extreme weather. If leaving it outside is unavoidable, invest in a quality cover.
- Wind the hose neatly to prevent kinks.
- Ensure all components are dry to avoid rusting.
Before the next use, do a quick visual check for any visible damage. This habit can save time and prevent bigger issues down the line.
Troubleshooting Common Issues with Karate Pressure Washers
If the unit fails to start, check the power supply first. Ensure the outlet is functioning by testing it with another device. If there’s no power, inspect the extension cord for damage. A faulty cord can prevent the equipment from receiving the necessary voltage.
When water fails to flow, confirm that the water source is fully open. Sometimes, debris can clog the inlet filter. Remove the filter and clean it thoroughly; this simple step often resolves the issue. Additionally, verify that all hoses are securely connected to avoid leaks.
Should the machine produce weak spray, consider the nozzle choice. A blocked or incorrect nozzle can significantly reduce performance. Swap it with an appropriate one for the task. Also, inspect the hose for kinks or blockages that may impede water flow.
If the engine runs but the spray is inconsistent, check for air in the system. Remove the nozzle and run the unit for a few moments to purge air. Reattach the nozzle and test again. Persistent issues might indicate a problem with the pump, which may require professional assessment.
In cases where there is excessive vibration or noise, inspect the motor mount and ensure all screws are tight. Loose components can lead to instability during operation. If sounds persist, it might be a sign of internal damage, necessitating a technician’s evaluation.
Lastly, if the equipment shows signs of leaking, identify the source. Hose connections are common culprits. Tighten or replace fittings as needed. If leaks originate from the pump area, it may require a seal replacement or complete pump overhaul.

.jpg)


