


Begin your journey with the user guide firmly in hand. This document is your roadmap to operating your equipment safely and effectively. Familiarise yourself with the layout, paying particular attention to the diagrams and safety instructions. Knowing each part’s function will save you time and frustration during your cleaning tasks.
It’s crucial to prepare your workspace before activating your device. Clear the area of any debris and ensure that all surfaces are free from obstacles. I recall a time when I neglected this step, only to find myself wrestling with tangled hoses amidst my cleaning endeavour. Inevitably, I learned that a clean workspace not only enhances safety but also boosts efficiency.
Next, select the appropriate nozzle based on the surface you intend to clean. The guide provides valuable insights into the various options available, such as the fan spray for broader areas or a pinpoint stream for stubborn stains. During my years of testing, I discovered that using the right nozzle can reduce cleaning time significantly; it’s a game changer for achieving pristine results.
Don’t overlook the importance of regular maintenance as outlined in the guide. Cleaning the filter and checking the hose for any signs of wear can prolong the life of your device. I once encountered a performance issue due to neglecting this aspect, which prompted me to become more diligent. A little attention goes a long way in ensuring your equipment operates at its best.
Operating Your Stanley Electric Pressure Cleaner
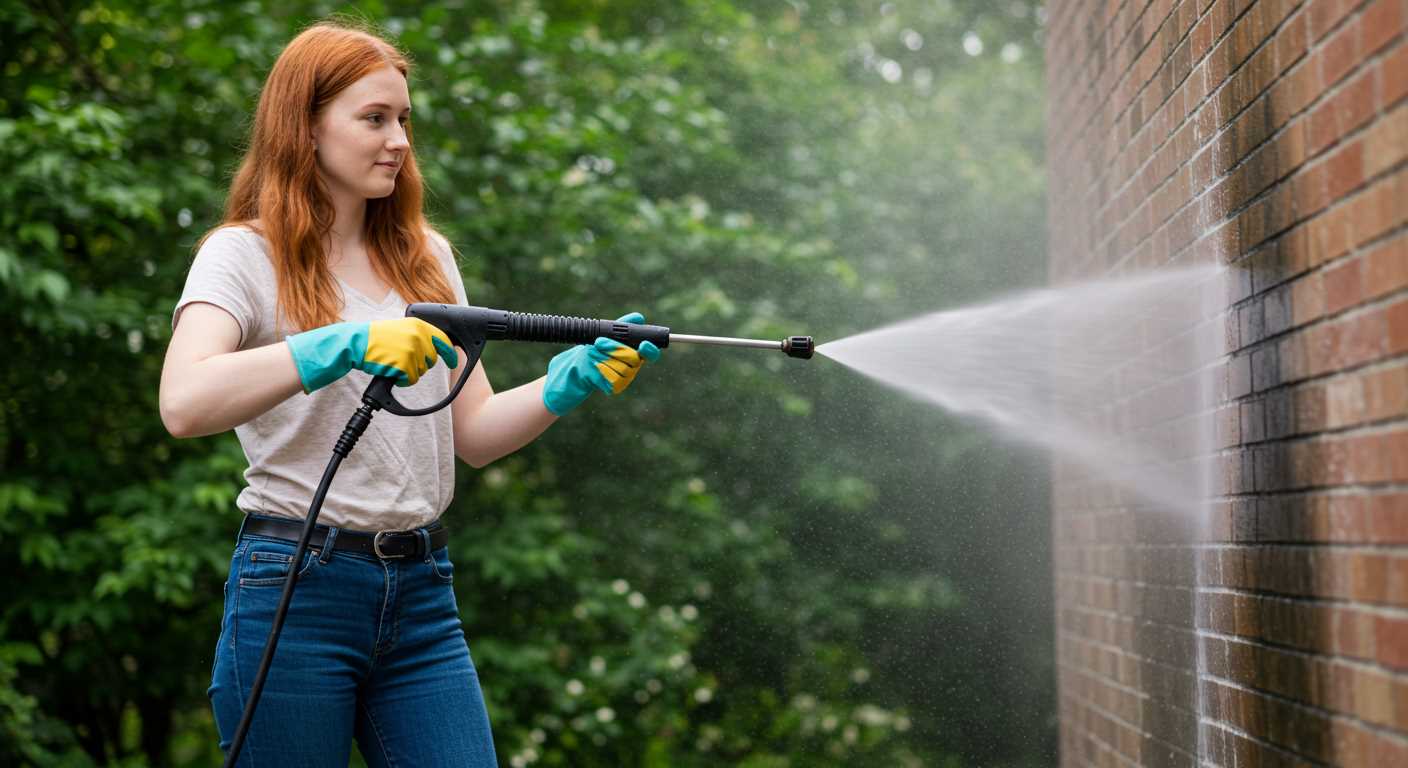
For optimal performance, read the safety precautions before you begin your tasks. Ensure the unit is on a stable surface and that the power cord is in good condition. A significant tip is to attach the appropriate nozzle; selecting the right spray pattern can make a huge difference in cleaning efficiency. For tougher stains, a narrower spray is often more effective.

Before starting, check the water supply to ensure it’s adequate. The cleaner needs a constant flow to function properly. I’ve encountered instances where insufficient water led to overheating and disruptions. Always keep an eye on the water flow; if it seems low, pause and investigate.
When ready, plug the device into a grounded outlet and turn it on. To maintain control, hold the wand firmly and adjust your grip according to the angle of the spray. Don’t underestimate the benefits of using a telescoping wand for pressure washer–it extends your reach and reduces strain on your back.
After use, disconnect the power and water supply. It’s crucial to relieve any pressure in the system by squeezing the trigger before storing. I’ve seen units damaged because users neglected this step, leading to costly repairs.
Cleaning the unit is just as important as using it. Rinse the nozzle to prevent clogs, and store it in a dry place to prolong its lifespan. If you have pets, be cautious about their proximity; some may be curious about the equipment. For those concerned, asking can an electric fence harm a dog is a smart move, as it’s vital to keep them safe from any potential hazards.
Understanding the Components of Your Pressure Washer
Familiarising yourself with each part of your cleaning device can significantly enhance your experience and effectiveness. Here’s a breakdown of the key components you’ll encounter:
Key Parts Overview
| Component | Function |
|---|---|
| Motor | Powers the entire system, converting electrical energy into mechanical energy. |
| Pump | Generates the high-pressure water stream, crucial for effective cleaning. |
| Trigger Gun | Controls the water flow; releasing it allows water to spray out. |
| Nozzle | Adjusts the spray pattern, from a narrow jet to a wide fan, depending on the task. |
| Hose | Connects the trigger gun to the pump, allowing water to flow under pressure. |
| Wheels | Facilitate mobility, making it easier to manoeuvre the device during cleaning tasks. |
Tips for Maintenance
Regular maintenance of these components ensures longevity and peak performance. For example, I’ve found that keeping the nozzle clean prevents clogs that can affect water pressure. Similarly, examining the hose for any kinks or leaks before starting can save you from potential frustrations mid-task. Always refer to the specific guidelines associated with each part for optimal upkeep.
Proper Assembly of Your Cleaning Device
Begin by ensuring all components are laid out clearly. This includes the main unit, hose, nozzle, and any additional attachments. Refer to the list of parts in your guide to confirm nothing is missing.
Attach the handle securely to the main unit. Usually, this involves aligning the handle with designated slots and fastening screws in place. Make sure it feels sturdy; a loose handle can lead to difficulties during operation.
Next, connect the high-pressure hose to the designated port on the unit. Look for a quick-connect feature or a threaded connection. Ensure the connection is tight but avoid overtightening, as this may damage the fittings.
Now, fit the nozzle onto the end of the hose. Depending on the type of nozzle, you may need to twist it into place or push it until it clicks. Check for any leaks by turning on the device briefly without applying pressure.
If your model has additional attachments, like a foam cannon or surface cleaner, attach these as per the instructions provided. Each accessory typically has a specific connection method, so verify compatibility.
Finally, check the water supply connection. Use a garden hose that fits securely into the inlet. Ensure there are no kinks or blockages in the hose for optimal water flow.
After assembling, review your work against the guide to confirm every part is correctly installed. A pre-operation check is crucial to avoid mishaps while cleaning.
Setting Up the Water Supply for Optimal Performance
Ensure a steady and clean water source for maximum output. Start by connecting a 3/4-inch garden hose to your water supply. This size is ideal for providing sufficient flow without causing pressure loss.
Water Source Requirements
- The water supply should deliver at least 5 litres per minute.
- Check for debris or blockages that might restrict water flow.
- A filter can prevent small particles from entering the unit.
Connection Tips
- Attach the hose firmly to both the water source and the machine to avoid leaks.
- Ensure the hose is free from kinks or sharp bends that could hinder flow.
- Turn on the water supply before starting the cleaning equipment to fill the system and prevent air pockets.
After setting up, run the unit briefly to test water flow and check for leaks. Adjust connections as necessary. This setup enhances performance and durability, keeping your cleaning tasks smooth and efficient.
Choosing the Right Nozzle for Your Cleaning Task
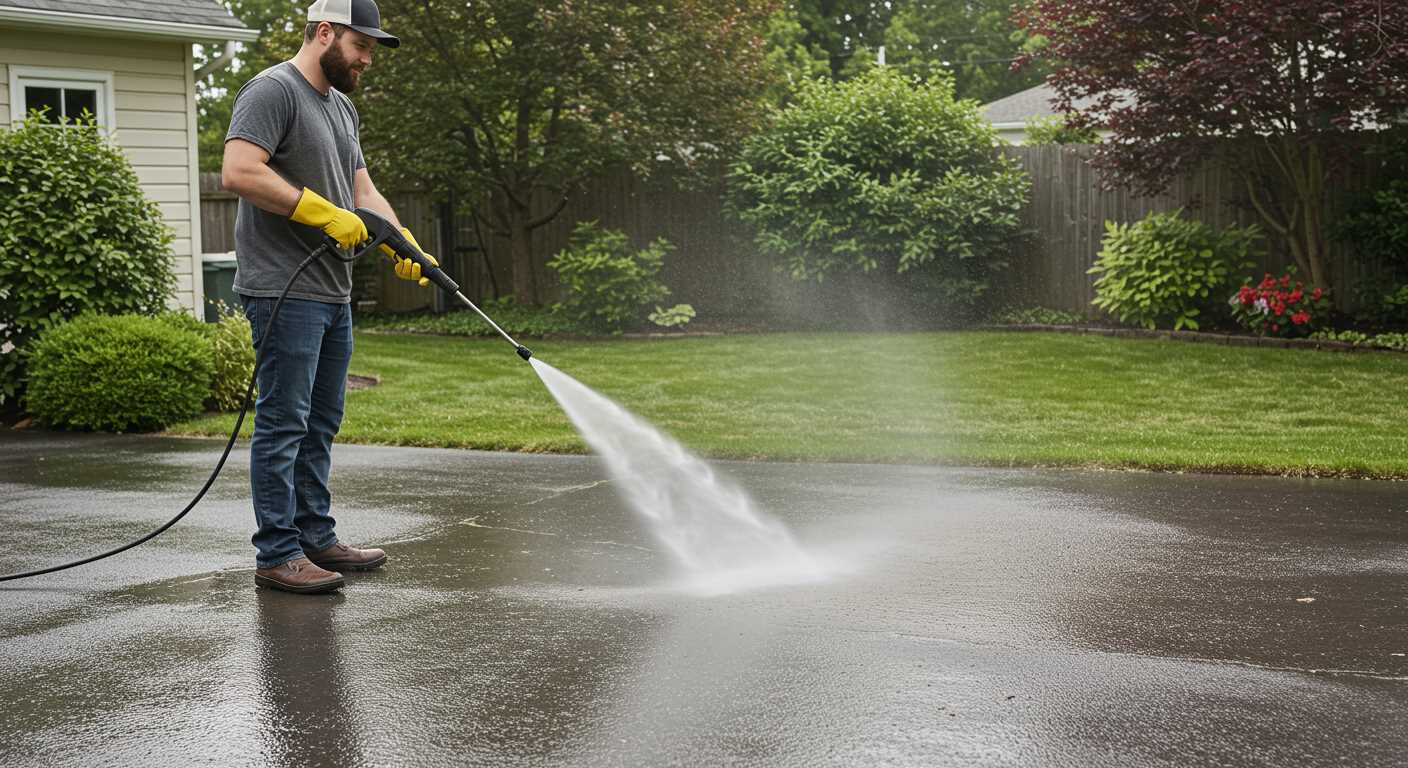
Selecting the appropriate nozzle can drastically alter your cleaning outcome. For instance, during a recent project to clean a driveway, I opted for a 15-degree nozzle. This choice enabled me to tackle tough stains with precision, cutting through grime effectively. Meanwhile, a 25-degree nozzle would have been more suitable for washing the car, offering broader coverage without the risk of damaging the paintwork.
Different nozzles serve distinct purposes. The 0-degree nozzle is your go-to for stubborn, ingrained dirt. However, this high-pressure stream can damage delicate surfaces, so use it judiciously. The 15-degree variant works well for hard surfaces like concrete, while the 25-degree nozzle strikes a balance between power and safety, ideal for softer surfaces or general cleaning tasks.
For delicate tasks, such as cleaning outdoor furniture or windows, a 40-degree nozzle is preferable. This nozzle provides a gentle spray that effectively removes dirt without causing harm. I once used it on my patio furniture, and the results were impressive–no scratches, just a fresh, clean look.
Adjustable nozzles offer versatility. I find them particularly handy when switching between tasks. With just a twist, you can modify the spray pattern, saving time and effort. However, ensure you select the right setting for each task to avoid mishaps.
Always consider the surface you’re cleaning. For porous materials like wood, it’s crucial to use a less aggressive nozzle to prevent damage. I made this mistake once, using a high-pressure nozzle on a wooden deck, and it resulted in splintering. Learning from that experience, I now approach wood with caution, opting for a wider spray angle.
In summary, evaluating the task at hand and selecting the right nozzle can make a significant difference in your cleaning efficiency. Remember, the right choice saves time and ensures the longevity of your surfaces. Trust me, you’ll appreciate the results.
Starting Your Pressure Washer Safely and Correctly

Before powering up your cleaning unit, ensure you’re wearing appropriate safety gear: goggles, gloves, and non-slip footwear are a must. I once had a close call with a flying piece of dirt that could have easily hit my eye, so I can’t stress this enough.
Check the power source. Make sure the outlet is grounded and meets the voltage requirements specified in the guide. I learned this the hard way when I had to replace a blown fuse because I plugged my device into an incompatible socket.
Inspect the unit for any visible damage. Look for cracks in the housing, frayed cords, or leaks. One time, I overlooked a small crack and ended up with water everywhere, which not only made a mess but also created a slip hazard.
Connect the water supply securely before turning on the machine. I’ve forgotten this step a couple of times, leading to a frustrating experience of trying to troubleshoot a pressure issue that didn’t exist. Always make sure the water flows freely through the garden hose and that it’s properly attached to the inlet.
Once everything is in place, turn on the water supply. Then, before activating the unit, pull the trigger on the spray gun a few times to remove any air trapped in the system. I can’t tell you how many times I skipped this, only to face inconsistent water flow when I finally started cleaning.
Now, plug in the device but don’t switch it on just yet. Ensure the spray nozzle is attached, and adjust it according to your cleaning task. I’ve found that switching nozzles can be a bit tricky, so double-check the fitting to avoid any last-minute surprises.
Finally, power it up and let it run for a minute to ensure everything is functioning smoothly. Listening for any unusual sounds can save you from potential issues down the line. It’s a simple step that can prevent more significant problems later on.
Maintenance Tips for Longevity of Your Pressure Cleaner
Regular upkeep is key to extending the lifespan of your cleaning apparatus. Here are some practical tips I’ve gathered over years of hands-on experience:
- Flush the System: After each use, run clean water through the system for a few minutes. This removes any detergent residue and prevents clogs in the hoses and nozzle.
- Check for Leaks: Regularly inspect hoses and connections for any signs of wear or damage. A small leak can lead to larger issues down the line.
- Store Properly: Keep your machine in a dry, sheltered place. Extreme temperatures can damage internal components. Consider using a cover if storing outdoors.
- Clean Filters: Regularly check and clean the water inlet filter. A clogged filter can decrease performance and cause strain on the motor.
- Maintain the Pump: Use pump protector fluid during off-seasons to prevent internal corrosion. This simple step can save you from costly repairs later.
- Inspect the Nozzles: Check for blockages or wear in the nozzles. A damaged nozzle can affect the spray pattern and reduce cleaning efficiency.
From my experience, neglecting these maintenance tasks can lead to premature wear and tear. Once, I overlooked a small crack in a hose, thinking it wasn’t significant. It turned into a major leak, and I ended up replacing the entire unit. Avoid such pitfalls by staying on top of your upkeep routine.
Finally, always refer to the manufacturer’s guidelines for any specific maintenance recommendations. Keeping your cleaner in tip-top shape not only enhances its performance but also saves you money in the long run.
Troubleshooting Common Issues with Your Pressure Cleaning Device
Begin with checking the power source. If the unit fails to start, ensure that it’s plugged in properly and the outlet is functional. Use a multimeter if necessary to test the voltage. I recall a time when a colleague spent hours troubleshooting, only to discover the problem was a faulty extension cord.
Performance Problems
If you notice a drop in water pressure, examine the water supply. Ensure that the hose isn’t kinked or blocked. I once encountered a situation where a simple clog in the hose caused significant performance issues. Additionally, inspect the nozzle for debris; a clean nozzle can restore optimal performance.
Leakage Issues
Leaks often stem from loose connections. Tighten all fittings and check for worn-out seals or O-rings that might need replacement. During a demonstration, I had to replace a seal mid-presentation, which taught me the importance of routine checks. Keep a few spare parts on hand for quick fixes.
| Issue | Possible Cause | Solution |
|---|---|---|
| No Power | Faulty outlet or cord | Test outlet, replace cord if necessary |
| Low Pressure | Clogged nozzle or hose | Clean or replace nozzle, check hose |
| Water Leakage | Loose connections or damaged seals | Tighten connections, replace seals |
For any persistent issues, consult the troubleshooting section in the user guide for specific guidance tailored to your model. Regular maintenance, as I’ve learned, goes a long way in preventing these common problems.
FAQ:
How do I start using my Stanley electric pressure washer?
To begin using your Stanley electric pressure washer, you should first read the instruction manual thoroughly. This will give you an overview of the components and safety precautions. Next, assemble the necessary parts, including the spray gun and hose. Connect the pressure washer to a suitable power source and attach the garden hose to the water inlet. Ensure that all connections are secure before turning on the machine to avoid any leaks or mishaps.
What safety precautions should I take while using the pressure washer?
Safety is paramount when operating a pressure washer. Always wear protective gear, such as goggles and gloves, to shield yourself from debris and high-pressure water. Keep a safe distance from the nozzle when spraying, and never point it at people or animals. Make sure the area is clear of obstacles and that children and pets are kept at a safe distance. Additionally, ensure that the power cord is not in contact with water to prevent electric shock.
Can I use the pressure washer for different cleaning tasks?
Yes, a Stanley electric pressure washer is versatile and can be used for various cleaning tasks. Depending on the model, you may have different nozzles available, each designed for specific tasks such as cleaning patios, driveways, vehicles, or garden furniture. Consult the manual for recommendations on which nozzle to use for each task to achieve the best results while avoiding damage to surfaces.
What maintenance is required to keep the pressure washer in good condition?
Regular maintenance is key to extending the life of your pressure washer. After each use, make sure to clean the filter and check for any debris in the nozzle. Store the unit in a dry place when not in use and disconnect the hoses to prevent damage. Periodically inspect the power cord for any signs of wear. Refer to the manual for specific maintenance schedules and procedures for your model.
Where can I find replacement parts for my Stanley electric pressure washer?
Replacement parts for your Stanley electric pressure washer can typically be found through the manufacturer’s website or authorised retailers. The instruction manual usually includes a list of compatible parts and model numbers. If you have difficulty finding specific parts, consider contacting Stanley’s customer service for assistance or looking into online marketplaces that offer spare parts for pressure washers.
How can I locate the correct section in the Stanley electric pressure washer instruction manual?
To find the relevant section in the instruction manual for your Stanley electric pressure washer, start by checking the table of contents, usually located at the beginning of the manual. This will give you an overview of the topics covered. Look for headings such as ‘Setup’, ‘Operation’, ‘Maintenance’, or ‘Troubleshooting’ to guide you to the specific information you need. If your manual doesn’t have a table of contents, you can flip through the pages to find the headings that relate to your query. Additionally, many manuals include an index at the back, which can help you quickly locate specific terms or topics.

.jpg)


