


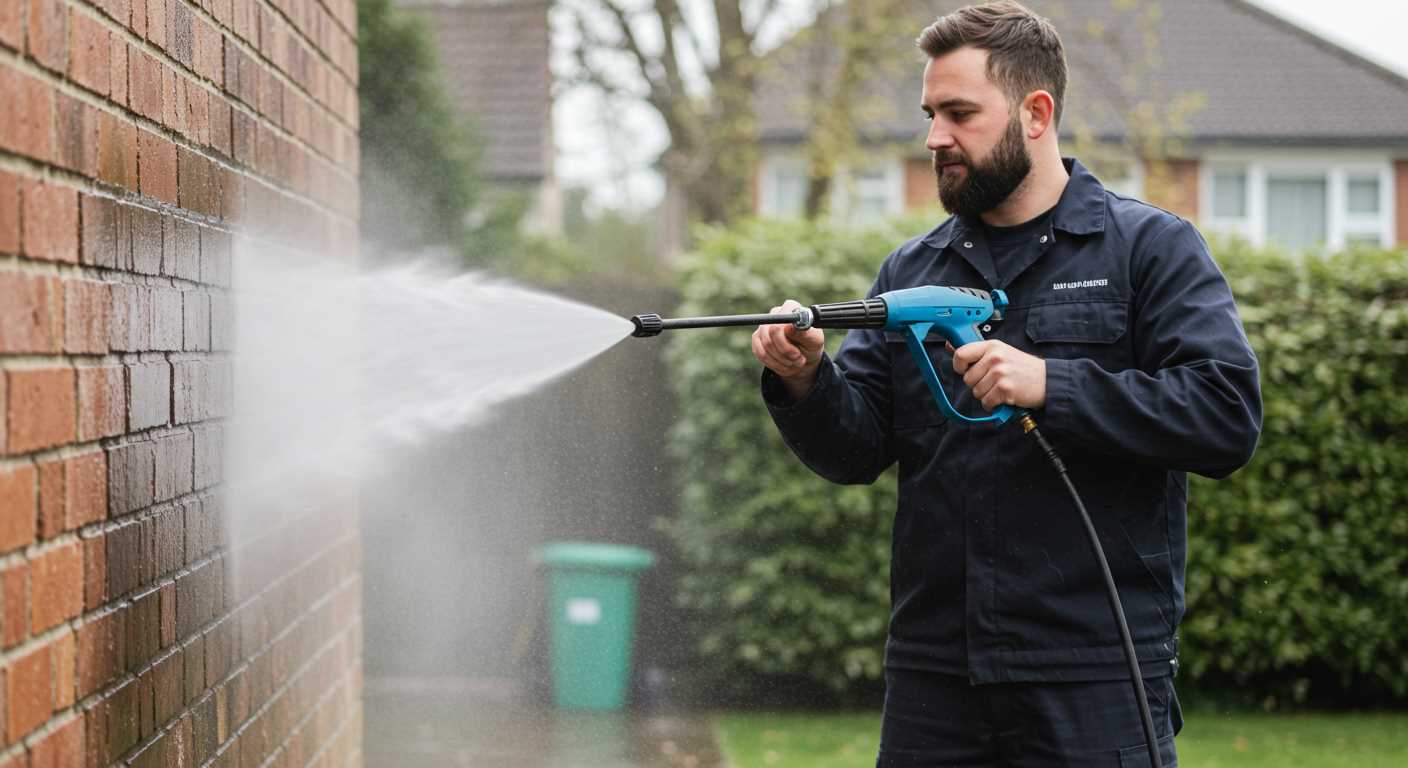
To establish a reliable link between your high-pressure cleaning unit and the water supply, first, ensure that you have the correct hose and fittings for your model. Most units come with a standard garden hose connector, which makes it straightforward to attach to your home’s outdoor tap. If you’re using a different water source, like a rain barrel, you might need an adapter to fit the inlet hose securely.
Next, check the water pressure and flow rate from your source. Ideally, the supply should deliver a minimum of 5 litres per minute at a pressure of 20-100 PSI for optimal performance. If the flow is insufficient, your machine might struggle to operate effectively, leading to subpar cleaning results. I’ve experienced this firsthand when attempting to use a unit with inadequate water supply; the results were far from satisfactory.
After securing the connection, it’s wise to inspect all hoses and fittings for any leaks or wear. A tight seal is crucial–if you notice any drips, tighten the connections or replace worn components. During one of my early experiences, a small leak turned into a significant setback, causing interruptions and unnecessary hassle. Keeping everything in good condition ensures a smooth operation, allowing you to focus on the task at hand.
Lastly, ensure that your unit draws water from the supply without any restrictions. Avoid kinks in the hose and maintain a clear path to prevent any blockages. I often remind users of the importance of this step; a simple oversight can lead to performance issues that are easily avoidable. With these tips, you’ll have your high-pressure cleaning equipment working efficiently in no time.
Understanding the Water Supply Requirements for Pressure Cleaners
For optimal operation, a reliable and adequate supply of liquid is vital. I’ve encountered various scenarios where insufficient flow or pressure led to disappointing results. Always ensure the source provides at least 5 litres per minute. This minimum prevents the machine from drawing air, which can cause it to stall or overheat.
Connection Options
Most models feature a quick-connect system that makes attaching a garden hose straightforward. I often recommend using a hose with a diameter of at least ½ inch to prevent restrictions that may hinder flow. A longer hose can also cause pressure drops; keep it within reasonable lengths to maintain efficiency.
Water Temperature
Be mindful of the temperature. Using heated fluid can enhance cleaning performance but be cautious not to exceed 60°C. I once tested a unit that struggled with higher temperatures, leading to seal degradation and leaks. Stick to manufacturer guidelines to prolong the lifespan of the components and ensure consistent results.
Lastly, always check for clogs in the inlet filter. A simple clean can often resolve issues related to inadequate supply. Trust me, a little maintenance goes a long way in keeping your cleaning equipment running smoothly.
Choosing the Right Hose for Water Connection
For optimal performance, selecting the appropriate hose is paramount. A quality hose not only ensures a consistent flow but also withstands the pressures involved. I’ve tested various hoses, and I can confidently say that a rubber hose is often the best choice. They offer durability and flexibility, making them easier to manoeuvre without kinks.
Key Specifications to Consider
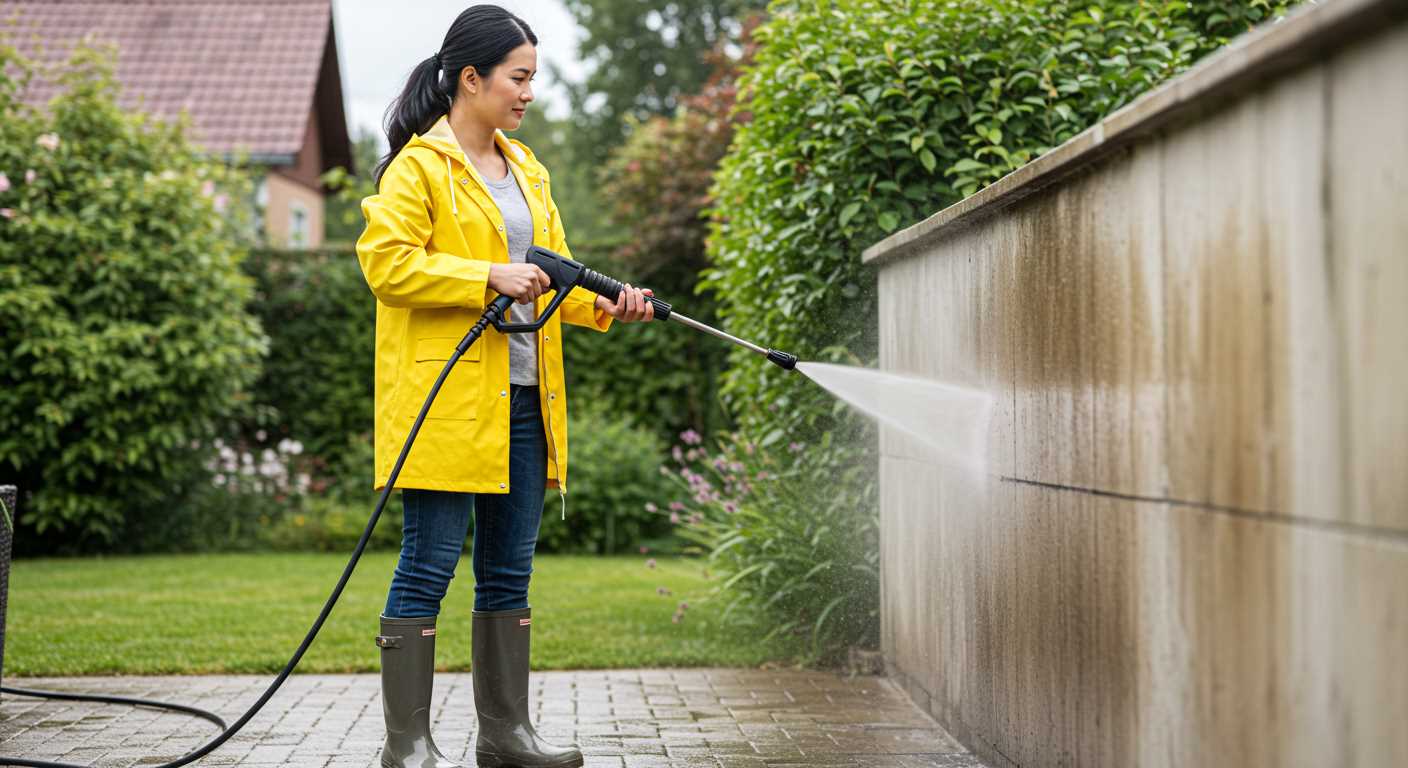
Focus on these specifications when choosing a hose:
| Specification | Recommendation |
|---|---|
| Diameter | ¾ inch is ideal for most machines; ensures adequate flow. |
| Length | Choose a length that allows you to reach your cleaning area without excessive slack. |
| Material | Rubber or PVC; rubber handles wear better and resists kinking. |
| Pressure Rating | Look for hoses rated for at least 150 PSI above your machine’s output. |
Additional Tips
Always inspect the hose before use. Look for any cracks or leaks, as these can lead to reduced efficiency. I recall a job where I overlooked a small crack; it cost me valuable time and effort. A quick check can save you from such inconveniences. Additionally, consider a quick-connect fitting for ease of use and compatibility with various nozzles.
Lastly, store your hose properly after use. Avoid coiling too tightly to prevent damage. A simple reel or hanger can keep it neat and ready for your next task.
Identifying the Type of Water Inlet on Your Pressure Cleaner
Check the specifications of your model to determine the water inlet type. Most units feature either a threaded connection or a quick-connect fitting. Understanding this distinction is crucial for compatibility with hoses and fittings.
| Inlet Type | Description | Common Applications |
|---|---|---|
| Threaded Connection | Standard screw-on fitting, usually 3/4 inch. | Ideal for garden hoses and standard plumbing connections. |
| Quick-Connect Fitting | Allows for fast attachment and detachment of hoses. | Common in portable models for ease of use. |
Inspect your device closely to find markings or labels indicating the type of inlet. If you’re uncertain, consult the user manual or online resources for your specific model. For instance, if you’re considering a Karcher car pressure washer warm water, you’ll want to confirm that the inlet matches your water source.
Keep in mind that some advanced models may have additional features, such as built-in filters or pressure regulators, which can further influence the type of hose or connection needed. Always prioritise compatibility to ensure optimal performance during use.
Connecting a Garden Hose to Your Pressure Cleaning Unit
First, ensure that your garden hose is equipped with a standard 3/4-inch fitting. This is the most common size and will fit most cleaning machines. A proper fit avoids leaks and ensures a steady flow.
Steps for a Secure Attachment
- Start by turning off the water supply before you begin the connection process.
- Inspect the end of the garden hose for any debris or damage. A clean, undamaged fitting will create a better seal.
- Align the hose fitting with the inlet on your cleaning device.
- Twist the hose fitting onto the inlet, turning it clockwise until it’s snug. Avoid overtightening, as this can damage the threads.
- Once attached, turn on the water supply gradually while checking for leaks at the connection point.
Additional Tips for Optimal Use
- Consider using a hose with a higher flow rate if you notice a drop in performance. This can significantly influence the unit’s cleaning capability.
- Regularly check the hose for kinks or blockages that might restrict water flow.
- Keep the connection point clear of dirt and debris to prevent contamination from entering the inlet.
- If compatible, a quick-connect adapter can make the process faster and more convenient.
After connecting, it’s wise to test the system at a low pressure first. This allows you to confirm that everything is functioning smoothly without risking any damage to the equipment.
Using a Water Source Other Than a Tap
When traditional taps aren’t an option, there are still multiple viable alternatives for sourcing liquid for your cleaning device. Here are some effective solutions I’ve encountered throughout my years in the field:
- Rainwater Harvesting: Collecting rainwater in barrels can be a sustainable choice. Ensure the storage vessels are clean and free from contaminants. A simple filtration system can enhance the quality of the collected liquid.
- Water Tanks: If you have a larger tank, you can connect your equipment directly to it. Use a submersible pump if the tank is underground or too deep to draw from effectively. Make sure the pump’s output pressure meets your machine’s requirements.
- Swimming Pools: An unconventional source, but if you’re in a pinch, swimming pool liquid can work. Just be cautious of chemicals used for treatment; they may harm your equipment over time. Always dilute the pool water with fresh liquid before use.
- Portable Water Containers: These are handy for outdoor tasks. Opt for containers with a spout that fits your machine’s inlet, ensuring a secure connection. A siphoning system can also help draw from these containers efficiently.
- Well Water: If you have access to a well, this can be a great resource. Just verify that the water quality is suitable for your unit. Filtration may be necessary to prevent sediment from clogging the inlet.
Remember to check the compatibility of your machine with the chosen source. Some methods may require additional filtration or adjustments to the setup. Always refer to the manufacturer’s guidelines regarding alternative sources to avoid voiding warranties or damaging your unit.
Checking for leaks in the water connection
Inspect the connections thoroughly to identify any signs of leakage. Start by examining the hose fittings and the inlet on the device. A simple trick is to run your hand along the joints while the system is in operation; feel for moisture or drips. If you notice any wet spots, that’s a clear indicator of a problem.
Testing for leaks
Once you’ve spotted potential leaks, turn off the supply and disconnect the hose. Look for any damage such as cracks or worn-out rubber seals. Replacing these parts can often resolve the issue. Additionally, consider using thread seal tape on the connections to enhance the seal and prevent future leaks.
Regular maintenance tips
To avoid leaks altogether, check the connections regularly, especially before starting a major cleaning task. Keeping the components clean and free from debris will also help maintain a tight seal. Always store your equipment in a dry area to prolong the life of the hoses and fittings.
Setting up a water filter for your cleaning device
To ensure longevity and optimal performance of your cleaning device, incorporating a water filter is a smart move. A good quality filter will prevent debris and sediment from entering the system, which can lead to clogs or damage. I’ve seen many units fail simply because of poor water quality.
Selecting the right filter
Choose a filter rated for the flow rate of your equipment. Most filters come with specifications indicating the maximum flow they can handle. It’s crucial to match that to your model to avoid restricting water flow, which can affect performance. I prefer sediment filters, as they effectively capture larger particles. Also, consider a filter with replaceable cartridges for easy maintenance.
Installation tips
Installing the filter is straightforward. Connect it between the hose and the inlet of your unit. Ensure all connections are tight to prevent leaks. I recommend using Teflon tape on threaded joints for an extra layer of protection. Regularly check the filter for clogs, especially if you notice a drop in performance. Cleaning or replacing the filter as needed can save you from costly repairs down the line.
By taking these steps, you’ll not only protect your cleaning equipment but also enhance its efficiency and lifespan. From my experience, a little preventive measure goes a long way!
Understanding the water flow rate of your cleaning device
The flow rate is a critical factor influencing the performance of your cleaning unit. Typically measured in litres per minute (LPM), this metric directly affects how effectively the machine can remove dirt and grime. For optimal results, aim for a flow rate that matches or exceeds the requirements specified in your user manual.
Recommended flow rates
- Low-end models: 5-6 LPM.
- Mid-range units: 7-8 LPM.
- High-end machines: 9-12 LPM.
In my experience, a higher flow rate not only speeds up the cleaning process but also enhances the ability to dissolve stubborn stains. For instance, I once tested a unit with a flow rate of 10 LPM while tackling a heavily soiled driveway. The difference was significant; the higher flow rate allowed for quicker rinsing and less water residue left behind.
Factors affecting flow rate
- Water source pressure: Ensure that the inlet supply meets the minimum pressure requirement.
- Hose diameter: A wider hose can facilitate better water flow, while a narrow hose may restrict it.
- Attachments and nozzles: Different nozzles can alter the flow rate; choose one that complements your task.
When I switched to a larger diameter hose, I noticed a marked improvement in flow efficiency. Additionally, experimenting with various nozzles helped me find the perfect balance between pressure and flow for specific cleaning tasks.
Monitoring the flow rate during use can help you gauge performance. If you notice a drop in effectiveness, check for blockages or restrictions along the hose and fittings. Regular maintenance ensures that the flow remains consistent, allowing you to achieve the best results every time you use the equipment.
Winterising Your Pressure Cleaner’s Water Connection
To ensure your cleaning equipment remains in top condition during the colder months, it’s crucial to prepare the water intake properly. Begin by disconnecting any hoses from the unit. This prevents water from freezing inside the fittings, which can cause cracks or damage.
Next, drain all remaining water from the system. I’ve learned the hard way that even a small amount can freeze and create issues. Simply tilt the machine to allow any residual water to escape, and leave it upright for a few hours to ensure complete drainage.
Using Antifreeze Solutions
Consider using a non-toxic antifreeze specifically designed for cleaning equipment. Pour it into the water inlet according to the manufacturer’s instructions. This practice has saved my machines from severe damage in past winters.
Storage Tips
Store your device in a dry, insulated area. If you can’t keep it indoors, wrapping it in a thermal blanket can provide extra protection against extreme temperatures. Additionally, check for any worn hoses or connections that may need replacing before the next season. Regular maintenance ensures longevity and performance when you’re ready to use it again, especially if you’re also looking into the best garden blowers and vacuums for the upcoming spring.



.jpg)


