
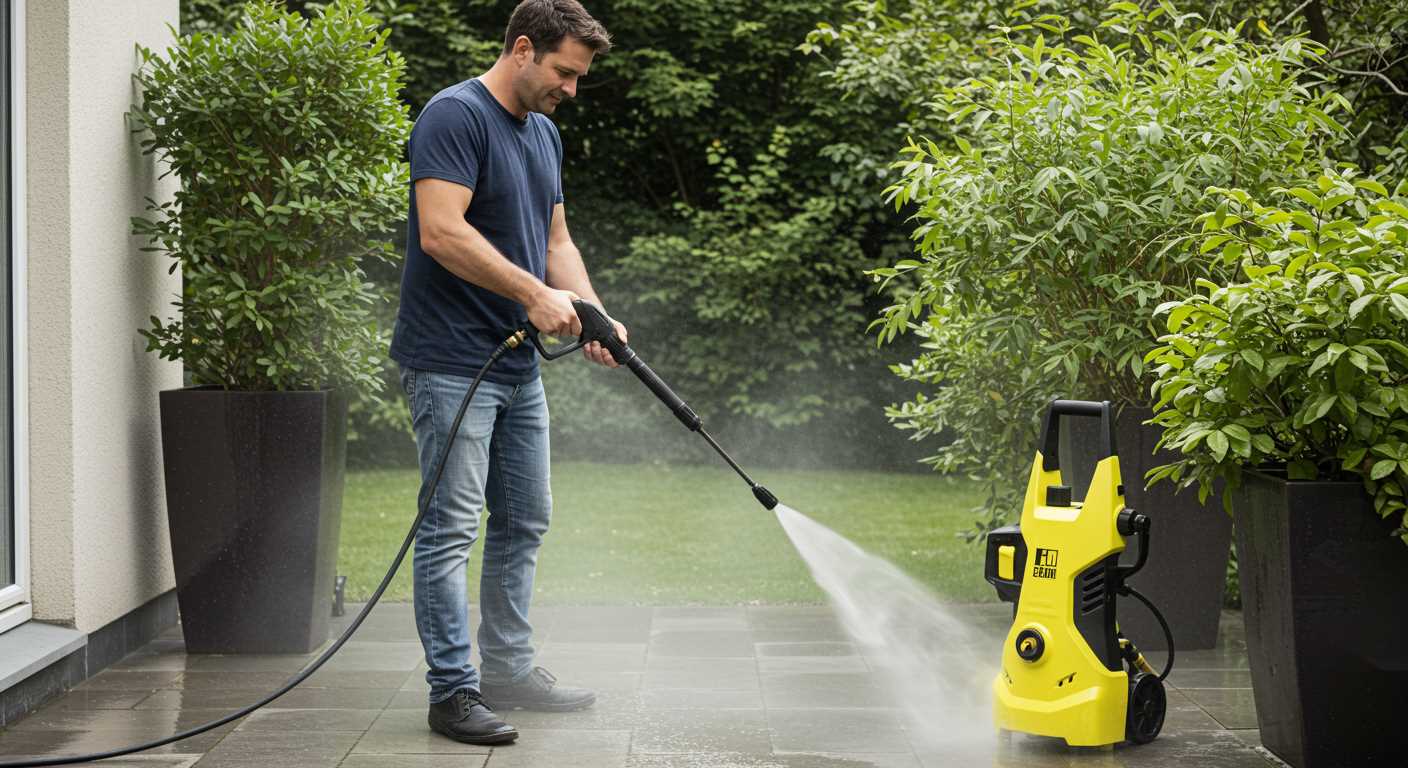


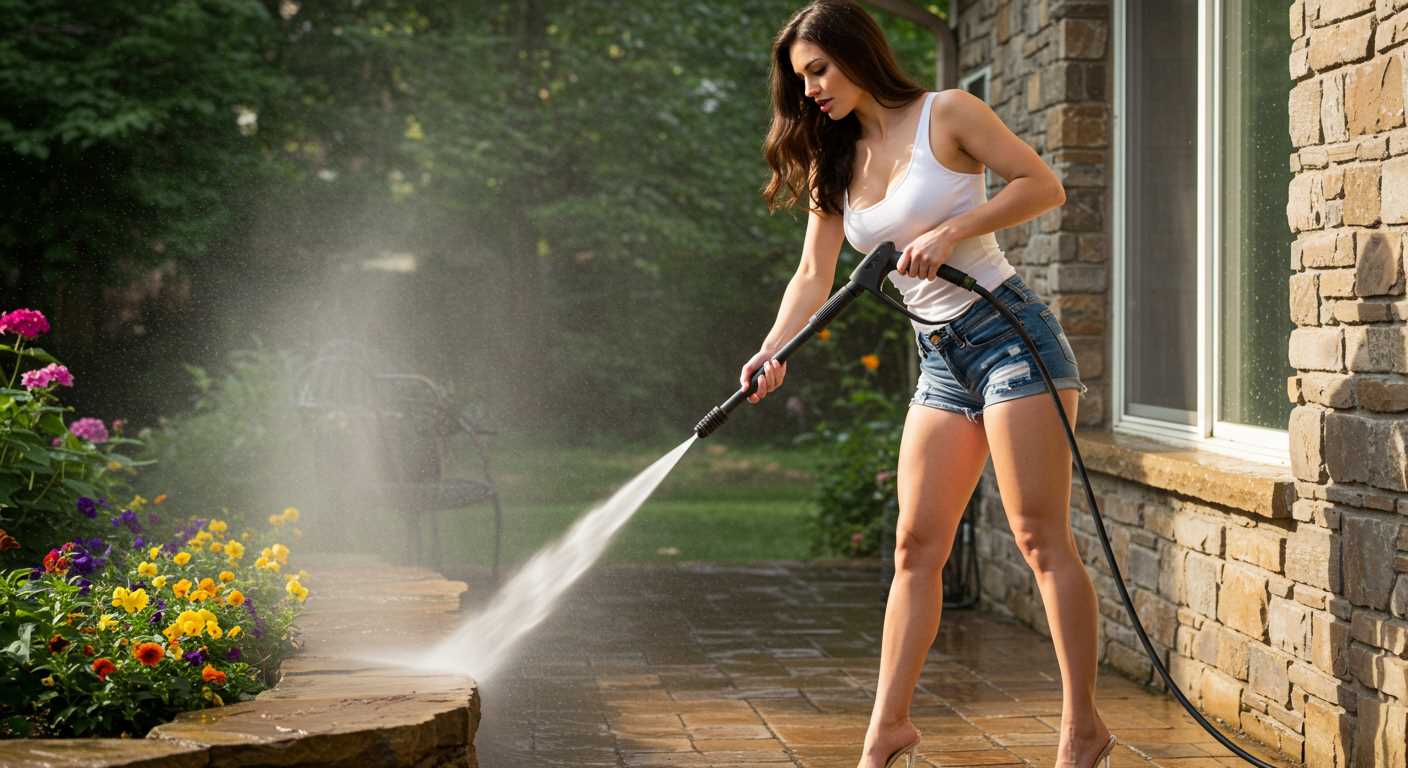
For anyone serious about achieving a spotless surface, investing in a high-pressure cleaning unit is a smart choice. The functionality of these machines lies in their ability to convert electrical energy into kinetic energy, resulting in a powerful jet of water that can tackle even the toughest grime. As someone who spent over a decade in the cleaning equipment industry, I’ve seen firsthand how these devices can make cleaning tasks not just easier but also significantly faster.
Each unit operates by drawing water from a source, then pressurising it using a motor-driven pump. This process creates a high-velocity stream that can reach impressive PSI levels, allowing for efficient removal of dirt and stains. When I first tested one of these units, I was amazed at how quickly it transformed a grimy patio into a clean, welcoming space. The secret lies in the combination of pressure and the right nozzle, which can be adjusted depending on the task at hand.
Maintaining the integrity of the machine is crucial for optimal performance. Regular checks on hoses, fittings, and the pump can prevent common issues that might arise during use. I learned this the hard way when a lack of maintenance led to significant downtime during a crucial project. Now, I always advise users to follow the manufacturer’s guidelines for upkeep to ensure longevity and reliability.
Understanding the Mechanics of a Karcher Cleaning Unit
To achieve optimal results, maintain a steady water supply to your cleaning device. The unit draws water from a connected source, such as a tap, and then pressurises it through an internal pump mechanism. This pump is the heart of the system, transforming standard water flow into a high-pressure stream essential for tackling stubborn dirt and grime.
Once the water is pressurised, it travels through a nozzle, which determines the spray pattern. Adjusting the nozzle can create a fine mist for delicate surfaces or a concentrated jet for tough spots. I’ve found that using the correct nozzle can greatly enhance cleaning efficiency, whether you’re sprucing up a driveway or washing a vehicle.
For maximum effectiveness, consider incorporating detergents into your routine. Many units feature a detergent tank or a separate attachment to mix cleaning solutions with water. This combination amplifies cleaning power, particularly for greasy or heavily soiled areas. Just remember to rinse thoroughly afterward to prevent residue build-up.
After using the machine, proper maintenance is key. Flush the system with clean water to remove any remaining detergent or debris. This will prolong the life of the equipment and ensure consistent performance. I’ve seen too many people neglect this step, only to encounter issues down the line.
If you’re looking to clean specific items, like an aquarium, proper technique is critical. For guidance on that, check this resource on how to clean an aquarium tank. Understanding the nuances of each cleaning task will lead to better results and a more satisfying experience.
Understanding the Pressure Washer Components
Familiarity with key elements is necessary for effective use and maintenance. Each part plays a role in delivering high-performance cleaning. Start with the motor; it powers the unit and determines the pressure output. A reliable electric motor ensures consistent operation, while gas engines provide mobility for larger tasks.
The pump is another critical component. It pressurises water, transforming it into a powerful stream. Look for models with triplex pumps, as they offer durability and efficiency. In my experience, these pumps can handle demanding jobs without overheating, extending the lifespan of the device.
Next, consider the hose. A high-quality, flexible hose prevents kinks and allows for easy manoeuvrability. I recommend lengths of at least 10 metres for versatility, enabling you to reach tight spots without needing to reposition the unit constantly.
Nozzles also deserve attention. Different spray patterns–such as 0°, 15°, 25°, and 40°–serve various cleaning tasks. For example, I often use a 15° nozzle for tough grime and a 40° for delicate surfaces. Having a range of nozzles ensures you can adapt to any job with precision.
Lastly, don’t overlook the detergent system. Many models include a built-in tank or an injector for applying cleaning solutions. This feature enhances cleaning power, particularly on oil stains or mildew. From my observations, using the right detergent in conjunction with the equipment significantly improves results.
Understanding these components not only optimises cleaning efficiency but also prolongs the equipment’s lifespan. Regular maintenance checks, such as examining hoses for wear and ensuring the pump is functioning smoothly, will keep your unit performing at its best.
How Water Pressure is Generated

To achieve high water pressure, a motor drives a pump that compresses water, significantly increasing its velocity. This process begins with drawing water from a source, typically a garden hose or water tank. Once the unit is activated, the motor spins the pump, creating a vacuum that pulls water into the system.
As water enters the pump, it passes through an inlet valve into a chamber where it’s subjected to rapid compression. The design of the pump, often a reciprocating piston or axial piston, plays a key role in generating pressure. The pistons push water with force through a narrow nozzle, resulting in an intense jet capable of removing dirt and grime from surfaces.
In my experience, proper maintenance of the pump is vital for optimal performance. Regularly checking for clogs or worn-out seals can prevent pressure loss and ensure longevity. Additionally, using electric pressure washers with adjustable nozzles allows users to modify the spray pattern and pressure level according to the task at hand, enhancing versatility for various cleaning jobs.
This method of pressure generation is not just about the raw force; it’s also about precision. Each component, from the motor speed to the nozzle design, contributes to the effectiveness of the cleaning process. Understanding this can lead to better results and more efficient use of the equipment.
The Role of the Electric Motor in Operation
Electric motors are the heart of high-pressure cleaning devices, powering the entire system. A reliable motor guarantees consistent performance and longevity, making it an essential component. Over my years of experience, I’ve seen how different motor designs can significantly impact functionality and effectiveness.

- Types of Motors: Most models utilise universal or induction motors. Universal motors are lighter and provide high torque, ideal for portability. Induction motors, while heavier, offer greater durability and quieter operation.
- Power Output: The wattage of the motor directly influences the pressure and flow rate of water. Motors with higher wattage generate more powerful jets, which can tackle tougher cleaning tasks.
- Thermal Protection: Many modern devices incorporate thermal overload protection. This feature prevents the motor from overheating, extending its lifespan and ensuring safety during prolonged use.
In my experience, I’ve encountered models where the motor’s efficiency made all the difference. For instance, a well-designed induction motor not only reduced noise but also improved energy consumption, leading to lower electricity bills.
Regular maintenance is crucial for the motor’s longevity. Keeping it clean and ensuring proper ventilation can prevent issues that might arise from dust accumulation or overheating. In the field, I’ve found that a clean motor runs more smoothly and lasts longer, saving users from unnecessary repairs.
Ultimately, investing in a model with a robust and efficient motor can enhance the overall cleaning experience, delivering superior results with less effort.
Adjusting Pressure Settings
To modify the pressure on your unit, locate the pressure control knob, usually situated on the handle or body. Turning it clockwise generally increases the output, while counterclockwise reduces it. For delicate tasks like washing a car or cleaning windows, lower settings are ideal to prevent damage. I remember a time when I accidentally used high pressure on a wooden deck, which left unsightly marks. Always start at a lower setting and gradually increase until you find the perfect balance.
Another method involves swapping the nozzle. Each nozzle has a different spray pattern and pressure rating. A wide fan nozzle is excellent for gentle cleaning, while a narrow nozzle concentrates force for tougher stains. I’ve found that using the right nozzle can make a significant difference in both cleaning efficiency and surface safety.
Always check the manufacturer’s guidelines for specific recommendations regarding pressure adjustments. In my experience, adhering to these guidelines not only ensures optimal performance but also prolongs the life of the machine. If the results aren’t as expected, try adjusting the distance between the nozzle and the surface. Maintaining an appropriate distance helps to control pressure effectively.
Finally, regular maintenance plays a key role in achieving consistent results. Ensure filters and hoses are clean and free of blockages, as these factors can impact pressure levels. Keeping everything in top shape has saved me from countless frustrating moments during cleaning tasks.
Choosing the Right Nozzle for Different Tasks
For optimal cleaning results, selecting the appropriate nozzle is key. Each nozzle type serves a distinct purpose, allowing you to tackle various surfaces and dirt levels effectively.
Types of Nozzles
- 0-degree Nozzle: Emits a concentrated stream, ideal for removing stubborn stains on hard surfaces such as concrete or brick. However, caution is needed to prevent damage.
- 15-degree Nozzle: Offers a wider spray suitable for tough grime on surfaces like driveways and patios. This nozzle strikes a balance between power and coverage.
- 25-degree Nozzle: Perfect for general cleaning tasks, including vehicles, decks, and siding. It provides a broader spray that cleans efficiently without risking damage.
- 40-degree Nozzle: Produces a gentle mist, excellent for delicate surfaces such as painted walls and windows. It’s effective for rinsing without causing harm.
- Soap Nozzle: Designed for applying detergent, this nozzle typically has a lower pressure to allow the cleaning solution to adhere better to surfaces before rinsing.
Matching Nozzle to Task
- For heavy-duty cleaning, start with a 0-degree or 15-degree nozzle to break down tough stains.
- When washing cars, switch to a 25-degree nozzle to avoid scratching the paint while still ensuring a thorough clean.
- For wooden decks or fencing, use a 25-degree or 40-degree nozzle to protect the wood from splintering.
- In situations where soap is required, always opt for the soap nozzle first, then rinse with a higher-pressure option.
Personal experience has taught me that using the wrong nozzle can lead to frustration and subpar results. I once attempted to clean a patio with a 40-degree attachment, only to find stubborn stains still lingering. Switching to the 15-degree made all the difference, removing grime effectively without damaging the surface.
Understanding these nuances ensures your cleaning tasks are completed efficiently and effectively, providing satisfaction with every use.
Using Detergents and Cleaners
For optimal results, always select a detergent specifically formulated for high-pressure cleaners. These products are designed to enhance cleaning capabilities without damaging surfaces. I often recommend alkaline-based cleaners for grease and oil stains, while acidic options work wonders on mineral deposits and rust.
When applying detergent, use the low-pressure setting on your machine. This allows the solution to mix properly with water and coat surfaces evenly. I’ve found that letting the detergent sit for 5 to 10 minutes before rinsing improves effectiveness significantly. Just remember to keep it moist; don’t let it dry out.
For larger areas, consider using a foam cannon attachment. I’ve had great success with this tool as it creates a thick foam that clings to surfaces, breaking down tough grime more effectively than a standard spray.
Always adhere to the manufacturer’s guidelines regarding detergent dilution ratios. Over-concentration can lead to residue buildup, which is counterproductive. I once encountered a situation where excess detergent caused streaking on a car’s surface, requiring an additional wash to rectify the issue.
After applying cleaner, switch back to a high-pressure nozzle for rinsing. This combination ensures that dirt and grime are thoroughly removed, leaving surfaces clean and streak-free. Remember to rinse from top to bottom to prevent dirty water from running over already cleaned areas.
Lastly, consider eco-friendly options when possible. Many brands now offer biodegradable detergents that are tough on stains but gentle on the environment. I’ve been impressed with the cleaning power of these products without compromising eco-responsibility.
Maintenance Tips for Optimal Performance
Regularly inspect and clean filters to prevent clogs. I recall a time when I neglected this step and found myself with reduced water flow. A simple rinse under warm water can do wonders for maintaining efficiency.
Check Hoses and Connections
Examine hoses for cracks or wear. I once had a minor leak that escalated into a frustrating situation during a big project. Replace any damaged sections immediately to ensure a steady flow and avoid pressure drops.
Winter Storage Guidelines
Before storing, run antifreeze through the system to prevent freezing damage. I learned this the hard way after a particularly harsh winter left my equipment unusable. Always follow up with a thorough cleaning to remove any detergent residues.
Lubricate moving parts regularly, especially the pump and motor bearings. This simple step can extend lifespan significantly. I’ve seen many units fail prematurely due to lack of proper lubrication.
Lastly, keep an eye on the detergent compartment. Rinse it out after each use to avoid build-up that could affect performance. It’s a small task, but it pays off in the long run.
Common Issues and Troubleshooting Steps
First and foremost, if your unit is not starting, check if it’s plugged in correctly and the outlet is functioning. I once had a client who thought their equipment was faulty, only to realise it was simply a tripped breaker. Always test the power supply before assuming there’s a serious issue.
Low Water Pressure
If you encounter low water pressure, inspect the inlet filter for debris. A clogged filter can significantly reduce performance. I remember a time when I was called to a job where the pressure was barely noticeable. After cleaning the inlet, the difference was astonishing. Additionally, check for kinks in the hose; they can restrict flow. Make sure the nozzle is appropriate for the task, as using a wide spray can diminish pressure.
Unusual Noises
Unusual sounds often signal potential problems. If you hear a rattling noise, it could indicate a loose component. I experienced this firsthand during an important demonstration. I discovered a loose screw in the pump casing. A quick tighten resolved the issue. If grinding sounds occur, it might be a sign of a failing motor or pump, requiring professional attention.
For any leaks, examine the connections and seals. Over time, O-rings can wear out, leading to water escaping. Replacing these seals is a simple fix that can prevent more significant damage. Regular maintenance checks can save a lot of headaches.
Safety Precautions While Using a Pressure Washer
Always wear suitable personal protective equipment (PPE), including goggles, gloves, and sturdy footwear. The high-velocity water stream can cause serious injuries, so prioritising your safety is paramount.
Preparation Before Use
Inspect the area where you’ll be cleaning. Remove any obstacles, debris, or fragile items that could be damaged. Ensure pets and children are at a safe distance. Prior to starting the device, check that all connections are secure and there are no leaks.
During Operation
Maintain a firm grip on the lance to control the direction of the water. Avoid pointing it at yourself or others. If you’re using detergents, ensure they are compatible with your equipment. Never use flammable liquids or solvents in the machine.
Always work from a distance of at least 2 feet from surfaces to prevent damage. Adjust your stance to avoid slipping, especially on wet surfaces. If you encounter a blockage, turn off the device and disconnect it before attempting to clear it.
| Safety Tip | Description |
|---|---|
| Wear PPE | Goggles, gloves, and sturdy shoes protect against debris and high-pressure water. |
| Inspect Area | Clear out obstacles, fragile items, and ensure a safe working environment. |
| Control Water Direction | Always point the lance away from yourself and others. |
| Distance from Surface | Maintain at least 2 feet to avoid damage to surfaces. |
| Check Connections | Ensure all hoses and connections are secure before operation. |
After finishing, turn off the unit and disconnect the water supply. This prevents accidents and maintains equipment integrity. Following these precautions will enhance your experience and ensure safe operation of your cleaning device.
FAQ:
What is the basic principle behind how a Karcher pressure washer operates?
A Karcher pressure washer uses a motor to power a pump that draws water from a source, usually a tap. The pump pressurises the water, allowing it to be expelled through a nozzle at high speed. This high-pressure water stream effectively removes dirt, grime, and other contaminants from surfaces, making it ideal for cleaning tasks like washing cars, patios, and driveways.
How do I connect my Karcher pressure washer to a water supply?
Connecting a Karcher pressure washer to a water supply is quite straightforward. First, ensure the machine is turned off. Attach one end of a garden hose to the water inlet on the pressure washer and the other end to a water tap. Make sure the connections are tight to prevent leaks. Once connected, turn on the tap to allow water to flow into the unit before starting the washer.
What types of nozzles are available for Karcher pressure washers, and how do they affect cleaning?
Karcher pressure washers typically come with a variety of nozzles that can be swapped out for different cleaning tasks. Common nozzle types include a wide-angle nozzle for gentle cleaning, a narrow nozzle for concentrated pressure on tough stains, and a rotating nozzle that combines both. The choice of nozzle affects the water pressure and spray pattern, enabling users to tackle various surfaces effectively, from delicate paintwork to rugged concrete.
Can I use a Karcher pressure washer for tasks other than cleaning surfaces?
Yes, Karcher pressure washers can be versatile tools beyond just cleaning surfaces. They can be used for tasks like washing vehicles, cleaning patio furniture, removing moss from roofs, and even rinsing off garden tools. Additionally, with the right accessories, they can help in tasks like applying detergents or cleaning hard-to-reach areas, making them useful for a variety of outdoor cleaning needs.
What maintenance is required for a Karcher pressure washer?
Regular maintenance is important to ensure the longevity and performance of a Karcher pressure washer. This includes rinsing the machine after use to remove any detergent or debris from the system, checking and replacing the water filter if necessary, and inspecting hoses for wear or damage. It’s also advisable to store the washer in a dry place and protect it from freezing temperatures to prevent damage to internal components. Regularly checking the motor and pump can help identify any potential issues before they become serious problems.
How does a Kärcher pressure washer generate high-pressure water?
A Kärcher pressure washer operates by using an electric motor or a petrol engine to drive a pump. This pump draws water from a source, such as a tap or a water tank, and pressurises it. The pressure is created by the pump’s internal mechanisms, which compress the water and push it through a nozzle. The nozzle then narrows the flow of water, increasing its speed and creating a powerful jet that can effectively clean surfaces. This process allows users to remove dirt, grime, and other stubborn materials from various surfaces with ease.

.jpg)


