


To maximise your cleaning tasks, it’s crucial to grasp how the cleaning solution system integrates with your high-powered machine. From my years of experience, I can tell you that using the right approach can significantly enhance your efficiency and results.
First, ensure you select a compatible cleaning agent that is designed for pressure applications. When the solution is added to the dedicated tank, the unit draws it in through a siphon. This mechanism relies on the water flow created by the pump to create a vacuum, allowing the detergent to mix with the water before it exits through the nozzle.
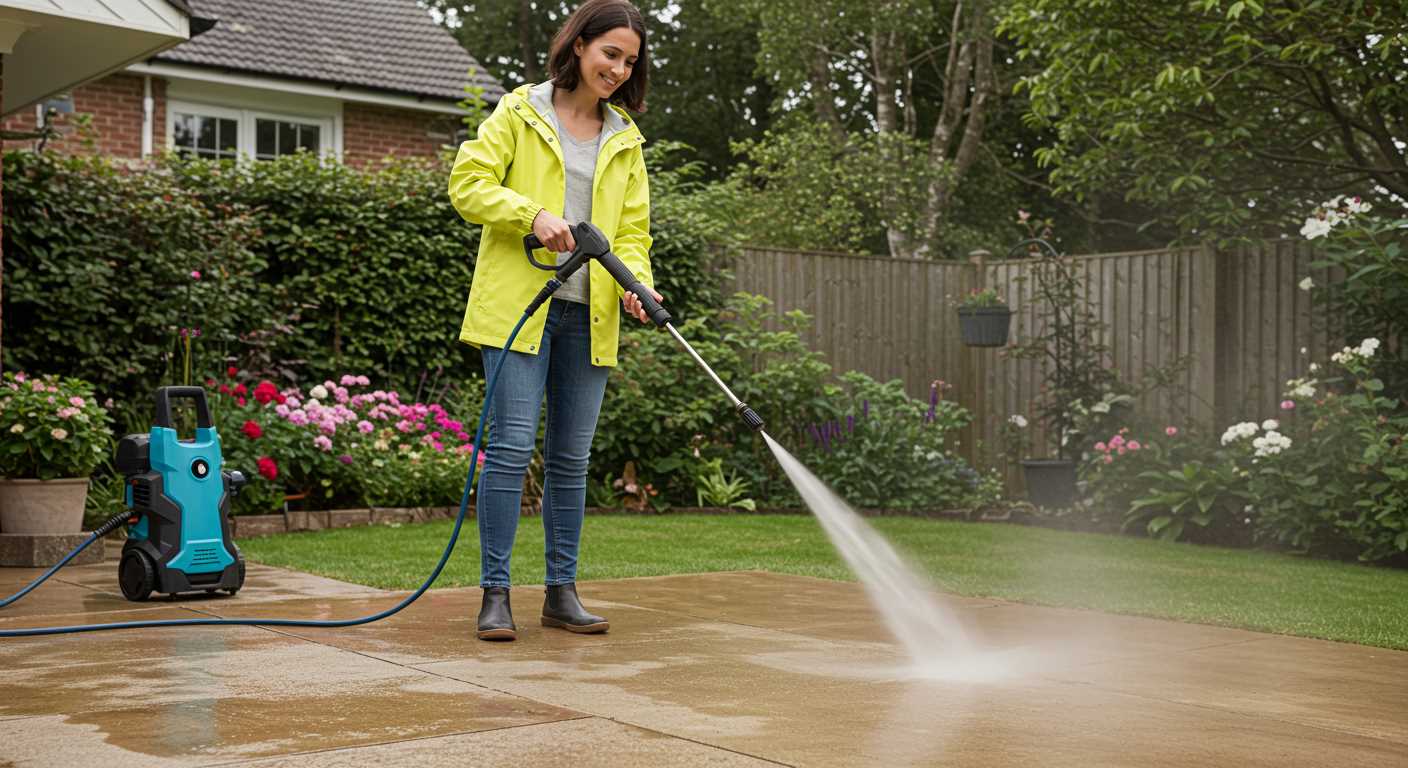
Adjusting the nozzle is another key factor. Most models come with interchangeable tips that control the spray pattern and pressure. For optimal performance, switch to a wider spray pattern when applying the cleaning solution. This will help to evenly distribute the mixture, ensuring thorough coverage on surfaces.

After application, let the cleaning agent dwell for a few minutes to break down dirt and grime effectively. This dwell time is vital; rushing through this step often leads to subpar results. Finally, rinse off with plain water to reveal a clean, revitalised surface.
By following these insights, you’ll harness the true potential of your machine and achieve impressive cleaning outcomes every time.
Understanding the Components of a Soap Dispenser
Focusing on the key parts of a cleaning agent reservoir reveals how they enhance the washing process. The main elements include a tank, a suction tube, and a nozzle. Each plays a specific role in ensuring that the cleaning solution is mixed properly and delivered effectively.
Tank and Suction Tube
The tank, usually made of durable plastic, holds the concentrated cleaning solution. Its size can vary, so choosing one that suits your cleaning needs is essential. The suction tube is submerged in the liquid and transports it to the mixing chamber. This connection is crucial; if the tube is too long or kinked, it may restrict flow, leading to subpar performance.
Mixing Chamber and Nozzle
The mixing chamber combines the cleaning agent with water, creating a potent mixture for application. It’s important to ensure that this area remains clean and free from blockages to maintain optimal operation. The nozzle then directs the solution onto the surface being cleaned. Different nozzle types can produce various spray patterns, giving you flexibility based on the task at hand. Choosing the right nozzle can significantly impact how effectively the mixture adheres to surfaces, making it a key consideration.
Selecting the Right Cleaning Solution for Your Equipment
Choosing an appropriate cleaning solution is key to achieving effective results. Always opt for products specifically formulated for use with your equipment. Generic household cleaners or dishwashing liquids can cause damage or reduce performance. I remember a time when I tried a popular all-purpose cleaner–what a mistake! Not only did it foam excessively, but it also clogged the intake system, leading to unnecessary downtime.
Consider Surface Compatibility
Different surfaces require different formulations. For instance, a gentle solution is ideal for painted surfaces or delicate materials, while a more robust formulation works well on concrete and metal. During a recent job, I used a mild soap on a wooden deck, and it left it clean without stripping the finish. Always check the label for compatibility with the surface you intend to clean.
Concentration and Dilution Factors

Pay attention to concentration levels. Some products are ready to use, while others need to be diluted. A concentrated cleaner can save money and allow for customisation based on the level of grime. I often mix a more potent solution for heavily soiled areas and dilute it for lighter tasks. Just ensure you follow the manufacturer’s guidelines to avoid any issues with residue build-up or reduced cleaning power.
Connecting the Soap Dispenser to Your Pressure Washer
Attach the foam applicator to the nozzle of your cleaning device before proceeding. This step is critical to ensure a proper fit and optimal performance. Make sure to follow the manufacturer’s instructions for compatibility.
Steps for a Secure Connection
- Ensure the machine is powered off and unplugged to avoid any accidents.
- Locate the hose connection point on your unit; this is typically near the trigger handle.
- Carefully twist and secure the foam applicator onto the connection point. It should fit snugly without excessive force.
- Connect the detergent tube to the applicator, ensuring it is fully inserted for a tight seal.
Testing the Setup
Once everything is connected, plug in the unit and turn it on. Before applying detergent to a surface, perform a quick test on a non-visible area. This check helps to confirm that the mixture is dispensing correctly and that there are no leaks.
Always keep in mind to refer to your unit’s manual for specific instructions, as designs can vary. If you encounter issues, consult resources or communities online, such as a digital camera company digicamco, which can offer advice and troubleshooting tips.
Before starting your cleaning task, ensure that the detergent you are using is suitable for the foam applicator. This ensures you achieve the best cleaning results without damaging surfaces.
Adjusting Soap Mixture Ratio for Optimal Results
For achieving the best cleaning outcomes, balance is key. I recommend starting with a mixture ratio of 1 part cleaner to 4 parts water. This blend typically yields effective results without being too concentrated. However, fine-tune this ratio based on the grime you’re tackling and the type of surface.
Factors Influencing Mixture Adjustments
- Type of Surface: Softer materials like wood may require a diluted solution, while concrete might handle a stronger mix.
- Level of Dirt: Heavily soiled areas may benefit from increasing the cleaner concentration to 1:2 for tougher stains.
- Weather Conditions: Hot, dry days can cause solutions to dry faster, necessitating a slightly more potent mixture to maintain effectiveness.
Testing and Observations
After adjusting ratios, conduct a small test on an inconspicuous area. Observe how the mixture interacts with the surface and adjust accordingly. I often keep a notebook during cleaning sessions to jot down ratios that worked well or poorly for future reference.
Remember, the right mix not only enhances cleaning efficiency but also protects surfaces from damage. Striking the perfect balance can save time and ensure your projects are completed to a high standard.
Priming Your Soap System
Before starting, ensure your cleaning agent is compatible with your equipment. Fill the container with the chosen detergent, then follow these steps to prime the system effectively.
Steps to Prime
1. Attach the detergent container securely to your machine.
2. Turn on the unit without engaging the trigger. This allows the pump to draw detergent into the system.
3. Observe the output nozzle. With the machine running, check for any detergent flow. If nothing comes out, continue running the unit for a short period.
4. Once detergent begins to flow, engage the trigger briefly to ensure it reaches the nozzle.
Common Issues and Solutions
| Issue | Solution |
|---|---|
| No detergent flow | Check connections and ensure the container is filled. Inspect for clogs. |
| Weak detergent stream | Adjust the mixture ratio or clean the nozzle to improve flow. |
| Foam not producing | Verify the chosen cleaning agent is designed for foaming applications. |
After priming, you’re ready to tackle dirt and grime. I’ve found that a proper priming process can make all the difference in achieving optimal results. Enjoy your cleaning experience!
Common Issues with Soap Dispensers and Their Solutions
One frequent problem I encounter is clogging. This often occurs due to dried residue. Regularly cleaning the inlet filter can prevent this. Simply remove it and rinse under warm water to restore flow.
Another issue is inconsistent output. This typically results from improper mixing ratios. Always ensure that the cleaning agent is diluted as per manufacturer instructions. If you notice bubbles forming instead of a steady stream, you may need to adjust the mixture for better performance.
If the solution isn’t reaching the nozzle, check the hose connections. Loose connections can restrict flow. Tighten any fittings and inspect for cracks or wear. Replacing damaged hoses can greatly improve functionality.
Using the incorrect detergent can lead to poor results. Make sure to choose a product compatible with your machine. Using harsh chemicals not designed for your equipment can cause significant damage over time.
Sometimes, the mixing chamber might not engage properly. This can be resolved by checking for air leaks in the system. Ensure all components are securely connected. If you spot any cracks, those parts should be replaced immediately to avoid further issues.
If you notice that the mixture is foaming excessively, it may be due to using too much detergent. Stick to the recommended dosage to achieve optimal cleaning without excess foam disrupting the process.
Lastly, if you’re experiencing low pressure when applying the cleaning solution, inspect the nozzle. A blocked or worn nozzle can significantly impact performance. Clean or replace the nozzle as necessary to restore functionality.
Maintaining Your Soap Dispenser for Longevity
Regular cleaning is key. After each use, empty any remaining solution from the reservoir. Rinse it thoroughly with clean water to prevent residue build-up. I recall a time when I neglected this step, leading to clogs that took hours to fix. Trust me, a few minutes spent rinsing can save you a lot of hassle later.
Inspect hoses and connections periodically. Look for signs of wear or damage. I once had a hose that looked fine but had a small crack, which caused leaks. Replacing worn parts promptly can prevent more extensive damage and costly repairs.
Keep the unit in a dry place, away from extreme temperatures. Storing it in a damp garage during winter is a mistake I made. Moisture can cause internal damage, affecting performance. Instead, store it indoors or in a temperature-controlled environment.
Use the appropriate cleaning solutions. Some cleaners can corrode components or leave residues that are hard to remove. I’ve tested various products, and sticking to those designed specifically for your equipment is a smart choice. If you’re unsure, check the manufacturer’s recommendations.
Lastly, consider periodic professional maintenance. While DIY checks are beneficial, having a pro inspect and service the equipment can extend its lifespan. I learned this the hard way after a minor issue escalated into a bigger problem due to lack of attention. Regular checks can keep everything running smoothly and efficiently.
For those looking for versatile equipment, check out this cycle pressure washer. It combines power and convenience, making maintenance even easier.
Safety Precautions When Using Cleaning Agents with High-Pressure Systems
Always wear protective eyewear and gloves. I recall a day when I neglected my safety gear while using a harsh cleaner. A sudden spray caught me off guard, resulting in a temporary stinging sensation in my eyes. You don’t want to experience that; trust me.
Ensure proper ventilation in your workspace. Many cleaning agents release fumes that can be harmful if inhaled. I once worked in a poorly ventilated garage, and the lingering odour made me feel light-headed. Open windows or work outdoors when possible.
Check for compatibility of the cleaning product with your equipment. Some solutions can damage internal components. I learned this the hard way when a popular cleaner corroded the seals in my machine, leading to costly repairs.
Test the mixture on a small, inconspicuous area first. I often advise clients to conduct a patch test. One time, I didn’t, and the cleaner discoloured a surface that I later regretted.
Keep the workspace clear of obstacles. I’ve tripped over hoses and slipped on wet surfaces too many times. It’s easy to lose focus when you’re dealing with high-pressure streams, but maintaining a tidy area can prevent accidents.
Never aim the nozzle at yourself or others. I’ve seen what happens when a strong jet unexpectedly bounces back. It’s not pretty. Always direct the spray away from your body and anyone nearby.
Store cleaning agents securely, out of reach of children and pets. I’ve encountered situations where curious kids or pets got into containers, leading to serious safety concerns. Use child-proof locks if necessary.
Regularly inspect equipment for leaks or damage. I once ignored a small drip, thinking it was insignificant. That minor issue escalated into a major leak during a job, causing a mess and wasting valuable time.
Finally, read all manufacturer instructions and safety data sheets before use. I can’t stress this enough. Each product has specific guidelines that ensure safe and effective use. Ignoring them can lead to mishaps.
FAQ:
How does the soap dispenser on a pressure washer function?
The soap dispenser on a pressure washer operates by drawing soap from a reservoir and mixing it with the water that flows through the machine. When the pressure washer is turned on and the soap nozzle is selected, the pump creates suction that pulls the soap into the stream of water. This mixture is then expelled through the nozzle, allowing for effective cleaning. Depending on the design, some dispensers have adjustable settings for soap concentration.
Can I use any kind of soap in the pressure washer’s dispenser?
It is recommended to use specific soaps designed for pressure washers to ensure compatibility and avoid damage. General household soaps may not mix well or could harm the machine. Look for detergents that are labelled as safe for pressure washers, as these are formulated to work effectively without causing harm to the internal components.
Is it possible to control the amount of soap dispensed during use?
Yes, many pressure washers feature adjustable soap dispensers that allow users to control the amount of soap mixed with the water. This can be done either through a dial on the dispenser or by selecting different nozzles designed for varying soap concentrations. This flexibility helps in applying just the right amount of detergent for different cleaning tasks.
What should I do if the soap dispenser is not working properly?
If the soap dispenser is not functioning as expected, first check for clogs in the soap line or nozzle. Ensure the soap reservoir is filled and that the soap being used is appropriate for the machine. If problems persist, consult the user manual for troubleshooting tips or consider contacting customer support for assistance. Regular maintenance can also help prevent issues with the dispenser.

.jpg)


