


For effective cleaning, I recommend a range of 1300 to 3000 units of water pressure, tailored to your specific tasks. Light-duty jobs, such as washing cars or outdoor furniture, work best at the lower end of this scale. A unit with around 1300 to 1600 units will do the trick without damaging delicate surfaces.
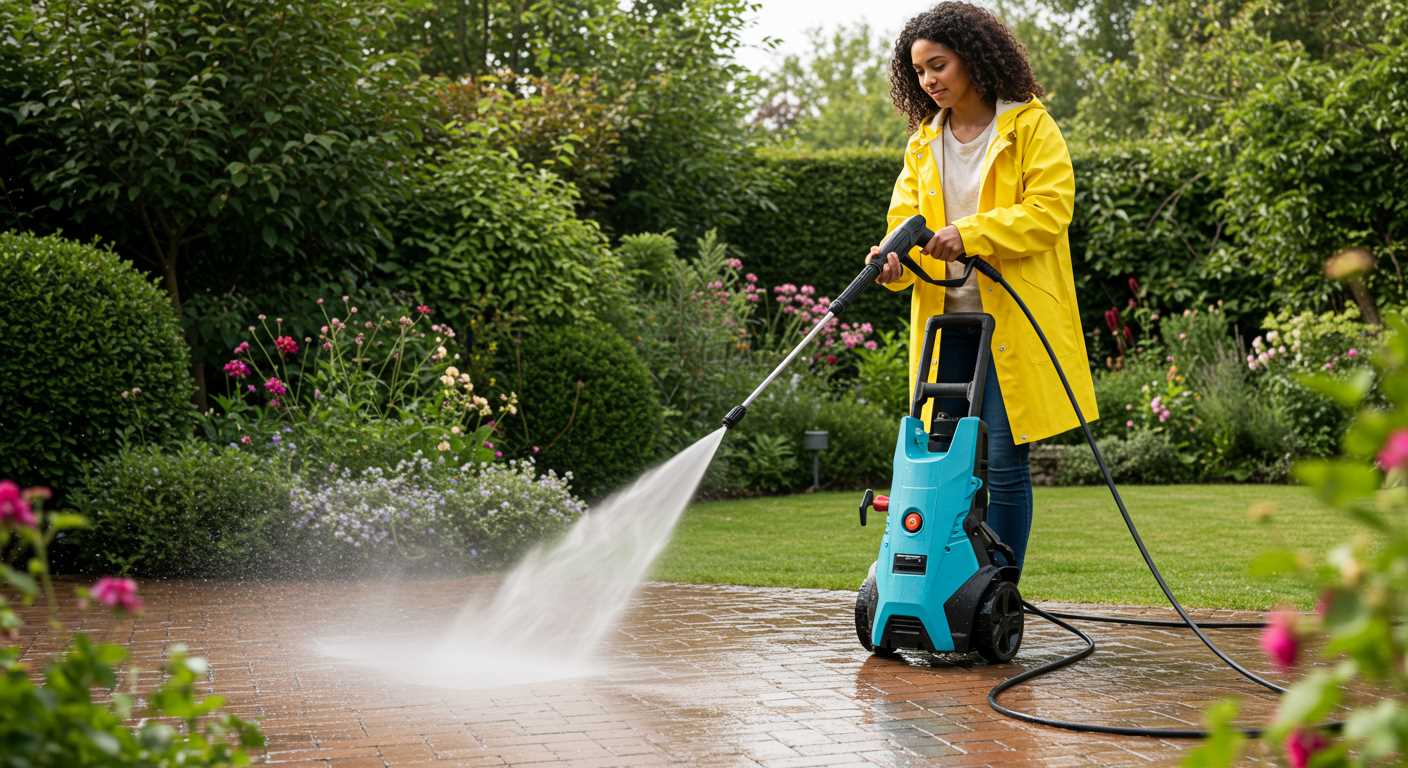
When tackling medium-duty projects like driveways or patios, consider equipment that delivers between 2000 and 2500 units. This level provides enough force to remove dirt and grime while ensuring you don’t risk chipping or etching the surface. I recall my time cleaning a heavily stained driveway; using a machine with 2300 units made the job efficient and satisfying, transforming the space in no time.

For heavy-duty applications, such as removing tough stains or graffiti, a minimum of 3000 units is advisable. I once tested a model that reached 3200 units while working on an industrial site, and it effortlessly stripped away years of accumulated grime. Always ensure that your choice aligns with the surfaces you’re cleaning to avoid unintended damage.
In summary, selecting the right level of water pressure is crucial for achieving the best results in your cleaning tasks. Knowing the right specifications will not only enhance performance but also prolong the life of your equipment.
Understanding PSI and Its Importance for Pressure Washers
A unit of measurement known as PSI, or pounds per square inch, indicates the force exerted by water as it exits the nozzle. For home use, a range of 1300 to 3000 can be suitable, depending on the task. I recall testing a mid-range model that operated at around 2000; it was just right for cleaning patios and vehicles without risking damage.
Choosing the Right Pressure for Different Tasks
Specific jobs require varying levels of intensity. For instance, light cleaning tasks like washing garden furniture may only require around 1300 to 1600. Conversely, stripping paint or tackling heavily soiled surfaces often demands a higher output, typically exceeding 2500. One memorable project involved cleaning a weathered deck; using a unit with a force of 3000 allowed me to restore its original appearance efficiently.
The Impact of Nozzle Selection
Nozzle choice can significantly influence the effectiveness of your equipment. Different colours represent varying spray patterns and intensities. A narrow, concentrated spray from a red nozzle can produce an intense blast, suitable for tough stains but potentially damaging delicate surfaces. In contrast, a wider spray from a white nozzle is great for rinsing off debris without excessive force. In my experience, switching nozzles often made a considerable difference in achieving the desired outcome without risking harm to the surfaces being cleaned.
Determining the Right PSI for Different Surfaces
For optimal cleaning results, it’s crucial to match the cleaning power to the surface type. Here’s a breakdown based on my experience with various materials.
Concrete and Masonry
- For standard concrete surfaces, aim for a range of 3000-4000 units. This level effectively removes dirt and grime.
- For tougher stains, such as oil or grease, using the higher end of this spectrum is advisable.
Wood Surfaces
- When dealing with decks or fences, a more gentle approach is necessary. Stick to 500-1500 units to avoid damaging the wood.
- Softwoods require caution; keep the setting at the lower end to prevent splintering.
Vehicles and Glass
- For cleaning cars, I recommend staying within 1200-1900 units. This ensures a thorough clean without risking damage to the paint.
- For windows and glass surfaces, use a gentle touch, ideally around 1000-1500 units, to maintain clarity and prevent breakage.
Outdoor Furniture and Fabrics
- Plastic or resin furniture can handle about 1500-2500 units. This range effectively removes dirt without causing fading.
- For fabric materials, such as cushions, a very low setting of 500-1000 units is best to avoid tearing.
Always test on a small, inconspicuous area first. Each surface reacts differently, and it’s better to start low and adjust as necessary. This approach has saved me from many mishaps, ensuring that surfaces remain intact while achieving a thorough clean.
Measuring the Pressure of Your Cleaning Equipment
To accurately gauge the force of your cleaning machine, follow these steps. First, attach a pressure gauge to the spray wand or nozzle. Ensure the connection is secure to prevent leaks. Activate your device while pointing the nozzle away from any surfaces, allowing the water to flow freely. This will give you a reading of the output pressure.
Using a Pressure Gauge
Opt for a gauge that matches the specifications of your device; this is crucial for precise results. Digital gauges provide an easy-to-read display, while analog versions can be equally effective if calibrated correctly. Regular checks ensure consistent performance and help identify any maintenance needs.
Observing Performance Changes
Monitor the readings during various tasks. If you notice fluctuations or a drop in pressure, it could indicate a clog or wear in the pump. Maintaining clear filters and checking hoses for leaks can improve functionality. For those tackling specific projects, such as deck cleaning, it’s wise to select pressure washers for cleaning decking that align with your requirements.
In my experience, taking these measurements not only ensures optimal performance but also prolongs the lifespan of your equipment. Regular monitoring has saved me from unexpected breakdowns on the job. Always keep your equipment in top shape for effective cleaning outcomes.
Choosing the Correct Nozzle for Desired Pressure Output
Selecting the right nozzle can dramatically influence your cleaning results. Each nozzle type provides a specific spray pattern and intensity, making it crucial to match the nozzle with your intended task. For instance, a 0-degree nozzle will deliver a concentrated jet that’s excellent for tough stains on concrete but can easily damage softer surfaces. Conversely, a 40-degree nozzle offers a wide spray, perfect for rinsing delicate surfaces like car paint.
Understanding Nozzle Types
There are typically four main types of nozzles: 0-degree, 15-degree, 25-degree, and 40-degree. The lower the degree, the more concentrated and forceful the spray. I remember using a 15-degree nozzle to blast away years of grime from a patio. The difference was staggering. However, using the same nozzle on a wooden deck caused splintering. Always consider the material you’re working with before selecting your attachment.
Adjustable Nozzles and Their Benefits
Adjustable nozzles are a game-changer for versatility. They allow you to switch between different spray patterns without changing the nozzle. I’ve found these particularly handy for large jobs where multiple surfaces are involved. For example, when cleaning a driveway and then shifting to a wooden fence, I could easily adjust the spray to suit each need without stopping to swap out attachments. This saves time and makes the cleaning process smoother.
Adjusting Settings for Various Cleaning Tasks

For basic outdoor chores like washing cars or patio furniture, a setting around 1300 to 1900 units can effectively remove dirt without damaging surfaces. When tackling stubborn grime on driveways or decks, ramping up to 2500 units is advisable. In cases of intense cleaning, such as removing oil stains or mildew, a force of 3000 units may be necessary, but always test on a small area first.
I’ve personally had success using lower settings on delicate surfaces like wood decks. One time, I started at 1500 units and gradually increased until I found the sweet spot that removed the dirt without harming the finish. This trial and error approach has saved me from unnecessary repairs.
For brick and concrete, higher settings work well, but I recommend using a wide-angle nozzle to distribute the force, preventing damage. I once had a client who used a narrow nozzle at full power on their patio, resulting in surface pitting. Adjusting the setting and nozzle made all the difference in the outcome.
After adjusting the force, consider the nozzle type. A wider spray pattern is better for large areas, while a narrow jet is useful for concentrated tasks. I remember cleaning a stubborn stain on my driveway with a narrow nozzle, which took longer but provided the precision needed to lift the stain without affecting the surrounding area.
For anyone interested in utilising this equipment for food preservation, you might want to explore how to can carrots with a pressure cooker. The principles of adjusting settings apply well beyond cleaning tasks, allowing for versatile use of these machines.
Always keep in mind the surface material and the type of dirt or stain you’re dealing with. Finding the right balance between pressure and nozzle type can lead to successful results and prolong the life of your equipment.
Common Mistakes When Selecting PSI for Pressure Washing
The first mistake I often see is assuming that higher numbers always lead to better results. I remember a client who thought cranking up the reading would clean their driveway faster. Instead, they ended up damaging the concrete surface, which was both costly and time-consuming to repair. Selecting the right pressure isn’t about maxing out; it’s about understanding what each surface can handle.
Ignoring Surface Material
Another frequent error involves neglecting the specific material of the surface being cleaned. An outdoor wooden deck requires significantly less force compared to a brick wall. I once had a friend who used a high setting on his deck, thinking it would save time. The result? Splintered wood and a lot of regret. Knowing the limits of each material is key to maintaining its integrity while achieving cleanliness.
Overlooking Equipment Specifications
People often overlook the specifications of their machines. Every model comes with recommendations regarding optimal settings. I had a colleague who disregarded these guidelines and faced constant issues with his unit. Always check the manufacturer’s advice; it can prevent unnecessary wear and avoid voiding warranties.
| Mistake | Consequences | Recommendation |
|---|---|---|
| Using too high a setting | Surface damage | Match pressure to surface type |
| Ignoring material differences | Damage to delicate surfaces | Research material requirements |
| Disregarding equipment specs | Increased wear and tear | Follow manufacturer guidelines |
Lastly, many underestimate the importance of nozzle selection related to force. I recall a job where I used the wrong nozzle for a stubborn stain. Instead of cleaning efficiently, I wasted time and water. Each nozzle is designed for specific tasks, so taking the time to choose wisely pays off.
How PSI Affects Cleaning Time and Efficiency
Higher pressure settings significantly reduce the time needed to clean surfaces. For instance, when I first tried a model with adjustable pressure, I noticed that boosting the output from 2000 to 3000 resulted in nearly half the cleaning time for stubborn dirt on my driveway. This change was not just about speed; the improvement in effectiveness was remarkable.

Direct Correlation Between Pressure and Cleaning Speed
When using increased force, dirt, grime, and mildew are dislodged more rapidly. Here are some observations from my own experience:
- At 1500, it took me about 30 minutes to clean my patio. Increasing to 2500 reduced that to 15 minutes.
- Using a higher setting on a wooden deck allowed me to remove years of build-up quickly, making prep for staining significantly easier.
- For vehicles, I found that 1200 to 1600 was sufficient, but 2000 made light work of road grime without risking damage.
Finding a Balance for Optimal Results
While higher settings are tempting, they come with risks. Overdoing it can damage delicate surfaces. I once accidentally stripped paint off a garden bench by using too much force. Here are tips for balancing pressure and cleaning tasks:
- Start with the lowest setting and gradually increase until you find the sweet spot.
- Test a small, inconspicuous area first, especially on painted or wooden surfaces.
- Remember that nozzle type also influences results–some provide a wider spray pattern that can distribute force more evenly.
Ultimately, the right output can drastically improve both the time and quality of your cleaning efforts. Adjust pressure based on your task, and you’ll see significant benefits in efficiency and effectiveness.
Recommended PSI Levels for Home vs Commercial Use
For residential tasks, a range of 1300 to 2300 is typically sufficient. This level effectively tackles grime on patios, vehicles, and garden furniture without damaging delicate surfaces. I often find that most homeowners are pleased with a model around 2000; it strikes a balance between power and safety.
Commercial applications vary significantly. Here, a range between 3000 and 4000 is commonly required. I recall a job at a local restaurant where grease and oil accumulated on the pavement. A robust machine rated at 3500 made quick work of the mess, impressing the owner with its efficiency. For heavy-duty tasks, such as building facades or industrial equipment, I recommend units exceeding 4000. These are designed for constant use and can handle the toughest jobs.

When selecting equipment, consider the frequency of use and the types of surfaces you’ll be cleaning. For instance, a contractor should invest in higher-rated equipment to meet diverse demands, while a homeowner might find a mid-range option perfectly adequate for seasonal cleaning.
Always remember that higher ratings can lead to quicker cleaning, but they also require careful handling to avoid surface damage. I’ve seen too many instances where too much pressure led to costly repairs, especially on wood decks or painted surfaces. A well-informed choice can save time, effort, and money in the long run.
When to Consult Manufacturer Guidelines for PSI
Consulting manufacturer guidelines is critical, especially for specific tasks. Each model comes with recommended specifications tailored for optimal performance. For instance, while working with a delicate surface like wood, I once relied on the manufacturer’s advice and avoided damage by adhering to their suggested limits. Ignoring this can lead to costly repairs or the need for refinishing.
Some tasks demand precision. If you’re tackling stubborn stains or grime on concrete, checking the guidelines helps to select the right intensity. I recall a time when I exceeded the recommended settings on a rental unit, resulting in substantial wear on the surface. The manufacturer’s documentation prevented that mistake, ensuring efficiency without compromising integrity.
For specialised equipment, the guidance becomes even more crucial. If you’re using an adjustable model, the manufacturer will provide insights on the optimal settings for different attachments or nozzles. I found this particularly helpful when switching from a wide spray to a narrow jet; adjusting accordingly prevented any mishaps.
Lastly, if your machine displays unusual behaviour, revisiting the manufacturer’s manual can clarify whether it’s an issue with the settings or if maintenance is necessary. I’ve had instances where a simple adjustment based on their recommendations resolved performance issues immediately.

.jpg)


