


For maintaining the longevity and performance of your cleaning equipment, a replacement of lubricant every 50 hours of operation is advisable. This interval ensures that the internal components remain well-lubricated, preventing wear and tear during tasks. If your model features a more powerful engine, consider a shift to 25-30 operational hours, as the increased strain can lead to quicker degradation of the lubricant.
In my experience, I’ve encountered numerous models that exhibit signs of distress when the lubricant isn’t monitored closely. One particular instance involved a well-known brand that began to produce excessive noise and vibration due to neglecting this maintenance aspect. After a thorough inspection, it became evident that the lubricant had thickened and lost its effectiveness, leading to premature engine wear.
It’s also worth mentioning that environmental factors play a role. If you’re using your machine in dusty or harsh conditions, a more frequent check–perhaps every 20 hours–would be prudent. I recall a job where a customer operated their machine in a construction zone, and the lubricant required a change far sooner than anticipated due to contaminants. Keeping a close eye on the state of the lubricant can save you from costly repairs down the line.
Always refer to the manufacturer’s guidelines for specific recommendations tailored to your equipment type. Regular maintenance not only enhances performance but also extends the lifespan of your cleaning apparatus, making it a sound investment in the long run.
Frequency of Oil Replacement in High-Pressure Equipment
For optimal performance, it’s advisable to refresh the lubricant in your high-pressure cleaning device approximately every 50 hours of operation or at least once a year, whichever comes first. This interval ensures the internal components remain well-lubricated and protected against wear and tear.
In my experience, neglecting this maintenance step can lead to diminished performance and potential damage. I recall a colleague who pushed his unit beyond recommended limits, resulting in a costly repair. Regular checks and timely replacement not only extend the lifespan but also enhance the efficiency of the machine.

Always consult the manufacturer’s manual for specific guidelines tailored to your model, as variations exist between different brands and types. Additionally, monitoring the lubricant’s condition can provide valuable insights. If it appears dark or has a gritty texture, it’s a clear signal to replace it sooner.
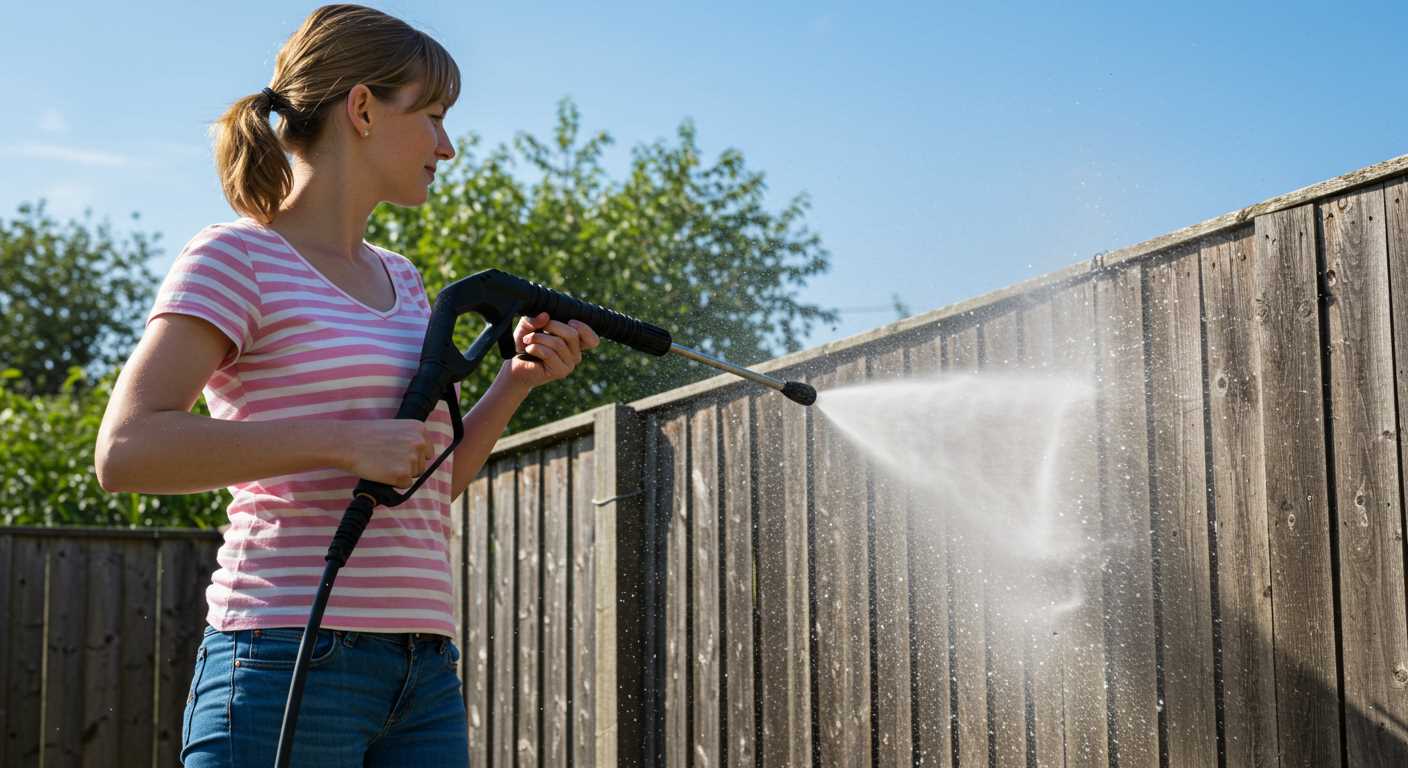
For those looking to maintain their outdoor spaces, a well-functioning cleaning device is vital, especially when tackling tasks like cleaning and maintaining a wooden terrace. Ensuring your equipment is in peak condition makes these jobs easier and more effective.
Understanding the Role of Oil in Pressure Washers
Proper lubrication is key to ensuring longevity and reliability. In my experience, maintaining optimal fluid levels avoids wear and tear on internal components, which can lead to costly repairs or replacements.
Types of Oil Used
- Synthetic Oil: Known for better performance in extreme temperatures and conditions.
- Conventional Oil: Often more affordable, but may require more frequent monitoring.
- High-Detergent Oil: Helps keep the engine clean by preventing sludge build-up.
Recommended Maintenance Practices
- Always use the manufacturer’s recommended type for best results.
- Check levels regularly; low lubrication can cause overheating.
- Inspect for leaks, as this can indicate issues with seals or gaskets.
- After extended use, consider flushing the system to remove contaminants.
From my years in the field, I’ve seen machines with neglected lubrication fail well before their time. A little attention goes a long way in preserving your equipment and ensuring it performs at its best.
Recommended Oil Change Intervals for Different Models
For most residential units, a good rule of thumb is to replace lubricant every 50 hours of usage. This applies to lighter models often used for occasional tasks like cleaning patios or vehicles.
Commercial-grade machines tend to require more frequent maintenance. I’ve found that many of these models benefit from an oil swap after every 30 hours of operation. The higher usage and demands placed on these units lead to quicker degradation of lubricant quality.
In the case of heavy-duty industrial variants, the frequency can decrease slightly. These robust units typically require a new lubricant every 100 hours, as they are built to withstand prolonged use without the same wear and tear as lighter models.
Some brands have specific recommendations based on their engineering. For instance, a well-known manufacturer suggests checking levels every 20 hours and changing it at 100 hours for their commercial line. I’ve seen users who skip this advice end up with engine problems sooner than expected.
Environmental factors also play a role. If operating in dusty or humid conditions, I recommend checking lubricant more frequently, regardless of the model. In my experience, a simple check can prevent significant issues down the line.
Always consult the owner’s manual for model-specific guidance. Each machine may have unique requirements based on its design and intended use. Regularly maintaining lubricant levels can extend the life of your equipment while ensuring optimal performance.
Signs That Indicate It’s Time for an Oil Change
Monitoring the condition of the lubricant in your cleaning device is critical for its longevity and performance. Here are specific indicators that suggest a replacement is necessary:
Discolouration and Contamination
If the liquid appears dark and murky, it’s a clear signal that it’s time to refresh it. Clean fluid should be a golden or amber shade. Any particles or sludge present suggest that dirt and debris have infiltrated the system, which can lead to engine wear.
Unusual Operating Sounds
Listen closely while operating the unit. If it produces rattling or grinding noises that weren’t present before, this could indicate insufficient lubrication. A smooth-running engine should be relatively quiet, so any strange sounds warrant immediate attention.
Additionally, if you notice a decrease in performance, such as reduced pressure or efficiency, it may be linked to degraded lubricant. Always prioritise maintenance to avoid costly repairs in the future. For those with pets, consider the implications of nearby cleaning activities, especially if you’re curious about can small dogs use electric fence, as it’s essential to keep your furry friends safe while you work.
How Operating Conditions Affect Oil Change Frequency
For optimal performance, monitoring the environment in which your machine operates is vital. Heavy usage in extreme conditions demands more frequent maintenance. If working in dusty or sandy areas, contaminants enter the engine, necessitating earlier replacements. I recall a contractor who often worked on construction sites; he had to refresh the lubricant every 25 hours as opposed to the typical 50. The dirt and debris clogged the system, leading to overheating.
Temperature Extremes
Operating in high or low temperatures can degrade the fluid rapidly. I’ve seen units left in unheated garages during winter; the lubricant thickens, making it less effective. Conversely, machines running in scorching heat can thin the fluid, reducing its protective qualities. Regular checks in these situations mean timely interventions for maintenance.
Frequency of Use
The intensity of use directly correlates with maintenance needs. Machines used daily or for extended hours require a schedule that reflects their workload. I once serviced a unit used for car detailing. It was run for several hours each day, needing a refresh every month to avoid engine strain. On the flip side, an occasional user might only need to inspect the fluid seasonally, especially if the machine sits idle for long periods.
In summary, always assess the operating conditions and adjust your maintenance routine accordingly. Keeping a close eye on the environment will ensure your equipment remains in top shape, extending its lifespan and reliability. Personal experience has taught me that preventive care is always cheaper than repairs.
Step-by-Step Guide to Changing Oil in Your Pressure Washer
Begin by gathering necessary tools and materials: a wrench, an oil collection pan, a funnel, and the correct lubricant type for your model. Always check the user manual for specifications.
1. Ensure the machine is off and cool. Disconnect from the power source to prevent any accidents.
2. Locate the oil drain plug. It’s typically found on the underside or side of the motor. Position your collection pan beneath the drain to catch the old lubricant.
3. Remove the drain plug using your wrench. Let the old lubricant flow completely into the pan. This process may take a few minutes.
4. Once drained, replace the drain plug and tighten it securely. Avoid over-tightening to prevent damage.
5. Now, find the oil fill cap. Remove it carefully.
6. Using a funnel, pour the new lubricant into the fill hole. Fill to the recommended level, as indicated on the dipstick or in the manual. Not filling adequately can lead to poor performance, while overfilling can cause leaks.
7. After filling, replace the fill cap and ensure it’s sealed properly.
8. Finally, run the machine for a few minutes. This allows the new lubricant to circulate. Afterward, check for leaks around the drain and fill areas.
9. Dispose of the old lubricant responsibly, following local regulations.
| Step | Action |
|---|---|
| 1 | Gather tools and materials |
| 2 | Ensure machine is off and cool |
| 3 | Locate and remove drain plug |
| 4 | Replace drain plug securely |
| 5 | Remove oil fill cap |
| 6 | Pour in new lubricant |
| 7 | Replace fill cap |
| 8 | Run machine to circulate lubricant |
| 9 | Dispose of old lubricant |
Choosing the Right Type of Oil for Your Pressure Washer
For optimal performance in your cleaning equipment, a high-quality detergent oil is paramount. Look for SAE 30 or 10W-30 options specifically designed for small engines. These formulations ensure effective lubrication under varying temperatures and operational demands.
In my experience, synthetic oils can significantly enhance engine longevity. They resist breakdown better than conventional oils, particularly during extended use. I recall a time when I switched to a synthetic blend in my own machine, and I noticed a marked improvement in efficiency and reduced wear over time.
Consider the manufacturer’s specifications for the correct viscosity grade. Each model has unique requirements, and adhering to these guidelines ensures the machinery operates smoothly. Always check the user manual or manufacturer’s website for recommendations.
For environments with extreme temperatures, such as high heat or freezing conditions, selecting an oil with appropriate temperature ratings becomes critical. I once worked with a unit in a particularly cold climate, and using an oil formulated for lower temperatures made a substantial difference in starting reliability and operational comfort.
Don’t overlook the importance of additives. Oils with anti-wear agents help protect engine components from excessive friction. This is something I’ve witnessed firsthand; a well-formulated oil can prevent costly repairs down the line.
Lastly, always ensure the oil is fresh. Stale oil can lead to sludge build-up, which compromises performance. Regular checks and timely replacements are key to maintaining your equipment’s efficiency.
Common Mistakes to Avoid When Changing Oil
Neglecting to check the manufacturer’s recommendations can lead to using the wrong type of lubricant. I once worked with a client who switched their equipment’s oil without consulting the manual, resulting in poor performance and increased wear on the engine.
Ignoring the Oil Level
It’s vital to monitor the level of lubricant before and after the swap. I remember a colleague who overlooked this detail, only to discover that the machine was running low on fluid post-service. This oversight caused overheating and unnecessary strain on the motor.
Skipping the Filter Replacement
Failing to replace the oil filter during the process can lead to contaminants circulating back into the system. In one instance, I encountered a unit that had been serviced without a filter change, leading to reduced efficiency and increased maintenance costs. Always ensure the filter is part of your routine.
Maintenance Tips to Extend Oil Life in Pressure Washers
Regular maintenance can significantly prolong the lifespan of lubricant in your machine. Here are some practical strategies based on my experience:
1. Keep It Clean
- Ensure the engine area is free from dirt and debris. A clean environment reduces the risk of contaminants entering the lubrication system.
- After each use, wipe down the exterior and check for any leaks. Addressing issues promptly can prevent contamination.
2. Monitor Operating Temperature
- Overheating can degrade lubricant quickly. Avoid prolonged use at high temperatures.
- Ensure adequate airflow around the engine. If the machine feels excessively hot, consider taking breaks to let it cool down.
3. Use Quality Products
- Select a high-grade lubricant recommended by the manufacturer. Cheaper options might save money upfront but can lead to more frequent replacements.
- Check the viscosity ratings. Using the correct type ensures optimal performance and longevity.
4. Regularly Inspect and Adjust Oil Levels

- Check levels before each session. Low levels can lead to increased wear and tear.
- Top up as needed, but avoid overfilling. Excess lubricant can foam and adversely affect performance.
5. Implement Break-in Procedures
- For new machines, follow the manufacturer’s break-in recommendations. This usually involves running the engine for a set period before switching to a full-service interval.
- During the initial hours, check lubricant condition more frequently as components settle.
Incorporating these practices will enhance the longevity of the lubricant, allowing for smoother operation and reduced maintenance costs. Take it from someone who has seen the difference these methods make; a little attention goes a long way.
FAQ:
How often should I change the oil in my pressure washer?
The oil in your pressure washer should generally be changed after the first 5 hours of use. After that, it’s recommended to change the oil every 50 hours of operation or at least once a year, whichever comes first. Regular oil changes help maintain performance and prolong the life of your machine.
What type of oil should I use for my pressure washer?
It’s best to check your pressure washer’s manual for the specific type of oil recommended by the manufacturer. Most pressure washers use SAE 30 or 10W-30 oil, but some may require synthetic oil. Using the correct oil type ensures optimal performance and protection of the engine.
What are the signs that I need to change the oil in my pressure washer?
Signs that indicate an oil change is needed include a dark or dirty appearance of the oil, a noticeable decrease in performance, or unusual engine noises. If you notice any of these symptoms, it’s wise to check and change the oil to keep the pressure washer running smoothly.
Can I change the oil in my pressure washer myself?
Yes, changing the oil in your pressure washer is a straightforward task that you can do yourself with basic tools. You will need an oil drain pan, a wrench, and the appropriate oil. Make sure to follow the manufacturer’s instructions for draining and refilling the oil to ensure you do it correctly.
Is it necessary to change the oil if I haven’t used my pressure washer much?
Yes, even if your pressure washer hasn’t seen much use, it’s still important to change the oil at least once a year. Oil can degrade over time, losing its effectiveness in lubricating the engine. Regular maintenance helps to keep the machine in good condition, regardless of usage frequency.
How frequently should I change the oil in my pressure washer?
The frequency of oil changes in a pressure washer largely depends on the model and how often you use it. Generally, it is recommended to change the oil after the first 20 to 50 hours of use for a new machine. After that, you should aim to change the oil every 50 to 100 hours of operation, or at least once a year if the machine is not used frequently. Always refer to the manufacturer’s guidelines for the most accurate recommendations specific to your pressure washer model.
What are the signs that indicate I need to change the oil in my pressure washer?
There are several signs that can indicate it’s time to change the oil in your pressure washer. Firstly, if the oil appears dark, thick, or has a milky appearance, this can indicate contamination or degradation. Secondly, if you notice any unusual noises coming from the engine during operation, it might suggest insufficient lubrication due to old oil. Finally, if you see any oil leaks or drips underneath the machine, it’s crucial to check and possibly change the oil to maintain proper function and prevent damage. Regular checks can help you stay ahead of any potential issues.
.jpg)


