
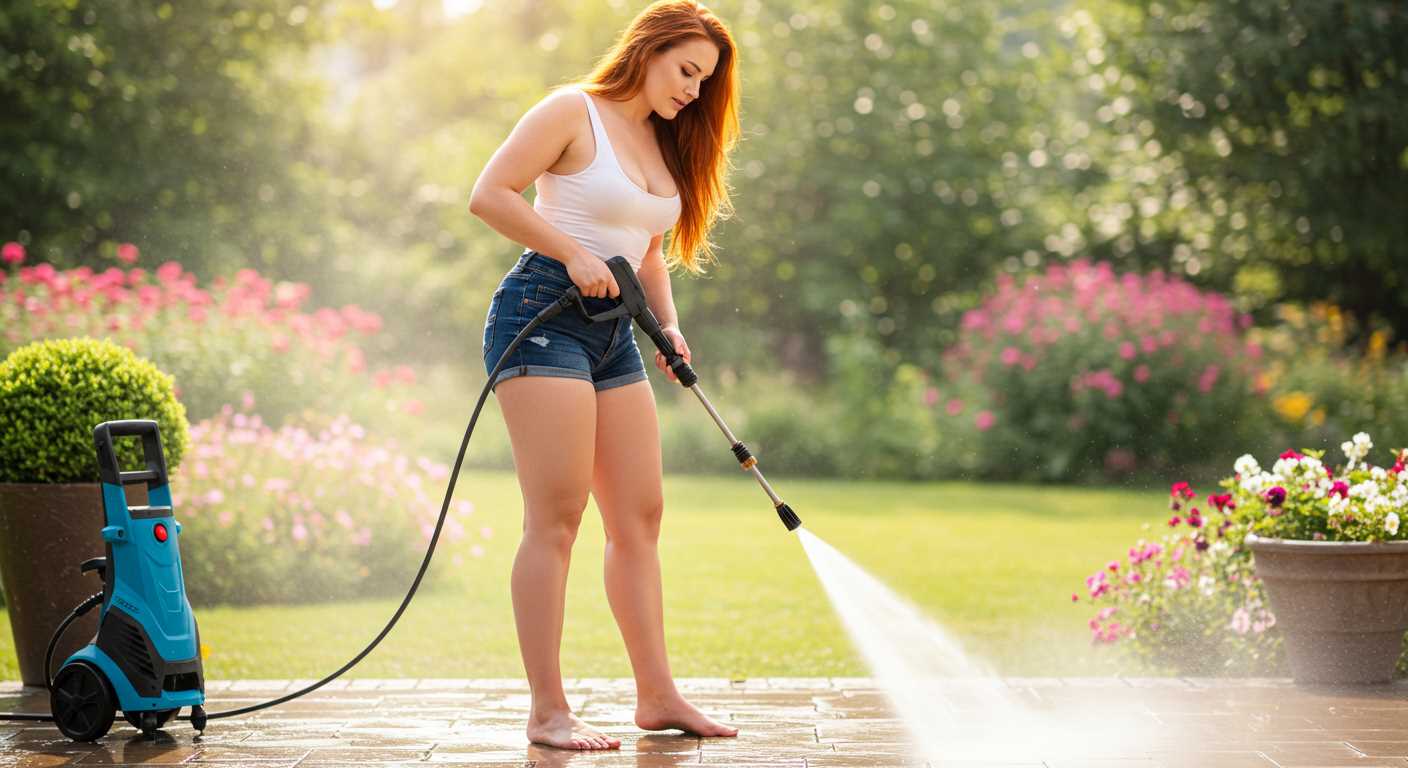


For maintaining the clarity and shine of your glass structures, a device with a rating between 1200 and 2000 PSI will suffice. This range effectively tackles dirt, grime, and algae without causing damage to the delicate surfaces. In my own experience, I’ve found that models within this bracket strike the right balance between power and safety.
Flow rate is another key factor; aim for a minimum of 1.4 GPM. This ensures adequate water flow to remove stubborn stains while preventing any potential streaks. During my years testing various units, I noticed that those with higher flow rates tended to deliver better results, especially on larger surfaces.
Lastly, consider the nozzle options available. A 25-degree nozzle is versatile enough for most tasks, while a 40-degree nozzle is ideal for gentle cleaning. I remember using a 15-degree nozzle on a particularly stubborn area once, and while it worked brilliantly, it required more caution to avoid any damage. Always have a selection of nozzles at your disposal for different cleaning scenarios.
Recommended Specifications for Effective Equipment Use
For optimal results, choose a unit with a minimum of 120 bar (1740 psi) pressure. This level balances power and safety, ensuring thorough dirt removal without risking damage to delicate surfaces like glass or plastic.

Flow rate is equally important; aim for at least 400 litres per hour. This ensures enough water volume to wash away grime effectively, enhancing the cleaning process.
Additional Features to Consider
Look for adjustable nozzle settings. A variable spray pattern allows you to switch between a gentle mist for delicate areas and a more focused stream for tougher spots. This versatility is crucial when dealing with various surfaces within a structure.
In my experience, a unit with a detergent tank simplifies the process. Using a suitable cleaning solution can significantly boost results, especially on stubborn stains.
Personal Insights from Experience
During my years in the industry, I’ve seen many users underestimate the importance of maintenance. Regularly check filters and hoses to prevent clogs that can reduce performance over time. A well-maintained machine not only lasts longer but also operates more effectively.
Finally, always follow safety guidelines. Wearing appropriate protective gear, such as goggles and gloves, safeguards against any potential hazards while in use. Trust me, a little caution goes a long way in ensuring a safe and successful cleaning session.
Understanding Pressure Washer Ratings and Specifications
To determine the right machine, focus on the specifications: PSI (pounds per square inch) and GPM (gallons per minute). A unit with a PSI between 1300 and 2000 is typically adequate for most residential tasks, including glass and frame cleaning. For tougher grime, a higher PSI may be necessary, but don’t exceed 2500 to avoid damaging delicate surfaces.
PSI Explained
PSI indicates the water pressure delivered by the machine. A unit with 1500 PSI is capable of tackling light dirt and mildew. For stubborn stains or heavier build-up, I recommend considering models that offer around 2000 PSI. Always keep in mind the material of the surface you’re working on; delicate areas require gentler approaches.
GPM Significance
GPM measures the volume of water used. Higher GPM means faster cleaning due to increased water flow. A model with 1.5 GPM is sufficient for routine maintenance, while 2.0 GPM or more can expedite the work on larger areas. However, balance is key; a machine with excessive GPM might lead to oversaturation and potential damage.
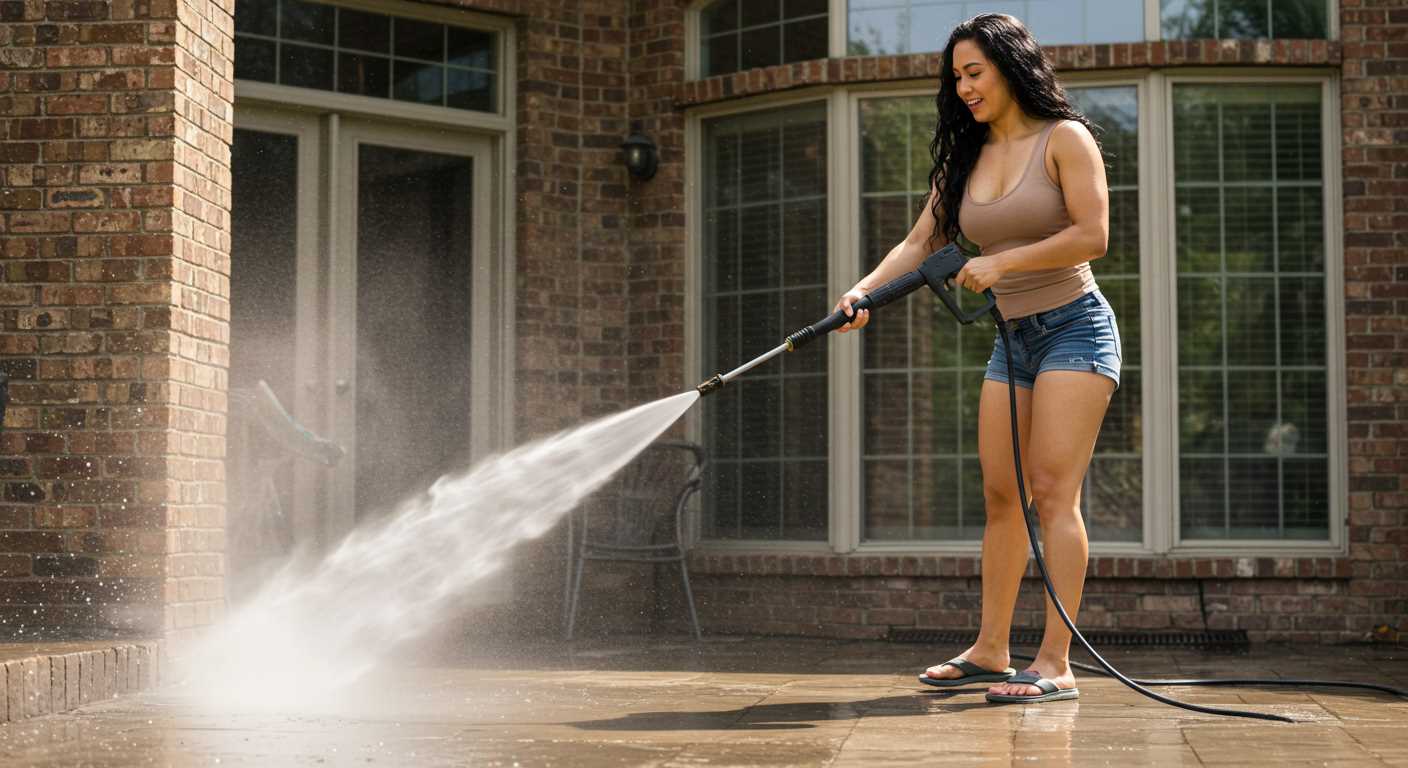
Determining the Right PSI for Conservatory Cleaning
For optimal results, aim for a machine that delivers between 1200 and 2000 PSI. This range effectively removes grime without risking damage to glass or delicate frames. In my experience, using anything above 2000 PSI can lead to unwanted scratches or even cracks in the glass panels.
When I first tackled a conservatory, I underestimated the importance of adjusting the nozzle as well. A fan spray pattern works well for large areas, while a more focused stream is perfect for stubborn stains. I once used an incorrect nozzle setting on a particularly dirty section, which resulted in a visible etching on the glass – a costly mistake I learned from.
Don’t forget to consider the water flow rate, measured in GPM (gallons per minute). A flow rate of 1.5 to 2.5 GPM is ideal for this task, ensuring that the dirt is lifted away rather than just pushed around. A high GPM combined with the right PSI can significantly reduce cleaning time.
If you’re looking for portability and ease of use, consider a pump action pressure washer. These models are typically lighter and easier to manoeuvre around a conservatory, especially if you need to reach high or awkward spots.
Lastly, always test a small, inconspicuous area before fully committing to your cleaning approach. This will help you gauge the effectiveness of your equipment and adjust settings as necessary. Trust me, taking this precaution can save you from a world of trouble later on.
Choosing the Appropriate GPM for Optimal Results
For achieving the best results in your outdoor space, a flow rate of 1.5 to 2.5 gallons per minute (GPM) is ideal. This range balances efficiency with cleaning power, ensuring dirt and grime are effectively removed without risking damage to delicate surfaces such as glass or painted frames.
Optimal GPM for Surface Types
When I first began testing various cleaning devices, I was surprised by how significant the GPM was in relation to the type of surface being treated. For instance, during a project involving a glass roof, I found that a lower GPM of around 1.5 was sufficient. It provided a gentle yet effective rinse, preventing the risk of shattering while still clearing away accumulated debris. Conversely, for tougher surfaces like brick or concrete, a flow rate closer to 2.5 GPM helped expedite the process, allowing for a more thorough wash without needing to go over the area multiple times.
Considerations for Water Supply
It’s also vital to factor in your water supply’s capability. During one of my earlier evaluations, I encountered a situation where a unit with a high GPM was used, but the water supply struggled to keep up, resulting in inconsistent performance. Always check the specifications of your water source to ensure it can accommodate the desired flow rate without interruption. This small detail can make a significant difference in achieving a pristine finish.
Identifying Surface Materials and Their Pressure Requirements
Knowing the type of materials your structure is made from is key to selecting the right cleaning settings. Each surface reacts differently to high-intensity water jets. Here’s what I’ve learned over the years about various materials and their optimal treatment.
-
Glass:
Typically, glass can withstand higher pressures, but 1500-2000 PSI is usually sufficient. Keep the nozzle at a safe distance to avoid chips or cracks.
-
Aluminium:
Aluminium frames require gentler handling. Aim for 1200-1500 PSI to prevent surface damage and maintain the finish.
-
uPVC:
This material is quite durable. A setting of 1300-1600 PSI works well, effectively removing grime without risking harm.
-
Wood:
Wood surfaces are sensitive. Use a lower setting, around 1000-1200 PSI, to clean without stripping the surface or causing splintering.
-
Brick and Stone:
These materials can handle higher pressures, typically between 2000-3000 PSI. Be cautious with older bricks to avoid dislodging them.
In my experience, the distance from which you spray is just as important as the pressure itself. A closer distance might require lower pressure settings to avoid damage. Always test on a small, inconspicuous area first if you’re uncertain.
Ultimately, the combination of material type and pressure setting will yield the best results while preserving the integrity of your structure. Understanding these nuances has saved me from many costly repairs and headaches over the years.
Assessing the Impact of Nozzle Types on Cleaning Power
Choosing the right nozzle can significantly enhance your cleaning experience. Each nozzle type offers a distinct spray pattern and pressure delivery, affecting how effectively dirt and grime are removed. Here’s what I’ve learned from years of using different nozzles:
- Zero-Degree Nozzle: This nozzle delivers a concentrated stream of water, ideal for removing stubborn stains. Use it cautiously on hard surfaces but avoid delicate glass to prevent damage.
- 15-Degree Nozzle: A versatile option that balances power and coverage. It works well on tough surfaces like concrete or brick, perfect for those hard-to-reach areas in a greenhouse.
- 25-Degree Nozzle: This nozzle provides a wider spray, making it suitable for general cleaning tasks. It’s effective on larger areas such as windows and frames without risking damage.
- 40-Degree Nozzle: A gentle option for delicate surfaces. It’s excellent for cleaning glass and painted areas, ensuring you don’t strip away finishes while still achieving a clean surface.
- Soap Nozzle: Designed specifically for applying cleaning solutions, it enhances the effectiveness of detergents. Use this nozzle to tackle heavy grime before rinsing with a more powerful nozzle.
During my time in the field, I found that mismatched nozzles can lead to subpar results. For instance, using a zero-degree nozzle on glass can cause cracks, while a 40-degree nozzle may not effectively remove built-up dirt. It’s all about matching the nozzle to the surface and the level of grime present.
Experimenting with various nozzles on different surfaces has been enlightening. I once had a client with a large glass structure. Initially, I used a 25-degree nozzle, but the results were lacklustre. Switching to a 40-degree nozzle delivered the desired clarity without risking damage. Simple changes can yield impressive outcomes.
In conclusion, understanding the purpose of each nozzle type enables you to optimise your cleaning routine. It’s not just about the equipment; it’s about how you use it. Choosing wisely can make a world of difference in achieving a sparkling clean finish.
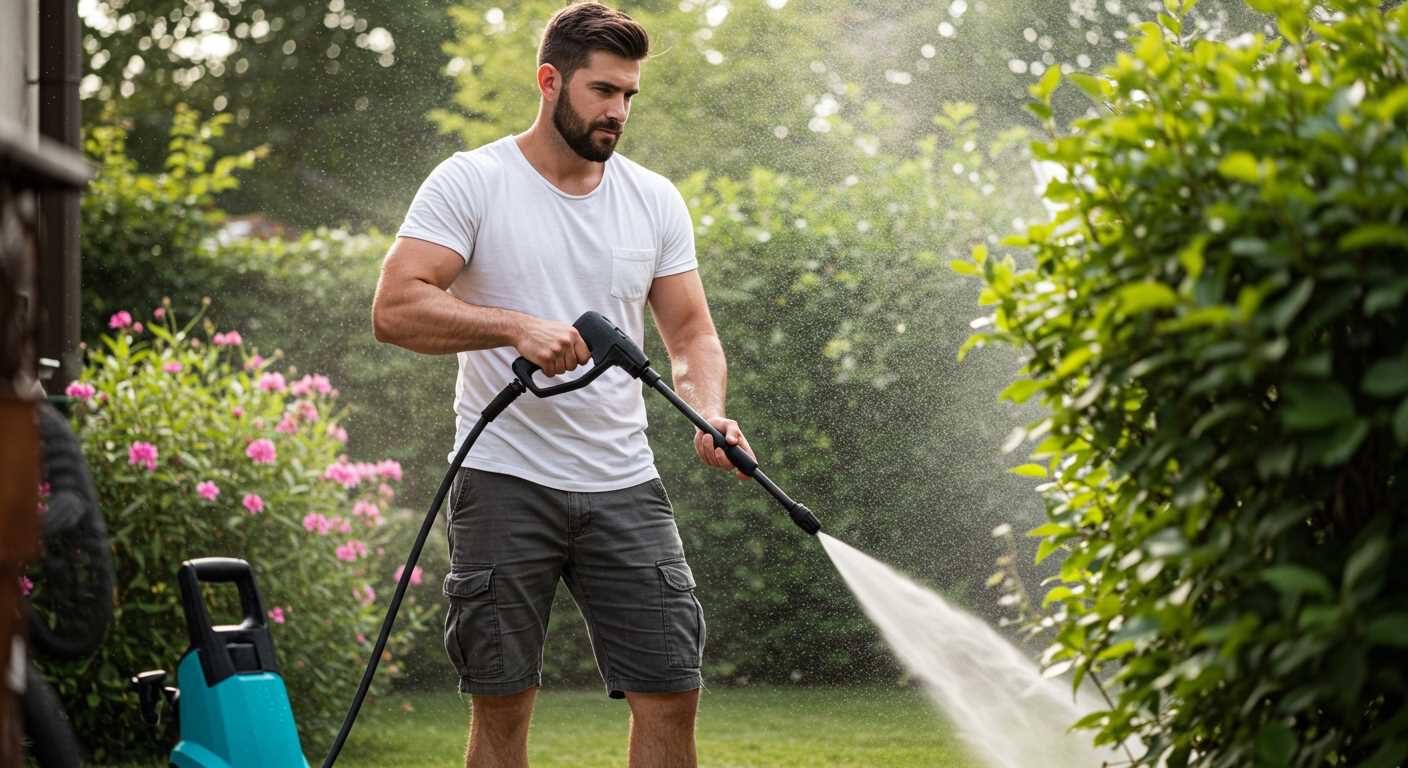
Evaluating the Benefits of Electric vs. Petrol Pressure Cleaners
When considering the right equipment for tough outdoor tasks, the choice between electric and petrol options stands out. Personally, I’ve used both types extensively, and each has its unique advantages depending on the situation.
Electric models are quieter and more user-friendly. Their lightweight design makes them ideal for residential use. I remember using an electric unit to tackle a dusty patio. The convenience of simply plugging it in and starting right away was a big plus. They generally require less maintenance, which saves time and effort. If you have a small to medium-sized area to refresh, this option often suffices.
On the flip side, petrol-powered units provide greater mobility and power. During a large-scale project at a local community centre, I relied on a petrol model to clean extensive outdoor surfaces. The higher pressure made short work of stubborn dirt and grime. The downside? They tend to be heavier and require more upkeep, including regular checks on oil and fuel levels.
In terms of versatility, petrol units excel in larger or more demanding jobs, while electric types are perfect for routine maintenance and smaller tasks. For instance, if you’re also looking to tackle indoor projects, like how to clean a fish tank with vinegar, an electric model might be the better choice due to its ease of use and lower risk of causing damage.
Ultimately, the decision hinges on the specific applications you have in mind. Each type brings distinct benefits, making it essential to align your choice with your cleaning requirements and preferences.
Safety Considerations When Using a Pressure Washer on Conservatories
Before you start, ensure you wear appropriate protective gear: safety goggles, gloves, and non-slip footwear are a must. During my years in the field, I’ve seen too many accidents happen simply due to a lack of proper attire. Water can fly back at high velocities, and it’s crucial to protect your eyes and skin.
Checking Electrical Safety
If you opt for an electric model, inspect the power cord and connections. Look for any signs of wear or damage. I once encountered a situation where someone used a frayed cord, leading to a nasty electric shock. Always plug into a Ground Fault Circuit Interrupter (GFCI) outlet to mitigate risks. It’s a simple step that can save you from potential hazards.
Stability and Surroundings
Ensure the area around the structure is free from obstacles. I recall a job where I had to navigate around garden furniture and potted plants, which led to some unintended mishaps. Clear the vicinity of debris, and if you’re working on a ladder, ensure someone is holding it steady. Using a stabiliser bar can also prevent slips.
| Safety Tip | Description |
|---|---|
| Protective Gear | Wear goggles, gloves, and non-slip footwear. |
| Electrical Safety | Use a GFCI outlet and check power cords for damage. |
| Area Preparation | Clear the work area of obstacles and debris. |
| Ladder Stability | Have someone hold the ladder or use stabilisers. |
Watch your footing when working on uneven surfaces or wet areas. Slipping can lead to serious injuries. I’ve had close calls by being too relaxed about my footing. Always take it slow and steady.
Finally, never aim the jet directly at anyone or any animals. I’ve seen pets get startled and dash off, creating chaos. Keep your distance and be mindful of those around you. Safety first, always!
.jpg)


