
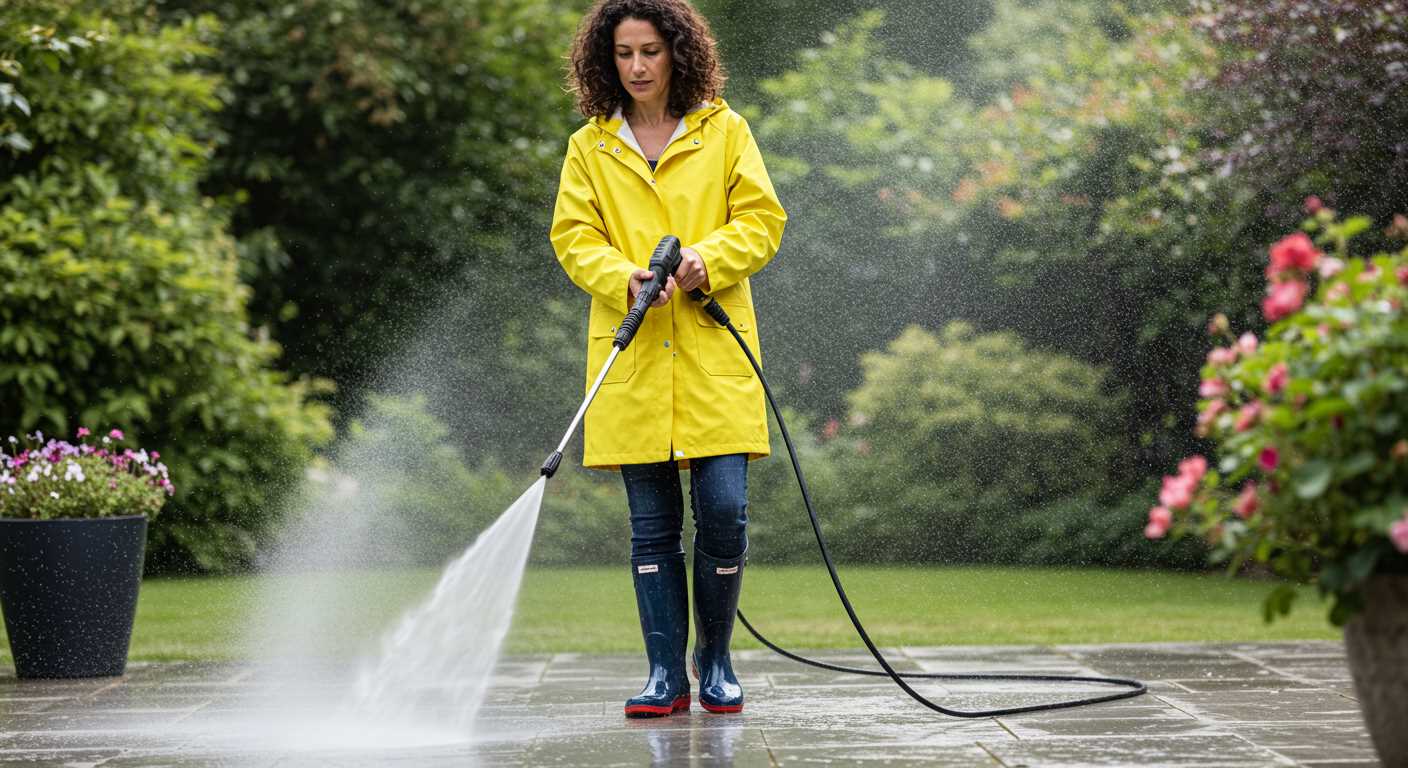


To achieve optimal results when using your high-pressure unit, it’s crucial to incorporate the right cleaning agents effectively. Begin by ensuring that your machine has a dedicated compartment for these substances, often labelled as a detergent tank. This feature typically allows for proper mixing and dispensing of the cleaning agent during operation.
When selecting a product, consider the specific surfaces you’ll be treating. For instance, if you’re tackling grime on a driveway, a heavy-duty cleaner designed for concrete is ideal. Conversely, for delicate surfaces like wood, opt for a milder formulation. Always read the manufacturer’s recommendations to avoid any damage to your equipment or the surfaces being cleaned.
Once you have the appropriate cleaner, dilute it according to the instructions. In my experience, using a concentrated solution without proper dilution can lead to residue buildup or even damage the machine. After mixing, simply pour the solution into the designated tank, making sure not to overfill.

After securing the tank, switch your equipment to the low-pressure mode. This setting is crucial for allowing the cleaning agent to be drawn into the system correctly. Start your unit and allow it to run for a few moments, enabling the mixture to flow through the hose and nozzle.
Lastly, it’s wise to let the cleaning agent sit on the surface for a few minutes before rinsing. This dwell time enhances the cleaning process, breaking down stubborn stains effectively. With these steps, you’ll be well on your way to achieving a pristine finish on any surface.
Incorporating Detergent into Your High-Pressure Cleaner
First off, ensure your equipment is turned off and unplugged for safety. Locate the detergent tank, typically found near the base of the unit. If your model doesn’t have a dedicated tank, you may need a siphon attachment that connects to the nozzle.
For those with a tank, simply pour the appropriate amount of the chosen liquid into it. I always recommend checking the user manual for the right dilution ratio, as using too much can lead to excessive foam and clogging. In my experience, a mix that’s too concentrated often results in a messy clean-up.
If using a siphon, attach the hose to the detergent container and insert the other end into the designated port on your device. Ensure it fits snugly to prevent leaks. A common mistake I’ve encountered is forgetting to secure the connection, which can lead to wasted product and inefficiency.
Once everything is in place, switch on the machine and select the appropriate nozzle for your task. Start at a lower pressure to allow the detergent to mix with the water before gradually increasing it. This method helps to ensure even coverage without wasting the mixture.
After use, thoroughly rinse the tank or siphon system with clean water. Leftover residues can harden and obstruct the flow during your next task, so a quick clean-up saves time later.
Lastly, always store the machine in a cool, dry place. Exposure to extreme temperatures can affect the integrity of any remaining product in the tank and the unit itself. Keeping it well-maintained extends the lifespan of your equipment and enhances your cleaning experience.
Understanding Your Pressure Washer’s Features
Familiarity with your cleaning unit’s specifications is key to optimising performance. Each model has distinct functionalities that can significantly enhance your experience and results.
Key Features to Explore
Pay attention to the nozzle variations. Different nozzles create various spray patterns, allowing you to tailor the intensity to the task at hand. For instance, a 0-degree nozzle delivers a concentrated jet suitable for tough stains, while a wider spray from a 25-degree nozzle is excellent for general cleaning.
Another important aspect is the detergent system. Many units come equipped with built-in soap dispensers that simplify the process of mixing and applying solutions. This feature can save time and ensure an even application across surfaces. Be sure to check the compatibility of your chosen products with your model to avoid any issues.
Maintenance Considerations
Regular upkeep is crucial for longevity. Always inspect hoses and connections for wear and tear, as these components are often subjected to high pressure and may require replacement. Additionally, periodically cleaning the filter will help maintain optimal water flow and performance.
| Feature | Benefit |
|---|---|
| Nozzle Types | Customisable spray patterns for various tasks |
| Detergent System | Effortless mixing and application |
| Hose Quality | Durability and reduced risk of leaks |
| Built-in Filter | Consistent water flow and performance |
As a tip, always refer to the manual for specific guidelines related to your model. Understanding these features will not only enhance your cleaning efficiency but also prolong the life of your equipment. If you’re interested in cooking, you might also find it useful to check out how long to put oxtail in pressure cooker for some culinary insights.
Choosing the Right Cleaning Solution for Your Needs
For any task, opting for the appropriate mixture can make a world of difference. I recall my first experience with a unit; I was overwhelmed by the choices available. Through trial and error, I discovered that understanding the type of surface and the nature of the grime is key.
Types of Surfaces and Corresponding Products
- Concrete: Use a high-alkaline cleaner to tackle oil stains and grime. A dedicated degreaser works wonders here.
- Wood: Opt for a gentle, biodegradable agent to prevent damage. Stay away from harsh chemicals that can strip away the natural oils.
- Vehicles: Select a pH-balanced formula designed specifically for automotive surfaces to avoid any potential harm to paintwork.
- Decks and Patios: A solution with mould and mildew inhibitors is essential for outdoor surfaces exposed to moisture.
Environmental Considerations
Always consider the ecological impact of your choice. Many brands now offer eco-friendly formulations that are just as potent without causing harm to your surroundings. I’ve used these products myself, and they’ve proven to be just as effective while giving me peace of mind.
In my experience, testing a small area before full application is always wise. This helps to identify any adverse reactions and ensures that you achieve the desired results without damage.
Lastly, remember to check your equipment’s specifications. Some units may have restrictions on the type of mixtures that can be safely used. Adhering to these guidelines not only protects your gear but also maximises performance.
Preparing the Pressure Equipment for Cleaning Solution
Ensure the device is turned off and disconnected from the power source before you start. This simple precaution can save you from accidents. Next, check the nozzle type; some models require specific attachments for optimal mixing of detergent and water. If you’re unsure, consult the user manual for guidance on compatible nozzles.
Inspect the detergent tank for any residue from previous use. Rinse it thoroughly with clean water to prevent cross-contamination of substances. If your unit has a siphon tube, make certain it’s clean and free from blockages. A clogged tube can hinder the intake of the liquid, resulting in diluted performance.
Mixing Ratios and Recommendations
Refer to the instructions that come with your chosen liquid cleaner. Most products specify a mixing ratio with water. I recall a time when I didn’t adhere to the recommended proportions, and the results were disappointing. I learned that sticking to these guidelines ensures the best cleaning results without damaging surfaces. Always measure carefully; an old measuring cup can make this task easier.
Setting Up for Application
Once everything is prepared, ensure that the hose is securely connected to the water supply. Turn on the water and allow it to flow through the system for a moment to clear any air bubbles. This step prevents issues during operation. Finally, before applying the mixture, test a small, inconspicuous area on your surface to ensure compatibility and avoid damage.
Locating the Soap Tank or Injection System
First, identify if your equipment has a dedicated soap tank or an injection system. This will determine how you introduce your cleaning agent. Check the manufacturer’s manual for specific diagrams or descriptions; this saves time and avoids confusion.
Identifying the Soap Tank
- Typically, a soap tank is located on the side or rear of the unit.
- Look for a translucent container marked for detergent; it might have a cap that twists off.
- Some models have a built-in indicator to show the level of the soap.
Recognising the Injection System
- For units with an injection system, find the hose that connects to the detergent injector.
- This hose often sits near the high-pressure outlet; it may be a different colour or texture compared to the others.
- Check if there’s a nozzle adjustment; this controls how much fluid is drawn into the system.
Always ensure the machine is off and cool before handling any components. If you’re unsure where to look, visiting a reliable retailer or exploring online resources can also provide guidance. For instance, if you’re considering a machine for specific tasks like cleaning outdoor furniture, check out a pressure washer for outdoor furniture to see if it meets your needs.
Mixing the Cleaning Solution Properly

Always start with the manufacturer’s guidelines for ratios. Typically, a 1:4 mix of the product to water works well for most applications. I recall a time when I mixed too strong a concentration–ended up with streaks on surfaces instead of a clean finish. You want to ensure that you’re not overwhelming the surfaces you’re treating.
Use a clean container for mixing; contaminants can affect the performance of the mixture. I’ve seen customers use old containers that had residues from other chemicals, leading to unsatisfactory results. Measuring accurately is key; I recommend using a measuring cup or a syringe for precision.
Always add the product to water, not the other way around. This prevents any chemical reactions that could occur if the concentrate is exposed directly to air. A memorable incident involved a colleague who poured the concentrate first–let’s just say the result was a foamy eruption that left the area looking like a science experiment gone wrong.
Mix thoroughly. Stir the combination gently to avoid creating excessive bubbles, which can inhibit the product’s effectiveness. When I mix, I often use a stick or a whisk, ensuring everything is well blended without introducing air into the mix.
Once mixed, let it sit for a few minutes. This allows any undissolved particles to settle. I often take this time to prepare my equipment or gather additional tools required for the task at hand. Always check the mixture before you start; it should have a uniform consistency without any sediment at the bottom.
Store any leftovers in a tightly sealed container, labelled with the contents and date. I’ve learned the hard way that forgetting what’s in a container can lead to disasters down the line. Always keep it in a cool, dry place away from direct sunlight to maintain its efficacy.
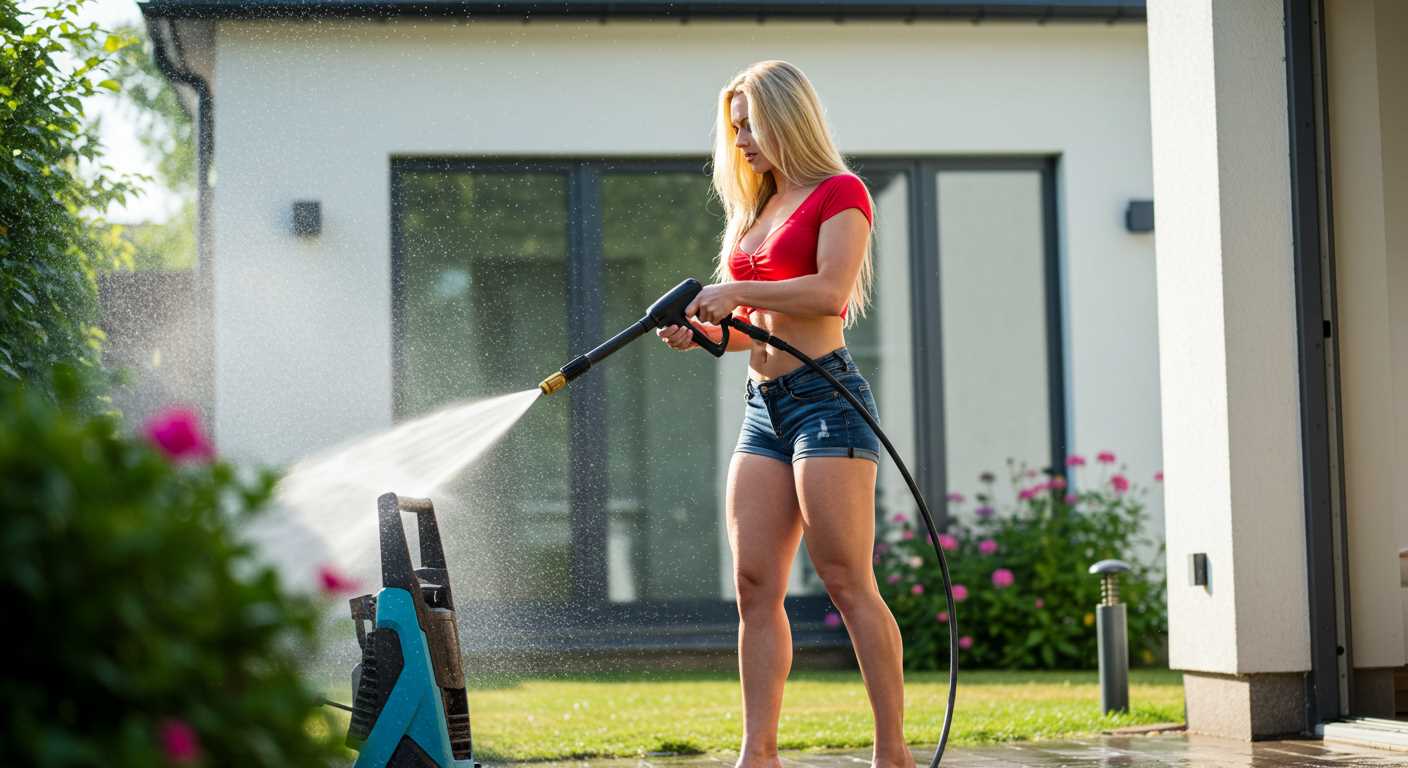
Applying the Cleaning Solution with the Pressure Washer
Begin with adjusting the nozzle to a low-pressure setting. This reduces the force, allowing the detergent to adhere to surfaces without being rinsed away immediately. I recall a time when I used a fan spray nozzle instead of the soap nozzle; it resulted in a mess, with the product splattering everywhere instead of sticking to the grime.
When applying the mixture, maintain a distance of about 2 to 3 feet from the surface. This distance ensures an even coverage while preventing overspray. I’ve experienced instances where getting too close caused the detergent to run off without doing its job. Move in a sweeping motion, overlapping each pass slightly to ensure thorough application.

Allow the mixture to dwell for approximately 5 to 10 minutes, depending on the level of dirt. I often set a timer; it’s easy to get distracted. A friend once forgot and ended up with dried soap that was difficult to rinse off. Remember, don’t let it dry completely–if it starts to dry, lightly mist the area with water to keep it wet.
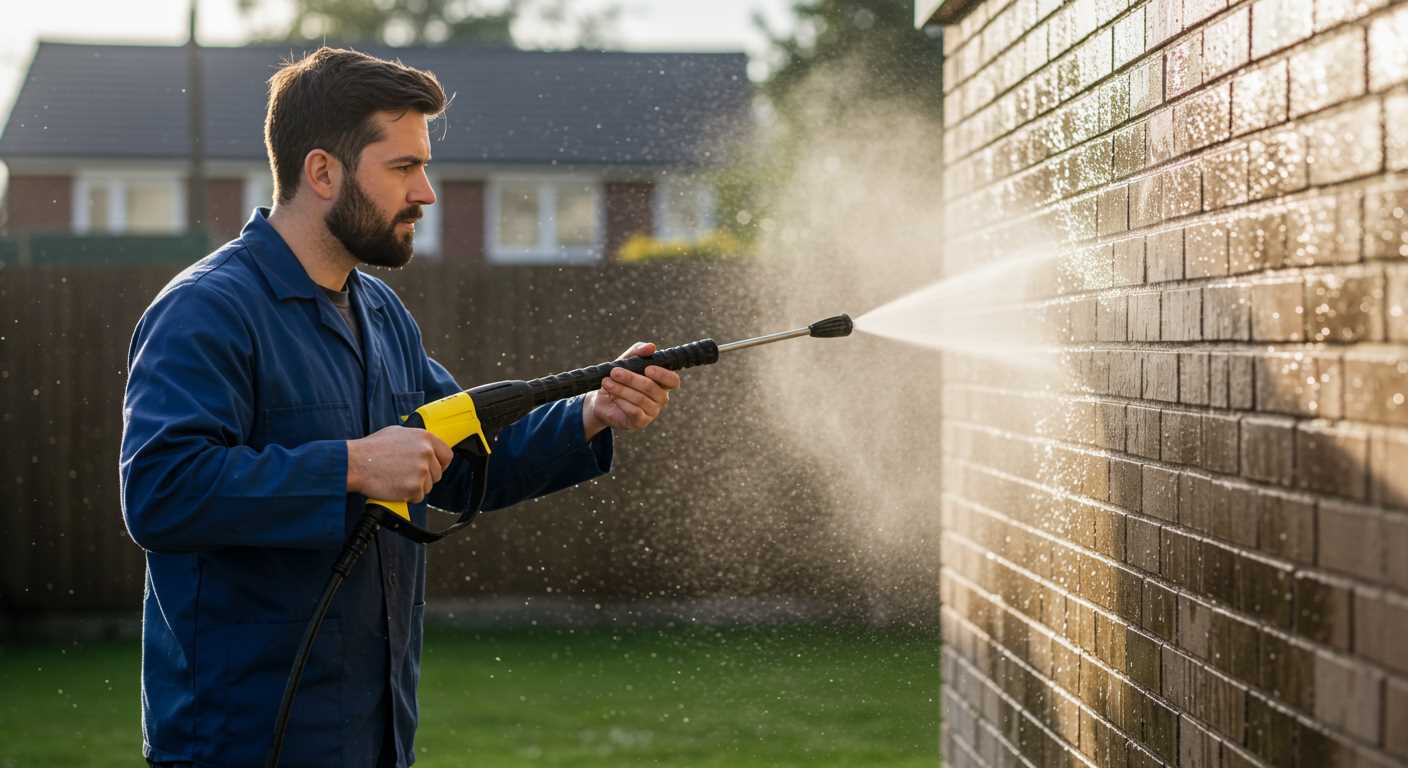
After the dwell time, switch back to a high-pressure nozzle. Rinse thoroughly, starting from the top and working your way down. This technique prevents streaks and ensures all residues are washed away. A few years back, I neglected this step and had to redo an entire driveway because I didn’t rinse properly. Lesson learned!
Always clean the nozzle after use to avoid clogs. A simple rinse with water can save you from future headaches. I’ve had to replace nozzles before because I didn’t maintain them properly, and it’s an unnecessary expense.
Following these steps will ensure you get the most out of your cleaning agent, making your surfaces sparkle without hassle.
Cleaning and Maintaining the System After Use
After using your equipment, the immediate task is to flush the system with clean water. This prevents any residue from the substances you’ve applied from settling in the lines and causing clogs. It’s a straightforward process: simply detach the hose and run water through the inlet until it runs clear.
Inspecting Components
Take a moment to inspect the spray nozzle and any attachments. Look for signs of wear or damage. I recall a time when I overlooked a tiny crack in a nozzle, which led to uneven application during my next project. Replacing worn components promptly ensures optimal performance for future tasks.
Storing the Equipment
Store your gear in a dry, sheltered area. If you’re dealing with freezing temperatures, make sure to drain all water to avoid freezing and cracking. I learned this the hard way when I found some equipment irreparably damaged after a cold snap. Keeping everything secure and protected will extend the lifespan of your tools.
.jpg)


