
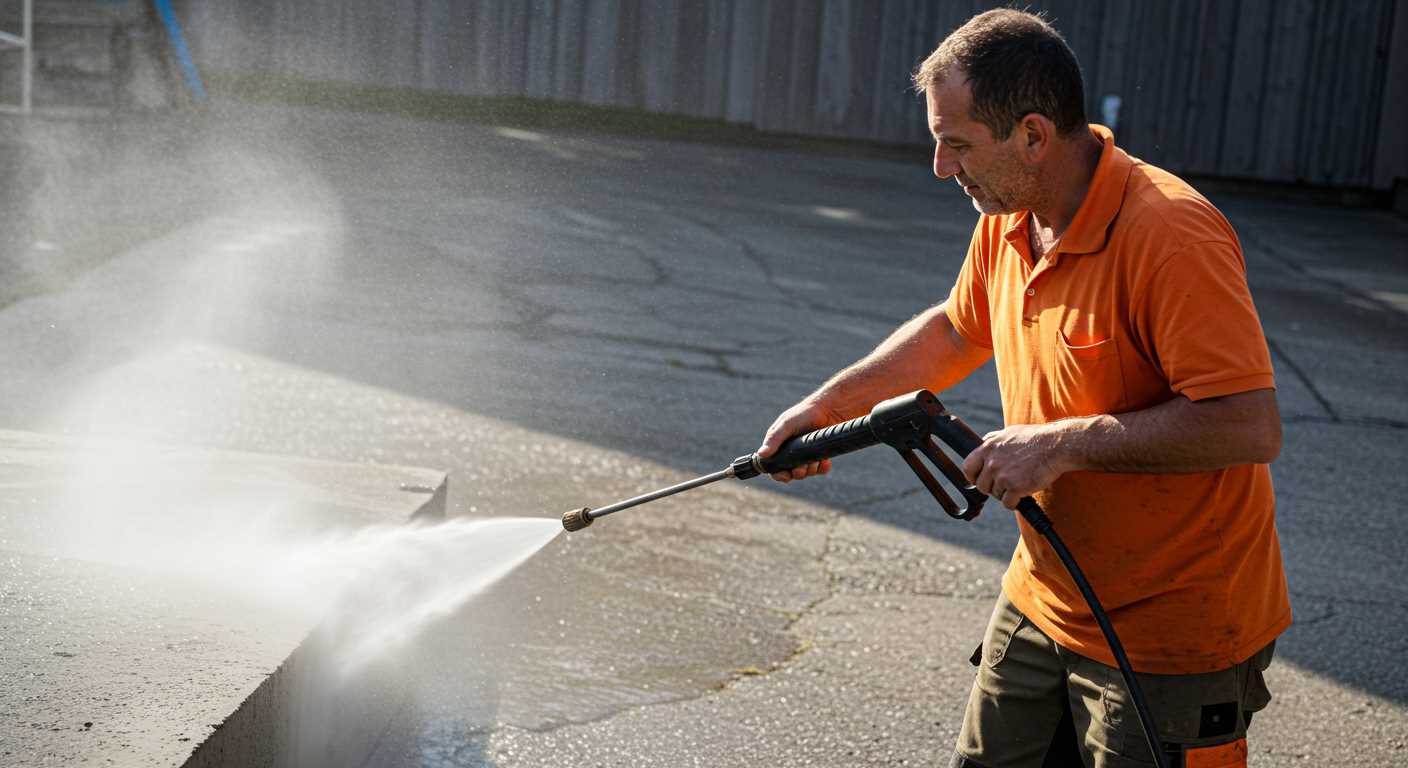


Checking the lubrication levels of your cleaning device is non-negotiable if you want to ensure longevity and optimal performance. When I first started working with these machines, I quickly realised that regular maintenance could make a world of difference. I recall one instance where a colleague neglected this simple task, and it led to significant repairs that could have been avoided.
Locate the filler port on your equipment, often found on the side of the motor housing. Use a funnel to avoid spills, as even a small amount of contamination can affect performance. Remember, the correct type of liquid is crucial; always refer to the manufacturer’s guidelines. I’ve seen too many users make the mistake of using the wrong formulation, leading to premature wear and tear.

After filling, wipe away any excess with a clean cloth. Check the dipstick if available, ensuring the level is within the recommended range. A well-lubricated unit not only runs smoother but also enhances the overall cleaning efficiency. I’ve always maintained that a little attention to detail can save you from a lot of hassle down the line.
How to Maintain the Lubrication of Your Cleaning Equipment
Ensure you have the right type of lubricant before proceeding. I always recommend checking the user manual for specifications–using the incorrect substance can lead to serious issues.
Begin by positioning the machine on a flat surface. This prevents spillage and ensures accurate filling. Locate the fill port, typically a small cap on the side of the unit. Use a funnel for easier pouring; this reduces the risk of mess and allows for better control.
Pour in the lubricant slowly, monitoring the level through the sight glass, if available. Ideally, the liquid should reach the recommended mark without exceeding it. If you happen to overfill, have a cloth ready to clean up any excess. I once made this mistake and ended up with a slippery mess that took time to clean up.
After filling, securely replace the cap and wipe away any residue around the area. It’s a good habit to run the machine briefly after this process to circulate the lubricant, ensuring even distribution. I always check for leaks during this test run–it’s a simple way to catch potential problems early.
Regular maintenance is crucial. I suggest checking the lubricant levels every few uses, especially if you frequently use the machine. Keeping everything well-lubricated can extend the lifespan of your equipment significantly. If you’re into capturing your cleaning adventures, consider investing in a digital camera or digicam to document the process.
Identifying the Right Oil for Your Pressure Washer Pump
Choosing the correct lubricant for your equipment is critical for optimal performance and longevity. Always refer to the manufacturer’s guidelines for specific recommendations. Common specifications often include viscosity ratings and types of lubricant suitable for various models.
Types of Lubricants
- Mineral Oil: Often used for standard models, it provides adequate lubrication but may require more frequent changes.
- Synthetic Oil: This type offers superior protection and stability across a wider temperature range, making it a great choice for high-performance units.
- Non-Detergent Oil: Specifically formulated for pumps, this oil helps prevent foaming and ensures effective lubrication under high pressure.
Viscosity Ratings
Check the viscosity rating, typically indicated by numbers such as 10W-30 or 15W-40. A lower number means better performance in cold temperatures, while a higher number is suitable for warmer conditions. Always match the viscosity to the climate in which you operate your equipment.
Make sure to avoid mixing different types of lubricants, as this can lead to decreased performance or even damage. If you’re unsure, consider switching to a reliable brand that meets the specifications outlined in your owner’s manual.
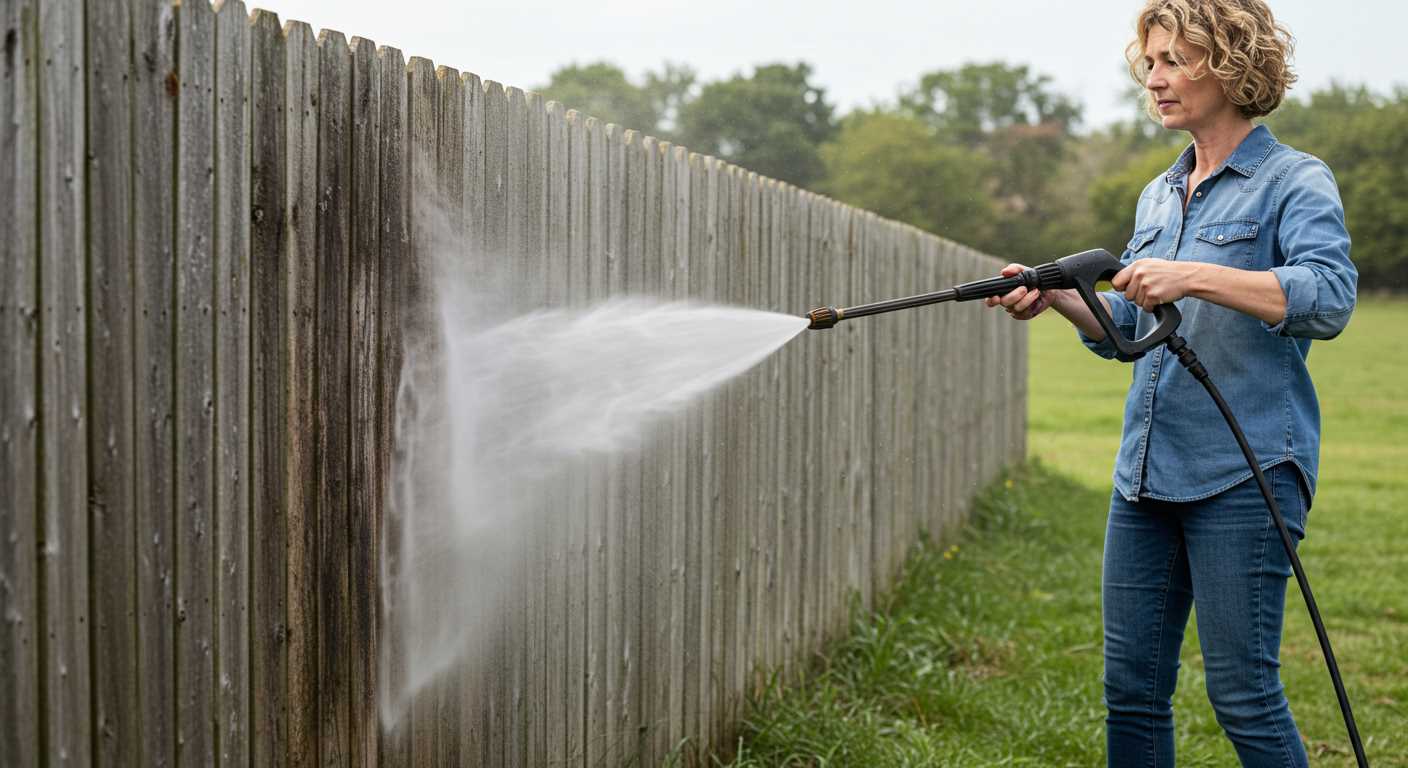
For those interested in versatile cleaning options, I recommend checking out a rechargable wireless pressure washer. They provide flexibility and ease of use, particularly in hard-to-reach areas.
Gathering Necessary Tools for Oil Addition
Begin with a clean, flat workspace. An area free from clutter ensures that you can focus on the task without distractions. A sturdy table or bench where you can easily access your tools will save time and effort.
Required Tools
You’ll need a funnel to facilitate the transfer of liquid into the reservoir without spills. Opt for one with a narrow opening to avoid any mess. A pair of gloves is also wise; they protect your hands from any potential stains or residues. Additionally, keep a clean rag handy–this is ideal for wiping any excess or drips during the process.
Preparation Steps
Before starting, gather the recommended lubricant specific to your device. Check the manual for specifications to ensure compatibility. A measuring cup can be handy to determine the correct amount, especially if you’re topping up rather than performing a full change. Lastly, having a small container nearby for any used materials helps maintain cleanliness. This preparation sets the stage for a smooth operation.
Locating the Oil Fill Cap on the Pressure Washer Pump
To find the fill cap on your machine’s hydraulic unit, look for a small, round component typically situated on the top or side of the unit. It’s usually marked with a symbol resembling an oil droplet or may be simply labelled “oil.” In some models, it can be a bit hidden, so keep an eye out for any cap that looks different from the others.
During my time testing various models, I often encountered units where the fill cap was cleverly disguised. One specific instance was with a well-known brand where the cap blended almost seamlessly with the surrounding components. A flashlight can be helpful to illuminate darker areas and reveal the cap more easily.
After locating the cap, ensure that the surface around it is clean before opening. This prevents any dirt or debris from contaminating the fluid inside. I’ve seen machines that suffered from performance issues simply because of neglecting this small yet vital step.
If the cap seems stuck, you might need a cloth for a better grip or a gentle twist to loosen it. I remember struggling with one model that had a particularly stubborn cap, but a little patience and the right grip did the trick. Always be cautious not to use excessive force, as this might damage the threading or the cap itself.
Draining Old Oil Safely Before Adding New Oil
Begin by positioning your equipment on a flat surface. This ensures that the liquid drains completely and prevents spills. I always recommend wearing gloves and safety goggles to protect yourself from any residues.
Locate the drain plug, usually situated at the lowest point of the casing. Have a suitable container ready to catch the used liquid. When removing the plug, do it slowly to avoid splashing. Allow ample time for complete drainage, as remnants can affect the performance of the new lubricant.
Disposing of Used Liquid
Never pour the used liquid down the drain or dispose of it in regular waste. Most localities have specific disposal guidelines for such materials. I usually take it to a recycling centre or a hazardous waste facility. It’s a small step that ensures we’re keeping our environment safe.
Cleaning the Drain Area
After draining, clean the area around the drain plug. A small rag or paper towel can help remove any residual liquid, ensuring a clean seal when you replace the plug. I’ve seen too many cases where a simple wipe made a significant difference in preventing leaks. Once everything is tidy, you’re ready to proceed with the new lubricant application.
Step-by-Step Process of Adding Oil to the Pump
Begin by ensuring the machine is on a flat surface. This prevents any spillage and makes the process smoother. Next, grab your chosen lubricant and a funnel for precision. The funnel will help avoid mess when pouring.
Checking the Level
Before proceeding, always check the existing lubricant level through the sight glass, if available. This gives you a clear idea of how much to pour. A low level indicates it’s time to refill, but if it’s overfilled, you’ll need to drain some out first.
Pouring Technique
With the funnel in place, slowly pour the liquid into the designated fill cap. Take your time, watching the level rise. Stop when it reaches the recommended mark, usually indicated by a dipstick or line on the container. Avoid overfilling, as this can lead to leaks or operational issues.
After filling, securely replace the fill cap. Wipe away any spills immediately to maintain a clean working environment. Finally, run the unit for a few minutes to circulate the lubricant, ensuring optimal performance.
Checking Oil Levels and Ensuring Proper Functionality
Regularly checking the lubricant levels in your cleaning equipment is vital for maintaining optimal performance. I remember one time I overlooked this simple task, and it led to a frustrating day of low pressure and ineffective cleaning. Here’s how to ensure everything is functioning smoothly.
First, always inspect the sight glass or dipstick, if available. This should be done before you start using the device. If you can’t see the fluid or the level is below the recommended range, it’s time for a top-up. In many cases, manufacturers will specify the ideal range for the lubricant in the user manual.
After you’ve checked the levels, it’s wise to look for any signs of contamination. If the liquid appears cloudy or has a burnt smell, it’s a sign that it needs replacing. Contaminated lubricant can lead to severe damage over time, so don’t ignore these indicators.
When inspecting the compartment, also check for any leaks around the seals or gaskets. A small leak might seem insignificant, but over time, it can lead to a drop in performance. Tightening fittings and ensuring that all seals are in good condition can prevent future issues.
| Indicator | Action Needed |
|---|---|
| Low level | Top-up |
| Cloudy appearance | Replace |
| Burnt smell | Replace |
| Leaking | Tighten or replace seals |
After you’ve ensured everything is in order, take a moment to run your device for a few minutes. This helps circulate the lubricant and can highlight any performance issues that may have gone unnoticed. If any unusual sounds or vibrations occur, it may be time to consult a professional.
Staying proactive with these checks will save you time and hassle in the long run. I’ve learned that a few minutes of maintenance can prevent hours of frustration down the line.

.jpg)


