
.jpg)


.jpg "How to add oil to karcher pressure washer")
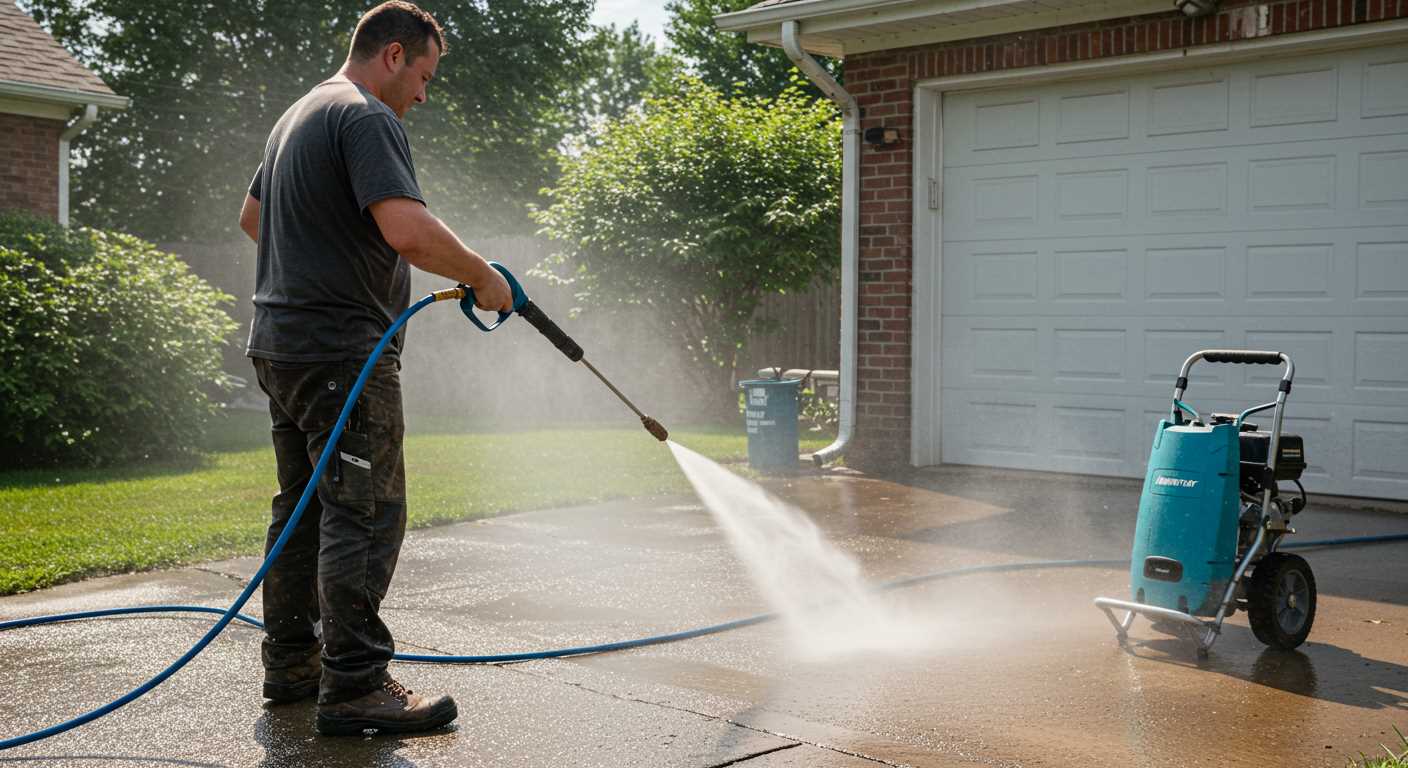
Ensure the longevity of your cleaning equipment by regularly checking and replenishing the lubricant in the engine. This crucial step will keep the motor running smoothly and efficiently. Begin by locating the oil reservoir, typically found on the side or behind the access panel. You might need to consult the manual specific to your model for precise instructions.
Use a funnel to avoid spills when pouring in the new lubricant. It’s advisable to use the recommended type specified in the user manual; this guarantees optimal performance. Monitoring the level frequently can prevent potential damage and costly repairs down the line.

After refilling, run the machine for a few minutes to circulate the new liquid throughout the engine. Then, check for any leaks around the reservoir. Keeping an eye on this aspect of maintenance can significantly extend the lifespan of your equipment and enhance its performance during those demanding cleaning tasks.
Procedure for Refilling Lubricant in Your Device
Ensure you have the appropriate lubricant recommended by the manufacturer. Using the wrong type can damage internal components. Start by locating the fill cap, typically situated on the side of the unit. A funnel can help minimise spills during the process.
Steps to Follow
- Disconnect the power supply for safety.
- Place the machine on a flat surface to prevent leakage.
- Remove the fill cap carefully; keep it in a safe place.
- Using the funnel, pour the lubricant slowly, keeping an eye on the fill level.
- Replace the fill cap securely once finished, ensuring there are no leaks.
Maintenance Tips
- Check the lubricant level regularly, ideally before each use.
- Refer to the user manual for specific intervals for lubrication.
- Clean any spills immediately to avoid attracting dirt.
Keeping your device well-lubricated can significantly enhance its performance and lifespan. If you’re also looking for efficient garden tools, consider the best cordless garden vacuum and blower for your outdoor tasks.
Identifying the Correct Oil Type for Your Karcher Model
Refer to the user manual specific to your model for precise information regarding the lubricant required for optimal performance. Each machine has distinct specifications; using the wrong type can lead to malfunctions or reduced efficiency.
Typically, high-quality 15W-40 or 10W-30 motor lubricants are recommended for many models. These grades ensure adequate protection and smooth operation across various temperatures. However, always check for any unique requirements listed in your manual.
Pay attention to the manufacturer’s guidelines on viscosity and additives. Some devices may necessitate specific formulations to maintain warranty coverage or to ensure longevity. I’ve encountered cases where users opted for generic alternatives only to face significant repairs due to inadequate lubrication.
Consider the environment in which your unit operates. If you’re working in extreme temperatures, select a lubricant designed for those conditions to prevent breakdown and wear. I’ve learned this the hard way – a friend of mine overlooked this detail and ended up with a seized pump during winter operations.
When in doubt, consult your local dealer or customer support for recommendations tailored to your situation. They can provide insight into the best products based on your usage and local conditions. This approach has saved me time and headaches over the years, ensuring that my devices run smoothly and efficiently.
Locating the Oil Fill Cap on Your Pressure Cleaner
To locate the fill cap for lubricants on your machine, begin by examining the engine cover. Most models have a clearly marked cap that may be labelled with a small oil symbol or the word “oil.” It’s typically situated on the top or side of the engine, allowing for easy access.
Steps to Locate the Cap
- Inspect the user manual for diagrams that indicate the location of the fill cap.
- Look for a circular cap, often coloured differently than the surrounding components.
- Check around the engine area for any removable panels that might obstruct your view of the cap.
Tips for Easy Identification
- Keep the area clean to avoid confusion with dirt or debris.
- Use a flashlight if visibility is poor, especially in shaded or enclosed spaces.
- If the cap is difficult to see, trace the oil dipstick or tube from the engine; it usually leads to the fill cap.
Once found, ensure it is tightly secured after refilling to prevent any leaks during operation. If you ever need to clean your surfaces effectively, you might also want to check out tips on removing algae from stones with household remedies.
Preparing Your Pressure Washer for Oil Addition
Ensure the unit is on a stable surface, ideally a flat area, to prevent any accidental spills while working. Disconnect the power supply and any hoses to avoid any mishaps during the process. I recall a time when I neglected this step and had to deal with a messy situation that could have been easily avoided.
Allow the equipment to cool down if it has been in use. Working with a hot machine can lead to burns and other injuries. I’ve always found it best to wait at least 30 minutes after operation, which gives ample time for the components to reach a safe temperature.
Gather all necessary tools before beginning. You’ll need a funnel for pouring, a clean rag for any spills, and of course, the right lubricant. I once learned the hard way that having everything at hand makes the task smoother and less frustrating.
Check the owner’s manual for specific guidance on the quantity required for your model. I’ve seen many users overfill, thinking more is better, only to create more problems. Stick to the recommended amount to ensure optimal performance.
Before proceeding, visually inspect the filling area for debris or contaminants. A clean environment is crucial to maintaining the internal workings of your machine. I’ve often been surprised by how a small piece of dirt can cause significant issues down the line.
How to Properly Check the Oil Level
Start by ensuring the machine is on a flat surface. This prevents inaccurate readings from a tilted unit. Remove the cap of the fill tube, which is usually located on the side or top of the engine, depending on the model. Wipe the dipstick clean with a cloth before re-inserting it fully into the tube without screwing it back in. This step ensures that you get an accurate measurement without residue affecting the reading.
After pulling the dipstick out again, inspect the level of the lubricant against the markers indicated on the stick. Most models will have a minimum and maximum level marked clearly. If the liquid sits between these two lines, you’re in good shape. If it’s below the minimum mark, it’s time to replenish.
Visual Inspection
While checking the level, examine the liquid’s condition as well. It should be a clear to light amber colour. If you notice darkening or impurities, it may be time for a change. Additionally, look for any signs of leakage around the cap or the engine, as this could indicate a need for maintenance or gasket replacement.
Frequency of Checks
Make a habit of checking the level before each use, especially if the unit has been idle for an extended period. Regular monitoring prevents potential damage and ensures optimal performance. If you’re using the equipment frequently, consider checking it every few sessions, as usage can significantly affect the levels.
| Indicator | Action Required |
|---|---|
| Below Minimum | Replenish the liquid |
| Between Minimum and Maximum | No action needed |
| Above Maximum | Drain excess liquid |
| Dark or Contaminated | Consider replacing |
Step-by-Step Guide to Adding Oil
Begin by gathering your materials: the correct lubricant, a funnel, and a clean cloth. This preparation will streamline the process.
Secure your machine on a flat surface, ensuring it’s turned off and cool. This prevents any accidents and allows for an accurate reading of the fluid. Once positioned, locate the designated fill cap; it’s typically marked clearly on the machine.
With the funnel in hand, carefully remove the cap. Pour the lubricant slowly, allowing it to settle in without spilling. Keep an eye on the level; you want it to reach the optimal mark without exceeding it.
After filling, wait a moment to ensure everything has settled before replacing the cap. Use the clean cloth to wipe away any excess that may have dripped. This keeps your workspace tidy and prevents any potential slips.
Finally, check the level one last time. If necessary, repeat the filling process until it’s just right. This attention to detail ensures your equipment runs smoothly and efficiently for years to come.
Common Mistakes to Avoid When Adding Oil
Using the incorrect lubricant is a frequent error. Always refer to the manufacturer’s specifications for the right type. I once had a customer who used automotive oil, thinking it would suffice. It led to overheating and costly repairs.
Neglecting to check the current lubricant level before topping up is another common oversight. A friend of mine faced a similar situation where he added too much, causing leaks and messy clean-up. Always check the dipstick before proceeding.
Many rush through the process, forgetting to clean the fill area. This can introduce contaminants into the system, which I witnessed during a service call. A simple wipe can prevent significant issues down the line.
Using the wrong tools can also lead to spills. I remember trying to pour from a jug with a narrow spout–it went everywhere. Opt for a funnel that fits well to avoid unnecessary mess.
Failing to follow the sequence of steps is another pitfall. I’ve seen inexperienced users just start pouring without preparing the machine. This oversight can lead to mistakes that could have been easily avoided.
Lastly, ignoring safety precautions is a big no-no. Ensure the unit is off and cool before starting. I’ve seen accidents happen when someone tried to rush the process and ended up with burns. Take your time; it’s worth it for safety and longevity.
Maintaining Your Equipment After Oil Addition
Regular upkeep following an oil fill is crucial for longevity. I always recommend running the unit for a few minutes to circulate the lubricant thoroughly throughout the system. This practice not only ensures proper lubrication but also helps identify any leaks immediately.
Inspect for Leaks
After that initial run, carefully check around the fill cap and any seals. I’ve seen many units suffer from minor leaks that could escalate if not addressed promptly. If you notice any fluid escaping, it’s wise to tighten the cap or replace any worn seals.
Routine Checks
Establish a routine to monitor the lubricant level. I check mine every few months, especially before heavy usage seasons. Keeping an eye on the level prevents operational issues and guarantees the machine runs smoothly. If you notice the level dropping unexpectedly, it might indicate a deeper issue.
Cleaning the air filter is another aspect I never overlook. A clean filter supports optimal performance and aids in the overall efficiency of the device. Regularly inspect and replace it as necessary to avoid any airflow restrictions.
Lastly, store your equipment properly. If you’re putting it away for an extended period, consider running it dry and ensuring all residual fluids are removed. This practice helps prevent any unwanted build-up or corrosion.

.jpg)


