
.jpg)


.jpg "How to adjust psi on pressure washer")
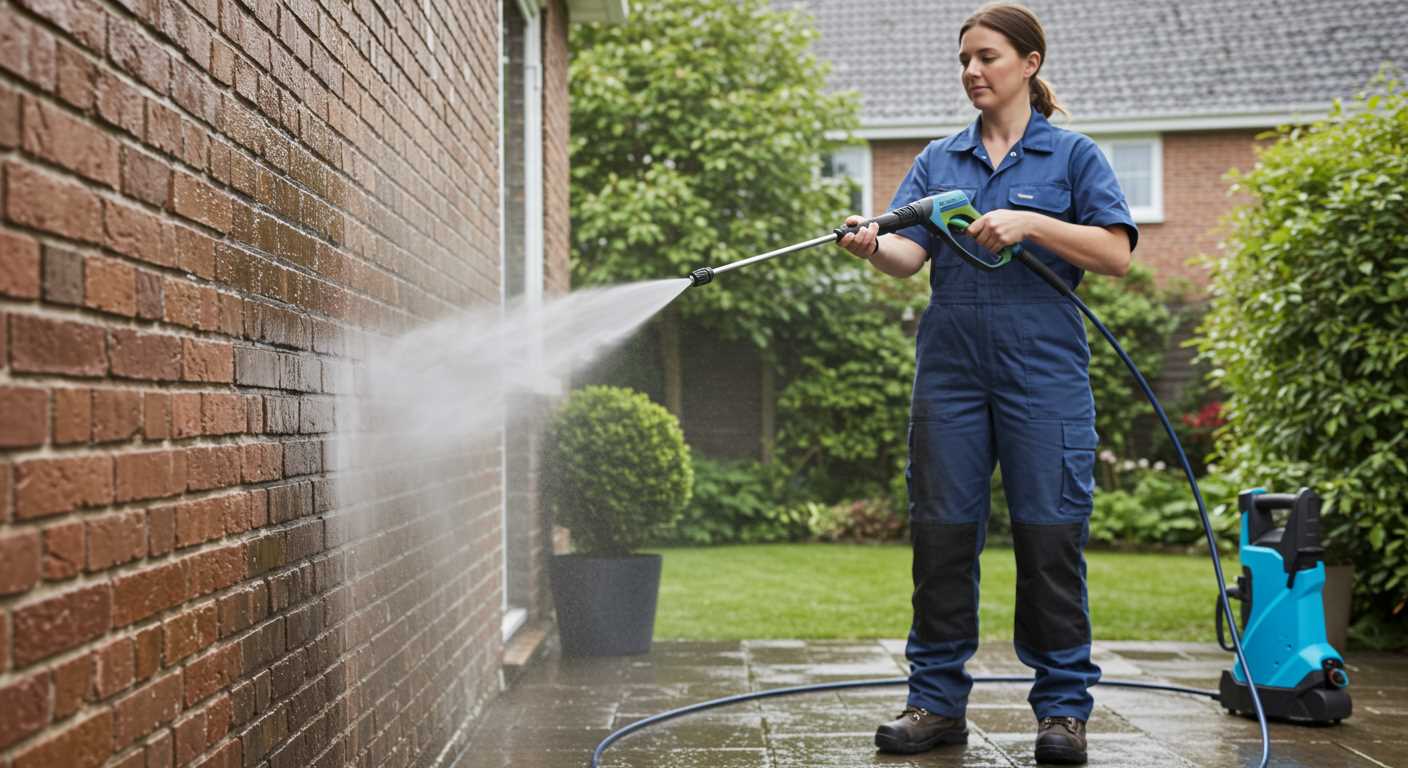
Begin by locating the adjustable knob or dial on your machine. This is often found on the handle or near the trigger assembly. By turning this knob, you can precisely control the force of the water, tailoring it to the specific task at hand. For instance, a lower setting works wonders on delicate surfaces like wood, while a higher setting is perfect for tough stains on concrete.
During my years in the cleaning equipment industry, I often encountered users struggling with the settings. A common mistake is to assume that more force always leads to better results. I recall a customer who, eager to tackle grime on their patio, cranked up the intensity to maximum, only to find that it damaged the surface instead. The right balance is key; assessing the material and type of dirt will guide you to the appropriate setting.
Another tip is to test the adjustment on a small, inconspicuous area first. This approach allows you to gauge the effectiveness without risking damage to the entire surface. I’ve personally seen how this simple step can save a lot of trouble down the line. Remember, it’s not just about blasting away dirt; it’s about doing so safely and effectively.
After making your adjustments, keep an eye on the spray pattern. A fan pattern is ideal for wider surfaces, while a concentrated stream works best for targeted cleaning. Adjustments may be necessary based on your observations, so don’t hesitate to fine-tune as you go. This hands-on approach can transform your cleaning experience, making it both safe and satisfying.
Adjusting the Output Pressure for Your Cleaning Device
First, locate the pressure control knob or dial, typically found near the trigger handle or on the unit itself. This is your primary tool for modifying the output force.
For optimal results, start by setting the control to a medium level. This provides a balanced flow for most cleaning tasks without causing damage to surfaces like wood or delicate stone.
In my experience, different surfaces require distinct settings. For instance, I often use a lower setting when cleaning vehicles to avoid chipping paint, while a higher setting is suitable for concrete driveways. Always test a small area first to ensure the selected force is appropriate.
Here’s a quick reference table for common cleaning tasks:
| Surface Type | Recommended Output Force |
|---|---|
| Wood Decking | 1200-1500 PSI |
| Vehicle | 1200-1900 PSI |
| Concrete Driveway | 2500-3000 PSI |
| Brick | 2000-2500 PSI |
| Glass Windows | 1000-1300 PSI |
If the device allows for interchangeable nozzles, consider using a wider angle nozzle for less intense jobs and a narrower one for tougher grime. Switching out nozzles can make a significant difference in efficiency.
Finally, after making adjustments, always run the machine for a few seconds to ensure the settings take effect. I’ve seen too many instances where users forget this step, leading to subpar cleaning results.
Understanding PSI and Its Importance for Your Pressure Washer
Knowing the correct pressure setting can significantly impact your cleaning tasks. Selecting the right force not only ensures effective dirt removal but also protects surfaces from damage. For instance, when I first started using these machines, I often ran them at maximum pressure, resulting in chipped paint on delicate surfaces. It took some trial and error to realise that a lower setting could achieve the same results without the risk of harm.
Optimal Pressure for Different Tasks

Each job requires a specific range of force. For example, cleaning patio furniture may only need around 1300 to 1600 units, while tackling a concrete driveway might call for 3000 units or more. I recall a time when I attempted to clean a wooden deck at too high a setting; the wood splintered, leaving an unsightly finish. Understanding the proper levels for various materials will save you time and ensure a successful outcome.
Efficiency and Water Consumption
Maintaining a balanced pressure not only enhances your results but also optimises water usage. High settings can lead to unnecessary water waste. During a project at a local community centre, I discovered that adjusting the force to a moderate level reduced water consumption by nearly 30%, all while providing a thorough clean. This aspect is often overlooked, yet it contributes to both environmental sustainability and cost savings.
Identifying the Right PSI for Your Cleaning Task
For any cleaning job, selecting the appropriate level of force is critical. For instance, when tackling wooden decks or fences, I often recommend a setting between 500 to 800. This range is gentle enough to avoid damage while still removing dirt and mildew effectively.
On the other hand, for concrete surfaces like driveways, a higher setting of around 2500 to 3000 can work wonders. I’ve personally witnessed how stubborn stains vanish with the right application of force. Just remember to keep the nozzle at a safe distance to prevent etching the surface.
Materials Matter
Different materials require different approaches. For vehicles or delicate surfaces, I prefer a setting of about 1200 to 1900. This amount provides sufficient cleaning power without risking scratches or paint damage. I’ve had customers come back to me, thrilled that they could clean their cars without any harm.
Stubborn Stains and Grime
For particularly tough grime or grease, you might need to increase the force temporarily. I’ve often adjusted the equipment to a higher setting, then returned to a lower one once the initial dirt was broken down. It’s a balancing act that pays off in the end, ensuring a thorough clean without unnecessary wear on surfaces.
Locating the Pressure Adjustment Dial on Your Pressure Washer
To find the dial for setting the intensity of your machine, examine the unit closely. Typically, this control is situated on the main body of the appliance, often near the trigger handle or the pump. Look for a labelled knob or a slider.
Common Locations
- Near the Trigger Handle: Many models feature the control dial right by the trigger, allowing for quick changes while in use.
- On the Pump Housing: Some devices have the adjustment mechanism directly on the pump. This is usually marked clearly.
- Control Panel: In advanced models, you may find the dial integrated into an electronic control panel, which can display current settings.
Additional Tips
When searching for the adjustment mechanism, consult the user manual specific to your model. If you’ve misplaced it, many manufacturers provide digital copies on their websites. For those using a pressure washer for mobile homes, ensure the dial is easily accessible to make adjustments efficiently.
After locating the dial, test its functionality. Turn it to see if there is a noticeable change in the output. This can help you understand the range and limits of your machine’s power. If you’re also curious about timing in other uses, like knowing how long to put potatoes in pressure cooker, the concept of controlling settings remains relevant across different appliances.
Step-by-Step Guide to Adjusting the Pressure Settings
Begin by switching off the motor and disconnecting the water supply. This ensures safety and prevents accidental activation while you’re making changes. Next, locate the adjustment dial, usually found near the handle or motor area. It’s often labelled with a range of settings, so you can easily identify the lowest and highest levels.
Setting the Desired Level
With the dial in view, turn it to your preferred level. For light tasks like washing a car, a lower setting is ideal. For surfaces like concrete driveways, increase the setting for better results. Always refer to your user manual for specific recommendations related to your model.
Testing the Adjustment
Reconnect the water supply and power up the device. Test the new setting on a small, inconspicuous area before proceeding with the full job. This helps ensure you’ve selected the right intensity and prevents damage to surfaces. If adjustments are needed, power down the unit and repeat the previous steps until you achieve the desired outcome.
Testing the Pressure After Adjustment: What to Look For
After fine-tuning the settings on your cleaning unit, it’s crucial to evaluate its performance. Begin by connecting to a water source and starting the machine. Watch for a steady stream of water; any interruptions may indicate an issue with the setup.
Observing Water Flow
The flow should be consistent and powerful. A weak or pulsating stream suggests the need for further calibration. Pay attention to the pattern; the spray should be uniform without any splattering. If the water disperses unevenly, this could affect your cleaning efficiency.
Checking for Noise and Vibration
Listen for any unusual sounds. A smooth operation is what you want; excessive noise can signal mechanical problems. Additionally, monitor the vibration levels during use. If the machine shakes excessively, it might indicate an imbalance that requires correction.
Lastly, assess the cleaning results. Test on a small area of the surface you plan to clean. If the outcome isn’t satisfactory, revisit your settings and repeat the evaluation. Adjustments may take a few trials to achieve optimal performance, but the results will be worth the effort.
Troubleshooting Common Issues When Adjusting PSI
If you notice inadequate performance after modifying the settings, first check for any clogs in the nozzle or hose. A blocked pathway can hinder the flow, leading to subpar results. I recall a time when a client struggled with their unit, believing the adjustments were ineffective. After inspecting the nozzle, we found it completely blocked by debris. A simple clean resolved the issue instantly.
Inconsistent spray patterns can also indicate problems. If the stream varies from a fine mist to a drenching spray, inspect the nozzle type in use. Different nozzles provide various spray angles and intensities; using the wrong one for your task can result in frustration. I once had to explain to a customer that switching from a 15-degree to a 25-degree nozzle for a gentler wash would yield better results.
Should you experience fluctuations in performance while using the equipment, examine the water supply. Insufficient flow or pressure from the source can impact the effectiveness of your adjustments. In one instance, I visited a site where the water connection was partially closed, leading to inconsistent results. Once they fully opened the tap, the machine operated as intended.
Noise from the motor can signal underlying issues. If you hear unusual sounds post-modification, it might be worth examining connections and the pump. I remember troubleshooting a unit that made a grinding noise; it turned out to be a loose connection that, once tightened, restored smooth operation.
Always ensure the unit is rated for the kind of work you intend to perform. Using a machine beyond its capabilities can lead to damage or poor results. I once encountered a customer who tried using a lighter model for heavy-duty tasks. After advising them on suitable options, their cleaning experience drastically improved.
Finally, if adjustments yield no noticeable changes, check the settings again. Sometimes, minor miscalculations can lead to significant discrepancies. I’ve seen many users overlook a small dial or switch that makes all the difference in performance. Double-checking can save you a lot of hassle.
Comparing Electric vs. Gas Pressure Washers in PSI Adjustment
Electric models offer an easy-going experience when it comes to modifying the force of the water. A simple twist of a dial or flip of a switch is often all it takes. This convenience is appealing, particularly for those who want to tackle smaller tasks without the hassle of maintenance or fuel management. I recall a time when I was helping a friend clean his patio, and we effortlessly switched settings to accommodate delicate surfaces like wood without any fuss.
Gas-powered equipment, on the other hand, presents a different scenario. While they generally provide higher pressure capabilities, adjusting the output can be more complex. You may need to deal with carburettors and throttle controls, which require a bit of mechanical know-how. I vividly remember a weekend spent at a family gathering where my uncle’s gas unit needed recalibration. It took some trial and error to find the right balance, but the satisfaction of achieving a powerful clean on his driveway was worth the effort.
Performance and Versatility
When it comes to versatility, electric units shine in residential settings. Their adjustment mechanisms are often straightforward, allowing users to adapt quickly to different cleaning tasks. However, the power limitations can restrict their use on tougher jobs. I’ve seen many homeowners struggle with stubborn grime, wishing for the muscle that gas machines provide.
Gas units typically excel in performance, especially for heavy-duty tasks. Adjusting the output can significantly impact cleaning efficiency, but it requires a learning curve. I remember grappling with various nozzles and pressure settings on a gas model during a deep clean of a commercial property. The learning experience was valuable, showing how much of a difference the right output can make for varying surfaces.
Conclusion
In essence, the choice between electric and gas units often comes down to the nature of the task and user preference. If speed and convenience are priorities, electric models with their straightforward adjustment features might be ideal. For those who require more power and don’t mind a bit of a learning curve, gas options can deliver impressive results. My experiences with both types have shaped my approach to cleaning tasks, making me appreciate the unique strengths each model brings to the table.
Safety Precautions When Changing Pressure Levels
Before making any modifications to your machine, ensure you’re equipped with personal protective gear. Safety glasses and gloves are non-negotiable; these items protect your eyes and skin from potential splashes or debris that the force can dislodge.
Key Safety Measures
- Always disconnect the power source before making adjustments. This prevents accidental activation.
- Ensure the nozzle is pointed away from yourself and others during any modification process.
- Check for leaks or damages in hoses and fittings. Any wear can lead to dangerous situations.
- Maintain a safe distance from surfaces being treated; high forces can cause harm if misdirected.
Handling Equipment Safely
- Familiarise yourself with the user manual specific to your model. Each unit might have distinct features that require consideration.
- Test the machine at a lower setting first. This practice allows you to gauge its operation before increasing the force.
- Keep children and pets at a safe distance while working to avoid unexpected accidents.
- Ensure the work area is free from obstacles and hazards that could cause slips or trips.
Throughout my years in this field, I’ve seen too many instances where neglecting safety led to mishaps. One time, a colleague failed to wear protective gear and ended up with a painful injury from a small rock propelled by the machine. Always prioritise safety; it’s not just about accomplishing the task but doing it without unnecessary risk.
Maintaining Your Pressure Washer for Optimal PSI Performance
Regular maintenance is key to ensuring your cleaning equipment operates at peak efficiency. One critical aspect I’ve learned over the years is that a clean and well-maintained machine delivers superior results. Start by inspecting the inlet filter; a clogged filter can significantly hinder water flow, affecting overall performance. Clean or replace it as necessary.
Routine Cleaning and Inspection
After each use, rinse the nozzle and wand to remove debris. I can’t stress enough how a small blockage can lead to uneven spray patterns or reduced force. Additionally, check the high-pressure hose for any signs of wear or leaks. I once ignored a small crack, and it turned into a much larger problem, requiring a complete hose replacement.
Regular Fluid Changes
Fluids play a vital role in keeping your machine running smoothly. Change the oil regularly, as dirty oil can compromise engine performance. During my time in the industry, I found that using the manufacturer’s recommended oil type can make a noticeable difference. Also, don’t forget to drain the fuel if the machine will sit unused for an extended period; stale fuel can cause starting issues and engine damage.
Keep an eye on the detergent tank as well. If you’re using a soap solution, ensure it’s diluted correctly. Too much detergent can create excess foam, leading to clogs and inefficient performance. I’ve seen many users make this mistake, thinking more soap equals better cleaning, but it often backfires.
Lastly, always store your equipment in a dry place. Exposure to moisture can cause rust and corrosion, which is detrimental to both the exterior and internal components. I’ve learned that even a small amount of rust can lead to significant issues down the line.
By adhering to these practices, your cleaning device will not only maintain optimal performance but also enjoy a longer lifespan. Remember, a little care goes a long way!
.jpg)


