
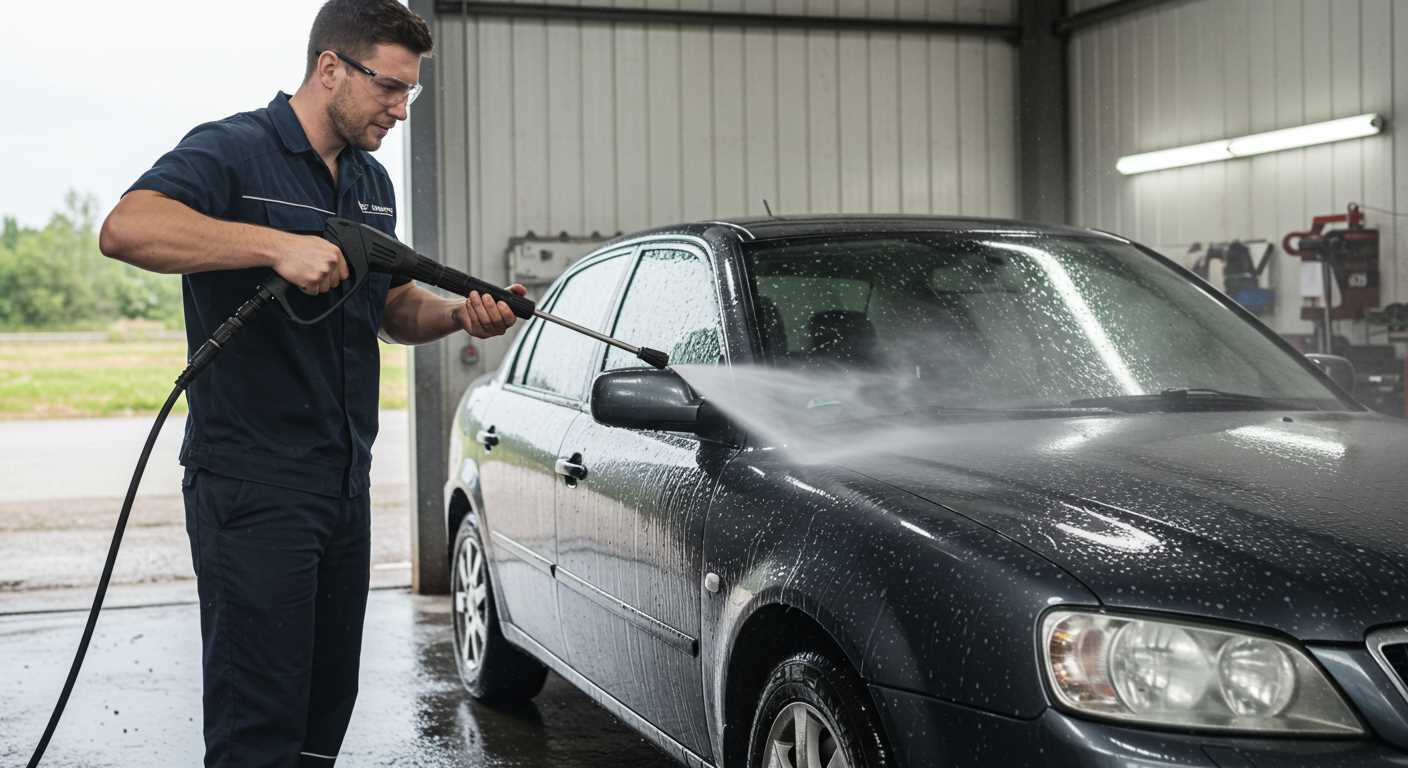


If you’re looking to enhance your cleaning results, the right mix of detergent is key. Begin by checking the manufacturer’s instructions for your equipment. Each model has specific recommendations on the type and dilution of cleaning agents to use. For best results, I suggest starting with a pre-mixed solution tailored for high-pressure applications.
In my years of experience testing various models, I found that using a dedicated injector can significantly improve the soap’s application. Adjusting the injector’s settings allows you to control the amount of detergent drawn into the water stream. If your unit features adjustable nozzles, opt for a wider spray pattern to distribute the solution evenly and avoid concentrated spots that could damage surfaces.

Always remember to rinse the surface thoroughly after application. Residual detergent left on surfaces can lead to streaks or other issues. I’ve seen too many customers skip this crucial step, only to be disappointed with the final outcome. After rinsing, consider running a final pass with clean water to ensure everything is free of suds.
Don’t forget to clean your detergent tank regularly. Build-up can affect performance and lead to clogs. A quick rinse after each use can save you from headaches down the line. Trust me, maintaining your equipment properly will extend its lifespan and enhance its cleaning power.
Adjusting Detergent on Your Cleaning Equipment
Start by ensuring your system is off. Check the detergent tank; if it’s empty, refill it with the appropriate cleaning solution. Next, locate the detergent dial. This is usually found near the trigger gun or on the machine itself. Turning this dial clockwise typically increases the flow of the cleaning agent, while turning it counter-clockwise decreases it.
For optimal results, follow these steps:
- Choose the right cleaning agent for your task.
- Mix the detergent according to the manufacturer’s instructions.
- Set the dial to a low flow initially to gauge the effectiveness.
- Adjust the dial incrementally to achieve the desired cleaning strength.
During my years in this field, I’ve often found that less is more. Using too much can lead to residue that is hard to rinse off. Testing on a small area before proceeding is a wise move. If you’re tackling larger surfaces, consider using a commercial surface cleaner for pressure washer for even coverage.
Finally, after use, clean the detergent system to prevent clogging. Run clean water through the system to flush out any remaining solution. This small maintenance step can save you a lot of trouble down the road.
Understanding Soap Types Compatible with Pressure Washers
Choosing the right cleaning solution is pivotal for optimal performance. The market offers a variety of products tailored for different surfaces and cleaning needs. Always verify compatibility with your device, as not all formulations are suitable for high-pressure units.
Types of Cleaning Agents
Alkaline cleaners are ideal for grease and oil removal. They break down stubborn residues effectively. For oxidation and rust, acidic cleaners work wonders, particularly on metal surfaces. If you’re tackling delicate areas, such as painted surfaces or glass, opt for a pH-neutral solution to avoid damage.
Specific Formulations
Some brands offer specially formulated detergents designed for certain tasks. For instance, a biodegradable option can reduce environmental impact while maintaining cleaning power. Always look for concentrated formulas, as they allow for dilution according to your requirements, providing flexibility in usage.
Through my years of experience, I’ve seen how the right product can significantly enhance cleaning efficiency. Avoid generic household cleaners; they can create foam that clogs your equipment. Stick to solutions made specifically for high-pressure devices to ensure longevity and performance.
In practice, I recommend testing a small area first to see how the cleaning agent interacts with the surface. This not only protects your assets but also helps in determining the necessary dilution ratio for maximum effectiveness.
Checking Your Pressure Washer’s Soap Dispenser Setup
Begin by inspecting the soap container. Ensure it is securely attached and not cracked or damaged. A compromised container can lead to leaks, diminishing the effectiveness of the cleaning solution.
Next, verify the siphon tube. This small hose draws the cleaning agent from the container. It should be free from kinks or blockages. If it appears worn or clogged, replacing it is advisable to maintain optimal flow.
Pay attention to the nozzle type in use. Not all nozzles are designed for applying cleaning agents. A low-pressure nozzle is typically necessary for effective dispensing. If you’re using a high-pressure nozzle, switch to the appropriate one to ensure the solution mixes correctly with the water.
Check the settings on your machine. Some models include a specific dial or switch to activate the dispensing system. Make sure this is set correctly before starting your cleaning task.
Lastly, conduct a quick test. Run the washer with the cleaning agent in place and observe the output. You should see a steady stream of bubbles or foam. If not, it may indicate issues with the container, siphon, or nozzle.
| Component | Check For | Action |
|---|---|---|
| Soap Container | Cracks or damage | Replace if necessary |
| Siphon Tube | Kinks or blockages | Clear or replace |
| Nozzle Type | Incompatible type | Switch to low-pressure nozzle |
| Settings | Incorrect activation | Adjust to proper setting |
| Output Test | Insufficient foam | Check components for issues |
Regular checks on these components can save time and enhance the cleaning experience. Each part plays a role in ensuring the solution is dispensed effectively, so don’t overlook any of them during your routine maintenance.
Adjusting Concentration for Optimal Cleaning
For effective cleaning, the concentration of detergent must be tailored to the task at hand. If you’re dealing with tough grime or grease, opt for a stronger mix. For lighter jobs, like washing vehicles or siding, a diluted formula suffices. I’ve found that a good starting point is a 1:4 ratio for heavy-duty tasks and 1:10 for gentle cleaning.
Testing and Fine-Tuning
After mixing, it’s wise to conduct a test spray on a small area. Observe how the solution reacts with the surface. If it appears to be working well but not cutting through the dirt effectively, incrementally increase the concentration. Conversely, if it’s too harsh, dilute further until you achieve the desired results.
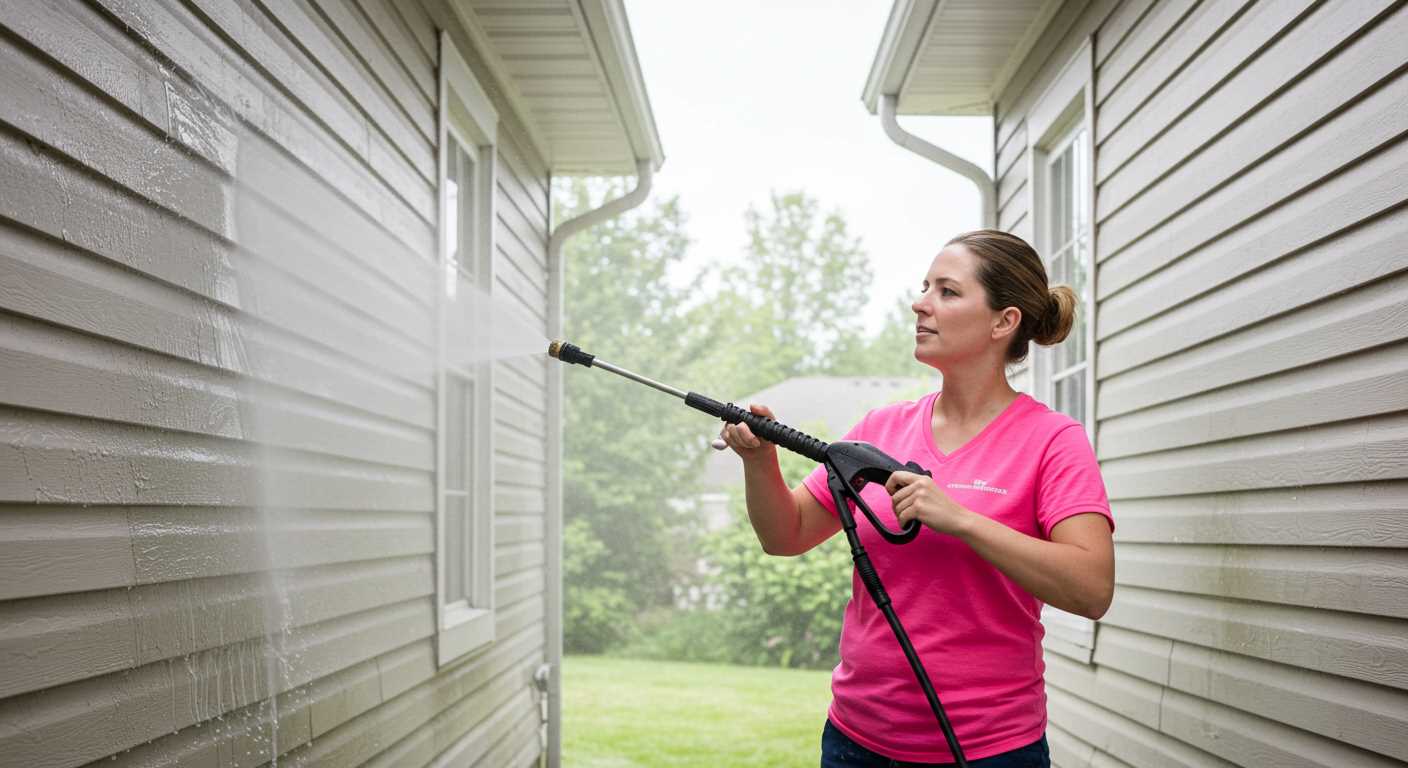
Consider the Surface Material
Different materials respond uniquely to cleaning agents. For instance, wood surfaces may require a gentler solution, while concrete can handle a stronger mix without damage. In my experience, using the incorrect concentration can lead to surface erosion or inadequate cleaning. Always check the material compatibility before proceeding.
Adjusting the mixture based on environmental conditions, such as temperature and humidity, also plays a role in cleaning efficiency. Colder weather may require a stronger solution, as the detergent can lose effectiveness in low temperatures. Keeping these factors in mind ensures that your cleaning efforts yield the best results.
Choosing the Right Nozzle for Soap Application
Selecting an appropriate nozzle is crucial for effective cleaning with a foaming agent. A wide fan nozzle, typically in the 25 to 40-degree range, disperses the liquid evenly, ensuring optimal coverage on surfaces. Here’s what I’ve learned about nozzle selection over the years:
Nozzle Types
- Wide Fan Nozzle (25-40 degrees): Best for applying a generous layer of foam. This type ensures the cleaning agent adheres well to the surface.
- Low Pressure Nozzle: Ideal for mixing the agent with water at a lower intensity, preserving the integrity of delicate surfaces.
- Adjustable Nozzle: Offers versatility, allowing you to switch between wide and narrow sprays, depending on the task at hand.
Tips for Choosing

- Identify the surface you’re working on. For painted or fragile materials, opt for a wider spray.
- Check compatibility with your machine. Some units require specific nozzle fittings.
- Consider the type of agent being used. Certain formulations may need more concentration, which can influence the nozzle choice.
In my experience, the right nozzle can make a significant difference. I once tackled an exceptionally stubborn stain on a concrete driveway. Using a wide fan nozzle allowed the foaming agent to cling to the surface, breaking down the grime effectively. Remember, the goal is to maximise the contact time of the cleaner with the surface for the best results.
Testing Soap Flow Rate on Your Pressure Washer
To ensure that the right amount of cleaning agent is being dispensed, it’s crucial to check the flow rate. Here’s a straightforward method to evaluate it effectively:
1. Gather Your Equipment
- Measuring container (like a bucket with measurements)
- Timer (any stopwatch will do)
- Compatible cleaning agent
2. Conduct the Test
- Attach the cleaning solution container securely.
- Set your unit to the desired setting for dispensing the cleaning agent.
- Start the timer and begin the flow.
- Collect the liquid for a specific duration, such as 30 seconds.
- Stop the timer and measure the amount collected.
By dividing the total volume by the time taken, you can determine the flow rate in litres per minute. For optimal cleaning, aim for a rate that aligns with your specific cleaning task.
3. Adjust as Necessary
If the flow rate is insufficient, consider checking the cleaning solution’s viscosity or the dispenser’s settings. Sometimes, switching to a more suitable formula can enhance performance. For instance, for vinyl surfaces, using the best vinyl siding cleaners can yield better results.
Consistent testing ensures that your cleaning tasks are effective and efficient, providing the best results for all surfaces you tackle.
Cleaning the Soap Injector to Maintain Performance
To ensure optimal functioning of your cleaning unit, regularly inspect and clean the injector. A clogged injector can significantly reduce the effectiveness of your cleaning solution application. Begin by disconnecting the unit from the power source and water supply for safety. Remove the injector from the system, typically located near the pump outlet or hose connection.
Use a soft brush and warm, soapy water to scrub the injector, focusing on any visible debris or buildup. A mixture of vinegar and water can also be effective in breaking down any stubborn residues. Rinse thoroughly to eliminate any cleaning agents and ensure no particles remain within the injector.
After cleaning, check the small filter screen that’s often integrated into the injector. If this screen is blocked, it can prevent the solution from flowing correctly. Consider replacing it if the buildup is excessive. Be cautious with any delicate components to avoid damage during cleaning.
Reassemble the injector and reconnect it to the machine. Perform a quick test by running the unit with plain water to ensure a steady flow. If the flow is strong and consistent, the injector is likely clean and functioning well.
| Cleaning Step | Details |
|---|---|
| Disconnect Unit | Ensure safety by detaching power and water supply. |
| Remove Injector | Locate and take out the injector from the system. |
| Clean Injector | Use warm, soapy water or vinegar solution with a soft brush. |
| Inspect Filter | Check and clean or replace the filter screen as needed. |
| Reassemble | Reconnect the injector and perform a flow test. |
Maintaining the injector not only enhances performance but also extends the lifespan of your equipment. Regular checks, especially after heavy use, can prevent more significant issues down the line. Trust me, investing a little time in maintenance pays off in the long run.
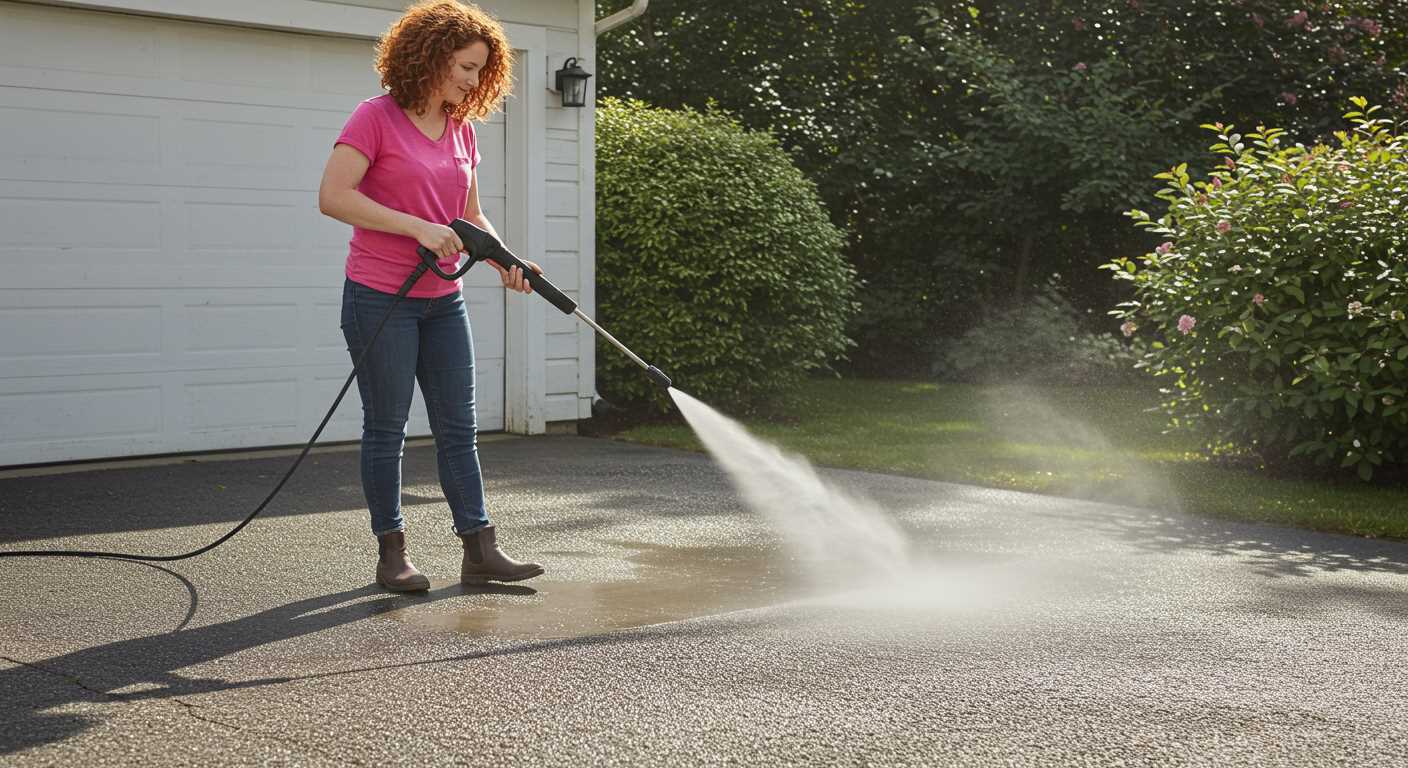
Setting Up Pressure and Soap Ratio for Different Surfaces
For optimal results, it’s crucial to tailor the pressure and detergent mix according to the surface being cleaned. For instance, when tackling delicate surfaces like vehicles or painted fences, a lower pressure setting between 1200 to 1500 PSI is ideal. This prevents damage while still effectively lifting dirt. Pair this with a mild cleaning agent, diluted according to the manufacturer’s instructions, usually around a 1:10 ratio with water.
Hard Surfaces
On the other hand, tougher materials such as concrete or brick can withstand higher pressures, typically around 2500 to 3000 PSI. For these surfaces, a stronger solution is often required. A 1:5 ratio works well, ensuring that the cleaning agents penetrate deeply into the grime and stains. Always remember to start at a distance of about two feet and gradually move closer to avoid surface damage.
Wood and Composite Decks
When cleaning wooden decks or composite materials, I recommend a balanced approach. Set the pressure to around 1500 to 2000 PSI and use a gentle detergent specifically formulated for wood. A dilution ratio of about 1:8 is effective, as it ensures thorough cleaning without risk of splintering the wood. Always test a small area first to gauge the results before proceeding with the entire surface.
Monitoring Soap Usage During the Cleaning Process
During my years of experience, I found that tracking the consumption of detergent while operating a high-pressure unit significantly impacts cleaning efficiency. One practical approach is to observe the behaviour of the fluid as it exits the nozzle. If you notice a shift in the foam density or the suds becoming less prominent, that’s usually a sign that the mixture is running low.
Using a clear container for collection can help measure the amount dispensed precisely. I’ve often set up a simple system where I fill a container to a predetermined level, allowing me to visually gauge how much is being used over a specific area. This method provides immediate feedback on whether the concentration is sufficient for the task at hand.
Additionally, I recommend checking the flow rate periodically. If the flow seems inconsistent, it could indicate a blockage or that the mixing ratio might be off. Regularly inspecting the injector for clogs can prevent issues before they escalate, ensuring a steady supply of cleaning agent throughout the operation.
Keep an eye on different surfaces as well. Some materials absorb liquids differently, impacting how much you’ll need for effective cleaning. For instance, porous surfaces may require more than non-porous ones. Adjusting your expectations based on the type of substrate can help you manage resources better.
Lastly, I’ve experienced instances where environmental factors, like wind or temperature, affect how well the agent adheres. Be prepared to modify your approach if you notice that the cleaning agent isn’t performing as expected. A little observation goes a long way in maintaining optimal results and resource management.
Storing Cleaning Solutions Properly After Use
After using cleaning solutions with your high-pressure device, proper storage is key to maintaining the quality and effectiveness of the products. Always ensure that any leftover liquid is sealed tightly in its original container. This prevents contamination and evaporation, which can compromise its cleaning properties. For those who prefer to transfer solutions into secondary containers, use only clean, dry, and non-reactive materials to avoid chemical interactions.
Optimal Conditions for Storage
Store your cleaning agents in a cool, dry place away from direct sunlight. Extreme temperatures can alter the chemical composition, reducing effectiveness. If possible, keep these solutions in a temperature-controlled environment. Additionally, label containers with the product name and date of purchase to keep track of their freshness.
Routine Inspection
Regularly check the condition of your stored cleaning supplies. Look for any signs of separation, discoloration, or unusual smells. If you notice any of these changes, it’s best to dispose of the product safely. Following these simple steps ensures that your cleaning solutions remain ready for the next use, providing the best results every time.
.jpg)


