


To ensure your cleaning unit operates smoothly, find the adjustment screw usually located on the side of the pump. A simple clockwise turn generally increases the pressure, while a counterclockwise turn decreases it. This allows you to tailor the output according to the task at hand, whether it’s rinsing off dirt or tackling stubborn grime.
During my years of experience, I encountered various scenarios where incorrect settings led to inefficiencies. For instance, a client once struggled with low output pressure, thinking it was a mechanical fault. After a quick tweak to the aforementioned screw, the issue was resolved, and the machine performed like new. It’s remarkable how a minor adjustment can make a significant difference.

Always ensure the machine is off and depressurised before making changes. This not only safeguards your equipment but also prevents potential accidents. After adjusting, test the output on a small area to confirm the desired pressure level. It’s a straightforward yet effective way to maximise your machine’s capabilities.
Keep an eye on the performance regularly and be mindful of any fluctuations. If you notice inconsistent pressure, revisiting this adjustment could save you time and effort in the long run. Maintaining optimal settings is key to a well-functioning cleaning apparatus.
Adjusting Unloader Mechanism on a High-Pressure Cleaner
To optimise performance, locate the adjustment knob on the unloader mechanism, usually situated near the pump. Turn clockwise to increase pressure, counterclockwise to decrease. Always make small adjustments, typically a quarter turn at a time, then test the output.
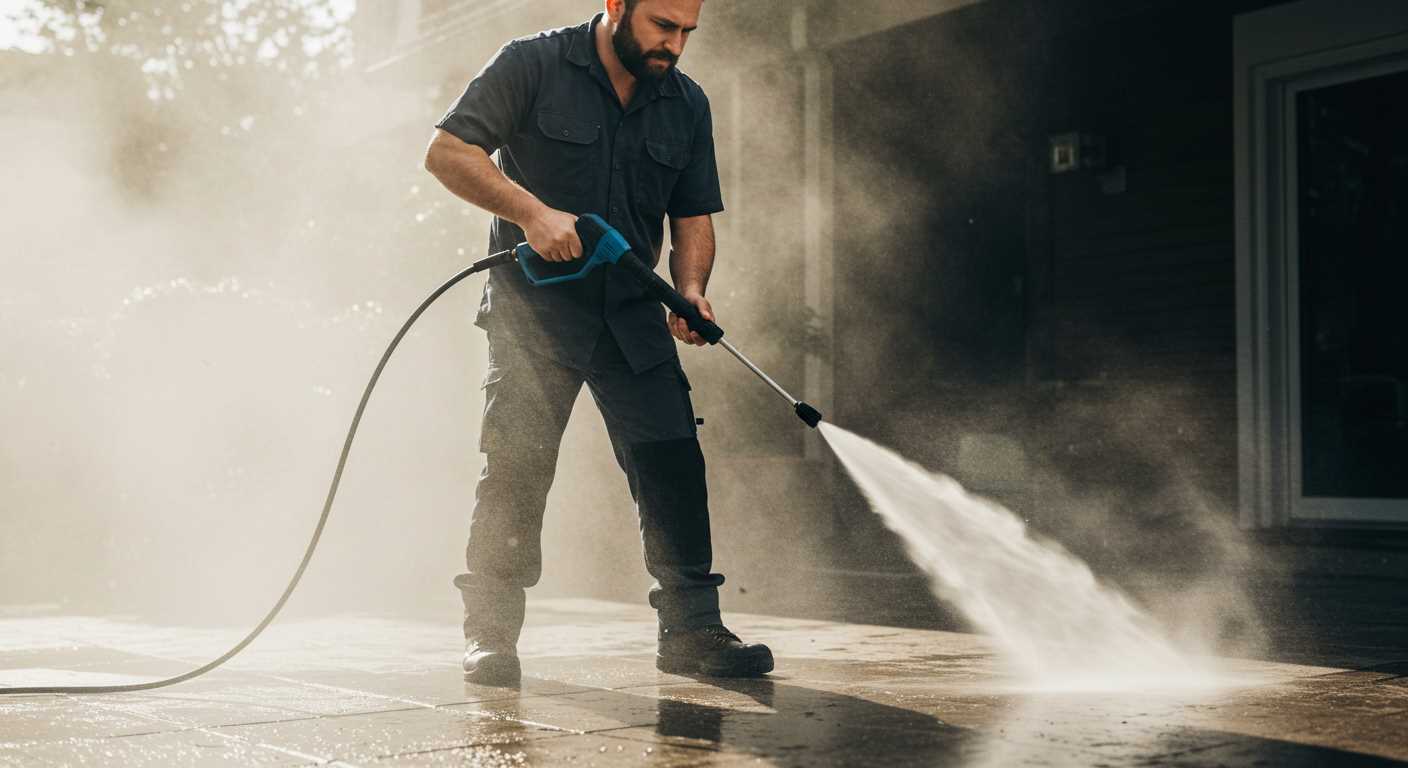
During my years in the cleaning equipment industry, I encountered many situations where improper settings led to inadequate cleaning power. A client once struggled with persistent dirt on their driveway. After a brief evaluation, a minor twist of the knob resolved the issue, restoring the machine’s efficiency.
Monitor the gauge as you make changes. If the pressure exceeds the manufacturer’s specifications, reduce it immediately to avoid damaging internal components. It’s essential to balance power and safety; over-pressurising can lead to leaks or component failure.
Pay attention to the sound of the machine. A sudden change in noise may indicate an issue. If the cleaner starts to vibrate excessively, it could signal that the pressure setting is too high. Adjust accordingly, ensuring a smoother operation.
Cleaning tasks vary, and so do the required settings. For lighter jobs like washing vehicles, lower pressure suffices, while tougher stains may necessitate higher settings. Always test on a small area first, fine-tuning as needed.
After adjustments, regularly inspect the mechanism. Look for wear and tear, ensuring that seals and connections remain intact. A well-maintained unit not only performs better but also lasts longer.
Finally, familiarise yourself with the user manual specific to your model. Manufacturers often provide guidance on optimal settings, helping you achieve the best results without risking damage.
Identifying the Correct Unloader Valve Location
Begin by locating the component near the pump assembly. Typically, it is situated on the side or front of the pump unit, connected to the high-pressure outlet. In some models, it may be integrated with the pressure control mechanism, making it less conspicuous.
Visual Inspection
Examine the unit for a cylindrical or rectangular component with a spring-loaded mechanism. Follow the high-pressure hose from the trigger gun back to the pump; the assembly usually leads directly to the relief mechanism. Look for any markings or labels that indicate the function of the part.
Consult Manufacturer’s Manual
If uncertain, referring to the user manual is invaluable. Most guides include diagrams that pinpoint the exact location of the relief mechanism. This will save time and prevent potential mistakes during any maintenance work.
Understanding the Function of the Unloader Valve
Recognising the role of this component is crucial for optimal performance. It regulates water flow, diverting it back to the pump when the trigger isn’t engaged. This prevents pressure build-up, ensuring longevity of the machine and safety during operation.
How It Works
When you pull the trigger, the component opens, allowing water to flow through the nozzle. Releasing the trigger closes it, redirecting water back into the pump. If malfunctioning, you may notice pressure fluctuations or leaks. I’ve encountered models where a simple tweak resolved erratic pressure issues, making operation smoother.
Common Issues
Watch for signs of wear or blockages. If the machine struggles to build pressure, inspect this part first. A friend once had a unit that seemed underpowered; after checking this mechanism, we found debris causing the blockage. Regular maintenance will help avoid such pitfalls, ensuring your equipment serves you well for years.
For those looking to invest wisely, consider models priced under £200. You can find reliable units that include quality components, making your cleaning tasks efficient and hassle-free.
Gathering Necessary Tools for Adjustment
Before beginning any modifications, assemble the right instruments. Having everything at hand streamlines the process and helps avoid delays. Here’s what you’ll need:
Essential Equipment
| Tool | Purpose |
|---|---|
| Adjustable Wrench | For loosening and tightening fittings. |
| Screwdriver Set | To adjust screws on the mechanism. |
| Pressure Gauge | To measure output pressure accurately. |
| Safety Goggles | To protect eyes from debris during operation. |
| Cleaning Cloth | To wipe down parts and ensure a clean work area. |
Additional Considerations
Ensure that the machine is turned off and disconnected from the power source before you start working. Keeping the area tidy is important; it prevents any accidental slips or misplaced tools. You might also want to have a manual handy for reference. If you’ve recently cleaned your equipment, check out this guide on how to clean aquarium decorations without bleach for tips that can apply here too.
Steps to Release Pressure Before Adjustment
Before making any modifications, ensure all residual force is eliminated from the system. This process is vital for safety and accuracy. Follow these steps:
- Turn off the machine and unplug it from the power source.
- Point the spray gun away from yourself and any bystanders. This prevents accidental spraying.
- Squeeze the trigger of the spray gun fully. Hold it until all fluid is expelled and the flow stops. This step may take a few moments.
- Reconnect the spray gun to the machine, ensuring everything is secure.
- Check the hose for any kinks or blockages. Straightening it will help ensure smooth operation.
Final Check
Once you’ve followed these steps, it’s prudent to inspect the connections and hoses for any signs of wear or damage. If everything appears in order, you can confidently proceed with your adjustments.
Adjusting the Unloader Valve Settings
Begin by locating the adjustment knob, typically situated on the unloader assembly. Turn it clockwise to increase pressure or counterclockwise to decrease it. Always make small adjustments, about a quarter turn, to observe changes in the output. After each tweak, test the machine’s operation to ensure it functions correctly and that spray pressure matches your cleaning needs.
Fine-Tuning for Optimal Performance
While working on a particularly stubborn stain, I found that slight adjustments made a significant difference. After my initial settings, I noticed the spray wasn’t cutting through as needed. A quick turn of the knob and a few tests later, the balance was perfect, providing both the pressure required to tackle tough grime and the control needed for more delicate surfaces.
Common Mistakes to Avoid
Avoid making drastic changes all at once; this can lead to sudden spikes in output that may damage components. Also, never forget to secure the adjustment mechanism after setting it, as vibrations during use can cause it to shift. Regular checks and minor tweaks can keep your equipment in prime condition.
Testing Pressure Output After Adjustment
After making changes to the settings, connect the unit to a water source and start it up. Stand clear of the nozzle and pull the trigger to release any residual water. This initial step ensures a consistent reading. Once you get a steady flow, it’s time to measure the output.
Utilise a pressure gauge to obtain accurate readings. Attach the gauge to the end of the spray wand or at the outlet port where the water exits. Activate the machine while keeping the trigger pulled. Observe the gauge closely. A significant drop in pressure from the expected range indicates that further tweaks are necessary.
In my experience, achieving the right output often involves a bit of trial and error. I once worked on a model that consistently delivered lower than expected results. After several adjustments and tests, I found that the sweet spot was just a quarter turn in one direction. Once I found it, the difference was remarkable.
If readings are still off after adjustments, check for leaks in hoses or connections. In my past work, I encountered a faulty hose that caused pressure loss. Replacing it resolved the issue completely. Always inspect your equipment thoroughly.
Finally, test with different nozzle sizes. A wider nozzle can lower the output, while a narrower one increases it. Experimenting with various nozzles helped me fine-tune several machines for optimal performance in various cleaning tasks.
Common Issues and Troubleshooting Tips
When working with high-pressure equipment, certain complications can crop up. Here’s what I’ve observed over the years and how to address them effectively.
Inconsistent Water Flow
- Check for clogs in the inlet filter. A dirty filter can restrict water flow, leading to performance issues.
- Inspect hoses for kinks or damage. Any obstruction can significantly impact water delivery.
- Ensure connections are tight. Leaks at fittings can divert water, causing erratic flow.
Excessive Pressure Buildup
- Verify that the system isn’t running in bypass mode for extended periods. Extended bypass can overheat components.
- Look for signs of wear on seals and fittings. Deteriorated parts can lead to unexpected pressure spikes.
- Adjust settings carefully. If the resistance is too high, it can cause the system to overexert.
In my experience, these issues often stem from a lack of maintenance. Regular checks and cleaning can prevent many headaches down the line. If problems persist, consider consulting the user manual specific to your model for further insights.
.jpg)


