


If you find yourself struggling with the performance of your cleaning equipment, adjusting the engine speed can make a remarkable difference. My experience with various models taught me that a simple tweak can enhance efficiency and optimise results. Before attempting any adjustments, ensure the machine is turned off and cooled down to avoid accidents.
The first step involves locating the adjustment mechanism, typically found near the throttle control. You might encounter a screw or a lever, depending on the model. During my time as a consultant, I discovered that each brand has its unique setup, so referring to the user manual is always wise. A quick glance at the manual can save time and prevent potential mishaps.
Once you’ve identified the right component, begin by turning the adjustment screw slowly. This is where precision matters. I’ve often seen users make drastic changes in one go, only to face performance issues later. A gradual approach allows you to monitor the effect of each minor change. After each adjustment, start the machine and observe how it runs. Listen for any unusual sounds, as they can indicate problems that need addressing.
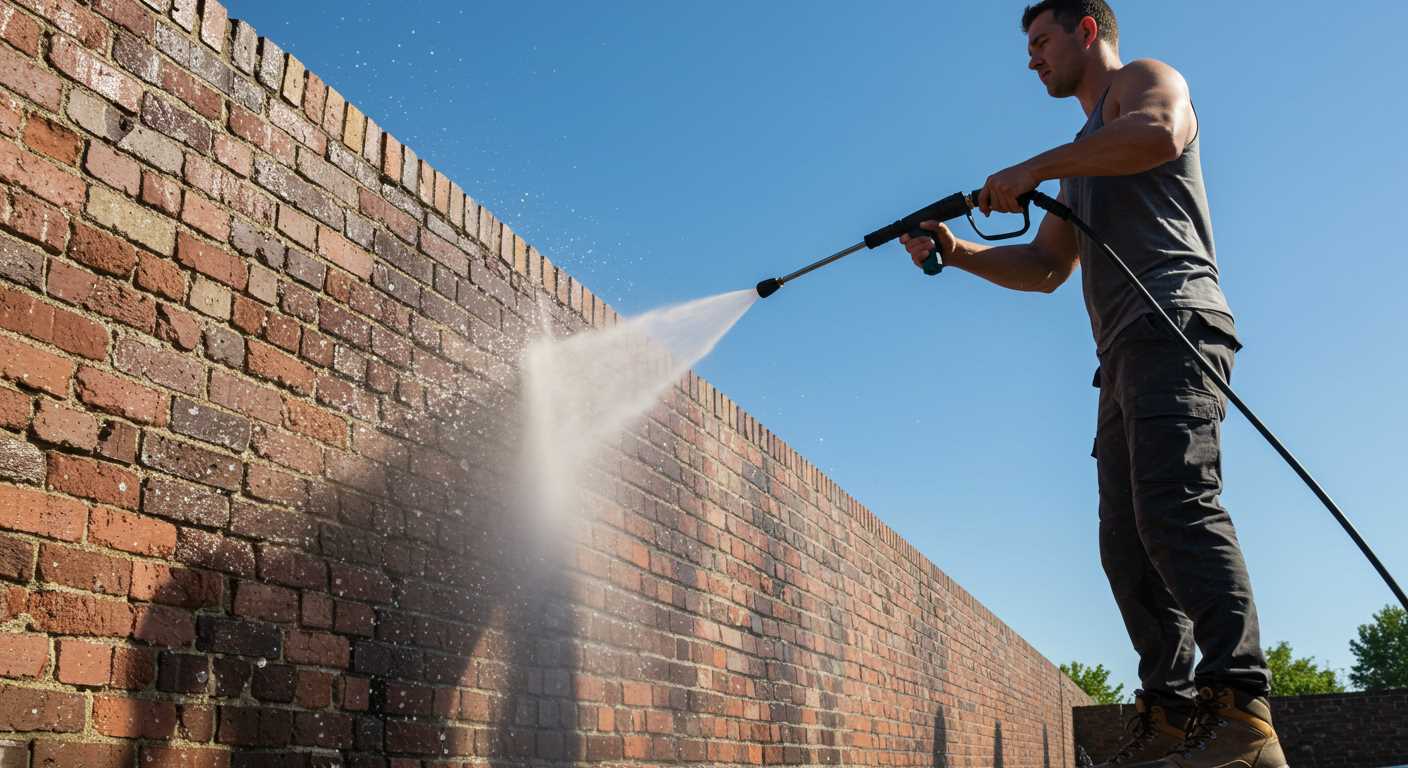
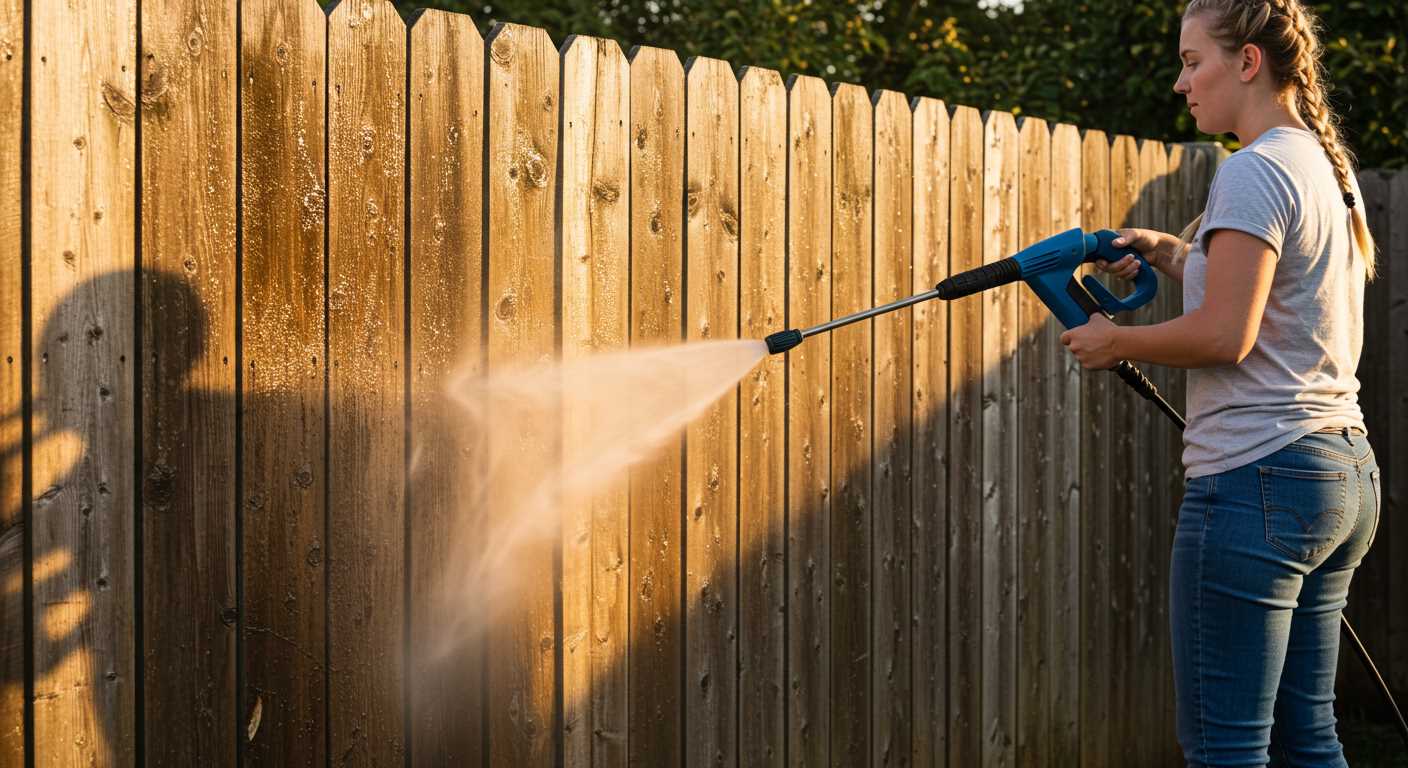
Additionally, consider the nature of the task at hand. Different cleaning jobs may require varying speeds. For instance, high-speed operation is ideal for tough stains, while a lower speed can be more suitable for delicate surfaces. Tailoring the speed to your specific cleaning needs not only improves effectiveness but also prolongs the life of your equipment.
Finally, keep a record of your adjustments. Over time, you will develop a better understanding of what settings work best for different tasks. This knowledge can save you time and effort in future cleaning projects, making your machine a reliable partner in tackling dirt and grime.
Adjusting Engine Speed on Your Cleaning Machine
To modify the engine speed on your cleaning equipment, locate the throttle control, typically found near the engine or on the handle. This control is often a lever or a knob. For efficient operation, I recommend setting it to a higher speed for tough grime and a lower speed for delicate surfaces. It’s a simple tweak that can make a drastic difference in performance.
Steps to Modify Engine RPM
First, ensure the machine is off before making any changes. Once you’ve identified the throttle control, turn it clockwise to increase RPM or counterclockwise to decrease it. I recall a job where I had to clean a stone patio. By cranking up the speed, I effectively removed years of dirt without damaging the surface. Always test the setting on a small area first to ensure it meets your needs.
Fine-Tuning for Different Tasks
For varied tasks, like washing a car versus cleaning a concrete driveway, switching the speed is key. Use lower settings for softer surfaces to avoid scratches, while higher speeds are best for hard surfaces. I once made the mistake of using full power on a wooden deck, which resulted in unwanted damage. Now, I always adjust accordingly. Your equipment is versatile; learning to modify its operation will enhance your cleaning results significantly.

Identifying Throttle Controls on Your Pressure Washer
First, locate the throttle control, typically found near the engine or on the handle. This component regulates the engine’s power output, influencing water pressure. Familiarise yourself with its appearance, which can vary by model.
- Check for a Lever: Many units use a lever system, often marked with “+” and “-” signs. Moving the lever adjusts the engine speed.
- Look for a Dial: Some designs feature a rotating dial for fine-tuning the output. It may be labelled with different pressure settings.
- Inspect the User Manual: Always refer to your manual for specific diagrams and instructions tailored to your model. This resource can provide clarity on control locations.
After identifying the controls, it’s useful to observe their function during operation. When you increase the throttle, you should notice a corresponding rise in pressure, which is essential for tackling tough cleaning tasks. I once encountered a stubborn oil stain on a driveway and realised that the adjustment made a significant difference in cleaning efficiency.
Always ensure safety when experimenting with these controls. Having a firm grip and wearing protective gear is advisable. For those curious about cooking under pressure, check out how long to put chicken in pressure cooker for some culinary tips.
Understanding the Function of Throttle Adjustment
The control for engine speed directly influences the performance of the equipment. By modifying this setting, one can manage not only the flow rate but also the intensity of the cleaning action. During my years of experience, I found that a higher RPM can significantly enhance the cleaning power, particularly for tough grime or stubborn stains.
Impact on Performance
When operating equipment, the balance between power and efficiency is paramount. In my experience, using a higher setting is beneficial for deep cleaning tasks, while a lower setting can save fuel and reduce noise during lighter jobs. This flexibility allows you to tailor your approach based on the surface being cleaned–whether it’s delicate surfaces like wood or robust materials like concrete.
Fuel Efficiency and Longevity
Another advantage of fine-tuning this control is fuel consumption. Operating at unnecessarily high speeds can lead to increased fuel usage and more wear on the engine. I recall a time when I was cleaning a large patio; by dialling back the speed after the initial pass, I saved fuel and extended the life of the motor. It’s a small adjustment that can lead to significant long-term benefits.
Gathering Necessary Tools for Throttle Adjustment
Before embarking on the task at hand, ensure you have the right equipment close by. This will streamline the process and reduce the likelihood of interruptions. At a minimum, you will need a set of screwdrivers–both Phillips and flathead varieties–to access the control mechanisms effectively.
It’s also advisable to have a torque wrench on hand. This tool ensures that any components are tightened to the manufacturer’s specifications, preventing potential issues down the line. A pair of pliers can be useful as well, especially for gripping smaller parts or when dealing with stubborn fasteners.
Don’t forget to gather some cleaning supplies. A cloth or rag will help keep the area tidy, and a small brush can assist in clearing away dirt and debris from around the controls. I once spent an entire afternoon trying to make adjustments only to realise that grime was obstructing the mechanism. A simple clean-up saved the day.
Lastly, consider using a multi-meter if your model has electrical components. This device can help in checking connections and ensuring everything is functioning correctly. Having these tools within reach will make your task smoother and more efficient.
Steps to Access the Throttle Mechanism
First, ensure the machine is completely turned off and disconnected from its power source to prevent any accidental starts. Safety is paramount.
- Locate the engine cover. This is typically found at the back or side of the unit. Remove any screws or fasteners securing the cover using a suitable screwdriver or socket wrench.
- Gently lift off the cover to reveal the internal components. Be cautious; parts may be sharp, and you don’t want to damage anything while exposing the mechanism.
- Identify the linkage connected to the throttle controls. This is usually a rod or cable that runs from the control lever to the carburettor or engine. You might need to adjust the angle or position of the linkage for easier access.
- If there are any obstructions, such as hoses or electrical wiring, carefully move them aside. Take note of their original positions to ensure proper reassembly.
- Check for any screws or clamps securing the linkage in place. Loosen them slightly, but don’t remove them completely yet. This allows for minor adjustments without detaching the entire mechanism.
After completing these steps, you should have clear access to the adjustment points of the control mechanism. Remember, maintaining a clean workspace will help you avoid losing any small parts during the process.
Making Precise Throttle Adjustments
For accurate control, I recommend starting with small increments. Each unit often has specific markers on the dial or lever. Take note of these while making adjustments, as they provide a clear reference for future settings.
When I worked with various models, I learned to listen to the engine’s response. A change in sound often indicates whether you need to increase or decrease the fuel flow. If the engine sounds strained or revs too high, it might be time to lower the setting slightly.
Always allow the machine to reach its optimal operating temperature before making any tweaks. This ensures that the engine behaves as it should, giving you a better idea of how your changes affect performance. I recall an instance where I made adjustments too early, leading to an erratic performance that could have been avoided.
Utilise a tachometer if available. This tool can provide you with exact RPM readings, allowing for pinpoint accuracy. I often relied on this when working on larger units, where even a minor adjustment could lead to significant changes in output.
Document your settings. Keeping a log of what adjustments you’ve made, along with the results, can save time in the long run. I found that noting down specific conditions, like weather or load, helped me understand how different factors influenced the machine’s performance.
Finally, don’t hesitate to revert to previous settings if the results aren’t as expected. Experience taught me that patience is key. Sometimes, it takes a few tries to find that perfect balance between power and control.
Testing Pressure Output After Adjustment
After you’ve modified the engine speed settings, it’s crucial to verify the performance of your machine. Begin by connecting the unit to a water source and starting it up. Ensure that all hoses are properly attached and there are no leaks. Once operational, observe the water flow and its force.
The best way to measure the output is by using a pressure gauge, which you can attach to the spray wand or the outlet. This equipment provides an accurate reading of the generated force. If your model doesn’t have a built-in gauge, consider purchasing a separate one for precision.
Here’s a straightforward approach to testing:
| Step | Action |
|---|---|
| 1 | Attach the pressure gauge to the outlet of the spray wand. |
| 2 | Turn on the water supply. |
| 3 | Start the machine and allow it to reach full operation. |
| 4 | Check the pressure reading on the gauge. |
| 5 | Compare the reading to the manufacturer’s specifications. |
If the output is below the recommended level, you may need to revisit your earlier modifications. It’s also advisable to regularly check the nozzle for clogs, as this can significantly affect performance. I’ve encountered numerous instances where a simple cleaning of the nozzle resolved pressure issues.
In my experience, maintaining a consistent output is key to achieving optimal cleaning results. After adjustments, always test under real conditions. This not only ensures that your alterations are effective but also helps you assess how well the machine handles various cleaning tasks.
Troubleshooting Common Throttle Issues
First, check for any debris or obstructions around the control mechanism. A simple cleaning often resolves stalling or unresponsive situations. Ensure that the linkage is not bent or damaged; if it is, straightening or replacing it can restore function.
If the motor runs inconsistently, inspect the fuel lines and filters. Clogged filters restrict flow, causing erratic performance. Replace any worn or damaged components to maintain a steady flow. I once encountered a model where a simple filter change made a world of difference in operation.

Pay attention to the response of the engine. If it’s slow to react, the governor may require adjustment. A miscalibrated governor can lead to power fluctuations. Adjusting it to the manufacturer’s specifications can significantly enhance responsiveness.
Listen for unusual sounds during operation. A grinding or rattling noise may indicate loose parts. Tighten any loose screws or bolts, as these can affect overall performance. I remember a time when a loose bolt caused a customer’s machine to underperform until it was secured.
If the output is lower than expected, verify the nozzle size. An incorrect nozzle can restrict water flow, leading to diminished performance. Switching to the correct size can restore the intended power. For more options, check out this selling pressure washer guide.
Finally, always consult the user manual for specific troubleshooting steps related to your model. Each brand may have unique quirks that require tailored approaches. My experience has shown that following the manual often uncovers solutions quickly.
Maintaining Throttle Performance Over Time
Regular checks on the control mechanism’s responsiveness are key. I often recommend setting aside time every few months to inspect the components. Look for any signs of wear or corrosion. A simple visual inspection can save you from more significant issues later on.
Keep the area around the control clean. Dirt and grime can build up, affecting the operation. I’ve found that a soft cloth or a brush works wonders for removing debris without causing damage. Ensuring everything is clean helps maintain smooth operation.
Lubrication is also critical. I suggest using a suitable lubricant on moving parts. This practice not only aids in maintaining performance but also extends the lifespan of the components. I’ve seen many units fail prematurely because maintenance was overlooked.
Pay attention to any unusual sounds or resistance during use. If you notice anything out of the ordinary, it’s wise to investigate further. I once had a model where a minor adjustment was needed after detecting a slight grinding noise. A quick fix ensured it continued to perform optimally.
Lastly, always consult the manufacturer’s guidelines regarding maintenance intervals. Sticking to their recommendations can prevent many problems. I’ve often referred back to these guidelines when troubleshooting issues, and they’ve consistently helped me keep equipment in top condition.
.jpg)


