
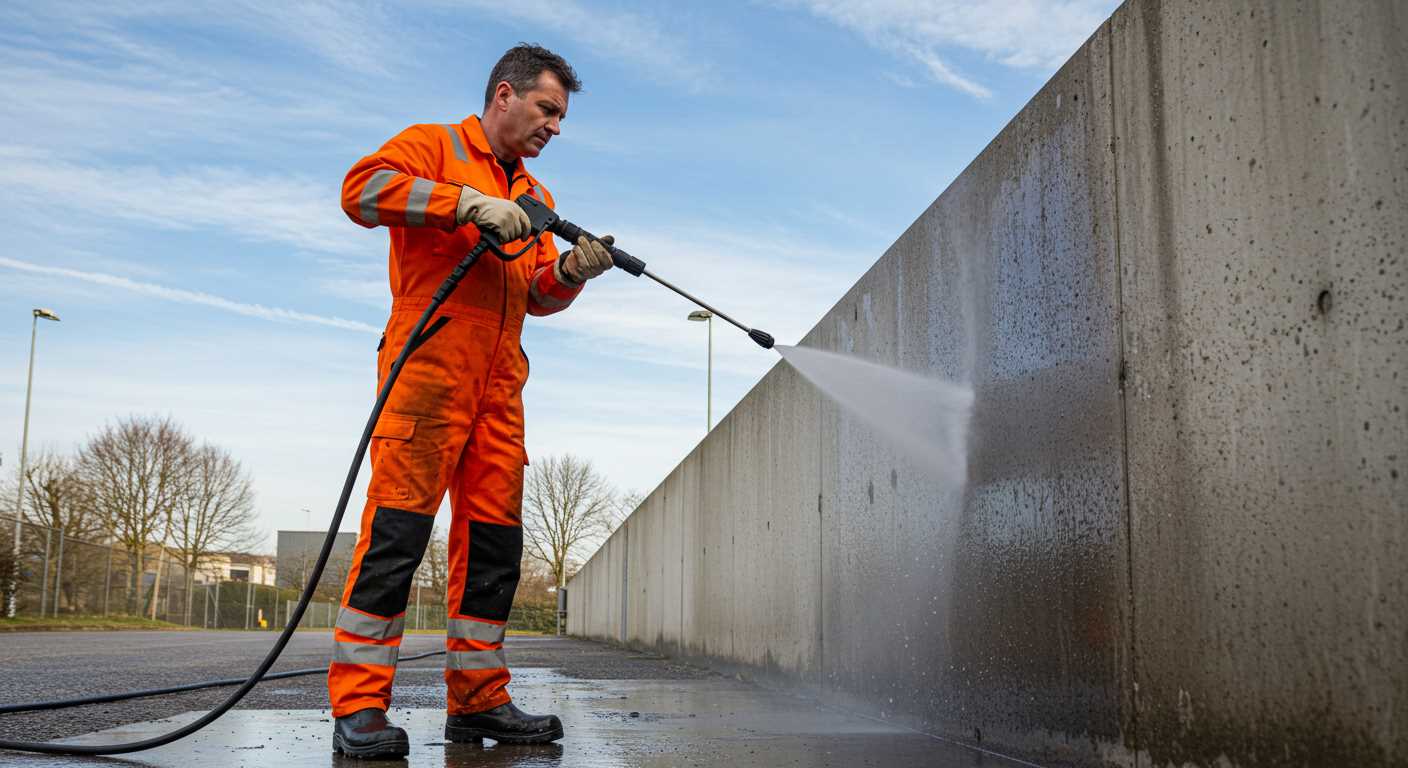


For optimal cleaning, begin by locating the flow control valve on your machine. This component is pivotal in regulating the amount of liquid that your unit expels. A quick turn can significantly enhance performance, especially when tackling stubborn grime on various surfaces.
In my years of experience, I’ve often seen users overlook the importance of the nozzle selection. Different tasks require specific nozzles that can either concentrate or disperse the stream. For instance, a narrow nozzle is ideal for removing tough stains, while a wider one is perfect for rinsing larger areas. Always keep an assortment handy to switch as needed.
Another critical factor is the hose length. A longer hose can lead to a drop in intensity, as friction increases with distance. If your machine struggles to deliver the desired force, consider using a shorter hose for those demanding jobs. Additionally, check for any kinks or blockages that could impede the flow.

Lastly, monitor the water source. Ensure that your tap is fully open and that there are no restrictions in the supply line. A strong supply will result in a more forceful output, allowing you to tackle any cleaning challenge with ease.
Adjusting the Flow Rate on Your High-Pressure Cleaning Device
To modify the intensity of the stream, locate the regulator on the machine, typically found near the trigger handle. By rotating this dial, you can increase or decrease the flow according to your cleaning needs. I recall a time when I was tackling a particularly stubborn stain on a concrete driveway. A slight twist of the regulator made all the difference, allowing me to switch from a gentle rinse to a more forceful blast without changing nozzles.
Choosing the Right Nozzle for Optimal Results
The nozzle you select has a significant impact on the force of the stream. Different colours correspond to varying spray angles and intensities. For instance, a red nozzle provides a focused, high-intensity jet, while a wider angle, like the green or yellow, disperses the flow for broader coverage. I once used a yellow nozzle to clean my patio, and it was perfect for removing dirt without damaging the surface.
Monitoring the Supply Source
Ensure your water supply is adequate. A low supply can lead to a drop in performance, which I learnt the hard way during a job where I was relying on a garden tap. Once I switched to a direct connection from a larger water source, the efficiency of the equipment improved drastically. Always check hoses for kinks or leaks, as they can restrict flow and affect performance.
Regular maintenance is key. Clean filters and check for blockages in the inlet, as these can impact the effectiveness of your device. I’ve found that dedicating a few minutes before each use to inspect these components pays off in the long run.
Understanding the Importance of Water Pressure Settings
Choosing the right intensity for your machine directly influences cleaning efficiency and surface safety. I recall a time when I underestimated the force required for a simple patio clean-up. My initial settings were too low, resulting in stubborn stains remaining untouched and a significant waste of time.
Impact on Cleaning Results
.jpg "How to adjust water pressure on a power washer")
- Higher settings can remove grime effectively but may damage delicate surfaces like wood or painted areas.
- Lower settings are safer for sensitive materials but might not eliminate heavy dirt build-up.
During a demo for a local community, I witnessed this firsthand. A friend used a higher setting on a wooden fence, and the results were disastrous. The wood splintered, causing more work and expense in repairs. The right choice of intensity is not just about cleaning; it’s about preserving the integrity of the surface.
Water Consumption and Efficiency
Another aspect often overlooked is the relationship between the chosen force and water usage. Higher intensities consume more liquid, potentially leading to unnecessary waste. I once tested a model that delivered exceptional results but at the cost of excessive consumption. After switching to a lower setting, I achieved similar outcomes while conserving resources.
- Evaluate the area and type of cleaning required before selecting your settings.
- Consider the environmental impact; efficient usage can lead to lower water bills and a smaller carbon footprint.
In my experience, finding that sweet spot between effectiveness and safety not only benefits the task at hand but also aligns with responsible practices. Each time I set up, I remind myself: it’s not just about power; it’s about precision.
Identifying the Right Pressure for Different Surfaces
For the best results, tailoring the force of the spray to the specific material you are cleaning is essential. For instance, delicate surfaces like wood decks or fences require a gentler touch. I usually set my equipment around 1200 to 1500 psi for these materials. Too much intensity can strip away paint or cause splintering.
Concrete and Brick
On the other hand, tougher surfaces such as concrete or brick can handle a more robust approach. I find that setting the machine to around 2500 to 3000 psi effectively removes stains and ingrained dirt without causing damage. Just be cautious around softer joints or mortar, as excessive force can wear them down over time.
Vehicles and Outdoor Furniture
For washing cars or outdoor furniture, a moderate setting of 1300 to 1900 psi is ideal. This range allows for effective cleaning without risking damage to paintwork or plastic surfaces. I always use a fan nozzle for these tasks to distribute the water evenly, reducing the likelihood of dings or scratches.
Locating the Pressure Adjustment Valve on Your Power Washer
The pressure adjustment valve is often situated on the pump assembly or near the trigger gun. In my experience, finding this valve can save you time and effort when trying to modify the output. Most models feature a knob or lever that allows for easy changes. Look for a round or rectangular component, usually marked with high and low settings.
Common Locations
Here are typical areas where you can locate the control mechanism:
| Power Washer Type | Adjustment Valve Location |
|---|---|
| Electric Models | Near the pump, often on the front panel |
| Gas Models | Close to the engine, typically at the side of the pump |
| Commercial Units | Integrated into the control panel for easy access |
Tips for Easy Access
Before making any adjustments, ensure the unit is turned off and disconnected from the power source. This will prevent any accidental discharge. If you’re working with a gas model, allow the engine to cool down. Once everything is safe, look for the valve and use a wrench if it’s tightly secured. Always refer to your user manual for specific guidance related to your model.
For those considering a business venture with these machines, understanding the adjustment features is invaluable. You might want to explore pressure washers to start a business as they can significantly enhance your service offerings.
Step-by-Step Guide to Adjusting the Pressure
First, ensure the machine is completely turned off and unplugged. Safety is paramount; you don’t want any surprises while working on your equipment.
Next, locate the adjustment valve. This is typically found near the pump. Most models will have a clear indicator or knob that allows for changes. In my experience, familiarising yourself with your specific model’s manual can save time and prevent mishaps.
Once you’ve found the valve, use a wrench or your hand to turn it. Turn it clockwise to increase the intensity and counterclockwise to decrease it. I recall a time when I underestimated the force required for some stubborn stains. A quick twist clockwise made all the difference, cutting my cleaning time significantly.
After making your adjustments, it’s crucial to run a brief test. Turn on the machine and observe the output. Aim at a non-sensitive surface first, like concrete, to gauge the effectiveness of your changes. This step is essential to ensure that the settings suit the task at hand. I’ve often found that a minor tweak can transform the cleaning process.
If the results aren’t what you expected, repeat the adjustment process until you find the right balance. Patience is key here; some surfaces may require trial and error to achieve optimal results. In one instance, I was cleaning a wooden deck and had to dial back the intensity after seeing wood fibres lift unexpectedly.
Finally, don’t forget to document your preferred settings for future reference. Keeping a log of what works best for different tasks can streamline your process next time. Trust me; you’ll appreciate having that information handy when faced with a similar job down the line.
Testing and Fine-Tuning the Pressure After Adjustment
After completing the modifications, grab a test surface to evaluate the outcome. I often use a piece of scrap wood or an outdoor patio area to observe how the cleaner performs. Begin by activating the machine while standing at a safe distance to ensure it operates effectively without any unwanted splatters. Watch the stream carefully; it should be steady and powerful without causing damage to the surface.
If the output seems too weak, you might need to make further tweaks. Adjustments can be made in small increments, then retest to gauge the impact. For delicate surfaces, such as painted wood or glass, keep the nozzle at the right distance to prevent chipping or cracking. I once overcompensated and left marks on a client’s patio, which taught me the importance of gradual changes and consistent testing.
Final Checks and Safe Operation
Once satisfied with the performance, perform a final inspection. Ensure all connections are secure and there are no leaks. It’s wise to have a helper observe for any irregularities during operation. If any issues arise, revisiting the adjustment valve may be necessary. Remember, the goal is to balance effectiveness with safety. This technique can also apply in other contexts, like determining how long to put potatoes in pressure cooker, where precise conditions yield the best results.
Common Mistakes to Avoid When Adjusting Pressure
One frequent blunder is neglecting to check the surface type before making changes. Different materials require specific settings; ignoring this can lead to damage. For instance, using a high setting on delicate surfaces like wood can cause splintering.

Another pitfall involves failing to inspect the nozzle before altering the force. A clogged or worn nozzle can skew results, making it seem like the adjustment is ineffective. Always clean or replace the nozzle as needed to ensure optimal performance.
Many users also overlook the importance of gradually modifying the settings. Jumping from one extreme to another can lead to unexpected outcomes, such as streaking or inadequate cleaning. Instead, make small increments and evaluate the results after each change.
It’s common to forget to check the water supply before beginning. Low flow rates can hinder performance, resulting in a frustrating experience. Ensure that your source provides sufficient volume and pressure for the equipment to function effectively.
Lastly, skipping the test run after modifications is a mistake I often see. A quick trial allows you to assess whether the adjustments meet your expectations. If something feels off, you can promptly make further tweaks instead of proceeding with a subpar experience.

.jpg)


