
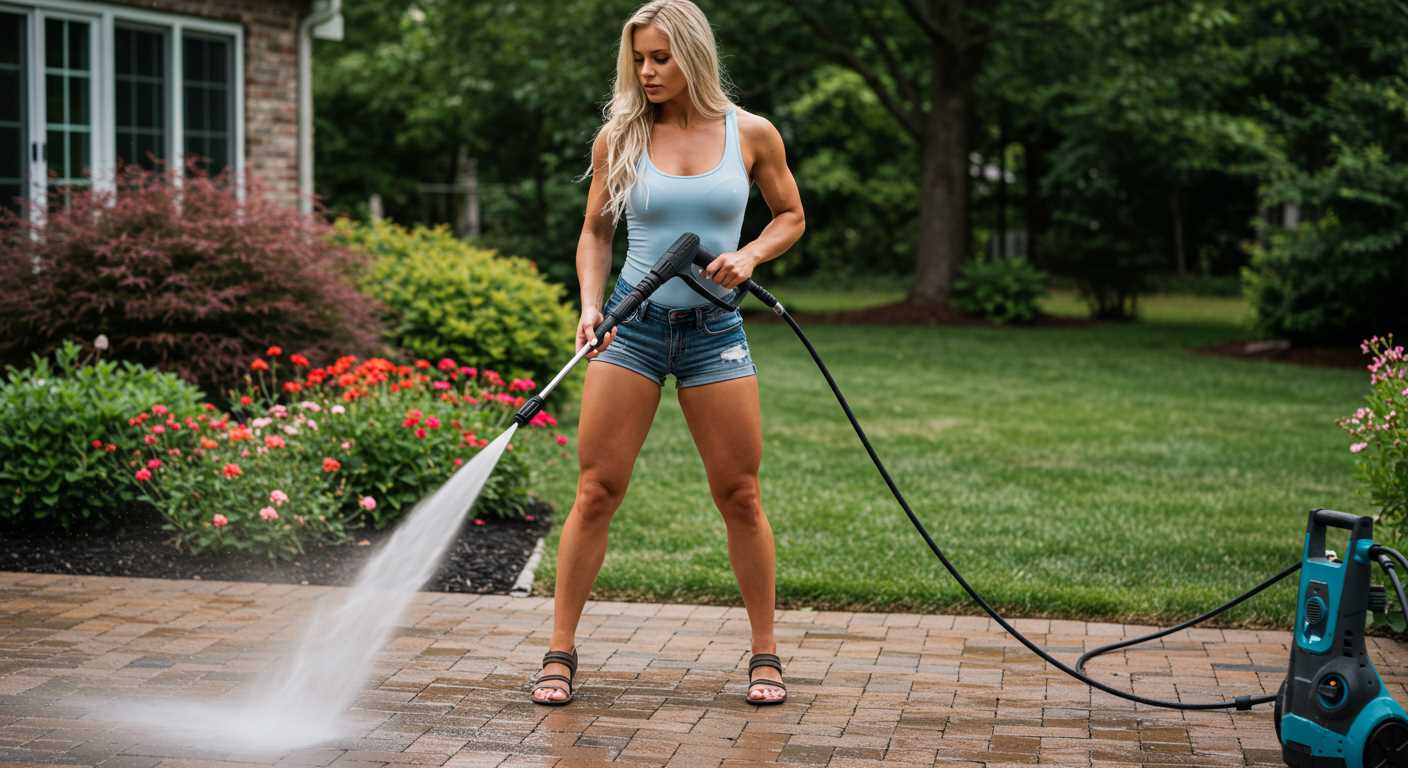


To enhance the performance of your high-pressure cleaner, begin by locating the flow control valve, usually situated near the nozzle or at the handle. This simple adjustment can significantly influence the output and efficiency of your machine. I remember my early days in the field, experimenting with various settings to find the perfect balance for different surfaces. Each adjustment taught me something new about the capabilities of the equipment.
Next, ensure that the water source is adequate. A steady supply from a tap with sufficient flow will prevent any interruptions during operation. I’ve encountered situations where a weak connection led to inconsistent results, often frustrating the task at hand. Remember, a clean, unobstructed hose is also key; any blockages can diminish performance.
If your device has interchangeable nozzles, switch them out according to the task. For instance, a wider nozzle is ideal for cleaning large areas, while a narrower one focuses power on stubborn dirt. I learned this lesson the hard way during a particularly challenging cleaning job when I opted for the wrong attachment. It became clear that the right tools make all the difference.
Lastly, keep an eye on the temperature setting if your model includes a heating element. A higher temperature can help break down grime more effectively, but be cautious not to overheat, as this might damage sensitive surfaces. In my experience, a little trial and error here can lead to outstanding results.
Adjusting the Force of Your Karcher Machine
To modify the intensity of your cleaning device, locate the pressure regulation knob, typically found on the handle or near the trigger. Turning this knob clockwise usually increases the output force, while counter-clockwise decreases it. Aim for a setting that matches your specific task; a higher force is great for tough grime, while a gentler touch works wonders on delicate surfaces.
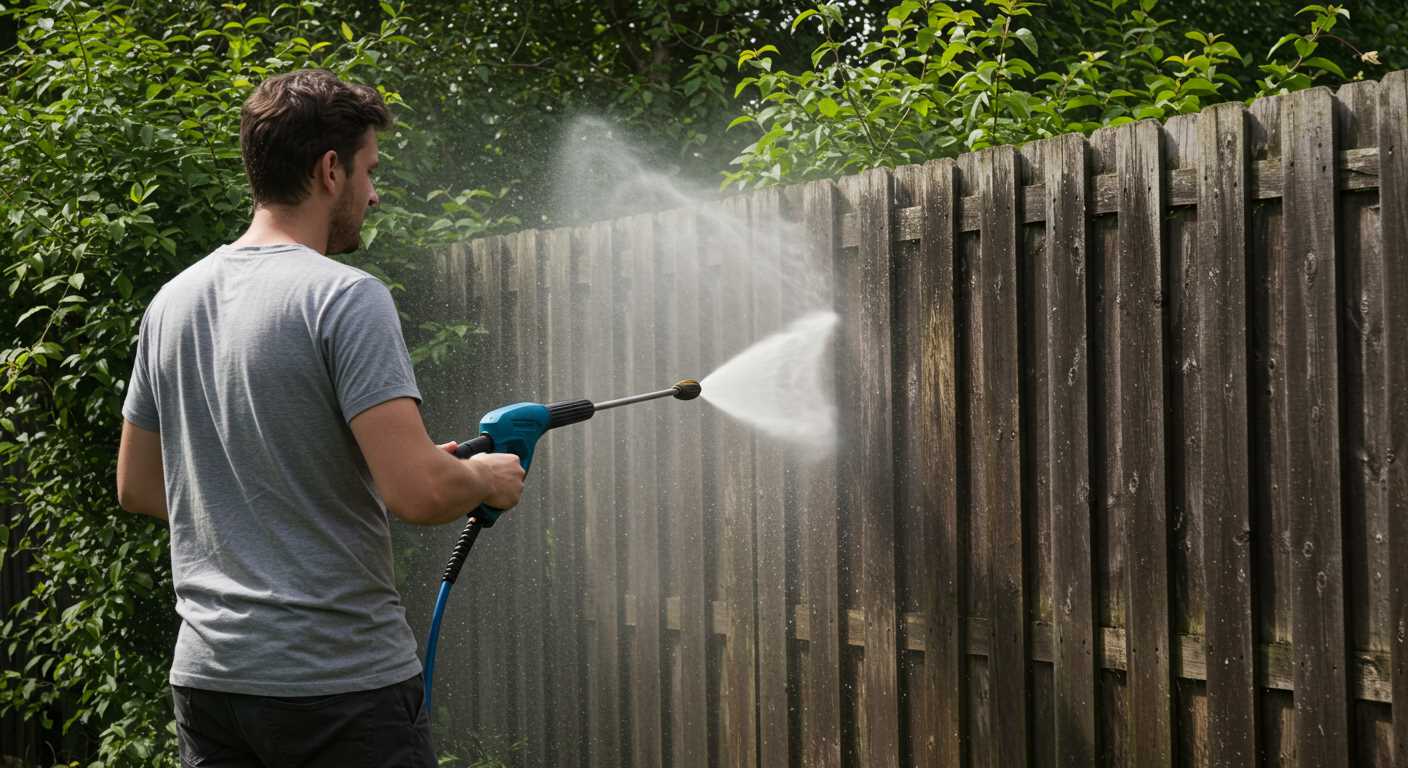
After setting the desired force, test it on a small, inconspicuous area before proceeding with the full cleaning. This ensures you won’t damage the surface you’re working on. I once had a client who accidentally set the force too high while cleaning a wooden deck, resulting in deep gouges. A simple test could have saved that deck from costly repairs.

For more precise control, consider changing the nozzle. Most models come with interchangeable nozzles, each designed for different tasks. A wider spray angle is perfect for rinsing, while a narrow jet is ideal for stubborn stains. Switching nozzles can significantly enhance your results and make your cleaning more efficient.
Regular maintenance of the device is also crucial. Check for clogs in the nozzle or hose, as these can affect performance. I’ve encountered situations where a simple cleaning of the nozzle led to a noticeable improvement in output. Keep your equipment in top shape for the best results.
Lastly, always refer to the user manual for specific details related to your model. It often contains valuable insights and recommendations that can enhance your experience. I’ve found that reading through the manual can reveal features I didn’t even know existed, leading to more effective cleaning sessions.
Identifying the Ideal Water Pressure for Your Cleaning Task
For optimal results, select a suitable setting based on the surface and grime level. For vehicles, a gentle force around 1200 to 1900 PSI is ideal. This range safely cleans without damaging paint. When tackling patios or concrete, increase to 2000 to 3000 PSI to remove stubborn stains effectively.
Remember, using the right nozzle also plays a significant role. A wide spray pattern is perfect for delicate surfaces, while a narrow jet can help remove tough dirt. For instance, combining a car wash brush for pressure washer with the correct setting can enhance your cleaning efficiency.
In my experience, adjusting the intensity based on the task can save time and effort. For example, while cleaning a bike, a lower setting with a gentle approach ensures components remain intact. If you’re using an air compressor for drying, opting for the best air compressor for drying bike gears can further streamline your process.
Always test on a small area first to ensure compatibility with your cleaning surface. This practice prevents mishaps and guarantees the desired outcome. Tailoring your approach makes a significant difference in achieving a sparkling finish.
Locating the Pressure Adjustment Dial on Your Karcher Model
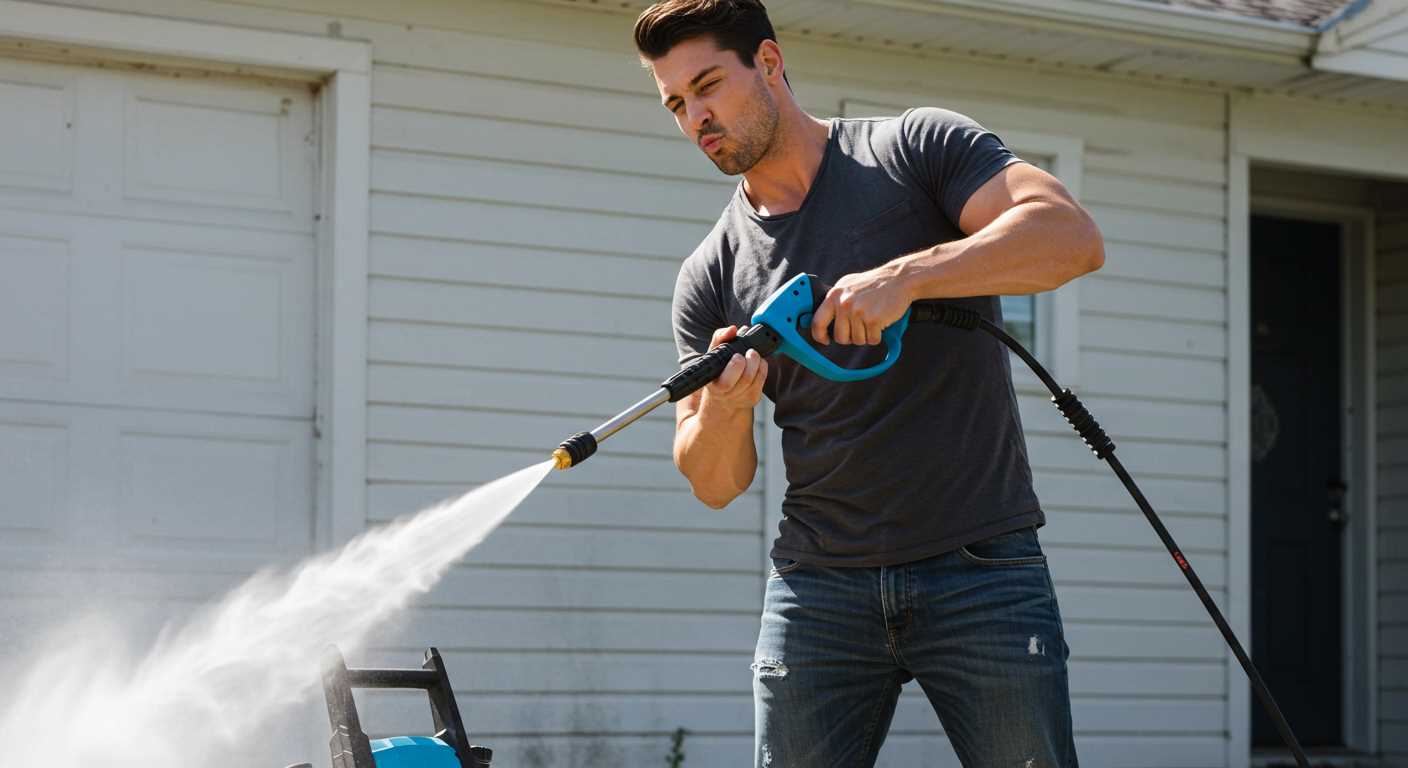
To find the dial for modifying the force on your Karcher unit, first examine the main body of the machine. Most models position this control conveniently on the front panel, easily reachable while operating. Look for a knob or a slider, often labelled with symbols indicating different settings. In my experience, the more recent units have a clearly marked section for this purpose, making it easier for users to identify.
If you own an older model, the dial may be located near the trigger gun connection. This placement can sometimes be less intuitive, as it might blend in with other controls. I recall a time when I spent a frustrating hour looking for this feature, only to discover it hidden behind the hose reel. A quick check of the user manual can save you time, as it usually includes diagrams pinpointing the exact location of this adjuster.
For those with models featuring a variable nozzle, remember that adjusting the nozzle can also influence the output force. Swapping out the nozzle or changing its angle can provide different cleaning effects without needing to touch the dial. It’s a handy trick I often utilise when cleaning delicate surfaces, allowing for a more tailored approach without compromising the equipment’s settings.
Finally, always ensure the machine is switched off and unplugged before attempting to locate or modify any settings. Safety first! The last thing you want is an accidental activation while fiddling with controls. Trust me, a little precaution goes a long way in preventing mishaps.
Steps to Safely Adjust the Water Pressure Settings
Before making any modifications, ensure your unit is turned off and disconnected from the power source. This eliminates the risk of accidental activation during the process.
Locate the adjustment mechanism. Most models feature a dial or lever, often situated near the handle or on the body. Familiarise yourself with this component to avoid confusion.
Testing Different Settings
Once the unit is ready, gradually turn the dial to increase or decrease the intensity. Start with a low setting to assess how the equipment responds. I recall a time when I made a drastic change without testing incrementally, resulting in overspray that damaged a nearby garden. Lesson learned; patience pays off.
Always observe the nozzle type you’re using. Certain nozzles are specifically designed for different tasks. For example, a narrow nozzle can increase force, while a wider one lowers it. Switching nozzles while adjusting helps maintain control over the flow.
Monitoring Performance
While testing, pay attention to the results on your cleaning surface. If you notice any damage or inadequate cleaning, make immediate adjustments. I once misjudged the setting while cleaning a patio; the wrong level left streaks that required additional effort to rectify. Adjusting while in use can save time and ensure optimal results.
Lastly, after achieving the desired setting, secure the adjustment to prevent it from shifting during operation. Check the user manual for specific instructions related to your model to ensure everything is set correctly and safely.
Troubleshooting Common Issues with Water Pressure Adjustment
If you encounter difficulties while fine-tuning the force of your cleaning machine, start by checking the following areas:
Clogged Nozzle
- Inspect the nozzle for blockages. Debris can accumulate, reducing the flow.
- Use a small wire or pin to clear any obstructions carefully.
- Test the nozzle by running water through it without the unit turned on.
Inadequate Water Supply

- Ensure the water source is sufficient. A low supply can hinder performance.
- Check the hose for kinks or leaks that may affect flow rate.
- Consider increasing the inlet size or adjusting the tap to improve supply.
Monitor the connection between the machine and the hose. A loose fit can lead to significant loss of efficiency. Tighten any fittings securely.
Faulty Pressure Regulator
- If adjustments yield no change, the regulator may be malfunctioning.
- Inspect for any visible damage or wear. Replace if necessary.
- Consult the user manual for specific troubleshooting steps related to your model.
Lastly, if the unit still fails to perform after these checks, consider reaching out to the manufacturer’s customer support for further assistance or service options. A professional inspection can save time and ensure your equipment runs smoothly.
Maintenance Tips to Ensure Optimal Water Pressure Performance
Regularly inspect the inlet filter. I once had a customer struggle with low output, only to discover a clogged filter. It’s a simple check; just remove it and rinse under running water. This can dramatically enhance flow.
Clean the nozzle frequently. I learned the hard way that a blocked nozzle can lead to uneven spraying. A small brush or a pin can clear debris effectively. This small task can save you from bigger headaches later.
Checking Hoses and Connections
Examine hoses for kinks or wear. I remember a case where a frayed hose was the culprit for inconsistent performance. Replace any damaged sections to maintain a steady stream. Tighten all connections too; loose fittings can lead to leaks and pressure drops.
Regular Maintenance Schedule
Establish a routine for checking the machine. After each use, I recommend a quick inspection. Make a habit of cleaning filters and nozzles. Seasonal checks can prevent issues before they arise, ensuring everything functions smoothly when needed.
Don’t overlook the pump. Lubrication is key for longevity. Follow the manufacturer’s guidelines for maintenance intervals. A well-maintained pump will always deliver better results.
Lastly, store the device properly. Extreme temperatures can cause damage. Keeping it in a controlled environment will extend its life and performance. These small yet significant efforts can make a world of difference in achieving optimal results.
.jpg)


