
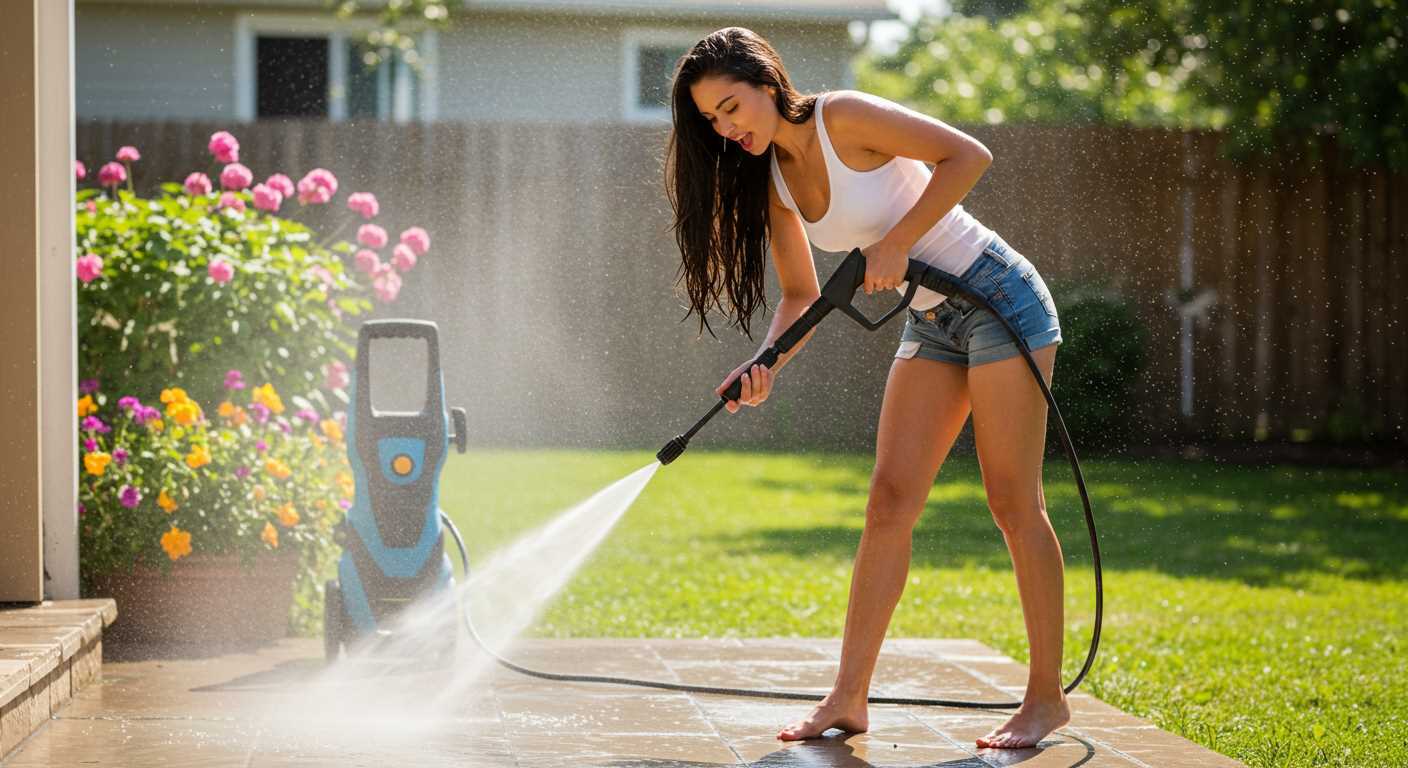


Begin by ensuring you have the correct adapter for your cleaning unit, typically sold separately. This small but crucial component will allow a seamless link between the sprayer and the machine. Most models come with user-friendly instructions, but having the right tools on hand can save time and frustration.
Next, you’ll want to remove the standard nozzle from the front of your unit. It’s usually a simple twist or pull mechanism, depending on the design. Once that’s off, align the adapter with the outlet, ensuring it fits snugly. A firm connection is vital to avoid leaks during operation.

After securing the adapter, it’s time to attach the sprayer. Check that the fittings match and twist the sprayer onto the adapter until it’s tight. If you notice any resistance, double-check the alignment before proceeding to avoid damage. Once everything is in place, you can fill the sprayer with your chosen detergent, ready to tackle grime with ease.
Before starting your cleaning task, test the sprayer at a low setting to ensure everything operates smoothly. Adjust the pressure as needed to achieve the desired foam density. From my experience, a well-prepared setup not only enhances performance but also makes the process enjoyable and efficient.
Connecting a Soap Dispensing Attachment
First, ensure your cleaning device is powered down and unplugged. Locate the quick-connect fitting on the end of your standard nozzle. Release any existing attachments by pulling back on the collar and sliding the nozzle off. You’ll need to have your soap dispensing unit ready.
Take the quick-connect end of the soap dispenser and align it with the fitting on the end of the hose. Firmly push it into place until you hear a click, confirming it’s secured. If your model includes a specific connector for the soap unit, use that to guarantee a snug fit.
Next, fill the soap container with the appropriate cleaning solution, ensuring you follow the manufacturer’s recommendations for dilution ratios. Use only compatible soaps to avoid damaging any components.
With everything connected and the soap reservoir filled, turn on the device and adjust the pressure settings to a lower level, typically suitable for applying detergents. This step prevents excessive misting and ensures the cleaning solution adheres to surfaces efficiently.
Now you’re ready to begin. Start from the bottom of the surface you intend to clean, working your way upwards to avoid streaking. Keep the nozzle at a consistent distance to ensure even coverage. After application, allow the solution to dwell for a few minutes before rinsing off with clean water.
After you finish, don’t forget to detach the soap unit for storage and rinse it out to prevent any residue buildup. This simple maintenance step prolongs the life of your equipment. Enjoy the results of your hard work!
Choosing the Right Foam Cannon for Your Ryobi Model
For optimal cleaning results, selecting the right suds sprayer is crucial. When I first started using my own unit, I quickly realised that not all attachments are created equal. Based on my experience, compatibility with the specific model plays a significant role in performance.
Consider the nozzle size. A wider nozzle can produce a thicker layer of bubbles, which clings better to surfaces. It’s essential to check the specifications of your unit to ensure that the opening fits perfectly. Many users appreciate the adjustable settings that allow for varied spray patterns, which can be handy depending on the task at hand.
Look for models with a built-in filter. This feature prevents debris from entering the unit, which can cause damage over time. I’ve seen units fail prematurely simply due to a lack of protection from dirt and grime.
Material quality matters, too. Opt for a sprayer made from durable materials that can withstand high pressure. Plastic components can wear out quickly, whereas metal parts tend to last longer. My first attachment was plastic and, after several uses, it cracked under pressure. Lesson learned!
Don’t overlook the capacity of the container. If you’re planning on tackling larger jobs, a sprayer with a bigger tank means fewer refills, allowing for uninterrupted work. I remember a weekend spent refilling my small tank repeatedly, which turned what should have been a quick wash into an all-day affair.
Finally, read reviews and seek recommendations from fellow users. Often, their insights can guide you towards the most reliable options. I’ve always found that personal experiences shared in forums can reveal potential pitfalls that product descriptions might not cover.
Gathering Necessary Tools and Accessories
Before you begin your cleaning project, ensure you have the right equipment at hand. Here’s a list of items that will make the process smoother and more efficient:
- Compatible Nozzle: Check your existing nozzles to see if you have a suitable one for foam application. A wide-angle nozzle typically works best.
- Cleaning Solution: Invest in a quality detergent specifically designed for your equipment type. This ensures optimal foam generation and cleaning power.
- Connector or Adapter: Depending on your setup, you may need an adapter to fit the foam sprayer to the water outlet. Verify compatibility before purchasing.
- Bucket: A bucket can be handy for mixing your cleaning solution before applying it. It allows for better control and prevents waste.
- Protective Gear: Safety goggles and gloves are recommended. This protects you from any splashes of cleaning solution that may irritate your skin or eyes.
- Extension Cord: If your equipment is not close to a power source, a heavy-duty extension cord will keep everything connected and operational.
Having these items ready will streamline your cleaning session. From my experience, using a quality detergent not only enhances the cleaning results but also makes the entire process more enjoyable. The right tools can significantly reduce the time spent on tasks.
Also, consider how a digital camera is composed of how many tiny pixels can impact your cleaning results; just like the details captured in a photograph, the nuances in your cleaning results matter too.
Preparing Your Ryobi Pressure Washer for Attachment
Before connecting your cleaning accessory, ensure the machine is turned off and unplugged. This step is crucial for safety. Check the water supply; you need a steady flow to avoid damage while in operation.
Inspecting the Equipment
Carefully examine the hose and fittings for any signs of wear or damage. A compromised hose can lead to leaks, impacting performance. Clean the inlet filter to prevent clogs that could impede water flow. A simple rinse under running water usually does the trick.
Setting Up the Water Supply
Connect the water source to your unit securely. Make sure the connections are tight to avoid leaks during use. Open the tap fully to allow a constant flow, and check for any drips at the connections. This ensures your device operates without interruption.
Once everything is checked and secure, you’ll be ready for the next step in enhancing your cleaning capabilities. Always follow the manufacturer’s guidelines for optimal usage.
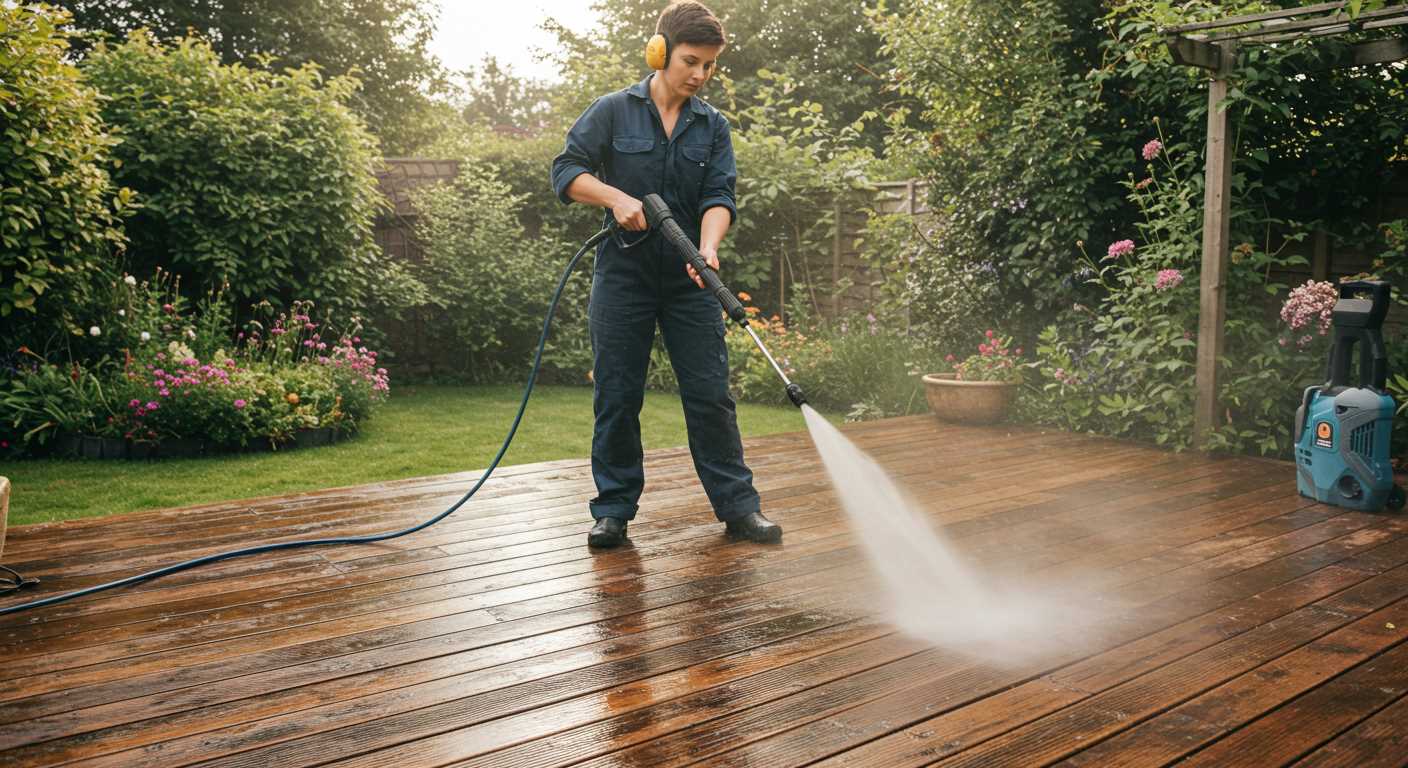
Connecting the Foam Cannon to the Pressure Washer Hose
Begin by ensuring the water supply is turned off to prevent any accidental leaks. Next, locate the quick-connect fitting on the end of your cleaning device’s hose. This is where the attachment will be made. If your model has a removable nozzle, it may need to be taken off to make space for the new connector.
Follow these steps for a seamless connection:
- Remove the existing nozzle from the hose if applicable.
- Take the foam application device and align its quick-connect fitting with the hose fitting.
- Push the fitting into place firmly until you hear a click, indicating a secure connection.
- Give a gentle tug on the connection to ensure it is locked in place.
After securing the device, attach the siphon tube to the container holding your chosen detergent. Make sure it is inserted fully to prevent any disruption during use.
Before turning on the water supply, check all connections for any leaks or misalignments. It’s crucial for optimal performance. Once everything appears secure, turn on the water and power up the cleaning unit. Adjust the settings if needed to achieve the desired output.
In my experience, taking a moment to double-check these connections saves time and prevents potential issues later. A tight fit ensures the solution is properly mixed with water, leading to better cleaning results.
Adjusting the Foam Cannon Settings for Optimal Performance
Begin by selecting the correct nozzle size for your unit; a wider nozzle typically produces thicker suds. I found that a 1.1 orifice works well for most cleaning tasks, providing a good balance between pressure and foam density. Experiment with different orifice sizes if the foam isn’t adhering to surfaces as expected.
Next, adjust the dilution ratio of your cleaning solution. A common starting point is a 1:10 ratio of soap to water, but for tougher grime, increase the soap concentration. I often tweak this depending on the surface being cleaned; for example, I use a richer solution for vehicles and a lighter one for patios.
Check the adjustable dial on the canister. Setting it to a higher foam setting enhances the soap output. I discovered that a slight twist can significantly change the foam’s consistency–more foam means better coverage and cleaning capability.
Monitor the distance from the nozzle to the surface while spraying. A distance of 2-3 feet usually yields the best results, allowing the foam to cling rather than just run off. I’ve seen the difference this makes, especially on vertical surfaces like garage doors.
Finally, keep an eye on the water pressure. Lowering the pressure can often improve foam performance, as excessive pressure might disperse the foam instead of allowing it to cling. I’ve had days where simply adjusting the pressure settings transformed the cleaning experience.
Testing the Foam Cannon for Proper Functionality
After connecting your cleaning accessory, it’s time for a quick test to ensure everything operates smoothly. Start by filling the reservoir with a suitable cleaning solution, diluting it as per the manufacturer’s recommendations. It’s crucial to avoid overly concentrated mixtures, as they can clog the nozzle or damage your equipment.
Next, adjust the nozzle to a wide spray pattern. This allows for even coverage and helps to assess the performance of the unit effectively. Power on your device and engage the trigger. Observe the consistency of the suds produced. Ideally, you want a thick, clinging foam that adheres well to surfaces. If the output appears watery or inconsistent, check the following:
Common Issues to Look For
First, ensure that the connection between the reservoir and the spray head is secure. A loose connection can cause a drop in pressure, resulting in subpar suds. Additionally, inspect the nozzle for any blockages. A quick rinse with clean water can often clear minor obstructions. If the problem persists, consider adjusting the dilution ratio of your cleaning solution.
Final Adjustments
If your suds still don’t meet expectations, fine-tune the spray pattern. Some models allow you to switch between different spray angles. Experiment with these settings to find the optimal one for your specific cleaning task. Don’t hesitate to test on a small area first to ensure the results are satisfactory. Once you’ve achieved the desired foam consistency, you’re ready to tackle larger jobs with confidence.
Maintaining Your Foam Cannon and Pressure Washer
Regular upkeep of your cleaning equipment guarantees longevity and optimal operation. Begin with a thorough rinsing of the attachment after each use to prevent soap residue build-up. This simple step significantly reduces the risk of clogs and ensures that the nozzle remains free of debris. I’ve seen many units falter simply because users neglected this basic maintenance task.
Cleaning and Storing the Equipment
After rinsing, inspect all components for wear. Replace any damaged parts immediately. It’s wise to store your gear in a dry location, away from extreme temperatures, to protect against deterioration. I recall a time when I left my gear outside, and the harsh weather caused irreversible damage to the seals. It’s a costly mistake that can easily be avoided.
Regular Inspection and Replacement of Parts
Conduct routine checks on hoses and fittings for leaks. A small leak can drastically reduce performance and lead to larger issues down the line. Keep an eye on the filter as well; a clean filter ensures proper flow and efficiency. If you’re in need of guidance on selecting the right nozzle for specific tasks, check out a guide on how to match the right washer nozzle with the right job.
| Maintenance Task | Frequency | Notes |
|---|---|---|
| Rinse after use | Every use | Prevents soap residue build-up |
| Inspect hoses and fittings | Monthly | Look for leaks or cracks |
| Clean filter | Every few months | Ensures optimal flow |
| Store in a dry place | Always | Avoid exposure to extreme temperatures |
Troubleshooting Common Issues with Foam Cannon Attachment
If you’re experiencing issues with your sudsing device, the first step is to ensure that the nozzle isn’t clogged. A simple rinse under warm water can often resolve this. If the issue persists, check the screen filter at the inlet. Debris can obstruct water flow, preventing proper operation.
Low Suds Production
One common complaint is insufficient suds. This can stem from several factors. First, verify that you’re using the correct cleaning solution–some products are not designed for use with certain sprayers. If you’re using a detergent that’s compatible, adjust the dilution ratio. Sometimes, too much water can dilute the foam too much, resulting in less froth.
Inconsistent Spray Pattern
An erratic spray pattern can be frustrating. Start by ensuring that all connections are secure. Loose fittings can lead to air entering the system, which disrupts the spray. If everything is tight, inspect the nozzle for blockages. A thorough cleaning may restore the desired spray pattern. Additionally, adjusting the angle of the nozzle can enhance coverage and improve the distribution of suds.
Lastly, if you notice that the device is leaking, inspect all seals and connections for wear or damage. Replacing worn parts promptly will avoid further complications. Regular maintenance will ensure that your sudser remains in top condition, ready for your next cleaning task.

.jpg)


