


Start with a quick inspection of the quick-connect fitting on your cleaning unit. Ensure it’s compatible with your foam applicator; most units have standard connectors, but variations exist. If needed, an adapter can bridge any gaps between the two systems.
Next, ensure that the foam container is securely fastened to the applicator. Over the years, I’ve encountered many situations where a loose connection led to leaks, turning a simple wash into a messy affair. A firm grip on the bottle is crucial to avoid any foamy mishaps during operation.
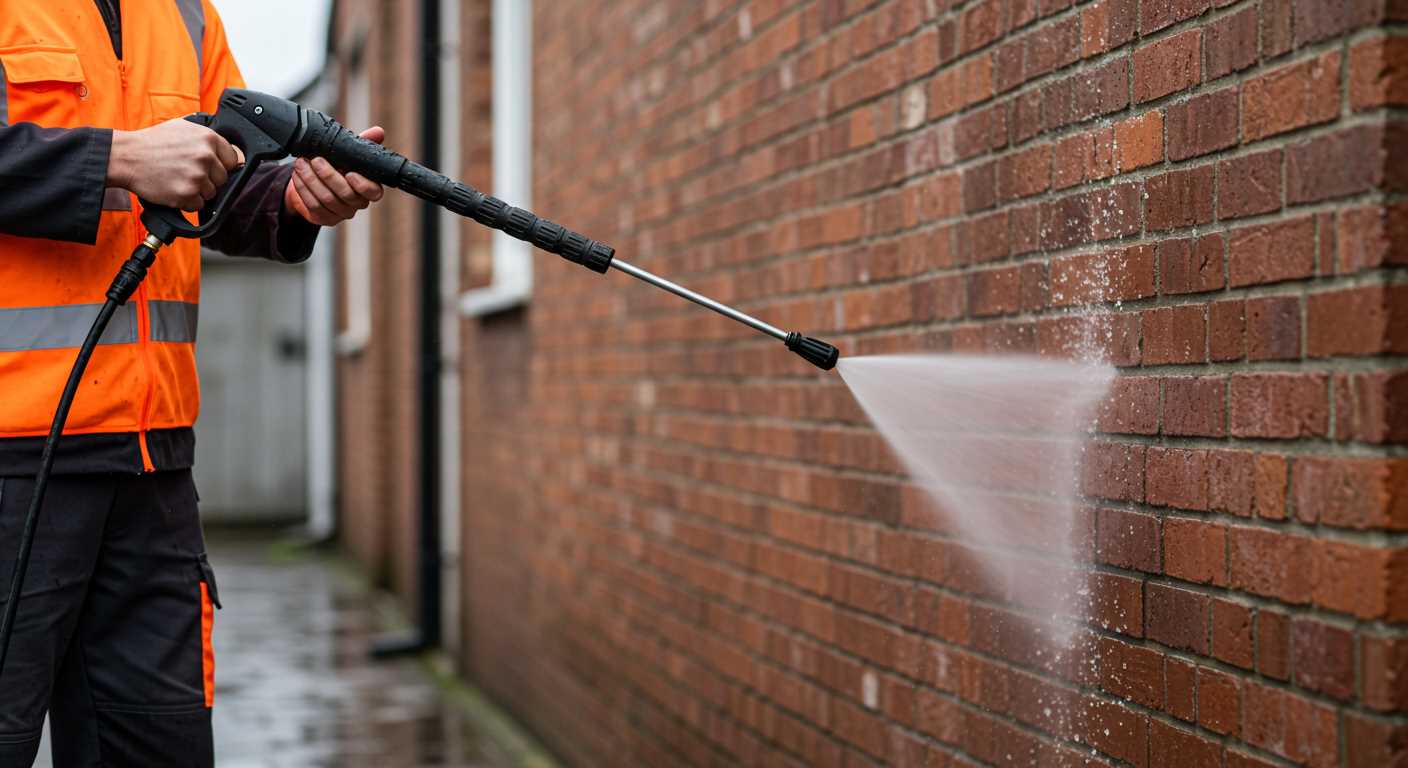
Check the nozzle settings on the applicator for optimal performance. I’ve found that adjusting the spray pattern can significantly impact the coverage and efficiency of the foam. A wider spray is excellent for larger areas, while a tighter stream works wonders on stubborn grime.

Once everything is in place, it’s time to prepare your cleaning solution. Always adhere to the manufacturer’s guidelines for the right dilution and type of detergent to avoid any damage to surfaces. I’ve seen too many instances where the wrong mixture not only failed to clean but also caused long-term harm to vehicles and surfaces.
Finally, before starting, test the connection with a small burst of water to ensure everything is sealed tightly. This simple step can save you from potential frustration later on. Happy cleaning!
Connecting a Foam Applicator to Your Cleaning Equipment
Start with ensuring you have the right adapter for your setup. Most cleaning machines come with a quick-connect fitting that allows for straightforward connections. If yours doesn’t, you may need an additional adapter to create a compatible link.
Follow these steps for a seamless connection:
- Turn off the equipment and disconnect from the power source for safety.
- Locate the detergent intake on the machine. This is typically near the nozzle attachment.
- Remove any existing nozzle or accessory that may be attached.
- Take the foam applicator and align it with the detergent intake, ensuring that the fittings match securely.
- Twist or push to lock it in place, depending on the design of your equipment.
- Check for any leaks by turning on the water supply without powering on the machine.
- Once confirmed, connect the power source and prepare to use.
During my years of testing various models, I found that a secure connection is key to optimal performance. Any gaps or improper fittings can lead to ineffective cleaning results.
For those interested in other uses of pressure cooking, you might find this guide useful: how to can carrots with a pressure cooker.
Remember, regular maintenance of your accessories will prolong their lifespan and enhance functionality. Keep everything clean and store it properly after use.
Choosing the Right Foam Applicator for Your High-Pressure Cleaner
Opt for a model compatible with your setup. I’ve found that not all applicators work seamlessly with every unit. Check the specifications; many brands provide compatibility charts that simplify this process.
Consider the adjustable nozzle feature. I always prefer units that allow for a range of spray patterns. This flexibility lets me tackle different surfaces effectively, whether I’m cleaning a delicate car finish or a rugged patio. I recall one time I used a fixed nozzle model, and the lack of versatility made me regret my choice halfway through the job.
Look into the capacity of the detergent reservoir. A larger tank means fewer interruptions during the cleaning process. I’ve experienced the frustration of constantly refilling a small reservoir while trying to finish a job efficiently. A model with a decent capacity allows me to maintain momentum.
Evaluate the build quality. Durability matters, especially if you plan to use it frequently. I’ve seen cheaper options that fail after just a few uses, leading to wasted time and money. Investing in a robust product pays off in the long run.
Lastly, check for user reviews. Real-world feedback is invaluable. I often refer to reviews when making a purchase, as they provide insights into performance that specs alone can’t convey. A highly-rated model often reflects reliability and effectiveness.
Checking Compatibility Between Foam Applicator and High-Pressure Cleaner
Before proceeding with any cleaning tasks, verifying that your applicator and high-pressure cleaner work well together is crucial. First, check the connection type. Most units use a quick-connect system, but some may require specific adapters. Make sure the fittings on both devices align correctly.
Next, confirm the flow rate and pressure compatibility. Each applicator has a recommended range for optimal performance. If your cleaner operates outside this range, you risk damaging the applicator or not achieving the desired cleaning results. For example, my friend once used a high-pressure cleaner with too much flow, causing foam to spray everywhere except on the intended surface.
Also, examine the detergent compatibility. Not all cleaning solutions are suitable for every applicator. Using the wrong formula can clog the system or create excessive foam that affects performance. During my years in the field, I learned the hard way that sticking to manufacturer recommendations saves time and frustration.
Lastly, consider the size of the nozzle. A wider nozzle might distribute foam over a larger area, while a narrower one focuses the cleaning power. Match this to the tasks at hand; for instance, a wider nozzle is great for larger surfaces, while a narrow one excels in detailed work.
By carefully checking these factors, you can ensure a seamless and efficient cleaning experience, avoiding pitfalls that could hinder your project.
Gathering Necessary Tools for the Attachment Process
Before diving into the installation process, gather the right tools to ensure a smooth experience. You’ll need a socket or wrench set to tighten any fittings securely. A pair of pliers will come in handy for gripping and adjusting hoses if needed. Additionally, a towel or rag should be on hand to wipe away any excess soap or water during the setup.
Checking for Adapters
Some models require specific adapters to connect the cleaning device to your equipment. Make sure you have these on standby. It’s wise to check the manufacturer’s instructions for any recommendations on compatible accessories. If you’ve got a variety of connectors from previous tools, sift through them; you might find a suitable one right in your toolbox.
Safety Gear
Don’t overlook safety gear. Protective eyewear is a must; the last thing you want is soap or debris in your eyes while working. Gloves can protect your hands from sharp edges or chemicals, ensuring a safer setup. With everything gathered, you’re ready to proceed confidently with the connection process.
Preparing the Pressure Washer for Foam Gun Attachment
Before connecting the sudsing device, ensure your cleaning unit is ready for the task. First, disconnect from the power source and water supply. This reduces the risk of accidents during the setup process.
Inspect the inlet hose for any damage or kinks. A compromised hose can lead to reduced performance or leaks. If you notice any issues, replace it before proceeding. Clean the filter screen at the water inlet; a clogged filter can obstruct water flow, hindering the functionality of the sudser.
Next, check the nozzle currently installed on the lance. It may need to be replaced with a different size that complements the sudsing tool you plan to use. A tighter nozzle can enhance the foam application, so consider the specifications of your new device.
Once these checks are complete, it’s advisable to run the machine briefly without the attachment. This clears any leftover water and ensures everything is functioning properly. Listen for any unusual sounds that could indicate a problem. If all is well, you’re set for the next steps.
Connecting the Foam Applicator to the High-Pressure Hose
Begin by ensuring the water source is turned off and the cleaning device is disconnected from any power supply. Locate the high-pressure hose that connects to the main unit. It typically has a threaded fitting at its end.

Take the foam applicator and identify its attachment point. Most models will feature a quick-connect mechanism or threaded interface designed for seamless integration. For those with a quick-connect feature, simply align the connector with the hose’s end and push until you hear a click. If your model requires threading, carefully screw the applicator onto the hose, turning clockwise until secure. Avoid overtightening, as this can damage the components.
After securing the applicator, check the seal to prevent leaks. A visual inspection will suffice; look for any gaps or misalignments. If everything appears in order, proceed to reconnect the water source and power supply.
Before initiating the device, it’s wise to conduct a brief test to confirm the functionality of the setup. Release a small amount of water to ensure the applicator is working correctly. If all is functioning as expected, you’re ready to commence your cleaning tasks.
| Step | Action |
|---|---|
| 1 | Turn off the water source and disconnect power. |
| 2 | Locate the high-pressure hose. |
| 3 | Identify the attachment point on the applicator. |
| 4 | Connect the applicator to the hose (quick-connect or threaded). |
| 5 | Inspect the seal for leaks. |
| 6 | Reconnect the water source and power supply. |
| 7 | Conduct a brief test to ensure proper functionality. |
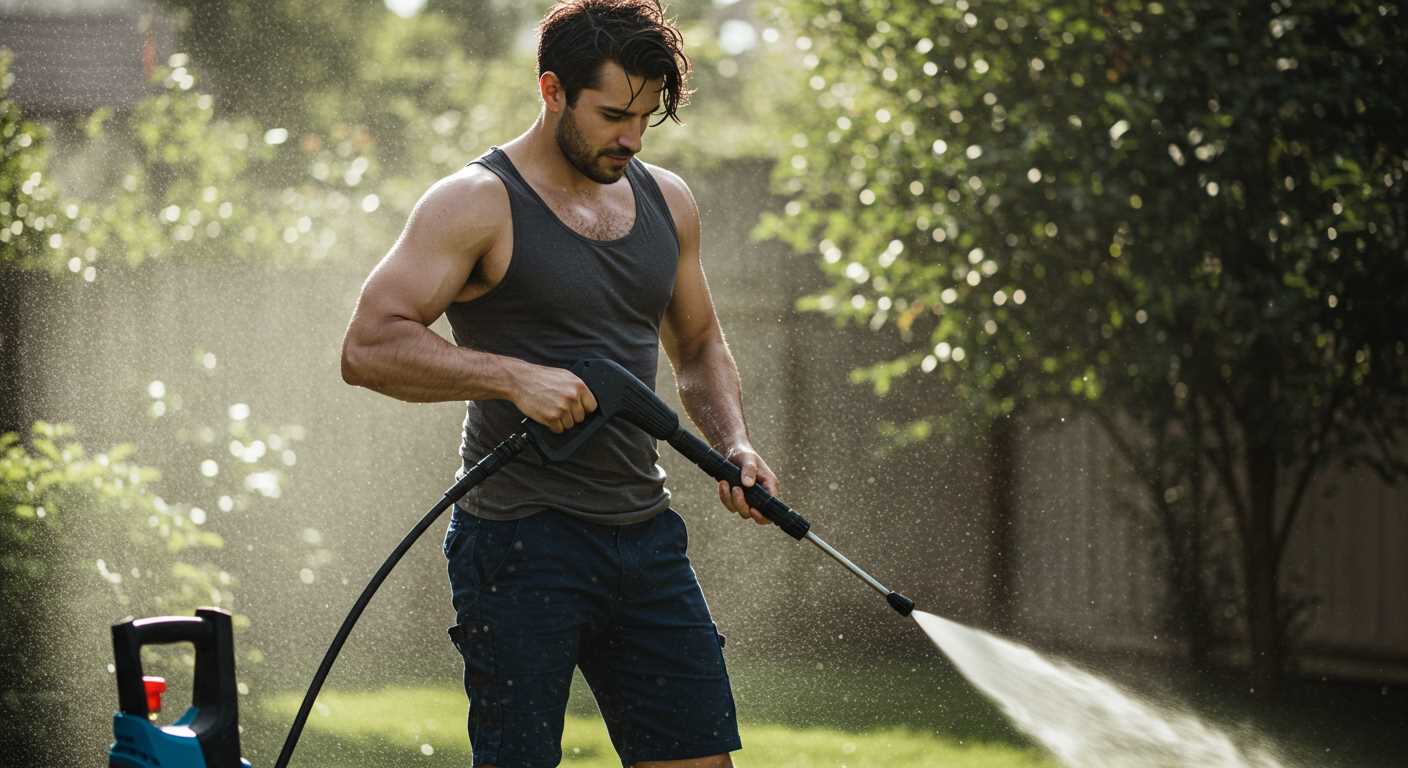
Adjusting Settings on the Pressure Washer for Optimal Foam Application
To achieve the best results with your cleaning setup, adjusting the settings on your machine is key. Here’s what I’ve learned from years of experience in the field:

- Pressure Level: Start by selecting a lower pressure setting. High pressure can disrupt the foam consistency, making it less effective. A range of 1000 to 1500 PSI usually works well for foam generation.
- Flow Rate: Ensure your device’s flow rate is compatible with the attachment. A flow rate of 1.4 to 2.5 GPM is typically optimal. This balance ensures the foam is thick and adheres well to surfaces.
- Soap Dilution: Mix your cleaning solution according to the manufacturer’s instructions. Using too concentrated a mix can clog the attachment, while too diluted won’t provide the desired cleaning power. I recommend a 1:10 ratio as a starting point.
- Adjustment of Nozzle: Use the appropriate nozzle size. A wider nozzle allows for better coverage and foam dispersion. I’ve found that a 25-degree nozzle works wonders for most applications.
In my experience, testing these settings on a small area first can save time and product. Adjust as necessary based on the surface and level of grime. Remember, patience and experimentation often yield the best results.
Lastly, always keep an eye on the performance of your equipment. If the foam appears too watery or fails to cling, revisiting these settings might be necessary. I’ve made adjustments mid-cleaning to ensure effectiveness, and it’s always paid off in the end.
Testing the Connection and Foam Output
After securing the cleaning tool to the cleaning device, it’s time to evaluate the connection and assess the foam performance. First, ensure that all fittings are tight to prevent leaks during operation. A loose connection can lead to reduced pressure and insufficient suds.
Conducting a Leak Test
Before starting, turn on the machine and check for any leaks around the junction. If you notice any drips, tighten the connection further. A quick test involves running the system briefly while observing the joints. A well-sealed setup should operate without any moisture escaping.
Evaluating Foam Quality
Once the initial checks are complete, adjust the settings on your machine for optimal suds production. Begin with a low setting to avoid oversaturation, then gradually increase if necessary. Watch how the mixture disperses; it should produce a thick, clinging layer on the surface being treated. If the output is watery, experiment with different detergent concentrations and nozzle adjustments to achieve the desired consistency. A good mix will adhere well and provide an effective cleaning experience.
Maintaining Your Foam Gun and Pressure Washer After Use
After every cleaning session, it’s crucial to clean both the sprayer and the machine. This prevents blockages and ensures optimal performance for your next task. Start by detaching the nozzle from the detergent reservoir and rinsing it thoroughly with clean water. Any residual soap can harden and clog the system, so a quick rinse goes a long way.
Cleaning the Detergent Reservoir
Empty any leftover cleaning solution from the reservoir. Fill it with warm water and run the sprayer for a minute or two to flush out any remnants. This practice not only preserves the integrity of the sprayer but also prevents cross-contamination of different cleaning agents.
Inspecting the Equipment
Once you’ve cleaned the tools, examine the connectors and hoses for wear or damage. Any signs of deterioration should be addressed promptly to avoid leaks during future use. Store the equipment in a dry place, preferably indoors, to protect it from environmental factors that can cause wear over time. For those hard-to-reach areas, consider investing in a pressure washer extension pole for versatility during your next cleaning session.
.jpg)
.jpg)


