
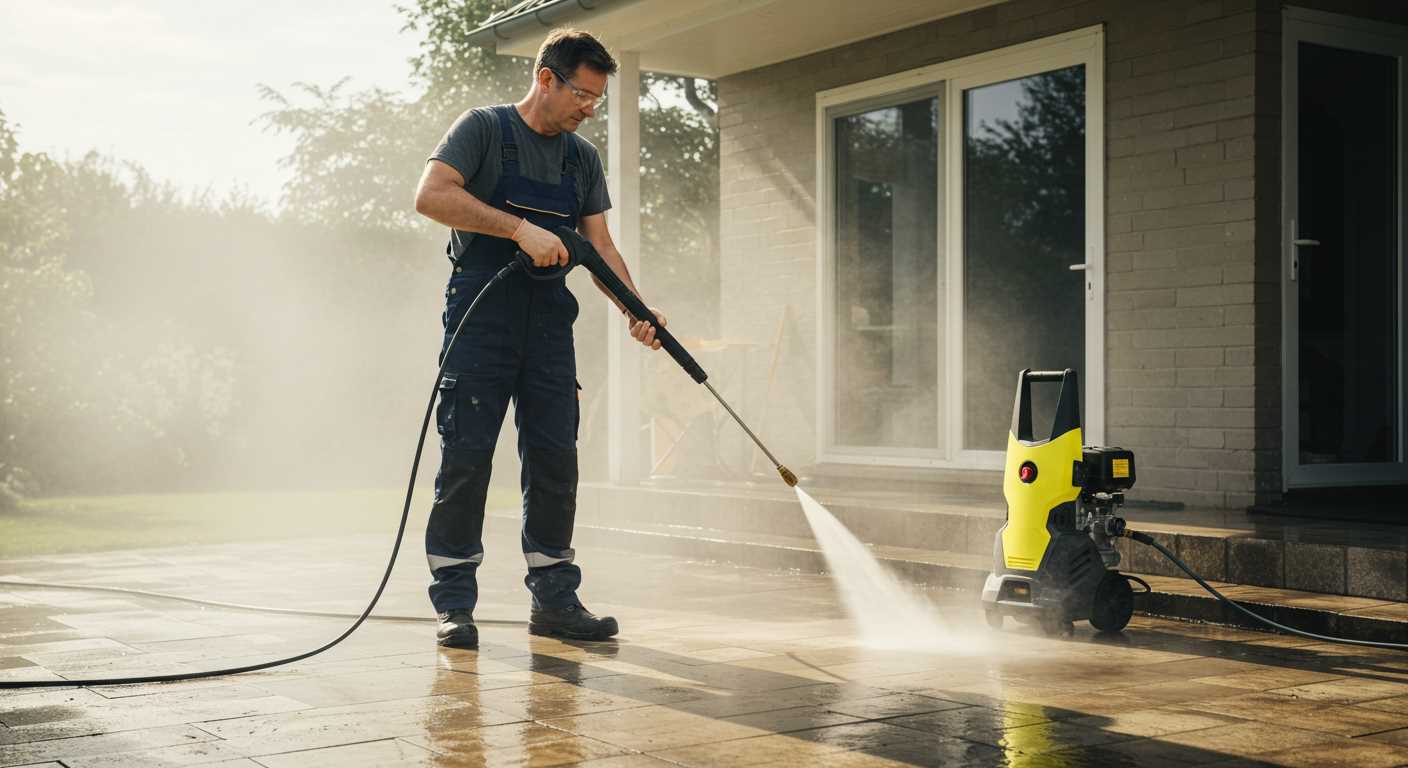


To secure the water line to your cleaning device, ensure both ends are clean and free from debris. A snug fit is crucial for optimal performance. Align the connector on the hose with the corresponding inlet on the unit, then gently push it in until you hear a click. This sound indicates a secure connection, essential for preventing leaks during use.
If you encounter resistance while fitting, check for any obstructions. Sometimes, debris can accumulate in the threads or connectors, making it difficult to achieve a proper seal. A quick wipe with a clean cloth can often solve this issue. If the connection still feels loose after ensuring cleanliness, consider applying a small amount of silicone grease to the threads for better adhesion.

Once connected, it’s wise to test the setup before starting any cleaning task. Turn on the water supply and check for any leaks at the junction. If you notice water escaping, disconnect the line, inspect the connectors, and reassemble as needed. This simple precaution can save you from frustrating interruptions during your cleaning session.
Lastly, after each use, remove the hose to prevent wear and tear on both the connections and the device. Store the hose in a dry place, coiling it neatly to avoid kinks that could impede future performance. With these straightforward steps, you’ll ensure your cleaning tasks go smoothly and efficiently.
Connecting the Hose to Your Cleaning Unit
Begin by ensuring the connectors on both the cleaning unit and the new tubing are clean and free from debris. This simple step can prevent leaks and ensure a secure fit.
Align the connector of the tubing with the opening on the cleaning device. You should hear or feel a click when they are properly engaged. If there’s resistance, double-check that both parts are aligned correctly before applying force.
Securing the Connection
- Once connected, give it a gentle tug to verify it’s firmly in place.
- For extra security, consider using a wrench to tighten the connector slightly, but avoid over-tightening which can damage the threads.
- Inspect the connection for any visible gaps or misalignment after securing it.
Final Checks
Before firing up the equipment, turn on the water supply to check for leaks. If you see any water escaping from the connection, disconnect and recheck the alignment and tightness.
Once everything is secure, you’re ready to start your cleaning tasks. Happy cleaning!
Identifying the Correct Hose Type for Your Model
Start by checking the user manual specific to your equipment. Each model has designated specifications for compatible tubing, ensuring optimal performance and safety.
- Look for the diameter measurement of the existing or required tubing. Common sizes include 1/4″, 3/8″, and 1/2″. Matching this measurement is crucial.
- Verify the connection type. Some models use a threaded connection, while others may feature a quick-release mechanism. This detail can significantly affect compatibility.
- Examine the pressure rating. Ensure that the new line can withstand the maximum pressure output of your device to prevent leaks or damage during operation.
During my years of working with various machines, I found that mismatched sizes often led to frustrating leaks or reduced efficiency. For instance, using a smaller diameter line can restrict water flow, making cleaning tasks take longer than necessary. I once encountered a user who was struggling with a low-pressure issue, only to discover that the hose diameter was too small for the pump’s output.
Additionally, consider the length required for your cleaning tasks. A longer line can provide more flexibility but may also result in increased pressure loss. Balancing these factors ensures a smooth and effective cleaning experience.
In one memorable case, a customer faced difficulties due to an unsuitable connection type. After switching to the correct fitting, they were amazed at the improvement in performance. Taking the time to identify the right specifications can save both time and resources in the long run.
Finally, don’t hesitate to consult customer service or online forums if you’re uncertain. Many users share valuable insights based on their experiences, which can guide you towards the right choice for your specific model.
Gathering Necessary Tools for the Hose Attachment
Before beginning the connection process, ensure you have the right tools at hand. You’ll need a pair of adjustable wrenches to secure fittings and prevent leaks. A good-quality set of pliers can assist in tightening or loosening components, especially if they’re a bit stubborn. Always keep a soft cloth nearby; it’s handy for cleaning any dirt off the connectors for a snug fit.
Additional Items to Consider
Having a bucket of warm, soapy water can be beneficial. It helps to wash away grime from the connections, ensuring a clean surface for a firm link. If you suspect any wear and tear on the old fittings, a replacement set might be wise to prevent future issues. Finally, a pair of safety goggles will protect your eyes from any debris that might fly up during the process.
Final Touches
Once you have your tools assembled, take a moment to check your work area. A clean, organised space not only helps you work more efficiently but also reduces the risk of losing small items. Trust me, I’ve misplaced a few screws in my time, and it only adds to the frustration. With everything in place, you’re ready to connect the components smoothly and effectively.
Preparing the Cleaner for Pipe Connection
Ensure the device is powered off and unplugged before proceeding. This simple step prevents accidental activation while handling the accessories.
Next, check the water supply. Connect your water source to the inlet, ensuring it is securely fastened. A loose connection can lead to leaks or insufficient water flow.
Inspect the unit for any damage. Look for cracks or wear on the body, as well as the connectors. If you spot any issues, it’s best to address them before proceeding to avoid further complications.
Once you’ve confirmed everything is in order, clear your workspace. Remove any obstacles to ensure you have enough room to manoeuvre while connecting the components. This makes the process smoother and safer.
Gather any additional equipment you might need, such as a bucket for water drainage, a towel for spills, or even a wrench if you anticipate needing to tighten connections. It’s better to have everything on hand than to be searching mid-operation.
If you’re feeling adventurous, you might want to check out this link for some culinary tips: how long to reheat christmas pudding in pressure cooker.
Finally, double-check the user manual for any specific instructions related to your model. Each unit can have unique requirements that are crucial for proper setup.
Locating the Hose Connection Point on the Washer
Begin by positioning the cleaning unit on a flat surface, ensuring it is stable. The connection point for the flexible line is typically found at the front or side of the device. Look for a threaded inlet or a quick-release fitting, which allows for easy connection. It often has a distinct marking or label indicating where to connect the tubing.
For models I’ve handled, the connection is usually associated with a colour-coded system or a specific design that prevents incorrect attachment. Inspect your unit closely; sometimes, the area around the inlet will have grooves or notches, guiding you on how to align the connector properly.
Checking the User Manual
If the connection point isn’t immediately obvious, refer to the user manual. It provides clear diagrams and instructions specific to your model. I’ve often found that manuals include troubleshooting sections, which can be helpful if the connection seems stubborn or misaligned.
Visual Cues to Identify the Connection
Pay attention to any visual cues around the connection area. Many devices feature colour coding, icons, or even arrows pointing to the attachment area. I recall a time when I overlooked these details and struggled with a connection, only to realise the guidance was right in front of me. Don’t hesitate to take a closer look; it can save time and frustration.
Aligning and Securing the Hose Properly
Ensure the connection is precise by aligning the connector of the tube with the inlet on the unit. I recall a time when I rushed through this step, only to find leaks during my first use. It’s crucial to visually inspect that the threads of both components are perfectly lined up before attempting to tighten.
Once aligned, hand-tighten the connection first. Avoid using tools at this stage, as overtightening can damage the threads. I learned this lesson the hard way with one model, where I stripped the threads and had to replace the entire assembly. After hand-tightening, a quarter turn with a wrench can provide that extra security without risking damage.
In cases where the unit has a security lock, ensure it’s engaged after securing the connection. This feature adds another layer of safety, preventing accidental disconnections during operation. I remember a colleague who failed to activate this lock, resulting in a hose detachment mid-cleaning. It created quite the mess!
Check for any kinks or twists in the tubing after securing. Kinks can restrict flow and reduce performance. I often run my hand along the length of the tubing to feel for any irregularities. If I find any, I work them out gently to maintain a smooth line.
| Step | Action | Tip |
|---|---|---|
| 1 | Align the connector | Make sure threads are lined up |
| 2 | Hand-tighten | Avoid tools at this stage |
| 3 | Use wrench for a quarter turn | Don’t overtighten |
| 4 | Engage security lock | Prevents accidental disconnections |
| 5 | Check for kinks | Ensure smooth flow |
Taking time with these steps can make all the difference in ensuring a seamless and efficient cleaning experience. Trust me, a little patience now will save you from headaches later on.
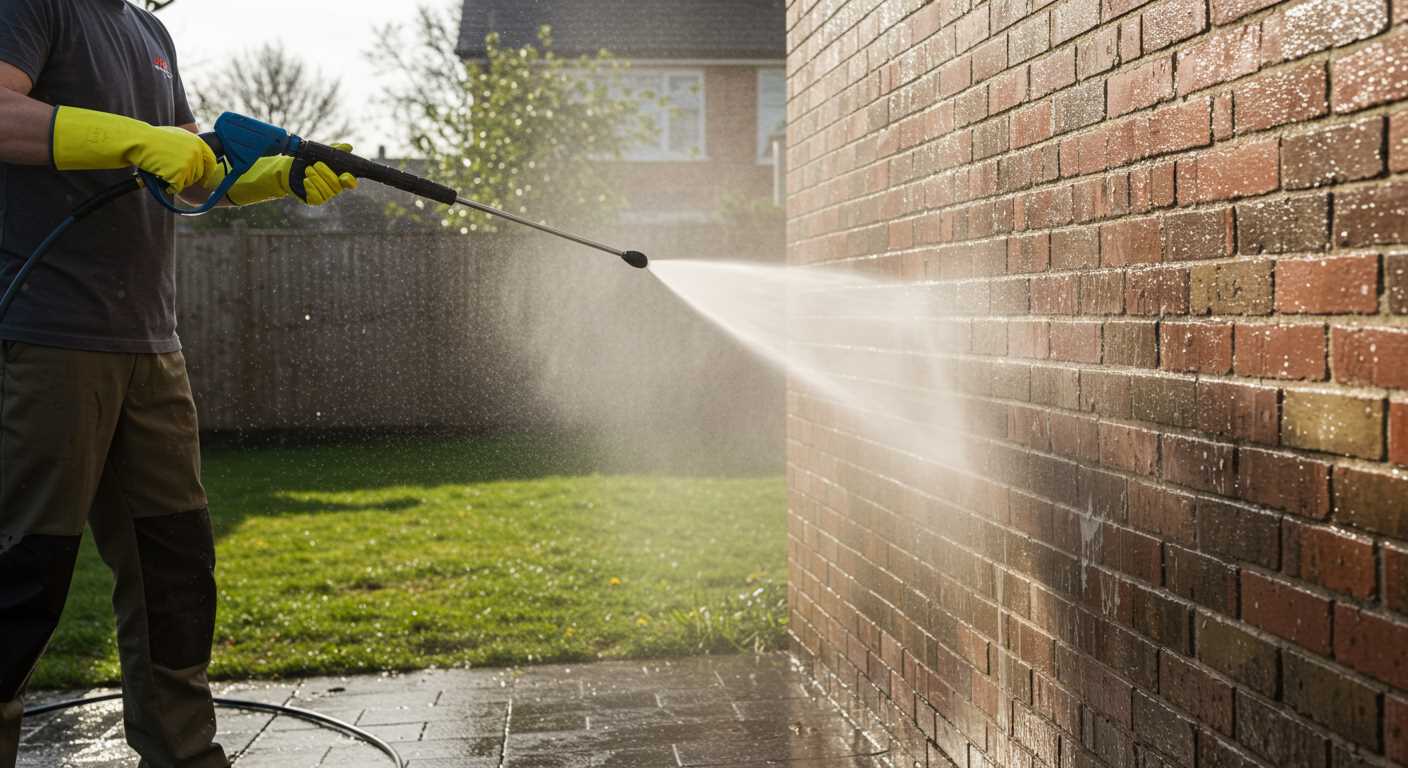
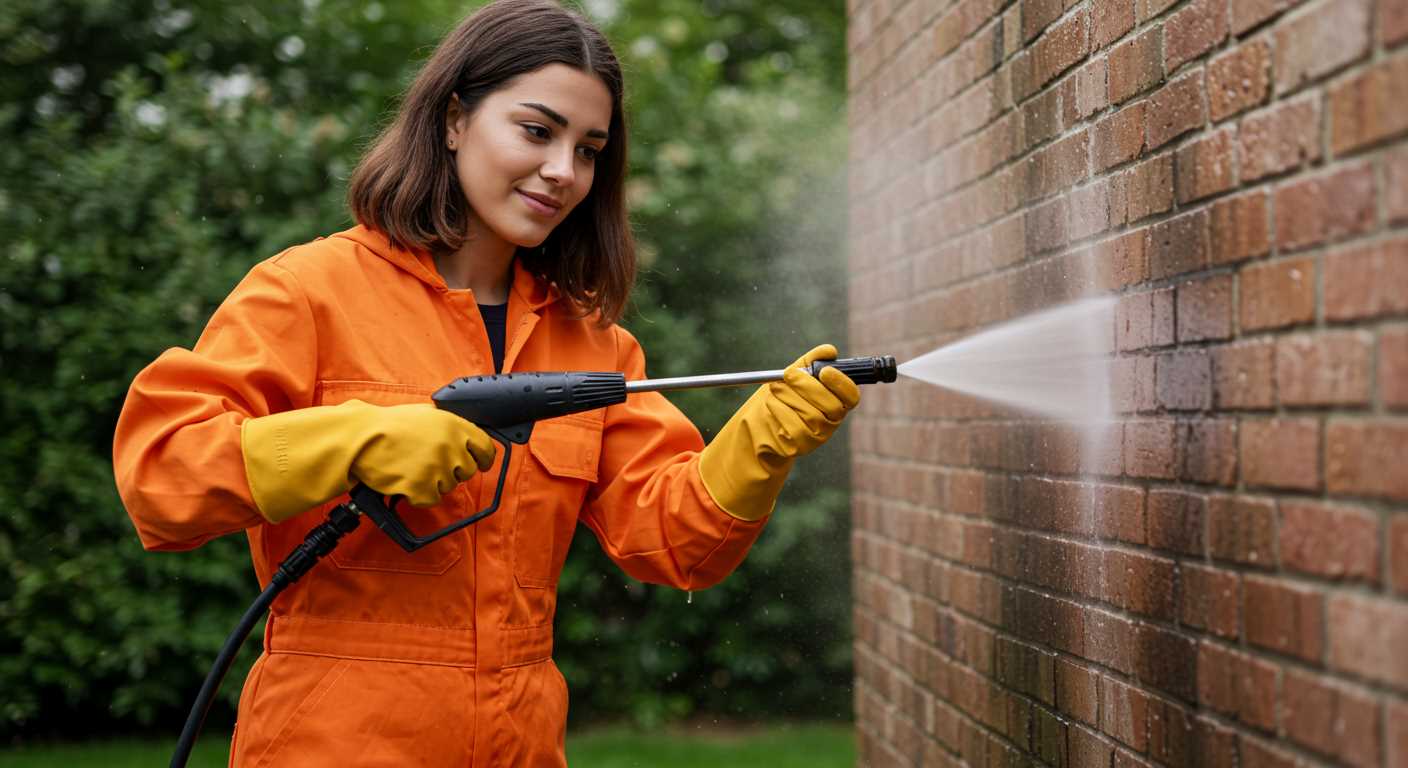
Checking for Leaks After Attachment
After securing the connection, the first step is to turn on the unit and observe for any signs of leaking. Start with a low-pressure setting to minimise any potential water spray. Pay close attention to the area where the pipe connects to the machine as well as at the nozzle. These are common points of failure.
Using a clean cloth, wipe around the connection points to check for moisture accumulation. If you detect water pooling or dripping, it indicates a poor seal. In my experience, a simple tightening of the connection often resolves minor leaks, but be cautious not to overtighten as this can damage the fittings.
If you notice persistent leaks, examine the rubber O-ring or seal, as wear and tear can lead to issues. Replacement of these parts is generally straightforward and can significantly improve the integrity of the connection. I remember one time, I overlooked a worn seal, thinking it would hold. The result was a messy situation and a delay in my cleaning tasks.
For additional assurance, after you’ve checked for leaks, leave the unit running for a few minutes while keeping an eye on the connections. This allows you to catch any slow leaks that may not be immediately apparent. If everything looks dry after this test, you’re good to go.
Storing the Hose Safely
Always coil the tubing neatly after use. This prevents kinks and damage that could lead to leaks. The best method is to create a figure-eight pattern while wrapping it. This technique allows the material to retain its shape and keeps it manageable for future use.
Choosing the Right Storage Location

Select a dry, cool area for storage. Avoid damp places, as moisture can promote mould growth and degrade the materials. A garage or shed is ideal, but make sure it’s well-ventilated. If possible, mount a storage reel on the wall to keep the line off the ground, reducing the risk of dirt and debris accumulation.
Maintaining the Tubing Condition
Inspect the tubing regularly for signs of wear, such as cracks or frays. Address any damage immediately to prevent further issues. A simple wipe-down with a soft cloth can remove any accumulated grime, ensuring it remains in good condition. Also, consider storing it away from direct sunlight, which can cause the materials to deteriorate over time.
Maintaining the Hose for Longevity
Regular upkeep of your cleaning equipment’s tubing is key to its lifespan. Start by rinsing it after each use to remove detergent or dirt residues. This simple action can prevent blockages and wear. Make it a habit to inspect for any signs of wear or damage, such as cracks or kinks, during each cleaning session.
Storing the tubing correctly is just as important. Avoid leaving it exposed to direct sunlight or extreme temperatures, as these can degrade the material over time. Instead, coil it neatly and keep it in a shaded, dry area. A dedicated storage container or a hook on the wall works wonders for keeping it tidy.
When not in use, do not leave the tubing under pressure. This can lead to premature failure. Instead, release the pressure by pulling the trigger on the gun. Additionally, consider using a protective sleeve or wrap to shield it from abrasions and impacts, especially if it is stored near other equipment.
For a thorough clean, periodically use a mild detergent designed for cleaning equipment. This will help maintain its integrity and appearance. After cleaning, ensure it is fully dried before storage to prevent mould and mildew growth.
To extend the life even further, invest in a quality protective cover for your cleaning unit and its components. This will shield everything from dust and debris, especially if stored in a garage or shed. If you’re operating a business, a robust model can make a significant difference; check out this pressure washer for pressure washing business guide to find suitable options.
| Maintenance Tip | Description |
|---|---|
| Rinse After Use | Removes residues that can cause blockages. |
| Inspect Regularly | Look for signs of wear or damage. |
| Proper Storage | Keep in a shaded, dry place to avoid degradation. |
| Release Pressure | Prevent premature failure by releasing pressure after use. |
| Clean Periodically | Use mild detergent to maintain integrity and appearance. |
| Use Protective Cover | Shield from dust and debris during storage. |
.jpg)


