


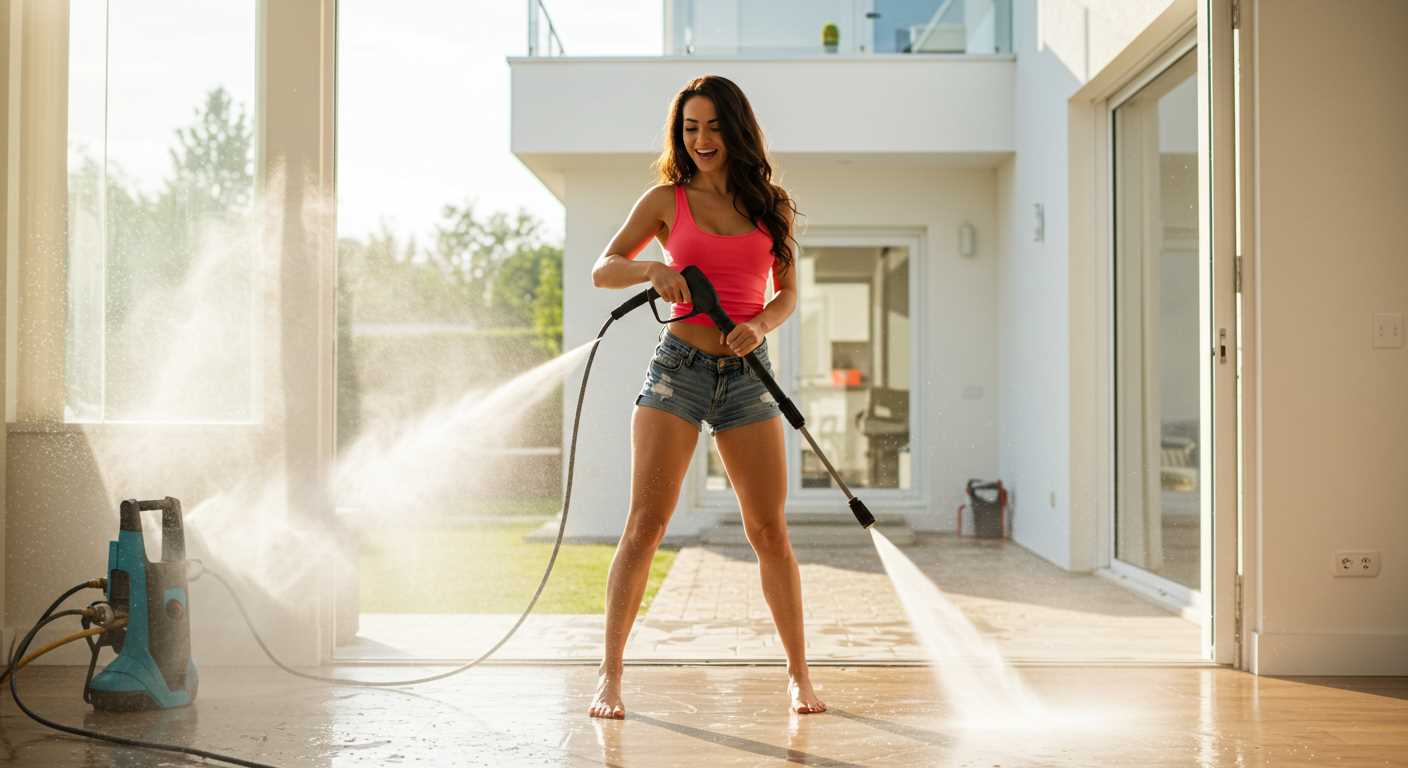
Begin with a firm grip on the connector. Align it with the inlet on the cleaner’s body. A quick twist should secure the connection, ensuring no leaks occur during use. It’s a straightforward task, yet one that can cause frustration if not done correctly.
Once the connector is in place, turn on your water source to check for any drips. A steady flow is key. If you notice any escaping water, it’s likely that the fitting wasn’t tightened enough. A simple adjustment can save you from a mess later.
I’ve encountered many users who overlook the importance of a good seal. In my early days in the industry, I often faced issues stemming from loose connections. A tight fit not only prevents leaks but also optimises performance. Trust me; a little attention here goes a long way.
Keep an eye on the filter screen within the inlet. Regularly cleaning it will prevent debris from clogging the system. I’ve seen many machines falter due to neglecting this simple step. A clean filter allows for maximum water flow, enhancing the cleaning efficiency.
Lastly, ensure the hose isn’t kinked or twisted. A clear path for water is essential for smooth operation. I recall a project where a simple kink led to reduced pressure and longer cleaning times. Adjust your setup for the best results, and you’ll notice the difference immediately.
Connecting the Water Supply to Your Cleaning Equipment
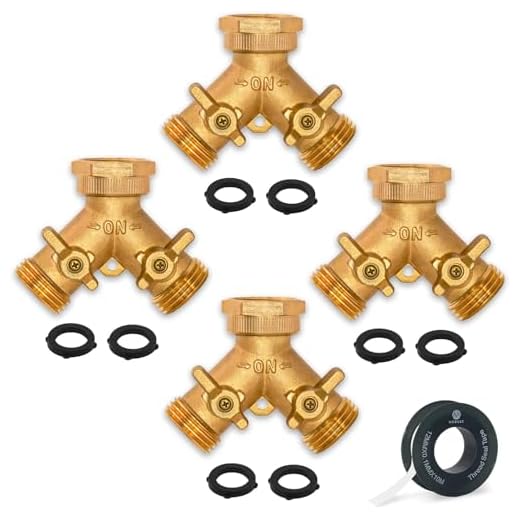
To ensure an optimal experience, begin by selecting the right connector for your water supply. Most models come with a standard garden tap connector. If you have the correct fitting, simply screw it onto the water inlet of your cleaning device.
Preparation Steps
- Check the water source: Ensure that your tap is in good working condition and free from leaks.
- Inspect the connector: Look for any signs of wear or damage. Replace it if necessary.
- Gather tools: You might need a wrench for a tighter seal.
Connection Process
- Align the connector with the inlet on the unit.
- Twist the connector in a clockwise direction until secure. Use a wrench if you need extra leverage, but avoid overtightening.
- Turn on the water to check for leaks. If any are present, tighten the connection slightly.
Once everything is secured, you’re ready to power on your equipment and begin your cleaning tasks. Remember, regular maintenance of your connections can prevent issues in the future.
Choosing the Right Hose Pipe for Your Karcher Model
For optimal performance, selecting a compatible water delivery line is essential. Each model has specific requirements that should be met for smooth operation. I recall a time when I overlooked these details; it led to frustrating leaks and reduced efficiency during a thorough clean-up. Here’s what I learned.
Start by checking the model specifications. Most manufacturers provide detailed guidelines on compatible accessories. It’s crucial to ensure the diameter and length meet your needs. A narrower diameter can restrict flow, while excessive length can reduce pressure at the nozzle. Aim for a balance that complements your cleaning tasks.
Next, consider the material. Reinforced rubber options are durable and resistant to wear, while PVC models are lightweight and easier to handle. Each has its advantages, depending on the frequency of use and storage conditions. For regular users, I strongly recommend investing in a robust alternative that can withstand regular wear and tear.
Don’t forget about fittings. Look for quick-connect systems that simplify setup. I’ve had my fair share of struggles with incompatible connectors, wasting valuable time during projects. A reliable connection saves hassle and ensures consistent performance.
| Model | Recommended Diameter | Material Type | Length |
|---|---|---|---|
| K2 Series | 1/4 inch | Reinforced Rubber | 10-15 metres |
| K3 Series | 3/8 inch | PVC | 15-20 metres |
| K5 Series | 3/8 inch | Reinforced Rubber | 20-30 metres |
| K7 Series | 3/8 inch | Reinforced Rubber | 30 metres |
Finally, think about the nozzle you’ll be using. Different tasks require different attachments. For instance, if you’re cleaning siding, a specialized pressure washer nozzle for siding can enhance cleaning efficiency significantly. Choosing the right combination of accessories can make all the difference in achieving optimal results.
Take the time to research and select the right water delivery line for your machine. Your cleaning tasks will be more efficient, and you’ll save yourself from unnecessary frustration in the future.
Understanding Hose Connection Types on Karcher Pressure Washers
Recognising the various connection types is essential for seamless integration and optimal performance. Karcher devices typically come with two main connection styles: the quick connect and the screw-type fittings.
- Quick Connect: This is the most common type, allowing for a swift and tool-free engagement. Simply push the connector into the socket until you hear a click. I remember using this feature on my first model; it saved me a lot of time during setup.
- Screw-Type Fittings: These require threading the connector onto the inlet. While this method can be more secure, it does take a bit longer. I often recommend this for users who operate their machines frequently, as it ensures a tighter seal over time.
Additionally, compatibility varies across models. Always check the specifications for your particular unit to avoid mismatches. During my tenure, I encountered numerous customers who mistakenly purchased fittings that didn’t align with their model, leading to frustrating delays.
Adapters are available for those who need to connect different styles. These can be quite handy, especially if you decide to upgrade your equipment or use attachments from other brands.
Keep in mind the diameter of the connectors as well. A mismatch can lead to reduced water flow and decreased cleaning efficiency. I once had a client who faced this issue and was unaware that the reduced performance was due to an incorrect diameter fitting.
In summary, understanding the connection types ensures you can optimise your cleaning tasks without complications. Making informed choices about fittings will save you time and enhance the effectiveness of your cleaning tasks.
Preparing Your Karcher Pressure Washer for Hose Attachment
Ensure the machine is turned off and unplugged. This simple step avoids any accidental activation while you’re working. I always double-check this before proceeding; it’s a habit that has saved me from minor mishaps.
Next, inspect the connection point for any debris or damage. A clean surface guarantees a secure fit, which I’ve learned the hard way. Once, I neglected this step, and the spray was weak due to a poor connection. A quick wipe with a cloth can make a significant difference.
Fill the water tank or connect it to a water supply, ensuring that there’s adequate flow. I remember a time when I rushed this part, only to find the water supply was insufficient, leading to frustrating interruptions. Always verify that the water source is ready to go.
If your model has a filter, check its condition. A clogged filter can restrict water flow and impact performance. I’ve encountered this issue before; a simple clean can restore optimal function and prolong the lifespan of the equipment.
Have your fittings handy and make sure they are compatible with your specific model. Over the years, I’ve accumulated various fittings, and using the wrong one has resulted in leaks or less than optimal performance. A quick compatibility check saves time and frustration.
Lastly, review the user manual for any model-specific requirements. I often refer back to mine, as it contains valuable tips that can enhance the experience. Being prepared with the right information sets the stage for a smooth operation.
Step-by-Step Guide to Connecting the Hose Pipe
Begin with the quick examination of the connectors on both the cleaning unit and the flexible line. Ensure there are no obstructions or debris that could hinder a proper fit.
1. Prepare the Equipment
- Unplug the cleaning machine from the mains.
- Check that the water supply is available and turned off.
- Inspect the connector on the flexible line for wear or damage.
2. Connect to the Machine
- Align the connector of the flexible line with the inlet on the equipment.
- Push the connector firmly into place until you hear a click, indicating a secure fit.
- If necessary, twist the connector to ensure it is locked in.
After securing the connection, turn on the water supply and check for any leaks around the joint. If everything is sealed correctly, plug the unit back in. It’s a good practice to run the machine briefly to ensure that it operates smoothly and efficiently.
Checking for Proper Seals and Connections
Inspecting seals and connections is fundamental for optimal performance. Any leaks can lead to reduced efficiency or equipment damage. I recall a time when I neglected this step and faced significant water loss, which impacted my cleaning tasks. Here’s how to ensure everything is tight and functional.
Visual Inspection
Begin with a thorough visual check of all attachment points. Look for signs of wear, cracks, or foreign debris. Even small particles can compromise the effectiveness of the seal. Pay particular attention to the O-rings; these rubber components are crucial in maintaining a tight fit. I often replace them preemptively if they show signs of aging.
Testing for Leaks
Once everything looks good, run a simple test. Connect your equipment and turn on the water supply without engaging the motor. Watch closely for any drips or sprays around the connections. If you spot any, tighten the fittings carefully. In my experience, a snug fit usually does the trick. If problems persist, consider replacing the affected parts.
| Component | Common Issues | Solution |
|---|---|---|
| O-rings | Cracks or deformation | Replace immediately |
| Fittings | Looseness | Tighten securely |
| Hoses | Pinholes or kinks | Replace or straighten out |
Maintaining proper seals not only prolongs the life of your equipment but also enhances cleaning efficacy. For those interested in maintaining a clean environment, consider investing in the best air scrubber for grow room to complement your cleaning setup. I’ve found that a comprehensive approach leads to the best results.
Testing the Connection for Leaks
After completing the setup, checking for leaks is a critical step. A simple yet effective method involves running the unit briefly. Observe any water escaping from the connections; even a small drip indicates a potential issue. If you spot a leak, turn off the machine immediately and reassess your connections.
Using a Cloth for Detection
For a more thorough examination, take a dry cloth and wipe around the joints. This helps identify any moisture that may be forming. A telltale sign of a leak is dampness on the cloth after running the unit. If you notice this, you’ll need to tighten the fittings or replace any worn seals.
Pressure Testing
If you want to be extra cautious, consider performing a pressure test. Attach the unit to a water supply, then turn on the power without engaging the trigger. This will allow the machine to build pressure. Watch closely for any leaks during this phase. If everything holds tight, you’re ready to get to work!
Maintenance Tips for Your Hose and Pressure Washer
Regularly inspect for signs of wear and tear. I once had a colleague who neglected this and ended up with a significant leak during an important cleaning job. Check for cracks, bulges, or fraying. Replace any damaged sections immediately to avoid further issues.
Store your equipment properly. I learned the hard way that coiling hoses without care can lead to kinks and twists. Always coil them loosely and store them in a shaded area to protect from UV damage. This simple step can extend the lifespan of both your cleaning tool and the connecting accessories.
Flush your system after use. After completing a task, I always run clean water through the unit to prevent debris build-up. This practice prevents blockages and keeps everything functioning smoothly. It only takes a few minutes but saves a lot of hassle later.
Pay attention to the water quality. Using hard water can cause mineral deposits that clog the system. I recommend using filtered water or, if possible, a water softener. This small adjustment can enhance performance and reduce maintenance needs over time.
Keep the connectors clean. I often wipe them down after use to remove any dirt or grime that can hinder a proper seal. A clean connection not only improves performance but also reduces the risk of leaks. It’s a quick task that pays off remarkably.
Regularly check for proper pressure settings. I remember a situation where I was using too high a pressure for a delicate surface, which led to damage. Always ensure you adjust settings according to the materials being cleaned to avoid unnecessary wear on both the surfaces and your equipment.
Lastly, consult the manual for specific maintenance routines. Each model may have unique requirements. I’ve seen many users overlook this, leading to preventable issues. Following the manufacturer’s guidelines will ensure longevity and optimal performance.
Common Issues When Connecting Tubes and How to Fix Them
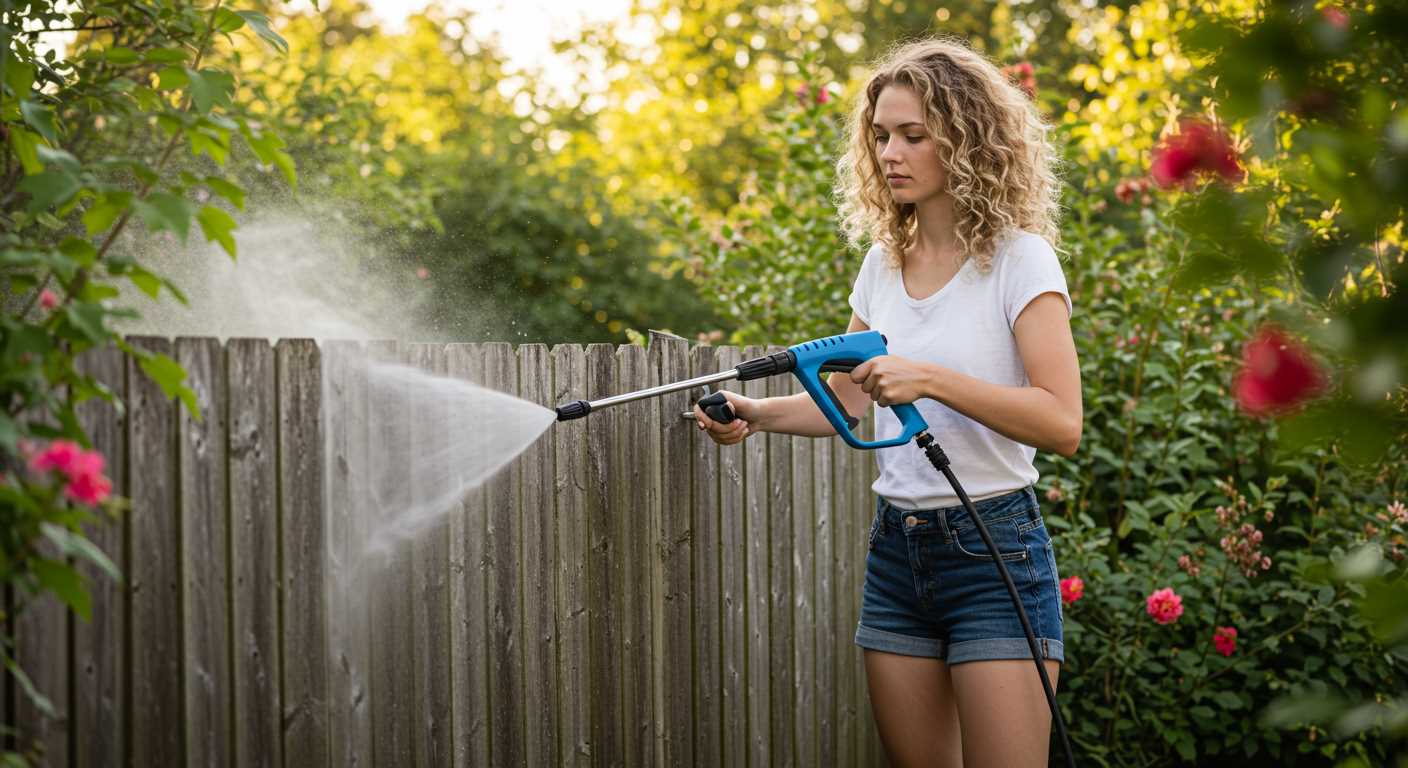
One frequent problem I encounter is the inability to achieve a secure fit. This often results from debris or foreign objects lodged in the connector. I recommend inspecting both the nozzle and the connector for any obstructions. A quick clean with a cloth usually resolves the issue.
Another issue is misalignment of the connections. If you notice any resistance while securing the components, it’s likely they’re not aligned correctly. Take a moment to adjust their position; sometimes a slight twist is all it takes for a proper fit.
Leaking connections can be a nuisance. In my experience, this often stems from worn-out seals. Regularly replacing these seals can prevent leaks and ensure optimal performance. If you notice a drip, check the O-rings for wear and replace them if necessary.
Sometimes, the materials of the attachments don’t mesh well. It’s essential to ensure compatibility between the components. If you’re using an aftermarket connector, verify that it matches the specifications of your equipment. Returning to original parts can often save time and hassle.
Lastly, pressure fluctuations during operation can indicate an issue with the connection. If you experience inconsistent pressure, check for air leaks in the fittings. Ensuring all connections are tight can resolve this problem. If the issue persists, inspect the entire system for cracks or damage.
Upgrading Your Hose for Enhanced Performance
Investing in a high-quality replacement for your water delivery line can significantly improve the performance of your cleaning equipment. During my years in the industry, I’ve seen how a simple upgrade can lead to better flow rates and pressure. Opt for a reinforced model that can withstand higher pressures and is resistant to kinks and abrasions. This not only enhances durability but also ensures consistent water supply during operation.
Choosing the Right Specifications
Pay attention to the diameter of the replacement line. A wider diameter can facilitate a greater volume of water, making tasks quicker and more efficient. For instance, a 3/8-inch diameter line is often more effective for heavy-duty tasks compared to a standard 1/4-inch model. Additionally, consider the length; while longer lines provide flexibility, they can also lead to pressure loss if excessively long. Finding the right balance is key.
Material Matters
Choosing the right material can also impact performance. PVC and rubber are common options, but rubber tends to be more durable and resistant to wear over time. I remember switching to a rubber variant years ago, and the difference was noticeable. It held up against various environmental conditions and was less prone to leaks, which saved time and hassle during cleaning sessions.

.jpg)


