


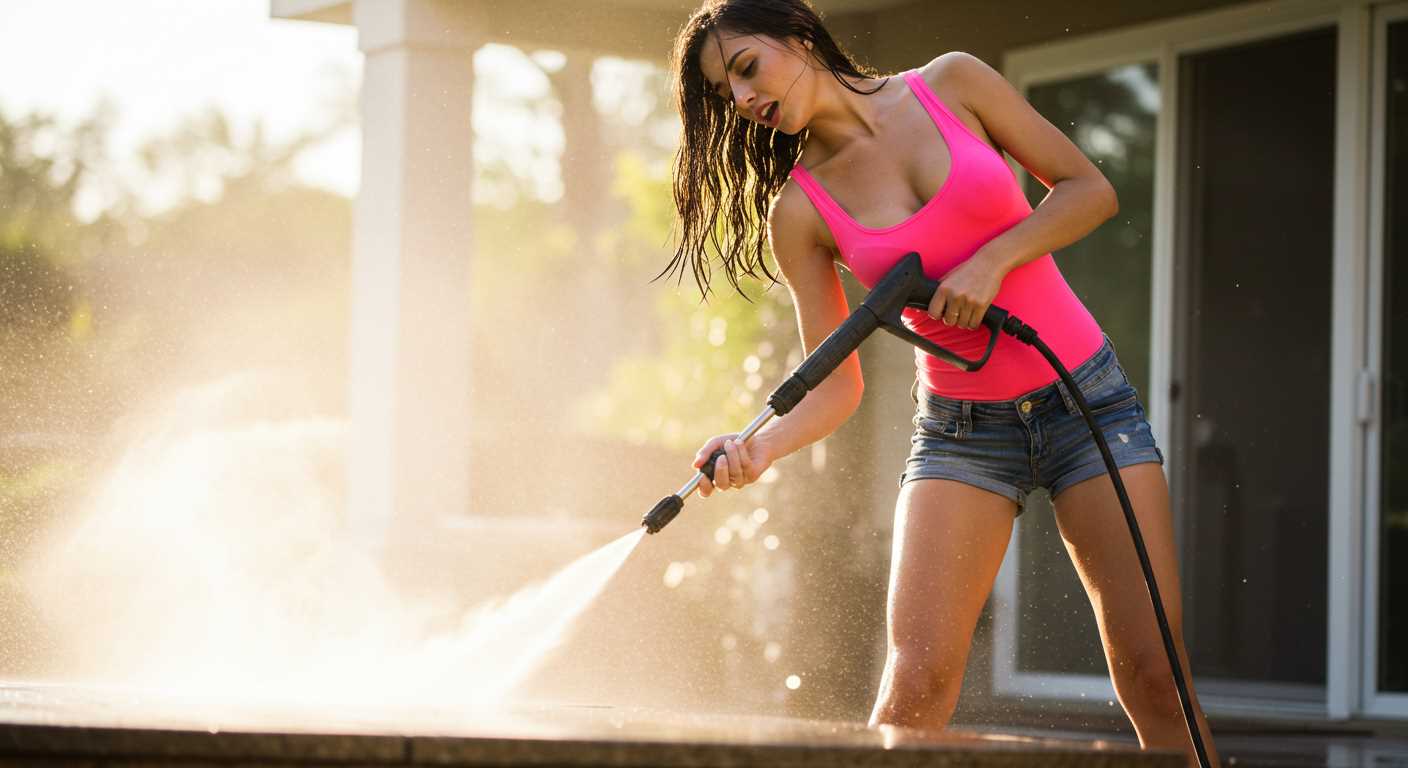
First off, grab your garden supply line and inspect both ends. Ensure there are no cracks or leaks; a tight seal is key. You don’t want to deal with water spraying everywhere but where you need it. Once you’ve confirmed the integrity of your line, find the inlet on your cleaning unit–it’s usually located at the rear or side, marked clearly for convenience.
Next, align the connector of your supply line with the inlet. You should feel it slide into place without much resistance. If there’s a threaded fitting, twist it clockwise until it’s secure. Remember, over-tightening can damage the threads, so just a snug fit will suffice. If your model requires a quick-connect system, simply push the connector until you hear a click, indicating it’s locked in.
Once connected, turn on the water supply slowly. Keep an eye on the joint for any leaks; if you see any moisture, reassess the connection. If everything looks good, you’re ready to power on your cleaning machine. A few moments of setup lead to a much easier cleaning experience, so take your time to ensure everything is properly secured.
Connecting the Water Supply to Your Titan Cleaning Unit
First, ensure the water inlet on your equipment is clean and free from debris. A blocked inlet can cause performance issues. Grab the standard garden connector and align it with the inlet fitting. Turn clockwise until it’s snug. Avoid overtightening, as this can damage the threads.
Next, take your water supply line and check for any leaks. It’s wise to inspect the line for cracks or wear before use. Attach the other end to your tap, making sure it’s secure. If you’re using an extension, ensure it’s rated for pressure applications.
If your model includes a quick-connect option, insert the connector into the fitting until you hear a click. This signifies a secure lock. To detach, simply press the release button and pull out gently.
After connecting, turn on the water supply and check for any leaks at both connection points. If you spot any, tighten the fittings slightly. Once everything is secure, you can proceed with the operation of your device.
In my experience, ensuring a proper connection not only enhances performance but also prolongs the life of the unit. I once overlooked a small leak, thinking it wouldn’t matter, and ended up with a damaged component that required costly repairs. So, take a moment to verify each connection before starting your work.
Selecting the Right Hose for Your Titan Pressure Washer
For optimal performance, choose a high-quality, durable conduit that can withstand the demands of your cleaning tasks. I recommend opting for a reinforced type that provides resistance against kinks and abrasions. This will enhance longevity and ensure consistent water flow.
Diameter Matters
The diameter of the conduit is critical. A wider diameter allows for greater water flow, which can significantly improve cleaning efficiency. If you’re tackling larger surfaces or tough grime, a 3/8-inch diameter often works best. For lighter tasks, a 1/4-inch can suffice. Make sure to match the diameter with your equipment specifications to avoid any compatibility issues.
Length Considerations
Consider the length you need based on your workspace. Longer lengths provide flexibility but can lead to decreased pressure. I’ve found that a 25-foot length works well for most residential tasks, while 50 feet is ideal for larger areas. Just ensure that it doesn’t exceed the maximum length recommended by your machine’s manufacturer.
Finally, don’t forget to check the fittings. They should be compatible with your existing connections to prevent leaks. If you’re interested in improving your skills further, take a look at this guide on painting douglas fir correctly. It’s a handy resource for mastering various techniques that complement your cleaning efforts.
Preparing the Pressure Washer for Hose Attachment


Ensure the unit is powered off and unplugged. This is crucial for safety, as any accidental activation can lead to injury or damage. Always check the water source; it should be clean and free from debris to prevent clogging.
Next, inspect the connectors on both the machine and your flexible line. Look for any signs of wear, such as cracks or rust. If any damage is present, replace the parts before proceeding to avoid leaks.
Before connecting, make certain that the water inlet filter is clean. Remove the filter and rinse it under running water to eliminate any trapped particles. This small step can significantly enhance performance.
- Check the power supply and ensure it is suitable for the equipment.
- Inspect the entire length of your flexible line for kinks or cuts.
- Ensure the fittings are compatible with your model.
Finally, ensure that all valves are closed. This prevents any water from flowing until you are ready to commence work. Following these guidelines sets the stage for a seamless experience when connecting your flexible line.
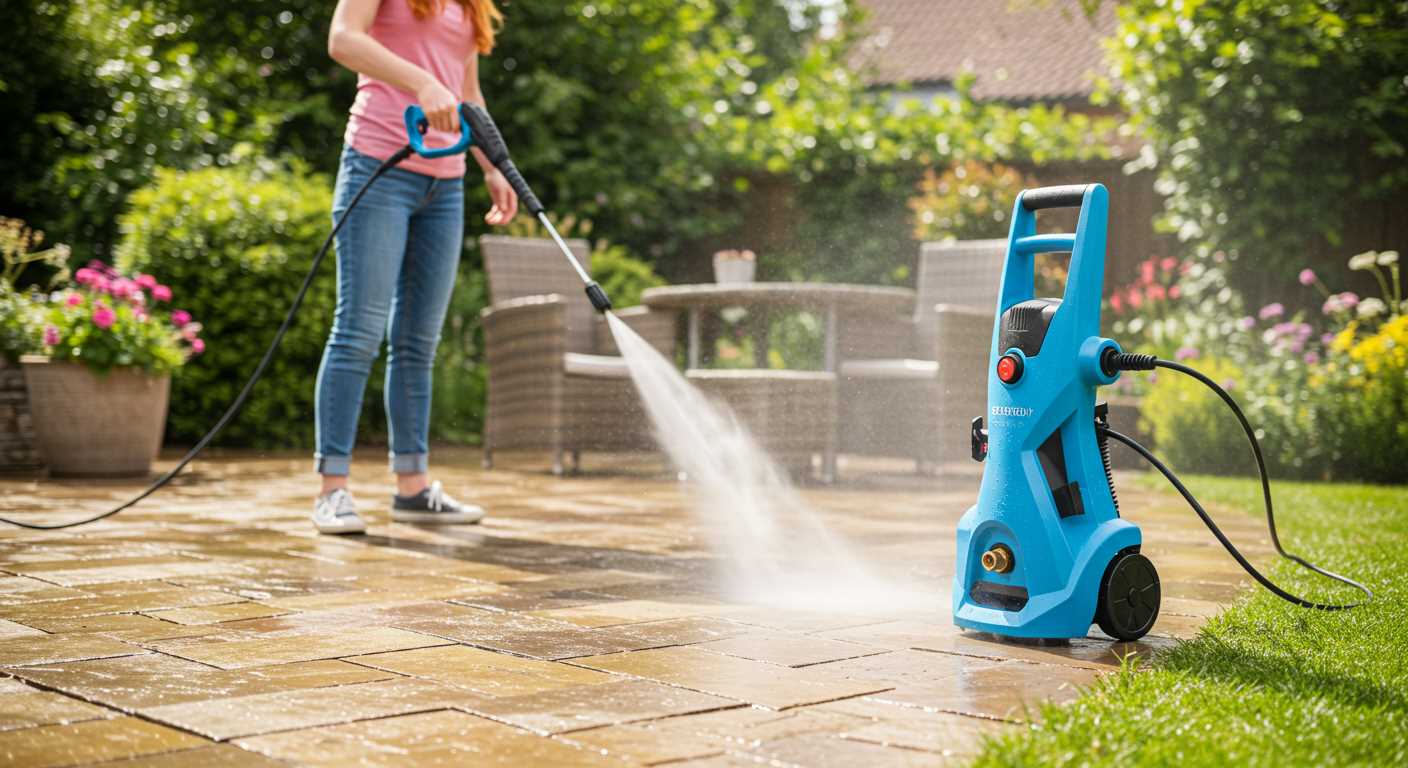
Connecting the Hose to the Water Inlet
To ensure a seamless connection, start by locating the water inlet on your equipment. It’s usually situated at the rear or side of the unit. Take the end of your water supply line and inspect the fitting; it should match the inlet’s size and thread type.
Firmly screw the fitting into the inlet, turning it clockwise until it’s snug. Avoid overtightening, as this can damage the threads. A common trick is to use plumbing tape on the threads for an added seal, preventing any leaks during operation.
I remember the first time I set up my own device. I was too eager and rushed the connection, which resulted in a frustrating water leak. Learning to take my time and ensuring everything was connected properly made all the difference for future uses.
Once secured, turn on the water supply and check for leaks. If you notice any, reassess the connection and adjust accordingly. Proper connection not only optimises performance but also prolongs the lifespan of the device.
For those considering different models, you might want to check out the best portable pressure washers. They often come with user-friendly instructions that simplify this process even further.
Always remember to disconnect the water line after use to prevent any build-up or damage. A little maintenance goes a long way in ensuring your equipment is ready for the next job.
Securing the Hose to Prevent Leaks
To ensure a solid connection and prevent water leaks, always use quality fittings that match your equipment. I’ve seen too many users struggle with cheap connectors that fail under pressure. Invest in a robust, reliable connector to avoid frustrations during your cleaning tasks.
Before securing, inspect both the connector and the inlet for debris or damage. A clean surface makes a significant difference. I once overlooked a tiny piece of dirt, and it led to a frustrating leak mid-cleaning session. Wipe down both surfaces with a cloth to ensure a tight fit.
When joining the components, hand-tighten the connectors. Using tools can cause over-tightening, which may damage the threads. I learned this the hard way, breaking a fitting that had to be replaced. Just snug them enough to create a seal without excessive force.
After the connection is made, run the unit briefly to check for leaks. If you notice any drips, turn off the machine and recheck the fittings. It’s a quick step that can save you from larger issues later on.
| Tip | Description |
|---|---|
| Quality Connectors | Use durable, compatible connectors to avoid leaks. |
| Inspect Before Use | Check for debris or damage on connectors and inlets. |
| Hand-Tighten | Tighten connections by hand to prevent over-tightening. |
| Leak Check | Run the machine briefly to identify any leaks. |
Following these steps will significantly reduce the chances of leaks and make your cleaning experience smoother. Taking the time to secure your connections properly can make all the difference in achieving great results without interruptions.
Testing the Connection for Proper Functionality
After securing the flexible tubing to the machine, it’s time to verify its performance. Begin by turning on the water supply and checking for leaks at the junction points. If you notice any drips or moisture, this indicates a need for adjustment or replacement of the sealing materials.
Powering Up the Equipment
With the water running smoothly, switch on the motor. Observe the flow and pressure of the liquid emerging from the nozzle. A steady, strong stream is what you’re aiming for. If the output appears weak or inconsistent, there may be an issue with the connection or the internal components of the device.
Conducting a Quick Test
For a more thorough examination, you can perform a brief cleaning test. Use the device on a small surface, such as a patio slab or a vehicle. Pay attention to how the equipment responds. If it struggles to remove dirt or grime effectively, recheck the connections and the water supply. Ensuring everything is correctly set up allows for optimal performance during your cleaning tasks.
Maintaining the Hose for Longevity and Performance
Regular upkeep is the key to ensuring your cleaning accessory lasts and operates at its peak. Here are some straightforward tips I’ve picked up over the years:
- Storage Practices: Always store the tubing in a cool, dry place away from direct sunlight. UV rays can cause degradation over time. A simple reel or hook can keep it tidy and prevent kinks.
- Routine Inspections: Frequently check for signs of wear, such as cracks or bulges. Addressing small issues promptly can prevent larger problems down the line.
- Cleaning the Outlet: After each use, clean the nozzle and connection points. Debris can clog these areas and affect performance. A quick wipe with a damp cloth does wonders.
- Winter Care: If you live in a colder climate, ensure any leftover water is drained before storing. Ice can cause serious damage to the material.
- Avoiding Sharp Edges: Keep the tubing away from sharp tools or edges during storage or use. This simple habit can prevent accidental punctures.
Over the years, I’ve seen hoses fail due to neglect. A colleague once had to replace an entire unit simply because he didn’t take the time to check for wear and tear. It’s a small effort that yields significant benefits in the long run.
Lastly, don’t forget to refer to the manufacturer’s guidelines for specific maintenance recommendations. Each model may have unique requirements that can enhance its lifespan and performance.
.jpg)


