


First things first: align the release collar on your cleaning tool with the nozzle opening. A simple push should secure everything in place, ensuring a snug fit. This step is crucial; any misalignment can lead to leaks or reduced performance. I’ve seen too many units fail simply because users overlooked this detail.
Next, twist the collar to lock it in. It’s a straightforward motion, but don’t rush it. I’ve often found that taking a moment to ensure a firm connection can save a lot of hassle later on. When I first started working with these machines, I made the mistake of not double-checking the fit. The result? A mess and a need for extra cleaning.

After securing the connection, give it a gentle tug. This quick test guarantees that the components are firmly joined. I remember a time when I skipped this step during a demonstration. The wand slipped out mid-use, and let’s just say, the audience had a good laugh, but I learned my lesson well. Always ensure everything is locked tightly before you start your project.
Finally, check the seals and o-rings for any debris or damage. Even a small piece of dirt can disrupt the flow and could cause issues. I can’t stress enough how often I’ve had to troubleshoot a problem that stemmed from something as minor as a dirty seal. Regular maintenance goes a long way in extending the life of your equipment.
Attaching the Lance
Begin by ensuring your equipment is powered off and disconnected from any source of electricity or water. Safety first! Next, locate the connection point on the machine where the lance will be secured. This is usually a quick-release or threaded fitting designed for easy assembly.
Align the lance with the fitting, making sure the grooves or notches on both components match. For a quick-release mechanism, simply push the lance firmly into the connector until you hear a click. If it’s a threaded connection, twist the lance clockwise until it feels snug. Avoid overtightening, as this can cause damage.
If your model includes an O-ring, check it for wear and tear before proceeding. A worn O-ring can lead to leaks. Replace it if necessary before securing the lance. After the lance is in place, give it a gentle tug to ensure it’s securely fastened.
To verify everything is set up correctly, turn on the water supply and the machine. Test the connection by activating the trigger briefly, watching for any signs of leaks. If everything looks good, you’re ready to start cleaning!
| Step | Details |
|---|---|
| 1 | Ensure the device is powered off and disconnected. |
| 2 | Locate the connection point for the lance. |
| 3 | Align the lance properly with the fitting. |
| 4 | Push or twist the lance into place securely. |
| 5 | Check and replace the O-ring if needed. |
| 6 | Test for leaks after turning on water and power. |
Gather Necessary Tools and Equipment
First, ensure you have a reliable pair of work gloves. They provide grip and protect your hands from any sharp edges or debris while working. A sturdy pair of gloves is often overlooked but can make a significant difference in comfort and safety.
A set of safety goggles is another must-have. High-pressure streams can propel dirt and grime at high speeds, and you don’t want anything getting in your eyes. I’ve had a few close calls where goggles saved me from potential injury.
Additional Items
Next, a flat, stable surface to operate on will prevent any accidents. If you’re using a ladder or extension, ensure it’s secure and positioned correctly. I once saw a colleague struggle with stability while trying to reach a high spot, and it was a lesson learned for all of us.
Finally, consider having a bucket of water and a sponge handy. It’s often useful for rinsing off any components before or after you start. It helps keep everything clean and reduces the risk of clogs. Keeping a clean workspace not only increases efficiency but also extends the life of your equipment.
Identify Compatible Wand and Nozzle Types
Choosing the right nozzle and extension for your cleaning equipment is fundamental for optimal performance. Start by identifying the specifications of your machine, particularly the inlet and outlet sizes. Most models have a quick-connect system, which simplifies compatibility checks.
Nozzle Types
- Turbo Nozzle: Produces a rotating jet for tough stains. Ideal for concrete surfaces.
- Fan Nozzle: Provides a wide spray pattern, suitable for large areas like driveways.
- Soap Nozzle: Designed for applying detergent effectively. Look for a nozzle with a lower pressure rating.
- Rotary Nozzle: Offers a concentrated spray that’s effective on grime. Useful for vehicles and outdoor furniture.
Wand Types
- Standard Wand: The basic option, usually suited for general cleaning tasks.
- Adjustable Wand: Allows for varying the spray angle. Versatile for different surfaces.
- Extension Wand: Helps reach high or distant spots. Perfect for second-storey windows.
- Trigger Gun Wand: Features a safety lock and a variable pressure setting for better control.
Consult your user manual or the manufacturer’s website for detailed compatibility guidelines. Testing different combinations may lead to discovering the most efficient setup for your specific cleaning tasks. I’ve often found that experimenting with various nozzles and extensions can yield surprising results, enhancing both effectiveness and efficiency.
Locate Attachment Points on Pressure Cleaning Equipment
To connect your cleaning tool effectively, identify the designated spots on your machine. Most models have clear indicators where components fit together. Look for a cylindrical opening or a quick-release mechanism, usually located at the front or side of the unit. These areas are designed specifically for seamless integration with your accessories.
Inspect for Locking Mechanisms
Many machines feature locking pins or tabs that secure the gear in place once inserted. Check for these features as they ensure that your equipment remains stable during use. In some cases, a simple push or twist is all it takes to secure it properly. Always ensure these mechanisms are functioning correctly before starting your task.
Check User Manual for Schematics
If uncertain, the user manual is your best friend. It typically contains diagrams detailing the connection points and any specific requirements for your model. Familiarising yourself with these illustrations can save time and prevent frustration during setup.
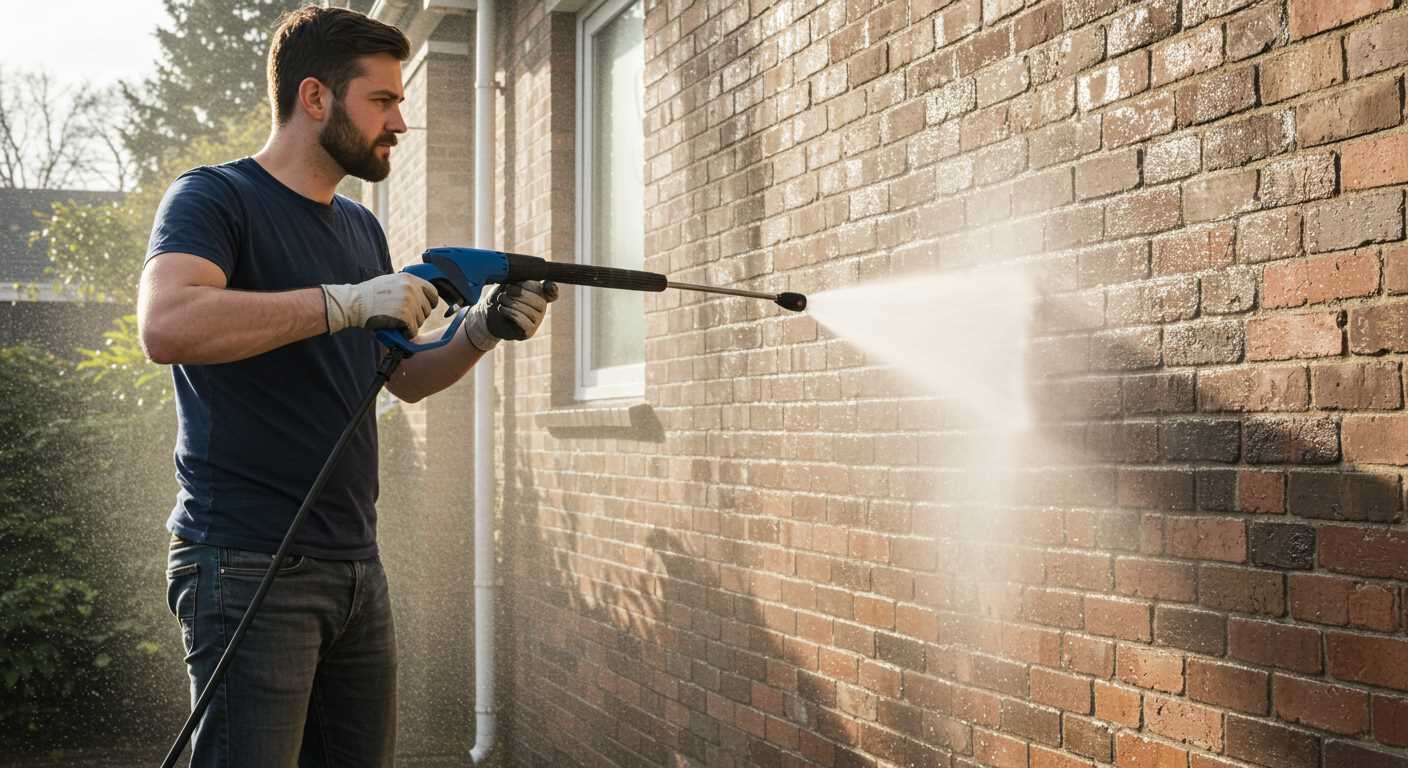
Align Wand with Pressure Washer Connection


Position the cleaning tool’s end with the connector on the unit. Ensure both parts are oriented correctly, allowing for a seamless fit. I’ve had instances where an improper alignment led to leaks or inefficient performance, which can be frustrating during a task. Take a moment to examine the shape of the connector and the corresponding part of the tool; they should complement each other precisely.
When lining them up, gently push the tool toward the connection point. You should feel it click into place. If it resists, double-check the alignment. I recall a time when I rushed this step and ended up with a spray of water in the wrong direction–definitely not the kind of cleaning I aimed for!
Once securely connected, give it a slight tug to confirm stability. If you’ve chosen the right extension and attachment, it should be snug without excessive force. This attention to detail will save you from potential mishaps later on, ensuring a smooth cleaning experience. If you’re also looking to enhance your garden tools, consider checking out the best corded garden vacuum for added versatility in your outdoor maintenance.
Securely Fasten Wand to Prevent Leaks
To ensure a watertight connection, always inspect the O-ring before securing the attachment. A worn or damaged O-ring can lead to leaks, so replacing it is a quick fix that pays off. Once you’ve confirmed the O-ring is in good condition, align the connector with the outlet, holding it steady while you twist it into place. This prevents cross-threading, which can cause future leaks.
Utilise Proper Torque
After threading the connector, apply firm but gentle pressure to tighten it. Over-tightening can damage the components, while insufficient torque may leave gaps for water to escape. I’ve learned to turn until snug, then give it a slight additional turn to ensure a secure fit. This technique has saved me from frustrating leaks during intense cleaning sessions.
Test for Leaks
Once secured, always perform a quick test. Turn on the unit and observe for any signs of leakage. If water begins to drip, carefully loosen and re-tighten to achieve a better seal. It’s a simple step, but one that can save you from water waste and messy clean-ups later on. Trust me, taking a moment for this check can make all the difference in your cleaning efficiency.

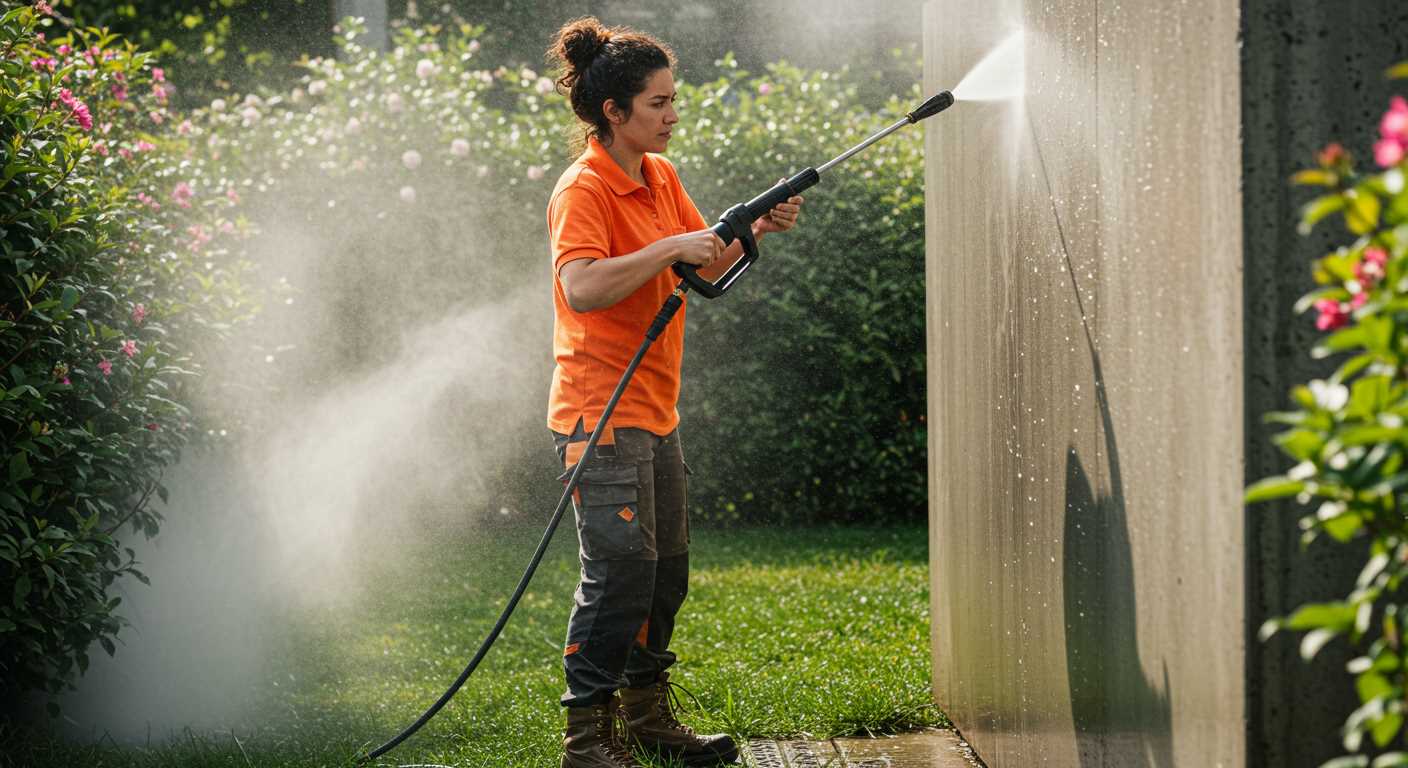
Check for Proper Fit and Stability
Before you start using your cleaning equipment, ensure a snug connection between the handle and the machine. A loose fit can lead to leaks and decreased performance. Here’s how to verify that everything is secure.
Visual Inspection
- Examine both the connector on the device and the end of the tool for any signs of wear or damage.
- Look for dirt or debris that may obstruct a proper seal. Clean the surfaces if necessary.
Physical Test
- Gently tug on the handle after securing it to check for any movement. It should not shift or feel loose.
- Operate the unit briefly at low pressure to listen for any unusual sounds or leaks, which might indicate a poor connection.
Stability is key; if the attachment feels off, recheck your steps. A secure fit ensures optimal functionality and enhances the longevity of your equipment. Trust me, a well-fitted connection saves time and effort in the long run.
Test Functionality of Your Equipment
After securing the accessories to your cleaning device, it’s time to verify everything operates correctly. Begin by connecting the hose to a water source and turning the water on. Ensure there are no leaks at the connection points. If you notice any drips, revisit the fastening process; a snug fit is key to avoiding issues.
Next, power on the machine, allowing it to build pressure. Check the nozzle by pulling the trigger. A solid stream indicates effective setup. If the spray is weak or inconsistent, double-check the compatibility of the nozzle with your model. This can often be the culprit behind poor performance. Make adjustments as necessary.
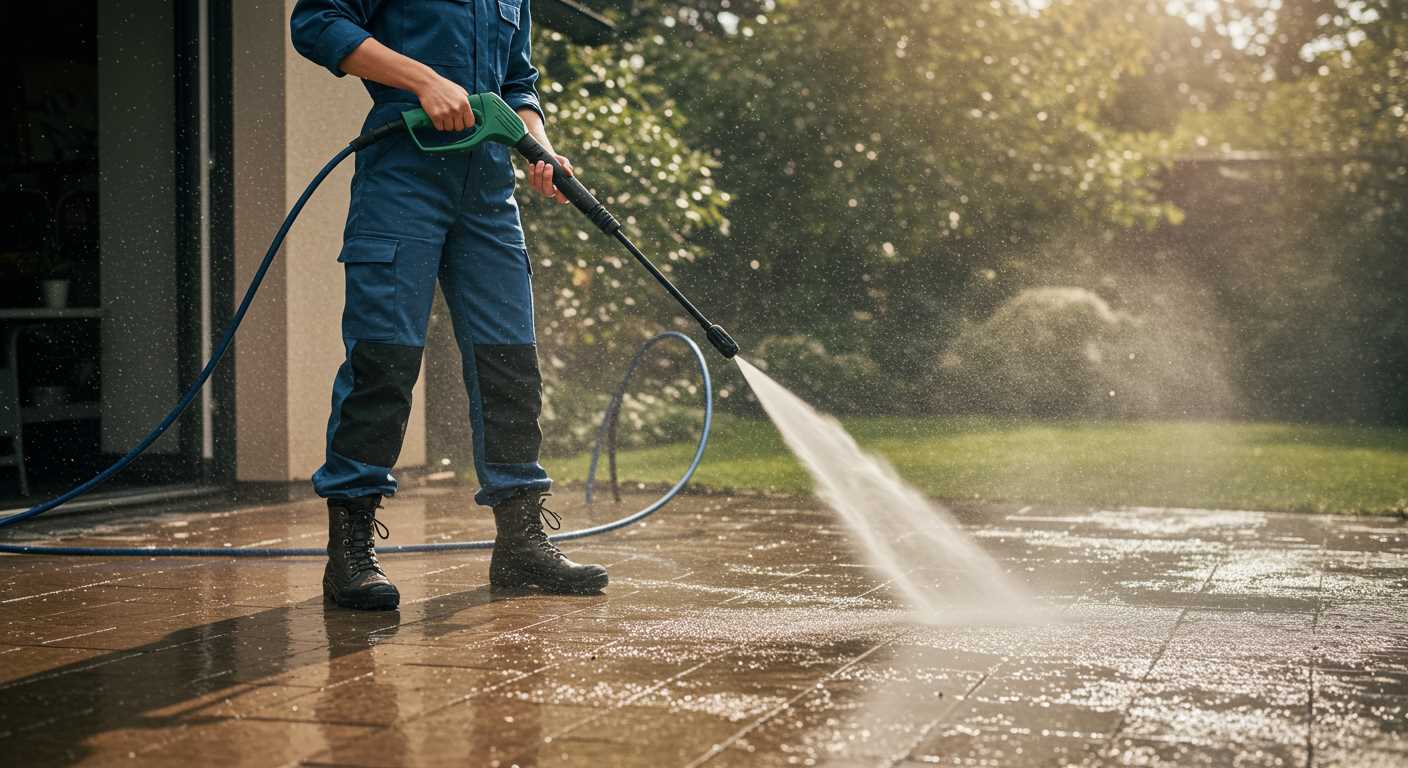
Conduct a Test Spray
Once you confirm the water flow and pressure, perform a test spray on a small, inconspicuous area of the surface you plan to clean. This helps gauge the pressure level and effectiveness of the nozzle type selected. Adjust the nozzle setting if needed, especially when switching between different surfaces like wood or concrete.
If you’re considering a bucket powered pressure washer, ensure it’s compatible with your accessories. This type offers unique functionality and may require specific attachments. Testing ensures you maximise its potential for your cleaning tasks.
Maintain and Clean Wand After Use
After finishing your cleaning tasks, it’s crucial to give your equipment some attention. Begin by disconnecting the nozzle and any additional attachments. This prevents them from getting stuck and makes cleaning easier. Use a soft cloth to wipe down the exterior of the handle and the shaft, removing any grime or detergent residue. A quick rinse with water will help eliminate any remaining debris.
Inspect for Damage
While cleaning, take a moment to inspect the components for wear and tear. Look for cracks, bends, or other signs of damage. If you notice any issues, it’s best to replace the affected parts before the next use. This prevents further complications and ensures everything functions smoothly.
Storage Recommendations
Store your equipment in a dry, cool place. Avoid leaving it outside, as UV rays and moisture can lead to deterioration. If possible, hang the lance on a wall-mounted hook or place it in a designated storage area to keep it safe from accidental damage. Regular maintenance like this extends the life of your tool and keeps it ready for your next project.
.jpg)


