


To enhance your cleaning workflow, secure the right connector for your surface cleaning attachment. Most models feature a quick-connect system, allowing you to rapidly switch between nozzles and accessories. Ensure your equipment’s fitting matches the attachment’s inlet to prevent leaks or damage.
In my years of experience, I’ve often found that a little preparation goes a long way. Before attaching the unit, double-check the compatibility of the connector. If you’re unsure, refer to the product manual. The last thing you want is to discover a mismatch mid-task, which can waste both time and effort.

Once you’ve confirmed compatibility, align the attachment with the nozzle and push it until you hear a click. This sound indicates a secure fit. For added confidence, gently tug on the cleaner to ensure it’s locked in place. I remember a time when I rushed this step, leading to an unexpected disconnect during a crucial cleaning job. That incident taught me the importance of taking a moment to verify connections.
After securing the cleaner, adjust your water pressure settings. Each attachment has an optimal pressure range for achieving the best results. Too much pressure can damage surfaces, while too little may not provide the desired clean. As a rule of thumb, start at a lower setting and gradually increase until you find that sweet spot.
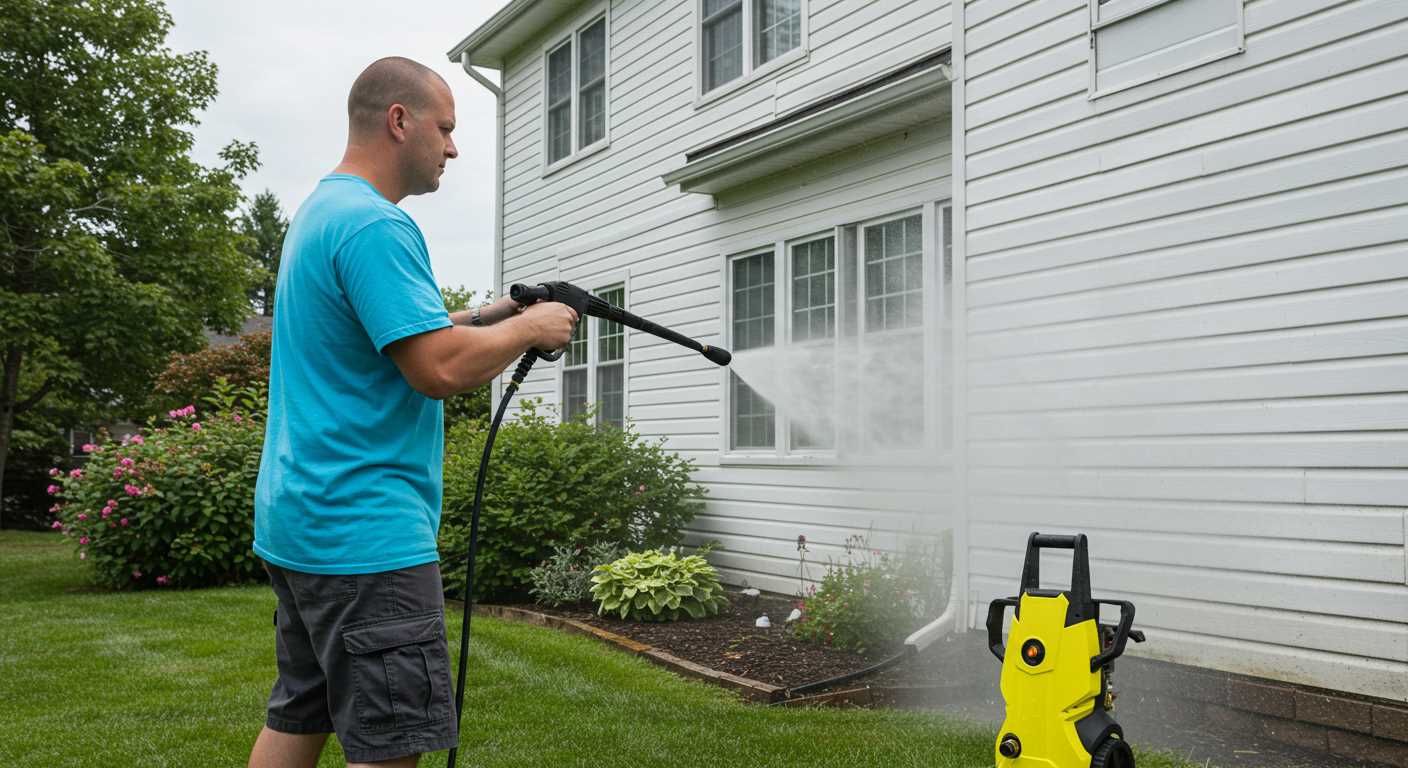
Attaching Your Surface Cleaner to the Power Device
Begin by ensuring the equipment is turned off and disconnected from the power source. Locate the quick-connect adapter on your cleaning tool. If your model has a nozzle attachment, you’ll need to remove it first. Once that’s done, take the surface attachment and align it with the quick-connect fitting. A gentle push will typically click it into place.
Check for a secure connection by pulling lightly on the attachment. If it feels loose, you may need to rotate it slightly until it locks properly. After securing the cleaner, connect the water supply to the main unit, ensuring all hoses are firmly in place to prevent leaks.
Once everything is connected, turn on the water supply and power up the device. If you’re looking to enhance your cleaning experience, consider adding a pressure washer car kit to your setup for optimal results.
Always remember to test the cleaning tool on a small area before proceeding with larger surfaces. This ensures you understand how the device operates and helps you achieve your desired outcome without causing any damage.
Choosing the Right Surface Cleaner for Your Pressure Washer
To ensure optimal results, selecting the appropriate cleaning attachment is paramount. Here are the key factors to consider:
- Compatibility: Check the specifications of your high-pressure system. Not all cleaning accessories fit every model. Look for attachments designed for your unit’s PSI and GPM ratings.
- Size: The diameter of the cleaning head matters. A wider head covers more area, speeding up the job, while a narrower one allows for precision work in tight spots. Choose based on the size of your surface.
- Material: Look for models made with durable materials like stainless steel or high-quality plastic. These withstand wear and tear, especially on tougher surfaces.
- Design: Opt for a dual-rotating or triple-rotating head. This design increases efficiency and reduces streaks, providing an even finish on various surfaces.
- Weight: A lighter model is easier to manoeuvre and control, especially during prolonged use. Balance this with the sturdiness required for your tasks.
In my experience, using the right attachment can transform your cleaning efforts. I once tackled a large driveway with the wrong model; it took forever and left streaks everywhere. Switched to a wider, dual-rotating head, and the difference was night and day. The job was completed in half the time with a flawless finish.
Lastly, consider the brand reputation and customer reviews. Trusted manufacturers often provide better support and warranties, which can be invaluable. I’ve learned to rely on tried-and-true brands that offer both performance and reliability based on my years of testing.
Understanding the Connection Types
Familiarity with connection types is essential for optimising your cleaning tasks. Most units feature either a quick-connect or threaded connection. Quick-connect fittings allow for easy and rapid changes, making them a favourite among users who frequently switch attachments. Simply pull back on the collar, insert the attachment, and release to secure it.
Threaded connections, on the other hand, offer a more secure fit. These require screwing the attachment onto the wand, which can take a bit more time but ensures stability during operation. I’ve found that while using attachments with threaded connections, it’s essential to check for any leaks after installation, as they can sometimes loosen during use.
Another aspect to consider is compatibility. Not all accessories fit every brand. I recommend checking the specifications of both your machine and the attachment. Some brands have proprietary fittings that won’t work with others. I once made the mistake of assuming a generic attachment would fit, only to find myself frustrated and back at the store.
Lastly, don’t overlook the importance of hose diameters. A mismatch can result in reduced performance. Many units come with either a 1/4-inch or 3/8-inch diameter hose. Using fittings that match your hose size ensures optimal water flow and pressure. Trust me, it makes a noticeable difference in cleaning efficiency.
Preparing Your Equipment for Attachment
Before making any connections, ensure your machine is powered down and disconnected from the electrical source. This prevents accidental activation during setup, which can be dangerous. I’ve seen too many mishaps happen simply because someone forgot to unplug their device.
Gather Your Tools
Collect all necessary tools and components. A pair of gloves is advisable to protect your hands from any sharp edges. A wrench may be needed for securing fittings, depending on the model. Having everything at hand streamlines the process and saves time.
Inspect the Components
Check the accessories for any damage or wear. Look for cracks in the hoses or fittings that could cause leaks during use. I once overlooked a small tear in a hose, which led to an unexpected mess and wasted time during a job. A thorough inspection can prevent such issues.
Ensure all connections are compatible. Many machines have specific requirements regarding size and type of fittings. Consult the manual if unsure. It’s always better to double-check than to face complications later on.
Clear the area of any debris or obstacles that might hinder movement. A clutter-free workspace enhances safety and efficiency. I’ve had my share of near-misses due to tripping over tools scattered around.
By taking these preparatory steps, you set the stage for a smooth and effective cleaning experience.
Attaching the Surface Cleaner: Step-by-Step Guide
Before connecting the attachment, ensure your equipment is switched off and unplugged to prevent any accidents. Here’s how I do it:
- Identify the connector type. Most models come with a bayonet or quick-connect system. Familiarise yourself with your specific type to avoid compatibility issues.
- Align the attachment with the connector. Position it carefully to ensure that the locking mechanism engages properly.
- Push firmly until you hear a click. This sound indicates that the attachment is securely in place.
- Check for any movement. Gently tug on the attachment to make sure it’s firmly attached. If it feels loose, repeat the previous steps.
- Connect the hose if it’s not already attached. Ensure the water supply is tight and your seals are in good condition to avoid leaks.
- Turn on the water supply. Check for any signs of leaks around the connections.
- Power up your device. Before you start cleaning, run it briefly to ensure everything is functioning as expected.
During my years of experience, I’ve encountered various models, and it’s crucial to follow the specific guidelines for each type. Some units may require additional steps or tools, so always refer to your user manual if you’re unsure. A well-connected tool will not only enhance your cleaning efficiency but also prolong the life of your equipment.
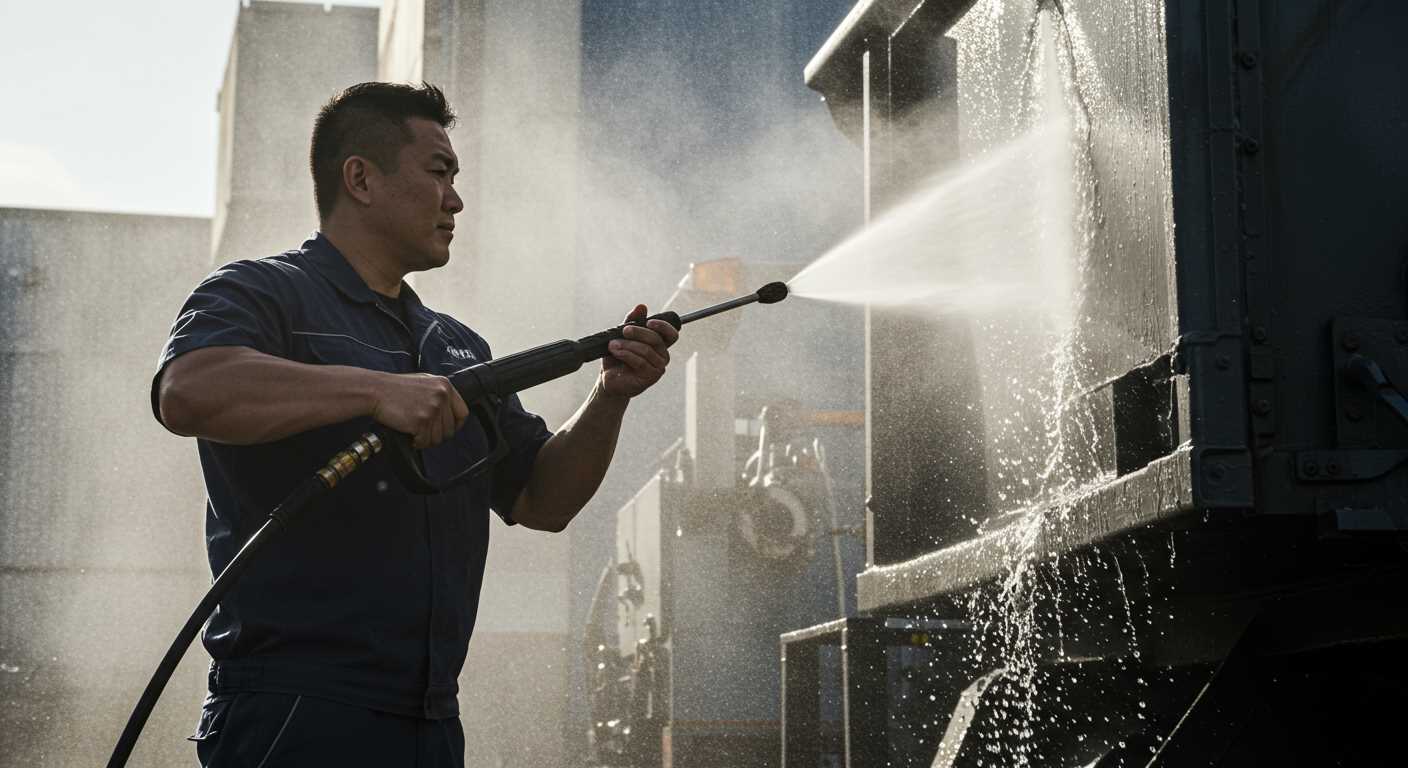
Testing the Connection for Leaks or Issues
After securing the attachment, it’s crucial to ensure everything is functioning smoothly. Begin by turning on the machine and observing closely for any signs of leakage. Pay attention to the junction where the accessory connects; any escaping water indicates a poor seal that needs immediate attention.
If you notice water spraying out, turn off the machine right away. Recheck the fittings and ensure they are tightened correctly. Sometimes, simply re-seating the connector can resolve minor leaks. If issues persist, consider using thread tape on the connection threads to enhance the seal.

Pressure Testing
Once you’ve checked for leaks, it’s wise to conduct a pressure test. With the cleaner attached, switch on the unit and let it run for a minute. This will allow you to assess performance under operational conditions. Listen for any unusual sounds or vibrations, which could indicate misalignment or internal issues.
For those who want to take it a step further, you can perform a spray test on a non-sensitive surface. Ensure that the flow is even and consistent. Any irregularities might suggest blockages or wear in the accessory. Regular checks like this can prolong the life of your cleaning equipment and ensure optimal performance.
If you’re also considering accessories for car cleaning, check out the best car wash pressure washer nozzle foam cannon gun sprayer for enhanced results.
Adjusting Pressure Settings for Optimal Use
For the best results, calibrate the water flow and intensity according to the task at hand. When I first started using these machines, I learned that not all surfaces require the same force. For instance, delicate materials like wood or painted surfaces can be easily damaged by excessive pressure. I recommend starting with the lowest setting and gradually increasing it until you find the right balance.
During one of my early jobs, I was cleaning a wooden deck. Initially, I set the intensity too high, which resulted in splintering. After that, I realised the importance of adjusting settings carefully. A gentle touch can often yield better outcomes than using brute force.
For concrete or stone surfaces, you can increase the pressure. However, I still advise testing a small, inconspicuous area first. This way, you can observe how the material reacts without risking damage. I found that a medium setting typically suffices for most outdoor areas, while stubborn stains might require a bit more intensity.
Don’t forget to consider the nozzle type as well. A wider spray pattern can help distribute the force evenly, reducing the risk of damage while still allowing for effective cleaning. Switching between different nozzles based on the task can make a significant difference in performance.
Finally, always monitor the machine’s performance during use. If you notice a drop in effectiveness, it might be time to adjust the pressure again. I learned this the hard way after struggling with a stubborn stain for too long, only to realise that a minor adjustment would have made all the difference. Keeping an eye on the settings and adapting as needed can save time and ensure a superior clean.
Maintaining Your Surface Cleaner After Use
After completing your cleaning task, the maintenance of your equipment is vital for longevity. First, rinse the attachment thoroughly with clean water to remove any residue from cleaning solutions or debris. This simple step prevents clogging and ensures the nozzles remain effective for the next use.
Once rinsed, inspect the attachment for any signs of wear or damage. Pay close attention to the nozzles; if you notice any blockages or scaling, use a soft brush or a pin to clear them. I’ve found that keeping an eye on these small details can save you from costly repairs down the line.
After inspection, dry the unit completely before storage. Moisture can lead to rust and deterioration of the components. Use a soft cloth to wipe it down, ensuring that all parts are free of water. I always recommend storing the equipment in a dry place away from direct sunlight, as UV rays can degrade plastic and rubber parts over time.
Additionally, if your attachment has any removable parts, consider taking them off and cleaning them separately. This approach gives you a chance to inspect them more thoroughly. It’s also a good opportunity to lubricate moving parts if applicable, helping to keep everything functioning smoothly.
Lastly, create a storage checklist to ensure all components are accounted for. Here’s a simple table to help you track your maintenance routine:
| Maintenance Task | Frequency | Notes |
|---|---|---|
| Rinse after use | Every use | Prevent residue build-up |
| Inspect for damage | Every use | Look for wear on nozzles |
| Dry completely | Every use | Avoid rust and deterioration |
| Lubricate moving parts | Monthly | Ensure smooth operation |
| Check storage conditions | Every season | Avoid exposure to elements |
By following these steps, your equipment will remain in peak condition, ready for the next cleaning job. Trust me; a little maintenance goes a long way in preserving your investment and ensuring great results each time you use it.

.jpg)


