


To achieve a mobile cleaning system that meets professional standards, begin with a sturdy and reliable base. A robust platform is key; consider a heavy-duty utility trailer that can withstand the weight of your equipment and the rigours of daily use. The frame must be constructed from durable materials, such as steel, to ensure longevity and resilience against wear and tear.
Next, focus on the arrangement of your equipment. Position the motor and pump securely to prevent any movement during transport. I’ve seen too many setups where equipment shifts, leading to damage or inefficiency. Secure all components with brackets and straps to maintain stability. Additionally, allocate space for hoses, nozzles, and other tools to keep everything organised and easily accessible.
Water supply is another crucial aspect. Install a large tank that can hold ample water for extended cleaning sessions. I recommend using a tank with a capacity of at least 200 litres to avoid interruptions. Make sure to incorporate a reliable pump system for consistent water flow, as nothing disrupts a job more than running out of water halfway through.

Don’t overlook the power source. A generator might be necessary if you’re working in areas without access to electricity. Choose one that can provide sufficient wattage for your motor and any additional equipment. I’ve learned that having a backup power solution can save time and keep operations running smoothly.
Finally, consider adding a toolbox or storage compartment for additional gear and safety equipment. Having everything in one place not only enhances efficiency but also contributes to safety on the job. My experience has shown that a well-organised setup promotes better work habits and saves time in the long run.
Constructing a Mobile Cleaning Unit
Consider a robust frame as the foundation for your mobile cleaning unit. A sturdy trailer or platform, constructed from steel or aluminium, ensures longevity and stability. When selecting dimensions, aim for a balance between manoeuvrability and sufficient space for equipment.
Key Components to Include
- Water Tank: Opt for a tank that holds at least 100 gallons. This capacity allows for extended use without frequent refills, particularly beneficial during larger jobs.
- Generator: A reliable generator, ideally with a minimum output of 4000 watts, powers your equipment efficiently.
- Hoses and Reels: Invest in high-quality hoses. A length of 100 feet is usually adequate, allowing flexibility in movement. Hose reels simplify storage and prevent tangling.
- Nozzles and Attachments: A variety of nozzles provides versatility for different surfaces. Include a turbo nozzle for tough stains and a wide-angle nozzle for gentle cleaning.
Assembly Tips
- Secure the water tank at the centre of the frame to maintain balance.
- Install the generator on a side to ensure it’s accessible for refuelling but not obstructing other equipment.
- Route hoses carefully to prevent kinks and tangles. Use clips to keep them organised along the frame.
In my experience, ensuring everything is tightly secured during transit is paramount. I once lost a part mid-journey, which delayed a job and cost me time. Regular checks before departure can save you from similar mishaps.
Lastly, consider adding storage compartments for detergents and tools. A well-organised unit not only enhances efficiency but also presents a professional image to clients.
Selecting the Right Trailer Size and Type
For a successful mobile cleaning setup, the dimensions and design of your transport unit are non-negotiable. I’ve often seen newcomers underestimate this aspect, leading to issues down the line. When selecting a suitable model, consider your equipment’s size and weight. A common rule of thumb is to choose a platform that can safely accommodate all your tools while allowing for easy access and movement.
The vehicle’s weight capacity is crucial. For example, if your equipment, including water tanks and hoses, weighs approximately 1,500 kg, opt for a unit rated for at least 2,000 kg. This buffer ensures you won’t exceed the limits and provides room for additional gear.
Next, think about the layout. A single-axle design is generally more manoeuvrable, perfect for urban environments. However, a dual-axle option offers better stability, particularly when carrying heavier loads. In my experience, if you plan to travel long distances or on uneven terrain, a dual-axle setup is worth considering.
Dimensions also play a role in your overall operation. A compact model may be easier to park and store but could limit your carrying capacity. Conversely, a larger unit can accommodate more, but be mindful of the turning radius and ease of navigation in tight spaces.
| Trailer Type | Weight Capacity | Best Use Case |
|---|---|---|
| Single-Axle | Up to 1,500 kg | Urban jobs, light equipment |
| Dual-Axle | Up to 3,000 kg | Heavy loads, off-road conditions |
| Enclosed | Varies | Security, weather protection |
| Flatbed | Varies | Easy loading/unloading, large items |
Consider also the type of hitch. A ball hitch is standard for lighter models, while a pintle hitch is suited for heavier loads and provides greater security during transport. My preference has always leaned towards pintle hitches for added peace of mind.
Lastly, check local regulations regarding trailer dimensions and weight limits. Each region may have specific guidelines that could affect your choice. It’s better to be informed before you make a purchase. Following these guidelines will lead you to a well-suited transport solution that enhances your mobile cleaning capabilities.
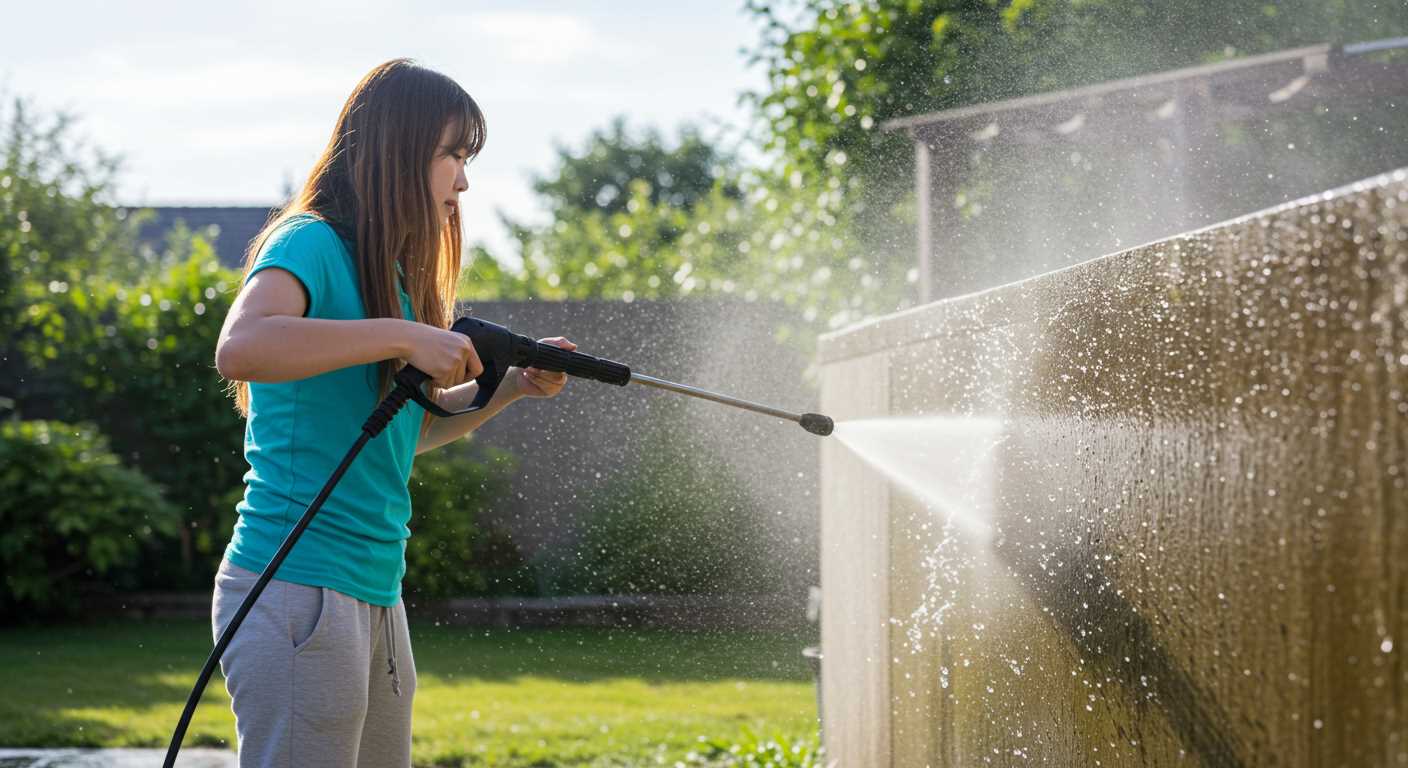
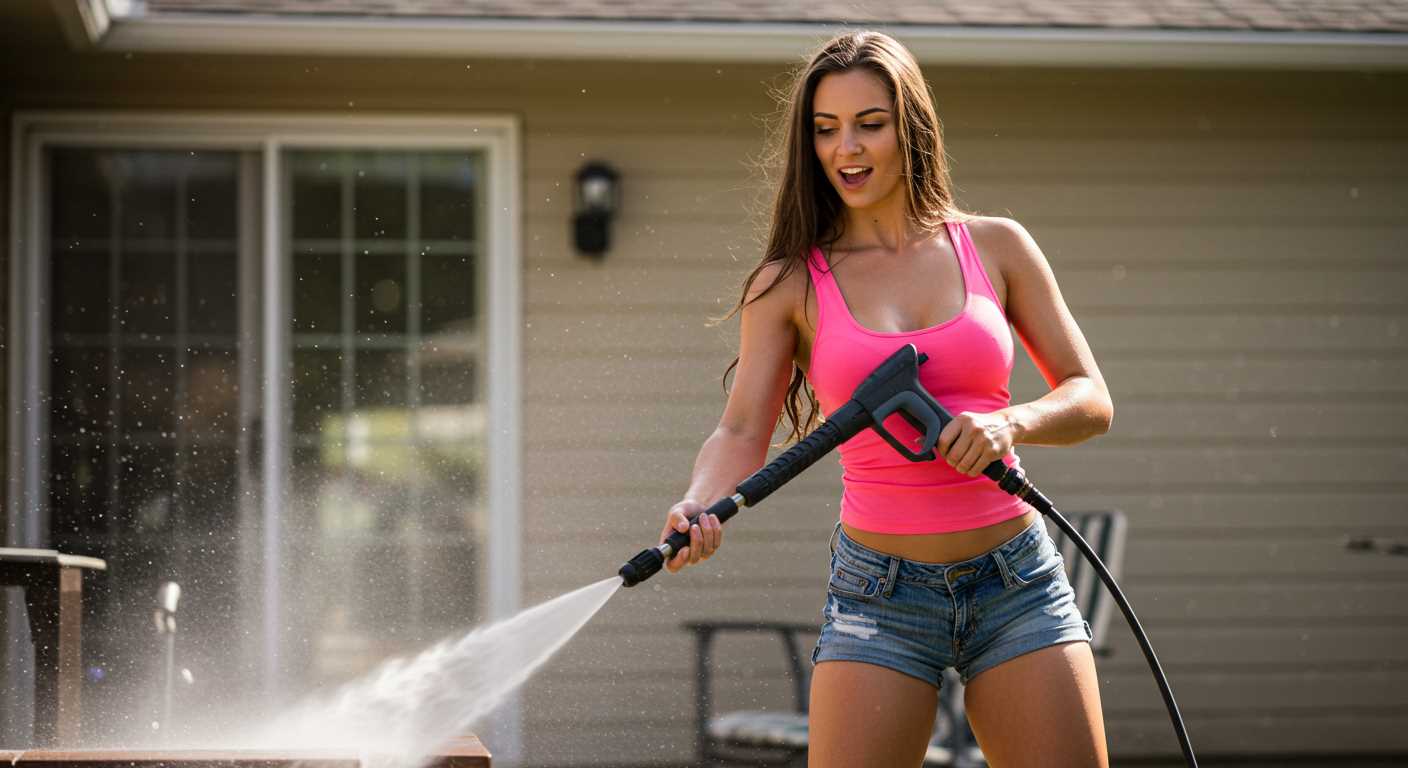
Choosing the Appropriate Pressure Washer Model
For optimal results, select a unit that matches your specific cleaning requirements. I recall a time when a client opted for a low-power model thinking it would suffice for heavy-duty tasks. It turned out to be ineffective, leading to frustration and wasted time.
Types of Units
- Electric Models: Ideal for light to medium tasks. They are quieter and easier to maintain, making them suitable for residential use. However, they may struggle with tough grime.
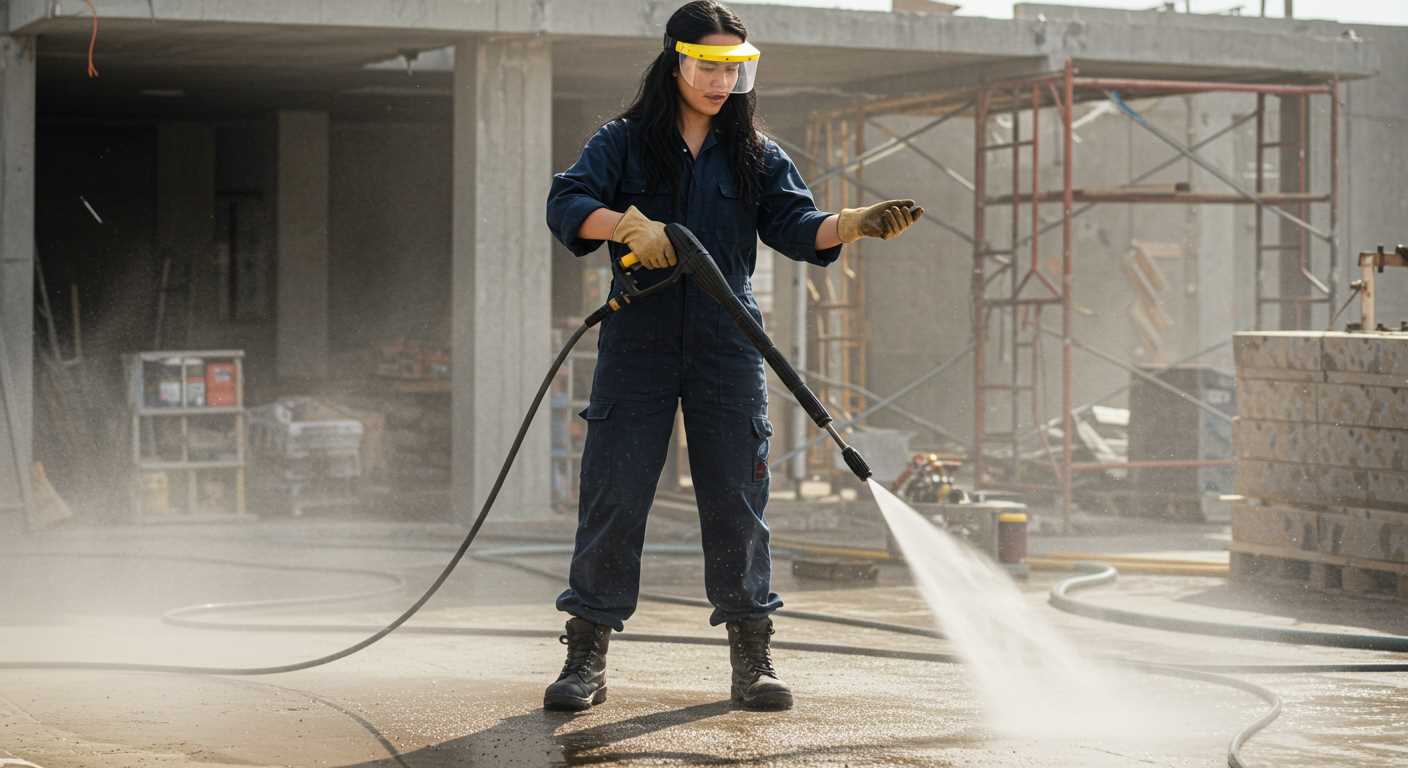
- Gas-Powered Units: These provide high pressure and flow rates, perfect for commercial use or large outdoor areas. They require more maintenance but deliver superior performance on challenging surfaces.
Key Specifications to Consider
- PSI (Pounds per Square Inch): Look for a minimum of 2,000 PSI for general cleaning. For tougher stains, consider models exceeding 3,000 PSI.
- GPM (Gallons per Minute): Higher GPM means more water flow, which aids in cleaning efficiency. A range of 2.5 to 4 GPM is typically effective.
- Nozzle Options: Different nozzles impact cleaning versatility. Choose a unit that offers interchangeable nozzles for various applications.
- Portability: If you plan to move the unit frequently, opt for a lighter model with sturdy wheels. I once had to lug around a heavy machine that made my job significantly harder.
Consider the type of surfaces you’ll be tackling. I’ve found that softer surfaces, like wood, require lower pressure settings to avoid damage, while concrete and brick can withstand higher pressures. It’s all about matching the equipment to the task.
Finally, think about your budget. Investing a bit more in a high-quality model often pays off through durability and effectiveness. I’ve seen cheaper units fail after just a few uses, leading to additional costs in replacements or repairs.
Designing the Trailer Layout for Optimal Functionality
Positioning equipment for easy access is paramount. I learned this the hard way during a busy season when I had to wrestle with tangled hoses and jumbled tools. Place the high-pressure unit at the rear of the structure, close to the water source. This setup saves time during setup and reduces the risk of accidents.
Include dedicated compartments for hoses, nozzles, and accessories. I always recommend using colour-coded labels for quick identification. This small detail improves workflow significantly, especially when you’re pressed for time on-site. Consider using brackets or hooks to keep hoses neatly coiled and off the floor. I once had a project where a loose hose caused a slip hazard; it’s a lesson I won’t forget.
Integrate a sturdy workbench or surface at the front of the configuration. This space can serve multiple purposes: as a tool station, a place for assembling attachments, and even a workspace for minor repairs. I’ve found that having a solid surface to work on reduces the chances of damaging tools and increases productivity. If possible, include a fold-down feature to save space when the equipment isn’t in use.
Lighting plays a critical role, especially for twilight or early morning jobs. Installing LED lights on the interior and exterior ensures visibility at all times. I had a client who missed a spot due to poor lighting; it not only affected their reputation but also their repeat business. Adequate illumination is non-negotiable.
Don’t overlook the importance of stability. Ensure that the framework is balanced, with heavier items positioned low and towards the centre. I once had a trailer tip during transit because the weight distribution was off. This could lead to damage, not to mention safety hazards on the road.
Incorporate drainage solutions if there’s a risk of water accumulation. A slight incline towards a drainage point prevents water pooling, which can lead to corrosion or create a messy environment. During my time in the field, I’ve seen too many setups that neglected this simple yet effective measure.
Finally, always prioritise security. Invest in lockable hatches and compartments to protect your investment. I’ve witnessed too many unfortunate incidents where equipment was stolen because of inadequate security measures. A well-designed layout not only enhances functionality but also safeguards your gear.
Installing a Secure Mounting System for the Pressure Washer
To ensure stability during transport, a robust mounting system is key. I’ve found that using a combination of heavy-duty brackets and rubberised padding significantly reduces movement and vibration, making the unit safer and more reliable on the road.
First, select a suitable location on the platform that provides easy access while maintaining balance. Once the spot is determined, use high-strength bolts to attach the brackets securely to the frame. I recommend using at least four mounting points to distribute the weight evenly. This method prevents any undue stress on specific areas of the equipment, which can lead to damage over time.

Next, consider incorporating rubber padding between the washer and the brackets. This cushioning absorbs shocks from bumps in the road and helps minimise wear on the unit. I’ve witnessed the difference this makes firsthand; my equipment has lasted years longer thanks to these precautions.
In addition, a safety strap should be part of your setup. After securing the brackets, loop a sturdy ratchet strap around the unit and through the mounting points. This extra measure keeps everything tightly in place, especially during sharp turns or sudden stops.
Here’s a quick reference table for the materials you’ll need:
| Material | Description |
|---|---|
| Heavy-duty brackets | Used for secure attachment to the trailer frame. |
| High-strength bolts | To firmly mount the brackets. |
| Rubber padding | Cushions the washer from vibrations. |
| Ratchet strap | Provides additional security during transit. |
Lastly, always check the mounting system before each use. A quick inspection can save you from potential mishaps on the road. If you’re looking for ways to utilise your washer beyond cleaning, consider exploring how to can green beans with a pressure cooker as another application for your equipment.
Incorporating Water Storage Solutions on the Trailer
Consider using a tank with a capacity ranging from 50 to 200 gallons, depending on your typical workload. I recall a project where I opted for a 100-gallon poly tank; it offered a perfect balance between weight and capacity, allowing me to manage multiple jobs without frequent refills.
Position the water storage unit securely within the confines of the vehicle. A low centre of gravity is key for stability during transit. I once had a tank mounted too high, which made the setup prone to tipping during sharp turns. Reinforcing the base with brackets not only secures the tank but also mitigates vibrations that could lead to damage over time.

Incorporating a gravity-fed system can simplify operations. By placing the tank higher than the washer, gravity will assist in water flow, reducing strain on the pump. This setup works wonders, especially when you are on-site and need to set up quickly. I had a particularly busy day where this feature saved me precious minutes.
Don’t forget about the plumbing. Ensure all hoses and fittings are rated for high pressure and are compatible with your equipment. Leaks can be a hassle, so always double-check connections. I learned this the hard way during a job where a loose fitting caused a significant delay.
If your work often involves remote locations, consider integrating a pump for filling from external sources. I’ve found that having a transfer pump allows me to tap into lakes or large storage tanks without needing to lug extra water. This flexibility has proven invaluable on several occasions.
Incorporate a filtration system to keep your water clean. Contaminants can damage equipment or ruin a job, and I’ve experienced this firsthand. Installing a simple inline filter can save you headaches down the line and prolong the life of your machines.
Lastly, think about accessibility. Ensure that the tank is easy to fill and drain. A well-placed fill port can make your life significantly easier, especially when you’re under time constraints. I once had to stretch a hose across the trailer, which was not only cumbersome but risky. Planning for easy access is key to maintaining efficiency.
Adding a Power Supply System for the Pressure Washer
Ensure a reliable energy source for your cleaning unit by incorporating a robust power supply system. In my experience, investing in a high-capacity generator often pays off in the long run. I recall a job site where a standard outlet simply couldn’t keep up with demand. Switching to a generator that delivered at least 6000 watts made all the difference.
Consider the type of generator you choose. An inverter generator offers clean energy, reducing the risk of damaging sensitive electronics. Make sure it’s rated for continuous use; a model with a 50% load capacity is ideal for running equipment continuously without overheating.

Wiring is another critical aspect. Use heavy-duty, weather-resistant cables to connect your equipment. I’ve seen far too many setups fail due to inadequate wiring that couldn’t handle the amperage. If you plan to operate multiple devices, a power distribution box can help manage connections efficiently and safely.
Don’t forget about safety features. Incorporating a circuit breaker or fuse can prevent electrical overload, which is a lifesaver. I once had a situation where a blown fuse saved an entire job from disaster–everything remained intact, and we were able to swap in a new fuse and keep working.
Lastly, consider mobility. A generator with wheels or a dedicated compartment on the trailer makes for easy transport and setup. I’ve learned that convenience can save a lot of time on the job site, allowing for a more streamlined operation.
Implementing Hose and Accessory Storage Features
Integrating efficient storage solutions for hoses and accessories enhances functionality and organisation. Here’s how you can achieve this effectively.
Designing Storage Compartments
- Utilise PVC pipe sections for hose storage. Cut them into suitable lengths and secure them horizontally along the trailer’s frame. This keeps hoses untangled and easily accessible.
- Install dedicated compartments for accessories such as nozzles, brushes, and extension wands. Use plastic bins or toolboxes that can be mounted to the trailer’s walls.
- Consider adding a retractable reel for the high-pressure hose. This keeps the hose neatly stored and allows for quick deployment when needed.
Maximising Space Utilisation
- Incorporate vertical storage by adding shelving units. These can hold various accessories and additional cleaning supplies, making everything within reach.
- Use bungee cords or Velcro straps to secure smaller items to the walls or shelves. This prevents movement during transport and ensures items remain organised.
- Label each storage compartment clearly to identify contents quickly, saving time during jobs.
Throughout my years in the cleaning equipment industry, I’ve found that a well-organised setup not only saves time but also boosts productivity. When accessories are readily available and neatly stored, the workflow becomes seamless, allowing for a more professional service delivery.
Ensuring Safety Features are in Place on the Trailer
Integrating safety measures into your setup is non-negotiable. Start with a robust braking system; consider electric brakes for better responsiveness during transport. I’ve experienced firsthand the difference a reliable braking system makes when navigating steep inclines or sudden stops.
Next, secure your equipment. Use heavy-duty straps and mounts to prevent any movement of the washer while on the road. I once had a less secure model, and after a bumpy ride, the washer shifted, causing damage that could’ve been easily avoided.
Incorporate reflective tape or lights on the sides and rear of your rig. Visibility is crucial, especially during low-light conditions. I’ve been on the road late at night, and having proper lighting made all the difference in alerting other drivers to my presence.
Consider adding a fire extinguisher to your setup. It’s a simple yet effective precaution. I’ve had a minor fuel leak in the past, which reminded me how crucial it is to have firefighting equipment close at hand.
Check the weight distribution of your load. An unbalanced setup can lead to swaying or loss of control. I recommend weighing your trailer once loaded to ensure it’s within safe limits. It’s a step that saved me from a potential mishap on the highway.
Finally, ensure all electrical connections are secure and waterproof. I’ve dealt with electrical failures due to poor connections in wet conditions, which halted work unexpectedly. Investing in quality connectors pays off in reliability. For those looking to enhance their setup, consider a belt drive pressure washer for its durability and efficiency.
Conducting Regular Maintenance for Longevity of the Setup
To ensure your equipment remains in peak condition, establish a routine maintenance schedule. I recommend checking all connections and fittings weekly. Loose hoses or attachments can lead to leaks, reducing performance and wasting water. I’ve seen too many setups compromised by a simple oversight.
Clean the filter of the water intake regularly. Debris clogs can cause overheating and damage the motor. I learned this the hard way during a crucial job when a minor blockage led to a significant delay. A quick rinse every few weeks can save a lot of trouble.
Inspect the pump oil level every month. Low oil can lead to premature wear. If you notice any milky residue in the oil, it’s a sign of water contamination, which needs immediate attention. I keep a spare bottle of oil handy, just in case I need to top up on-site.
Check the electrical connections and power supply for any signs of wear or corrosion. I replace any frayed wires immediately to prevent short circuits. The last thing you want is to lose power mid-operation; it creates unnecessary hassle and downtime.
Evaluate the structural integrity of the frame and mounting system. Look for signs of rust or fatigue. A friend of mine had a near miss when his unit became unstable due to a rusted bracket. Regular inspections can prevent such accidents.
Lastly, don’t underestimate the importance of cleanliness. After each job, give everything a good wash down. Not only does this keep your equipment looking professional, but it also helps you spot potential issues early. Trust me, a clean setup is a well-maintained setup.
.jpg)


