


Start with a robust motor, ideally a petrol engine with a minimum of 5 horsepower for optimal performance. I once worked with a 6.5 HP engine that could tackle the most stubborn grime on various surfaces. Pair it with a reliable pump – a triplex plunger pump is often the best choice for generating higher pressure and durability. I recommend sourcing a pump that can deliver at least 2,500 PSI, as I’ve found it strikes a perfect balance between power and manageability.
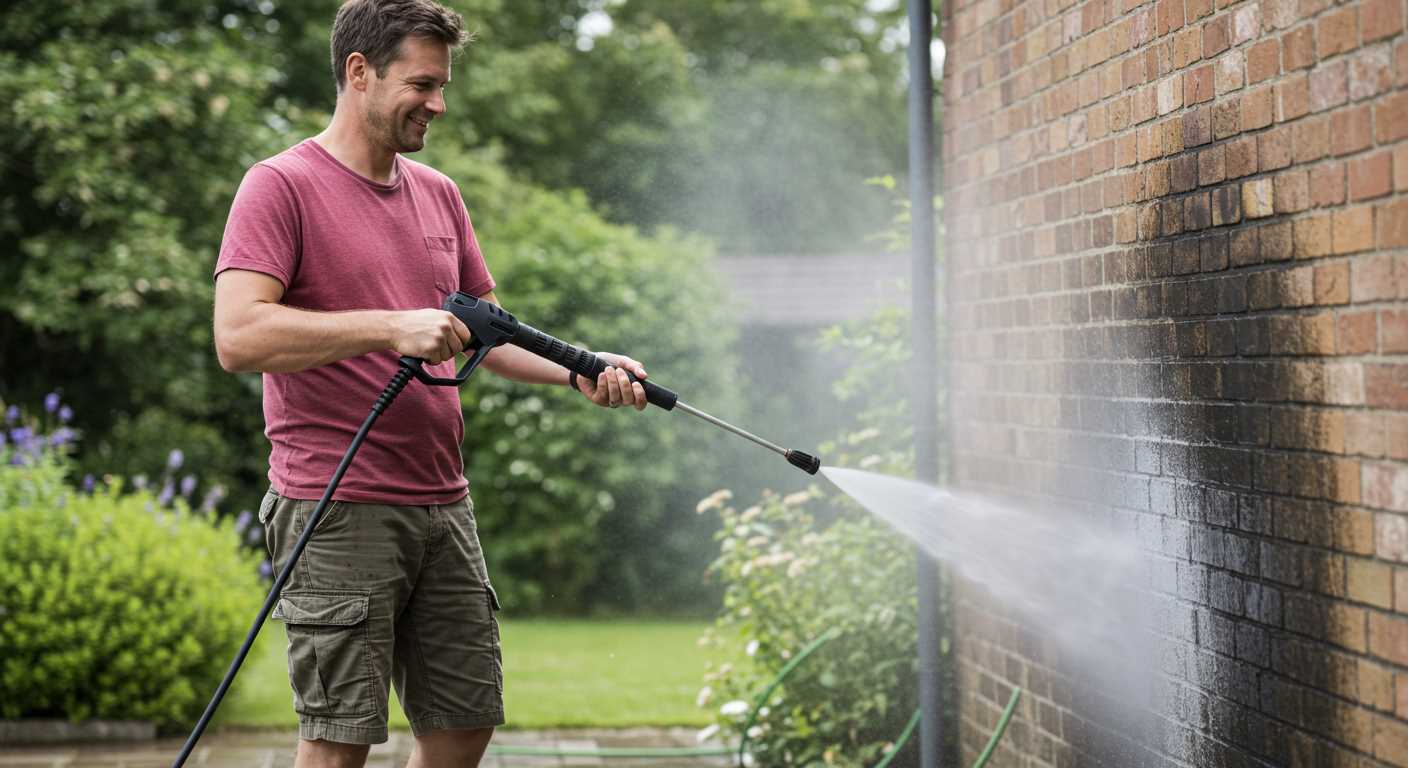
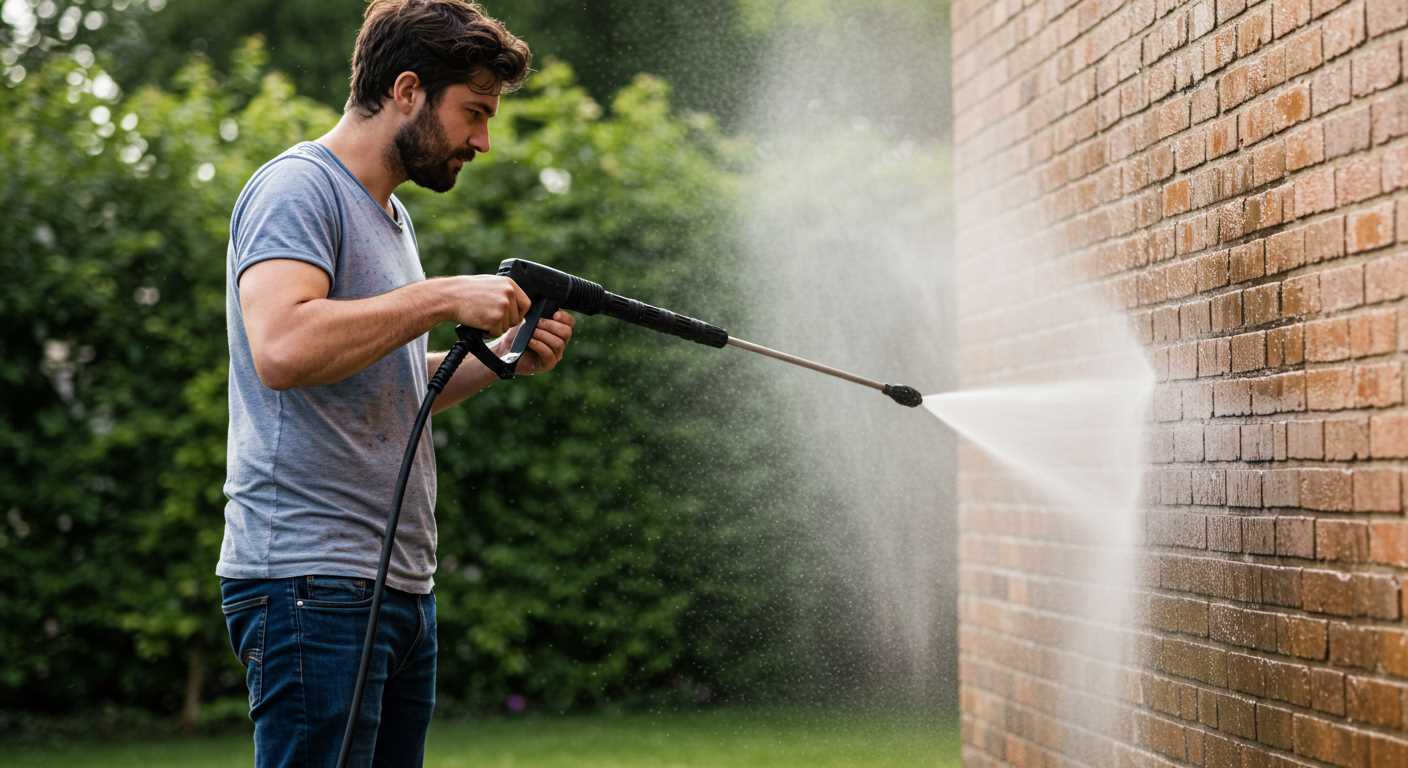
Next, consider the hoses. A 50-foot reinforced hose is usually sufficient for most tasks, but if you can find one that’s abrasion-resistant and rated for high pressure, it will last longer. I remember the first time I used a heavier-duty hose; the difference in performance was noticeable, especially during extended use. Additionally, a quality spray gun with adjustable nozzles can enhance versatility, allowing for various cleaning tasks, from delicate surfaces to tough stains.

Don’t overlook the importance of safety features. Incorporating a pressure relief valve is critical to prevent any dangerous surges. I had a close call once when a machine without one malfunctioned. It’s a small investment that can save you from significant issues later on. Lastly, ensure you have a sturdy frame to mount everything securely. A well-constructed base not only provides stability but makes the entire setup easier to manoeuvre.
Selecting the Right Motor for Your High-Pressure Cleaner
The motor is the heartbeat of any cleaning device. For optimal performance, I recommend choosing a motor that offers at least 2 to 3 horsepower. This power range strikes the perfect balance for residential applications, providing enough force to tackle tough grime without overwhelming the system.
When considering motor types, opt for an induction motor if you’re looking for longevity and quieter operation. These motors tend to be more durable than universal motors, which may be noisier and less efficient. In my experience, a good quality induction motor can last years longer, making it a wise investment.
Pay attention to the RPM (revolutions per minute) as well. A motor running at around 3,500 RPM typically produces higher pressure, but it’s essential to match it with the right pump to avoid cavitation issues. I’ve seen many setups where mismatched components led to premature failure; it’s not worth the risk.
Consider the power source as well. Electric motors are more suited for residential use due to their ease of maintenance and quieter operation, while gas engines are better for larger tasks and outdoor use. I once used a gas-powered model for a project at a friend’s farm; it handled the heavy-duty work beautifully, but the noise was something else!
Finally, don’t skimp on quality. Investing in a reputable brand can save you from headaches down the line. I learned this the hard way when I opted for a cheaper motor that burnt out during a critical job. Stick with established brands known for their reliability and performance. Your choice will greatly influence the effectiveness of your cleaning setup.
Choosing the Appropriate Pump Type and Specifications
Opt for a triplex plunger pump for maximum durability and efficiency. In my experience, these pumps deliver a consistent flow and pressure, making them ideal for heavy-duty tasks. Single-stage pumps can work for lighter jobs, but they often lack the longevity and power needed for more demanding applications.
Specifications to Consider
Focus on the following specifications when selecting your pump:
| Specification | Recommended Value |
|---|---|
| Pressure Rating | 2000 – 4000 PSI |
| Flow Rate | 2 – 5 GPM |
| Material | Brass or stainless steel components |
| Temperature Limit | Up to 200°F |
When I built a unit for a car detailing business, I chose a pump rated at 3000 PSI with a flow rate of 2.5 GPM. This combination provided enough power to remove tough grime without damaging delicate surfaces. Always check the manufacturer’s specifications to ensure compatibility with your motor and other components.
Maintenance and Longevity
Regular maintenance of the pump extends its lifespan. I recommend changing the oil every 50 hours of operation and inspecting the seals for wear. A quick clean of the inlet filter can prevent clogs and maintain optimal performance. Investing time in upkeep has saved me significant repair costs over the years.
In conclusion, selecting the right pump isn’t just about immediate needs; it shapes the performance and longevity of your equipment. Trust me, the right choice today will pay off in the long run.
Understanding Hose and Nozzle Requirements
Choosing the right hose and nozzle is paramount for achieving optimal results with your cleaning setup. I’ve seen time and again how an inadequate hose can hinder performance, causing frustration and less than satisfactory outcomes. A minimum diameter of 1/4 inch is advisable for residential use, while heavier tasks may require a thicker hose, such as 3/8 inch. The length of the hose also matters; longer hoses can reduce pressure due to friction loss. I recommend keeping it under 100 feet for best results.
Hose Material and Quality
Invest in a reinforced rubber or PVC hose. These materials provide durability and flexibility, withstanding kinks and abrasions. In my experience, cheaper hoses tend to wear out quickly, leading to leaks and increased maintenance. Look for hoses rated for at least 3000 PSI, ensuring they can handle the pressure generated by your pump.
Nozzle Selection
Nozzles are the unsung heroes of cleaning systems. Opt for a set that includes various spray patterns: 0°, 15°, 25°, and 40°. Each angle serves different purposes, from blasting tough grime to rinsing surfaces. I’ve often preferred adjustable nozzles for their versatility, but specific tasks might warrant fixed nozzles. Pay attention to the orifice size; it should match your pump’s output to maintain pressure and flow efficiency.
Designing a Custom Frame for Stability and Mobility
For a solid foundation, the frame should be constructed from sturdy materials like steel or aluminium. I often opt for a steel frame, as it provides excellent durability. Ensure the frame is designed to accommodate the weight distribution of the motor and pump, preventing any wobbling during operation.

Dimensions and Layout
When determining the size, consider the dimensions of all components. A compact layout enhances mobility, making it easier to manoeuvre. I’ve found that a frame width of around 60 cm and a height of 90 cm offers a good balance between stability and ease of transport. Additionally, include adjustable feet to level the unit on uneven surfaces.
Mobility Features
Incorporate large pneumatic wheels for easy navigation over various terrains. I prefer wheels at least 25 cm in diameter, as they roll smoothly and absorb shocks effectively. A handlebar that folds down is also a great addition; it allows for better storage without compromising space. Remember to attach a secure mounting system for hoses and accessories to keep everything organised and within reach while in use.
Integrating a Water Supply System for Continuous Use
To ensure uninterrupted operation of your cleaning device, connecting a reliable water source is paramount. A gravity-fed system is an excellent choice for those seeking simplicity; it requires minimal components and can be easily set up. Consider using a large water tank elevated above the device to harness gravity for steady flow.
Utilising a Pumped Water Supply
If gravity isn’t an option, a submersible or inline pump can be the solution. Based on my experience, submersible pumps work well when placed in a water source like a barrel or reservoir. Make sure to match the pump’s capacity with the flow requirements of the cleaning equipment to avoid overworking the system. For inline pumps, ensure they are rated to handle the pressure and flow needed for optimal performance.
Filters and Maintenance
Integrating a filter system is crucial to prevent debris from entering the pump and causing damage. A simple mesh filter can capture larger particles, while more advanced options can tackle finer sediment. Regular maintenance, including cleaning or replacing filters, is necessary to keep the water supply system efficient. I’ve encountered several situations where neglecting this step led to significant operational issues.

For those searching for equipment options, check out this pressure washer dublin ca resource for insights on reliable systems that might suit your needs.
Safety Measures and Precautions During Assembly
Always wear appropriate personal protective equipment (PPE) such as safety goggles, gloves, and sturdy footwear. During the assembly, the risk of injuries from sharp components or unexpected tool slips is significant. I once cut my finger while handling a metal frame; it was a reminder that safety should always take precedence.
Electrical Safety
When working with electrical components, ensure that the power source is disconnected. Use insulated tools to prevent any accidental shocks. I remember a colleague who suffered a mild shock due to a careless connection. Double-check all wiring to ensure proper insulation and secure connections. Never work in wet conditions as water can increase the risk of electrical hazards.
Handling High-Pressure Components
Take extra care when dealing with hoses and fittings that will be exposed to high pressure. Always inspect for leaks before testing the system. I had a close call with a hose that burst during initial testing; the pressure was too high due to a faulty pump. Ensure all connections are tight and use clamps where necessary to prevent disconnections. Always follow the manufacturer’s specifications for pressure limits and usage.

Testing and Troubleshooting Your Homemade Cleaner
After assembling your custom cleaning apparatus, the initial test is crucial. Fill the tank with water and connect your setup to a power source. Make sure to inspect for leaks or unusual noises during operation. A steady stream of water should emerge from the nozzle without interruption.
Initial Testing Steps
- Check all connections. Ensure hoses are tightly secured to prevent leaks.
- Inspect the motor. Listen for any irregular sounds that might indicate a problem.
- Test the pressure output. Adjust the nozzle and observe if the pressure meets expectations.
- Monitor the water flow. It should be consistent and strong.
Troubleshooting Common Issues
- Low Pressure: This can result from a clogged nozzle or a malfunctioning pump. Clean the nozzle and check the pump for any obstructions.
- Inconsistent Water Flow: Verify that the water supply is adequate and that hoses are not kinked. Inspect for air leaks in the system.
- Motor Overheating: Ensure that the motor is not overloaded. Allow it to cool down and check for any signs of wear or damage.
- Excessive Noise: This could indicate loose components or a failing motor. Tighten connections and consider replacing the motor if issues persist.
For those interested in additional DIY projects, how to can carrots without a pressure cooker is a great resource to explore.
Always document your findings during testing. This not only helps identify recurring problems but also assists in fine-tuning your apparatus for optimal performance. Regular maintenance checks after each use will prolong the lifespan of your machine.

.jpg)


