


To effectively swap accessories on your cleaning device, ensure the power supply is disconnected first. It’s a simple yet crucial step that prevents accidental activation while you’re working. With the unit powered down, locate the connection point of the accessory you wish to replace. Most models feature a quick-release mechanism that allows for an effortless exchange.
In my experience, many users overlook the importance of checking the compatibility of new attachments. Always refer to the user manual to confirm that the accessory is designed for your specific model. I recall a time when I hastily purchased a nozzle that seemed perfect but ended up causing leaks due to a poor fit. Lesson learned: a little research goes a long way.
Once you’ve selected the right tool, align it with the connection port and push it firmly until you hear a click. This indicates that the accessory is securely attached. I’ve often found that a gentle twist can help ensure a tight fit. Don’t forget to perform a quick operational test before diving into your cleaning task; this ensures everything is functioning smoothly and ready for action.
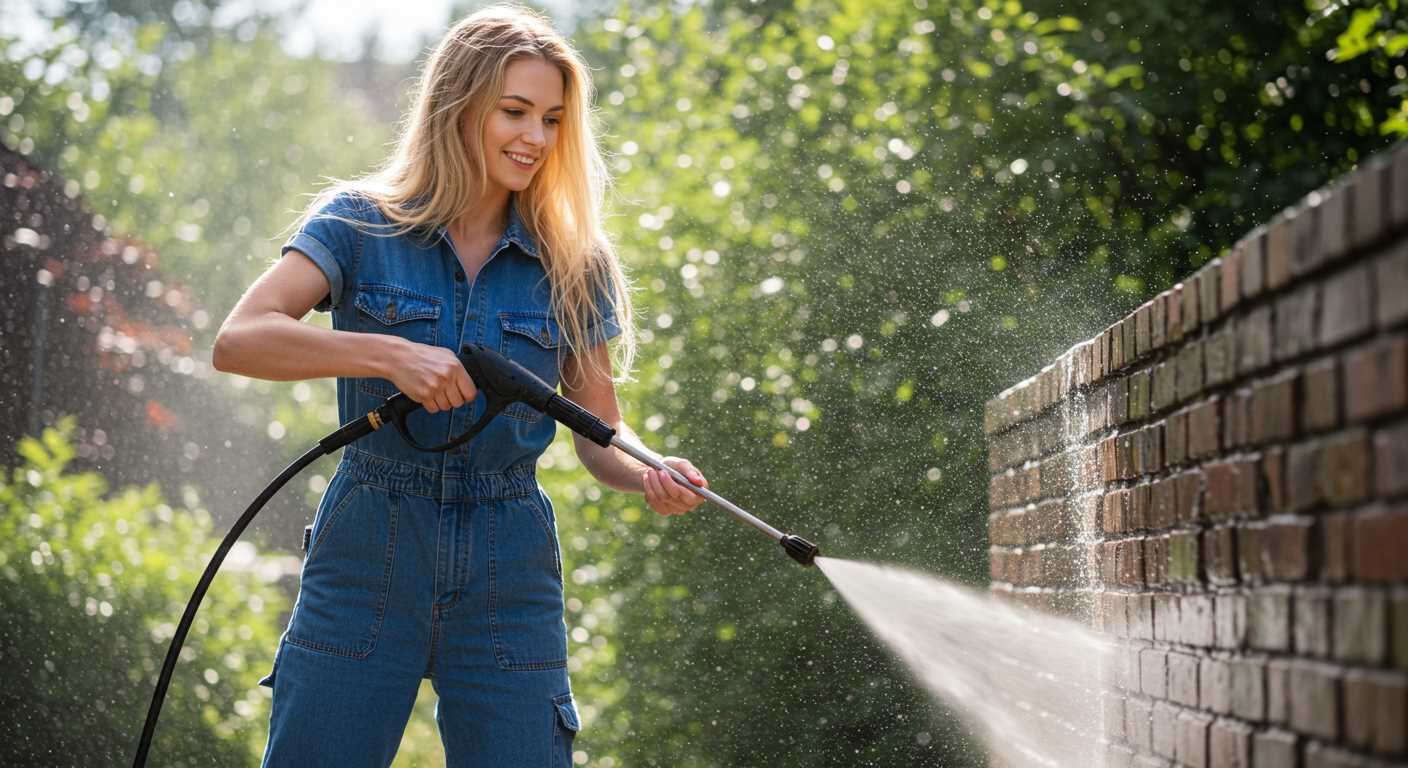
Switching the Nozzle on Your Cleaning Equipment
To replace the nozzle on your cleaning equipment, ensure the unit is turned off and disconnected from the power source. Locate the quick-connect fitting at the end of the lance. Press down on the collar surrounding the fitting while pulling the nozzle away from the lance. This may require a firm grip, especially if the nozzle hasn’t been removed for a while.
Once detached, select the desired nozzle type. Align it with the fitting and push it in until you hear a click, indicating it’s securely locked in place. Give it a gentle tug to confirm it’s fixed. Reconnect your equipment to the power supply and test the new nozzle by activating the trigger.
Using Different Wand Extensions
For those who enjoy versatility, using various wand extensions can enhance your experience. To switch extensions, simply detach the wand from the base of the unit by twisting it counterclockwise until it releases. Attach your new extension by aligning the connection points and twisting clockwise until secure. This allows for better reach and accessibility in tight spots.
Maintenance Tips for Longevity
Regular maintenance of your nozzles and extensions is crucial. After each use, rinse them with clean water to prevent debris buildup. Store them in a cool, dry place to avoid damage. Keeping your nozzles and extensions in good condition ensures optimal performance and longevity of your cleaning equipment.
Identifying the Right Attachment for Your Pressure Washer
To find the most suitable nozzle for your cleaning equipment, consider the specific task at hand. For instance, a narrow spray pattern is ideal for stubborn stains on concrete, while a wider angle works well for delicate surfaces like wood decking. Always check the manufacturer’s specifications to ensure compatibility with your unit.
Understand the Application
Each cleaning task requires a distinct approach. For vehicle washing, a soft foam nozzle can help lift grime without damaging the paint. On the other hand, for heavy-duty tasks such as stripping paint, a turbo nozzle can save time and effort. My experience has shown that having a variety of nozzles for different scenarios enhances versatility and efficiency.
Material Compatibility
Evaluate the materials you’ll be cleaning. Some attachments are designed specifically for certain surfaces. For example, using a brush attachment on rough surfaces can improve cleaning results without causing scratches. In my years of testing, I found that mismatched attachments can lead to damage or inadequate cleaning, so always choose wisely.
Lastly, don’t overlook the importance of maintenance. Regularly inspect your nozzles for clogs or wear and tear. Keeping your equipment in good condition ensures optimal performance and longevity.
Gathering Necessary Tools for the Attachment Change
Before you begin, ensure you have the following items ready: a suitable wrench or socket set for loosening any fastenings, a soft cloth for cleaning, and a bucket to catch residual water. A pair of gloves will protect your hands from any sharp edges or grime.
Consider using a flathead screwdriver or pliers, as these can assist with stubborn components. It’s also wise to have a hose clamp handy if you encounter any hose disconnections during the process.
Additionally, a guide or manual specific to your model can provide invaluable information regarding compatibility and installation steps. I once attempted a swap without checking the manual and ended up with a mismatch–an easy mistake to make, but one that can be avoided!
Having a well-lit workspace will make the task easier. A flashlight or work light can help illuminate any dark corners of your cleaning device. Lastly, don’t forget a towel to wipe down surfaces after you’ve finished to ensure everything is clean and ready for the next use.
Disconnecting the Current Attachment Safely
Before starting the process, ensure the unit is completely powered down and disconnected from any power source. This prevents accidental activation while you are working. Always wear protective gloves to safeguard your hands from any sharp edges or debris that might be present.
Step-by-Step Procedure
First, locate the release mechanism, which might be a button or a twist lock, depending on the model. Press or twist the mechanism firmly to disengage the component. If it feels stuck, avoid using excessive force. Instead, gently wiggle the piece while applying slight pressure to the release to help loosen it.
Once detached, inspect the ending of the wand or nozzle for any build-up or debris. Clean it thoroughly before attaching a new piece, as this helps maintain optimal performance and extends the life of your equipment. Store the removed item in a safe place, ensuring it’s clean and dry to prevent corrosion.
Final Checks
After you’ve successfully removed the existing component, take a moment to check for any signs of wear or damage on the connection point. If any issues are found, it’s wise to address them before proceeding with a new component to avoid future problems.
Preparing the New Attachment for Installation
Ensure the new tool is compatible with your unit by checking the specifications on the packaging or the manufacturer’s website. This step is crucial to avoid any issues during installation.
Inspecting the New Tool
- Examine for any visible damage or defects.
- Ensure all components are included, such as connectors and nozzles.
- Look for any rust or corrosion, especially on metal parts.
Cleaning the Connection Area
Before attaching the new device, clean the connection point on the machine. Use a damp cloth to remove dust, grime, and debris. This helps ensure a secure fit and optimal performance.
Check the rubber O-rings or seals for wear. If they appear damaged or degraded, replace them to prevent leaks. Having a good seal is essential for proper function.
Lastly, refer to the installation guide that comes with the new component. This document provides specific instructions tailored to the tool, ensuring a smooth setup process.
Securing the New Attachment Properly
To ensure your new component is locked in place, align it carefully with the mounting point. Once positioned, apply firm pressure until you hear a click. This indicates that the locking mechanism has engaged, securing it effectively. It’s vital to double-check that there is no wobble or movement, as this could lead to malfunctions during use.
Testing Stability
After installation, gently tug on the new piece to confirm it’s firmly attached. If it feels loose, remove it and repeat the locking process, ensuring that any locking pins or levers are fully engaged. I’ve encountered instances where a seemingly secure fit actually required a second attempt, so don’t skip this step.
Final Checks Before Use
Before you power up the unit, make a visual inspection of the newly installed piece. Look for any gaps or misalignments that could affect performance. During my years in the field, I’ve learned that a quick visual check can save a lot of hassle and potential damage later on. Once satisfied, you’re ready to get to work with confidence.
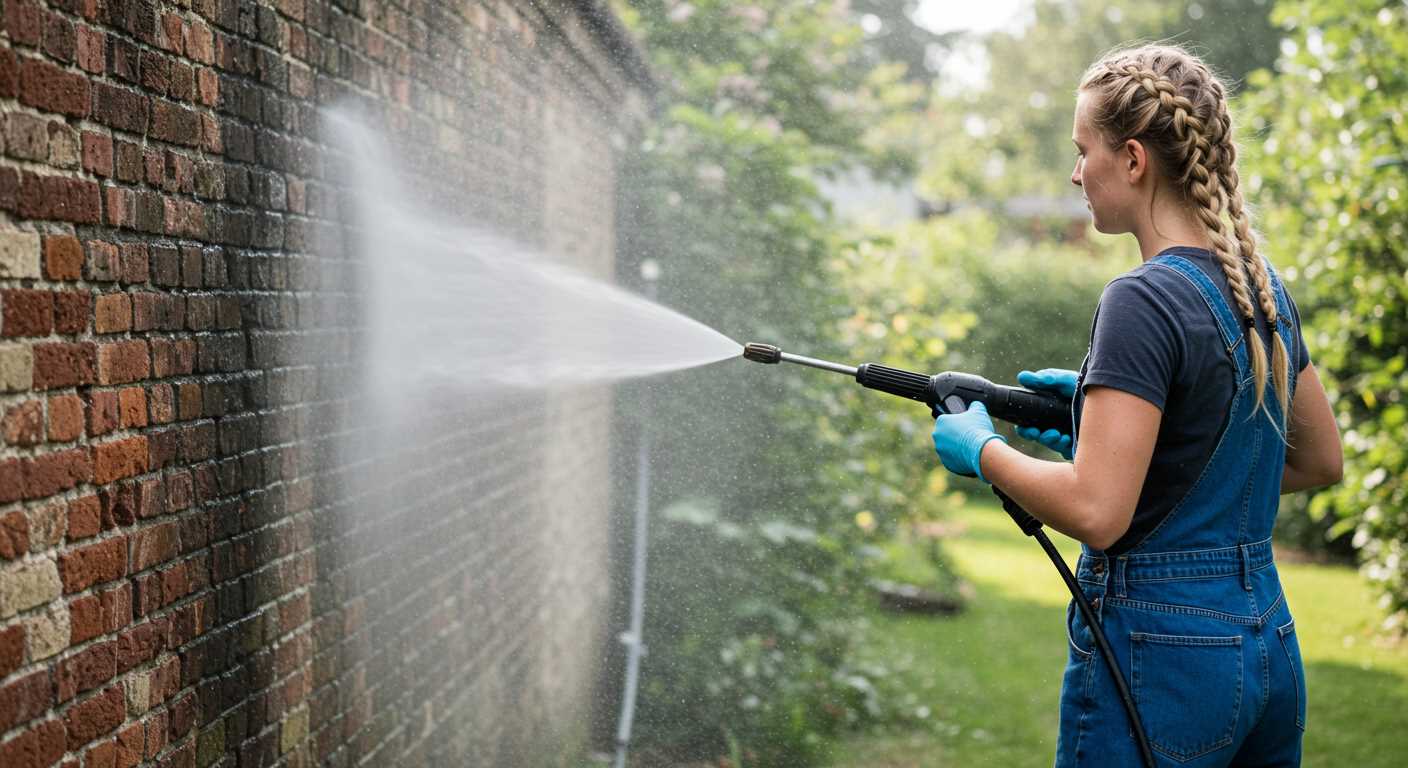
Testing the New Accessory for Functionality
Once the new component is securely attached, it’s time to assess its performance. Begin by ensuring the unit is connected to a water source and the power is on. Start the machine at a low setting to gauge how the new piece operates under minimal pressure.
Observe the water flow and spray pattern. Each nozzle or brush is designed for specific tasks; the results should align with expectations. If you’re using a soap applicator, check for even distribution of cleaner. For surface cleaners, look for a consistent cleaning width without streaks.
During my years in the field, I found that some accessories required a brief break-in period. After a few minutes of use, re-evaluate the output. If the performance appears off, double-check the installation. Misalignment can significantly impact efficiency.
Another effective method is to test the new implement on different surfaces. For instance, if it’s a rotating brush, try it on concrete, wood, and even vehicles. This will give you an overall sense of its versatility and effectiveness across various materials.
| Surface Type | Expected Result | Notes |
|---|---|---|
| Concrete | Deep clean with minimal effort | Check for debris removal efficiency |
| Wood | Gentle clean without damage | Monitor for splintering |
| Vehicles | Thorough wash without streaks | Ensure the soap application is even |
After completing the tests, take note of any areas that may need adjustment or improvement in the design. Keeping a log of your findings can be invaluable for future reference, especially if you frequently switch out components. Sharing these insights can also help others in the community optimise their cleaning tasks. Trust me, a little diligence now pays off in the long run.
Maintaining Accessories for Longevity
Regular upkeep of your cleaning tools can significantly extend their lifespan. Here are some practical steps I recommend based on my years of experience in the field.
- Clean After Each Use: Always rinse off any debris or residue after using your tool. This prevents build-up which can lead to clogs or damage over time.
- Inspect for Wear: After each session, check for any signs of wear, such as cracks or fraying. Early detection can save you from costly replacements.
- Store Properly: Keep all accessories in a dry, cool place. Avoid leaving them exposed to extreme temperatures or direct sunlight, as this can degrade materials.
- Lubricate Moving Parts: If your equipment has any moving components, apply a little lubricant to ensure smooth operation. This reduces friction and wear.
- Follow Manufacturer Guidelines: Always refer to the care instructions provided by the manufacturer. They often include specific tips tailored to your model.
For those who also have pets, consider the safety of your surroundings. It’s worth exploring if can an electric cattle fence hurt a dog before setting up barriers while cleaning.
If you’re also considering portable options, you might find interest in a portable pressure washer for horses for quick clean-ups in various environments.
FAQ:
What tools do I need to change the attachment on my Ryobi pressure washer?
To change the attachment on your Ryobi pressure washer, you will need a few basic tools. Generally, you should have a pair of pliers on hand to help grip and twist any stubborn fittings. Additionally, a flathead screwdriver can be useful for prying off any retaining clips if your model uses them. Some attachments may come with their own wrenches or fittings, so it’s always a good idea to check the specific instructions for your attachment before proceeding.
How do I remove the old attachment from my Ryobi pressure washer?
To remove the old attachment, first ensure your pressure washer is turned off and disconnected from the power source. Locate the attachment at the end of the spray wand. If it’s a twist-on type, grip it firmly and turn it counter-clockwise until it loosens. If there is a locking mechanism, you may need to press a button or pull a lever to release it. Once it is free, gently pull it away from the wand to detach it completely. Be cautious of any remaining water in the hose, and have a towel ready to catch any spills.
Can I use any attachment with my Ryobi pressure washer?
Not all attachments are compatible with every Ryobi pressure washer model. It’s important to check the specifications of your pressure washer and the attachment you intend to use. Most attachments are designed to fit specific models or series. Using an incompatible attachment may not only lead to poor performance but could also damage your pressure washer. Always refer to your user manual for guidance on compatible attachments and recommended accessories.
What are the benefits of changing attachments on my pressure washer?
Changing attachments on your pressure washer allows you to adapt the machine for various cleaning tasks. Different attachments are designed for specific surfaces and types of dirt, such as a rotating brush for stubborn grime or a wide-angle nozzle for gentle cleaning. By using the right attachment, you can improve the efficiency of your cleaning process and achieve better results. Additionally, having a range of attachments can extend the versatility of your pressure washer, making it useful for tasks around the home and garden.
.jpg)


