
.jpg)


.jpg "How to change heads on karcher pressure washer")
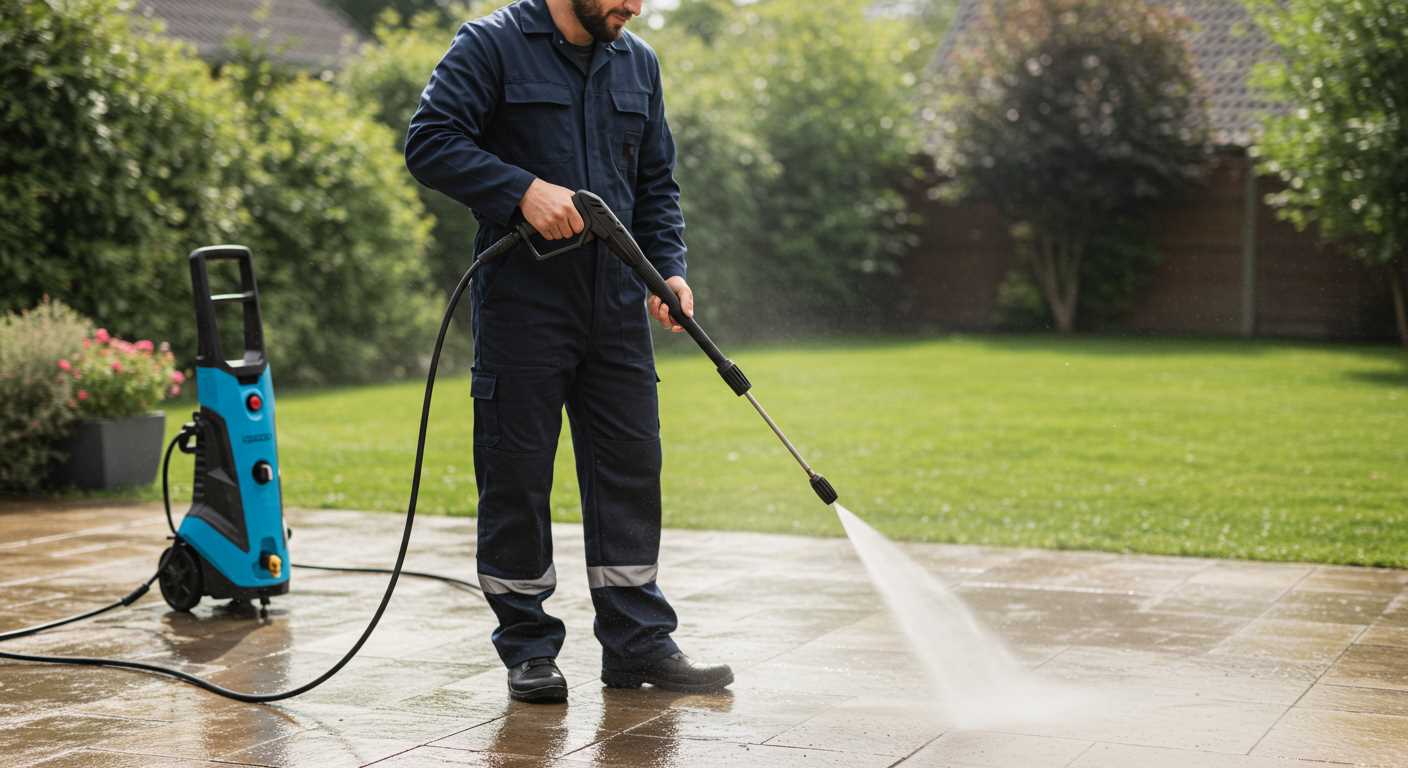
For optimal performance, ensure you select the correct nozzle for your specific task. Each attachment is designed for unique applications, whether it’s removing grime from patios or gently washing your car. I remember a day when I overlooked this and ended up using the wrong nozzle on my vehicle; the result was a few scratches that could have easily been avoided with a softer spray.
Begin by turning off the machine and disconnecting it from the power source. Safety first! Then, remove the existing nozzle by pressing the release button, which varies depending on the model. I’ve had my share of struggles with stubborn attachments, but a gentle twist while pressing the release usually does the trick.
After the old nozzle is off, choose the new one that fits your cleaning needs. A wide-angle nozzle works wonders for large surfaces, while a narrow one targets stubborn stains effectively. I often switch between them depending on the task at hand, which significantly improves my cleaning efficiency. Once you’ve selected the appropriate attachment, align it with the lance and push until you hear a click–this ensures it’s securely locked in place.
Before you start cleaning, perform a quick test on a small, inconspicuous area. This step can save you from potential damage. I’ve learned this lesson the hard way when I used a high-pressure setting on a delicate surface without checking first.
Swapping Out Nozzles on Your Cleaning Unit
First off, ensure your unit is powered off and disconnected from the water supply. Safety is paramount. To replace the nozzle, simply grasp the existing one and twist it counterclockwise until it releases. If it’s stubborn, a gentle wiggle can help loosen it. Once free, take your new nozzle and align it with the connector. Twist it clockwise until you feel a secure fit.
Choosing the Right Nozzle
Selecting the appropriate nozzle is key to achieving the desired cleaning results. Here’s a quick guide:
| Nozzle Type | Usage |
|---|---|
| 0° (Red) | Powerful jet for stubborn stains |
| 15° (Yellow) | Ideal for tough surfaces like concrete |
| 25° (Green) | General cleaning for vehicles and patios |
| 40° (White) | Gentle spray for delicate surfaces |
| Soap (Black) | For applying detergent |
Regular Maintenance Tips
After using different nozzles, it’s wise to clean them regularly. Rinse them under warm water to remove any debris. Additionally, check for wear and tear; a damaged nozzle can affect performance. If you notice any cracks or blockages, replacing the nozzle is well worth it.
Lastly, if you’re interested in environmental impacts of equipment, consider reading about how are digital cameras bad for the environment. Keeping your gear in top shape not only enhances performance but also extends its lifespan, reducing waste.
Identifying the Correct Replacement Head for Your Model
To ensure optimal performance, selecting the right nozzle for your unit is crucial. Begin by checking the model number, usually located on the machine’s body. This number will guide you to compatible accessories.
- Consult the Manual: Your user manual contains specific information regarding compatible nozzles and their intended uses. Keep it handy for quick reference.
- Online Resources: Most manufacturers provide an online database. Enter your model number, and you’ll receive a list of recommended attachments.
- Measure the Connection: Nozzles typically have a standard connection size. Use a ruler to measure the diameter of the fitting on your device to ensure a snug fit.
- Check for Colour Codes: Some nozzles come with colour coding that indicates pressure levels. Familiarise yourself with these codes to select the appropriate option for your task.
In my experience, I once overlooked the model number when purchasing a replacement. The result was a misfit nozzle that not only caused leaks but also reduced the efficiency of the task at hand. Always double-check compatibility!
Consider the type of cleaning you require. For example, a wider spray pattern is ideal for gentle cleaning on delicate surfaces, while a concentrated jet is better suited for tough grime. Knowing your cleaning needs will direct you to the appropriate nozzle choice.
Lastly, if uncertain, visit a local retailer or reach out to customer service. They can provide insights and recommendations based on your model, ensuring you acquire the right accessory for your unit.
Gathering Necessary Tools for the Head Replacement Process
Before starting the replacement, ensure you have the right tools on hand. You will need a set of screwdrivers, typically Phillips and flathead, to remove any screws securing the attachment. A pair of pliers can be useful for loosening stubborn fittings, especially if they’ve been in place for a while. Additionally, a wrench may be required for tightening or loosening nuts on some models.
Optional Tools for Easier Handling
Having a rubber mallet can be a game changer if the head is stuck. A gentle tap can help release it without causing damage. For those who prefer precision, a torque wrench is handy for ensuring all screws are tightened to the manufacturer’s specifications. Don’t forget to wear safety gloves and goggles to protect yourself during the process.
Where to Find Replacement Attachments
Once your tools are ready, sourcing the right replacement component is next. Online resources can be a goldmine. For instance, if you’re looking for a specific patio cleaner attachment for pressure washer, check dedicated websites or local retailers. Ensure that the attachment is compatible with your model to avoid any mishaps during installation.
Steps to Safely Disconnect the Current Head
Ensure the machine is powered off and unplugged before starting this process. Safety first!
- Locate the connection point where the attachment meets the main unit.
- Firmly grip the current attachment while pressing the release button or lever, depending on your model.
- Gently twist the attachment counterclockwise to loosen it from the fitting.
- Pull the attachment away from the unit, taking care not to apply excessive force.
- Inspect the connection area for any debris or damage that could affect the new attachment.
These steps help prevent damage to both the attachment and the machine, ensuring a smooth transition to the new accessory.
Installing the New Head: A Step-by-Step Guide
Align the new attachment with the connector on the body of the machine. Ensure that the locking mechanism is in the open position to facilitate easy insertion.
Gently push the new component into place until you hear a click. This sound indicates that the attachment has securely locked into the connector. If it doesn’t click, double-check alignment and try again.
Next, engage the locking mechanism by moving it into the closed position. You should feel resistance as it locks, confirming a secure fit. Make sure there’s no wobbling; a snug fit is crucial for optimal performance.
Once secured, test the connection by gently tugging on the new part. It should remain firmly in place without any movement. This step is vital to avoid any mishaps during operation.
Before powering on the equipment, inspect all connections for any visible gaps or misalignments. Proper installation ensures efficiency and safety during use.
Now, reconnect the water supply and power source. Turn on the equipment and run a short test cycle to ensure everything operates smoothly. Observe for any leaks or unusual noises, as these could indicate improper installation or a faulty component.
After testing, you’re ready to tackle your cleaning tasks. Regularly check the attachment for wear and tear, and replace it as needed to maintain peak performance.
Testing the New Head for Proper Functionality
After installing the replacement component, it’s time to ensure everything operates as intended. Begin by reconnecting the device to its power source and water supply. Check for any visible leaks around the connection points. If you notice dripping, it may indicate a misalignment or incomplete attachment.
Initial Run
With the unit powered on, perform a short test run. Activate the trigger to release water and observe the spray pattern. A well-fitted nozzle should produce a steady and even jet. If the stream appears weak or inconsistent, it could signal an issue with the fitting or an obstruction within the new attachment.
Performance Evaluation
Next, assess the performance by directing the spray at a surface, such as a patio or driveway. The cleaning capability should meet your expectations based on the specifications of the new component. If the dirt and grime do not come off easily, double-check that you installed the correct attachment for your specific model.
Finally, allow the device to run for a few minutes while monitoring for unusual noises or vibrations. These could indicate improper installation or potential damage. If everything checks out, you can proceed with your cleaning tasks with confidence.
Maintaining Your Cleaning Tool Accessories for Longevity
Regular upkeep of your cleaning tool attachments significantly extends their lifespan. After years of working with various models, I’ve found that simple maintenance practices can yield remarkable results.
Keep Them Clean
After each use, ensure to rinse off any debris or residue. A quick wash prevents build-up that can hinder performance. I always keep a soft brush handy for scrubbing stubborn dirt. It’s surprising how much a little attention can improve efficiency.
Inspect for Wear and Tear
Consistent checks for signs of damage, such as cracks or leaks, are essential. I recall a time when I overlooked a small crack on an attachment, leading to reduced water pressure. Regular inspections allow you to catch issues early and avoid larger problems down the line.
Storing your accessories properly is equally important. Avoid leaving them exposed to harsh weather or direct sunlight, as this can degrade materials over time. I recommend a designated storage space, preferably in a cool, dry area, to keep everything in top condition.
If you notice any components are becoming worn out, it’s wise to replace them before they fail entirely. Investing in quality replacements can save you money and time in the long run.
Lastly, refer to the manufacturer’s guidelines for specific maintenance recommendations tailored to your equipment. Following these can help maintain optimum performance and prolong the life of your attachments.
Troubleshooting Common Issues After Changing Heads
If you notice an inconsistent water flow after replacing the nozzle, it’s often due to improper attachment. Ensure the new fitting is securely locked in place; a loose connection can lead to leaks or reduced pressure. I’ve seen this issue arise more than once, and a quick reattachment usually resolves it.
In cases where the spray pattern seems off, check for clogs or debris in the new attachment. A simple rinse under running water can clear any blockages. During my time working with various models, I found that even small particles can significantly impact performance.
If the unit fails to start after installation, verify that all connections are tight and that the power source is functional. Occasionally, users overlook the importance of checking the power supply, which can lead to unnecessary frustration. I once spent a good half-hour troubleshooting a perfectly fine machine, only to discover it wasn’t plugged in properly.
Unexpected vibrations during operation may signal an incorrectly fitted accessory. Inspect the alignment and fit of the new component. Adjusting the positioning can eliminate excess movement, ensuring smoother operation. This was a lesson learned the hard way on a particularly challenging job site.
Lastly, if you encounter excessive noise, it could indicate a compatibility issue with the new part. Make sure you’ve chosen the correct model for your equipment. I remember a time when I mistakenly fitted a nozzle that wasn’t designed for my machine, leading to a cacophony of sounds that made the task unbearable. Always double-check specifications before making a purchase.
FAQ:
What tools are needed to change the heads on a Karcher pressure washer?
To change the heads on a Karcher pressure washer, you will typically need a few basic tools. First, a set of screwdrivers (both flat and Phillips) may be necessary to remove any screws securing the head. Additionally, pliers can help in gripping and loosening any stubborn parts. It’s also advisable to have a cloth handy for cleaning any surfaces as you work. Most importantly, ensure that the pressure washer is disconnected from the power source and is depressurised before you begin the process.
Can you explain the steps involved in changing the heads on a Karcher pressure washer?
Changing the heads on a Karcher pressure washer involves several straightforward steps. First, ensure the pressure washer is turned off and disconnected from the power supply. Next, locate the head you wish to change. Depending on the model, you may need to unscrew it using a screwdriver. Carefully detach the old head by pulling it straight off the lance or attachment point. Then, take your new head and align it with the connection point, pushing it firmly into place. If screws were removed, reattach them securely. Finally, double-check that everything is fitted correctly, then reconnect the pressure washer to the power supply and test the new head.
How can I ensure that the new head is compatible with my Karcher pressure washer?
To ensure compatibility of the new head with your Karcher pressure washer, check the model number of your machine, which can usually be found on the unit itself. Refer to the user manual or visit the Karcher website for guidance on which heads are suitable for your specific model. It’s also helpful to purchase heads directly from Karcher or authorised retailers, as they will have the correct specifications for your pressure washer. If in doubt, consult a customer service representative for assistance in finding the right attachment.
What are the common signs that indicate a head needs changing on a Karcher pressure washer?
Common signs that a head may need changing on a Karcher pressure washer include reduced water pressure, uneven spray patterns, or visible wear and tear on the nozzle. If the spray becomes inconsistent or if there are noticeable blockages that cleaning does not resolve, it is often a sign that the head is worn out and should be replaced. Additionally, if you notice that the head is leaking water or not attaching properly, these can also be indicators that it is time for a change.
How often should I change the heads on my Karcher pressure washer?
The frequency of changing the heads on a Karcher pressure washer depends on several factors, including how often you use the machine and the types of tasks you perform. For regular home use, you might find that changing the heads every couple of years is sufficient. However, if you use the pressure washer frequently for heavy-duty cleaning or in harsh conditions, you may need to change the heads more often. Regularly inspecting the condition of the heads can help you determine when it’s time for a replacement.
.jpg)


