


First things first, ensure your equipment is unplugged and the water supply is turned off. Safety should always come before any maintenance task. I remember the time I made the mistake of rushing through a simple task, and it cost me more than just a few minutes. Trust me, taking a moment to prepare can save you from potential mishaps.
Next, locate the quick-connect fittings on both ends of your cleaning apparatus. These fittings typically require a simple twist or pull to detach. I’ve encountered stubborn connectors that seemed impossible to remove. A gentle wiggle while applying consistent pressure usually does the trick. If you encounter resistance, inspect for any debris or damage that may be causing the hold-up.

Once disconnected, grab your new connector and ensure it matches the specifications of your device. I’ve seen too many people assume compatibility without checking. It’s a minor detail that can lead to frustration during the next use. After securing the new piece, make sure it’s firmly attached before reactivating the water supply.
Finally, do a quick test run. Check for leaks and ensure that everything is functioning smoothly. I always recommend performing this check outside, where any spills won’t cause damage. A few minutes invested in this step can save you from bigger problems down the line.
Replacing the Connection on Your Cleaning Unit
To begin, ensure the machine is completely turned off and disconnected from the power source. This is crucial for safety. Next, locate the quick-connect fitting where the line attaches to the main body of the unit. You’ll want to pull back on the collar of this fitting to release the line. I’ve found that sometimes a little twist helps free it up if it’s stuck.
Once the fitting is disengaged, remove any debris or water that may have collected in the area. This can prevent potential issues with the new line. Grab your new line and align it with the fitting. Push it in until you hear a click, which indicates a secure connection. I remember the first time I struggled with this step, thinking I had to force it in. But a gentle push followed by a twist often does the trick.
After securing the connection, ensure that the other end of the line is properly attached to your nozzle or lance, depending on your setup. Don’t forget to check for any leaks after turning on the unit. I’ve learned to keep an eye out for this, as small drips can lead to bigger problems down the line.
Finally, always store your equipment properly after use. A neatly coiled line can extend its lifespan significantly. I’ve seen too many units suffer from kinks and tangles because of careless storage. So, take the extra minute to wrap it up nicely.
Identifying the Correct Replacement Hose Model
Start by checking the specifications of your unit. Each model has unique requirements, and using the wrong replacement can lead to performance issues. Look for the model number, typically found on the machine itself or in the user manual. This is your first step in ensuring compatibility.
Specifications and Features
Examine the diameter of the original line. Most washers use either a 1/4-inch or 3/8-inch size, and this measurement significantly impacts flow and pressure. Next, consider the length. A longer line allows for greater reach but may affect pressure loss. Aim to find a balance that suits your cleaning needs without compromising performance.
Material and Durability
Focus on the construction material. High-quality materials like reinforced rubber or thermoplastic are preferable, as they withstand high pressure and resist kinks. I’ve experienced subpar replacements that lacked durability, so investing in a robust model pays off in the long run. Always opt for brands or models that are known for reliability, as this can save you from future headaches.
Gathering Necessary Tools for the Hose Replacement
Start with a basic set of tools: a wrench, screwdriver, and pliers. These items will help you disconnect the existing attachment points securely. A towel or rag is handy for cleaning any residual water from the fittings, ensuring a tight seal with the new component.
Consider having a bucket nearby to catch any excess water. This step saves you from unnecessary mess and keeps your workspace tidy. If you have a garden vacuum, like the best cordless garden vacuum shredder, it can assist in cleanup after the replacement.
Safety gear is also wise; gloves protect your hands from sharp edges, while goggles shield your eyes from any debris during the process. Always double-check that your machine is turned off and disconnected from power before starting any work.
Lastly, a flashlight can be beneficial for inspecting hard-to-see areas, ensuring nothing is overlooked during the replacement. With these tools in hand, you’ll be well-prepared for a smooth transition to the new attachment.
Disconnecting the Old Hose from the Pressure Washer
To remove the existing tubing from your cleaning device, locate the connection points on both the unit and the wand. Typically, there are two primary connections: one at the inlet where the water supply attaches, and another at the outlet leading to the nozzle. Pay attention to any locking mechanisms or quick-release fittings that may be present.
Steps to Disconnect
1. Turn off the power supply and disconnect the water source. This is crucial to prevent any accidents during the process.
2. Inspect the connection points for any locking tabs or clips. If present, gently disengage them to allow for smooth disconnection.
3. For threaded connections, use a wrench to carefully loosen the fittings. Avoid using excessive force to prevent damage.
4. Once disconnected, check the old tubing for any wear or damage, as this can inform your choice for the replacement.
Tools Required
| Tool | Purpose |
|---|---|
| Wrench | To loosen threaded fittings |
| Screwdriver | To release any clips or tabs |
| Towel | To wipe any water spills |
Following these steps ensures a straightforward disconnection of the old tubing, setting you up for a seamless installation of the new one. Remember, a little caution goes a long way in maintaining the integrity of your equipment.
Preparing the New Hose for Installation
Before proceeding with the setup, ensure the replacement tubing is ready for use. Start by inspecting the new component for any visible signs of damage or defects. Check for cracks, kinks, or leaks that may affect performance. A quick visual assessment can save you from future complications.
Gathering Necessary Accessories
Some additional items may enhance the connection process:
- Thread seal tape: This helps in securing connections and preventing leaks.
- Adapters: In case the new tubing requires different fittings, ensure you have the correct adapters at hand.
- Protective gloves: Wearing gloves can prevent any accidental injuries during installation.
Cleaning Connections
Before attaching the new tubing, take a moment to clean the connection points on both the appliance and the new accessory. Remove any debris, dirt, or old sealant from the threads. A clean surface ensures a tight seal, minimizing the chances of leaks. Use a cloth or brush to wipe away any stubborn residue.
Once everything is checked and cleaned, you’re set to connect the new tubing. Ensure all fittings align properly, and remember that a secure installation is key to optimal performance.
Attaching the New Hose to the Pressure Washer
Align the new tubing with the connection point on the unit. Ensure the threading is clean and free from debris. It’s crucial to achieve a tight fit to prevent leaks.
- Start by hand-tightening the connector. This initial step is important to avoid cross-threading.
- Once hand-tightened, use a wrench to secure it further. Apply moderate pressure; overtightening can damage the fittings.
After securing the connector, check for alignment. The attachment should sit straight without any bends or kinks in the line. This ensures optimal water flow during operation.
Next, turn on the water supply to the new line. Inspect the joint for any signs of leakage. If you notice any drips, slightly adjust the connection and retest.
- Remember to check the connection periodically during use. A loose fit can lead to performance issues.
- It’s wise to keep a wrench nearby for quick adjustments if needed.
Once everything is secure and leak-free, you’re ready to reconnect the spray wand and power on the equipment. Enjoy the enhanced performance with your new setup!
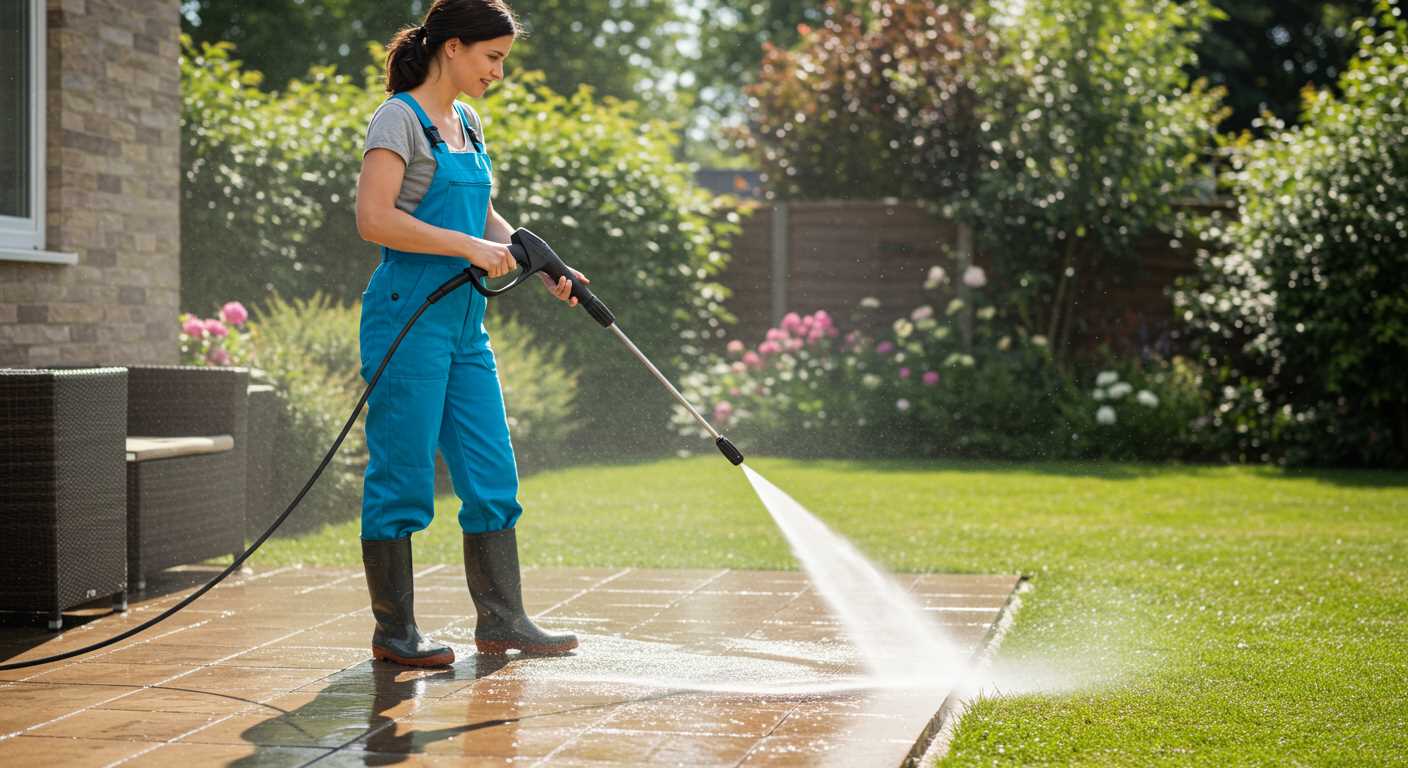
Testing the Equipment After Hose Replacement
.jpg "How to change hose on greenworks pressure washer")
After fitting the new attachment, the first step is to ensure everything functions properly. Start by connecting the unit to a water source and switch on the motor. Check for any leaks at the connection points. If you notice any moisture, tighten the fittings or recheck the installation.
Next, activate the trigger to release air from the system. It’s crucial to allow the water to flow freely for a few moments until a steady stream emerges. This indicates that the equipment is primed and ready for use. Watch for consistent pressure; an uneven spray can signal an issue with the new component or the setup.
Performing a Test Run
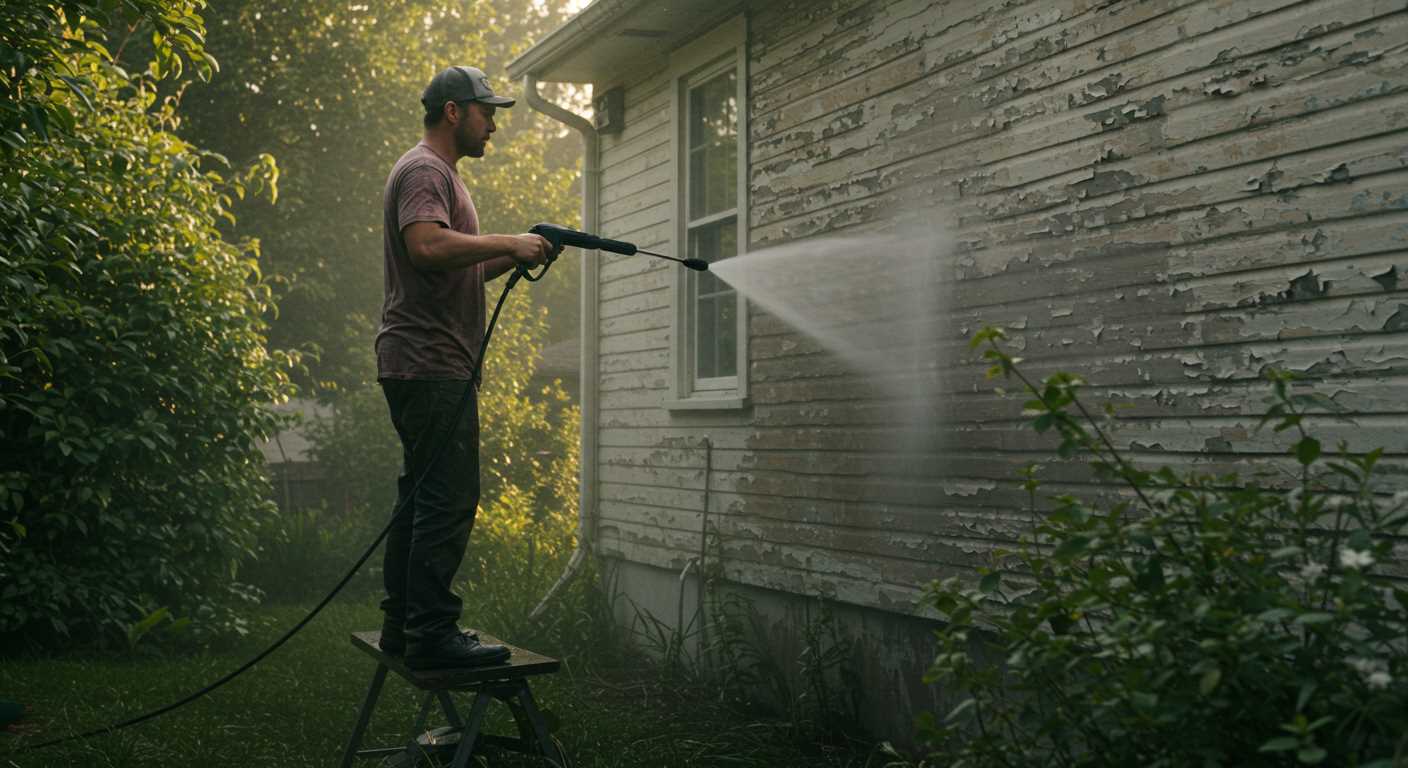
Conduct a brief test run by applying the nozzle to a small, dirty area. Observe the spray pattern and pressure output. A wide, powerful spray means a successful installation, while a weak stream may require further investigation. If the pressure is inadequate, revisit the connections or inspect the new part for compatibility issues.
Lastly, it’s wise to consider the hose length for pressure washer that suits your needs. An appropriate length can significantly affect performance, ensuring you reach all areas without strain. Regular checks and maintenance will prolong the life of your equipment and enhance efficiency.
.jpg)


