


Before you tackle the task of refreshing the lubricating fluid in your cleaning device, ensure you gather the necessary tools: a funnel, a rag, and a suitable container for disposal. Start by positioning the machine on a flat surface and allowing it to cool down if it was recently in use. This simple step prevents burns and ensures safety while you work.
Next, identify the fill cap on the engine. It’s often marked clearly, making it easy to locate. Use your funnel to pour in the new lubricant, filling it to the recommended level. Take a moment to wipe away any spills with a rag to maintain the cleanliness of your equipment. I remember my first time doing this; I was overly cautious, and it helped me appreciate the importance of keeping everything tidy.
After replenishing the fluid, check the level one more time. If you’ve overfilled it, use the container to siphon off any excess. This step is crucial; too much can cause leaks and damage the internal components. Reflecting on my experiences, I’ve learned that attention to detail in these small tasks can prolong the life of your gear significantly.

Finally, replace the fill cap securely and start the machine to circulate the new lubricant. Listen for any unusual sounds. If everything runs smoothly, you’ve done a great job. I’ve seen devices that were neglected for years transform into efficient machines with just a little regular care. Regular maintenance not only enhances performance but can also save you from costly repairs down the line.
Steps for Refreshing Your Troy Bilt Machine’s Lubricant
Begin with the equipment on a flat surface. This ensures accurate draining without spills. Grab a suitable container to catch the used lubricant. Locate the drain plug, usually positioned at the bottom of the engine, and remove it carefully. Allow the spent liquid to flow completely into your container. Make sure to dispose of it properly, following local regulations.
Refilling with New Lubricant
Once drained, reattach the drain plug securely. Now, it’s time to introduce fresh lubricant. Use a funnel for precision, pouring the recommended type into the designated fill hole. Refer to your user manual for the exact specifications. Keep an eye on the dipstick to avoid overfilling. It’s best to check the level after a short pour, ensuring you’re within the optimal range.
Final Checks
After refilling, start the engine briefly to circulate the new lubricant. This helps eliminate any air pockets. Shut down the machine and inspect for leaks around the drain plug and fill hole. A clean machine with fresh lubricant will perform better and extend its lifespan, so don’t skip this routine maintenance step.
Gather Necessary Tools and Materials
For a smooth transition in the maintenance of your cleaning device, assemble the following items: a suitable container for used liquid, a funnel for easy pouring, and a socket or wrench for removing the drain plug. It’s also wise to have a fresh filter on hand if your model requires one.
Additional Supplies
Keep some rags or paper towels nearby to wipe any spills. If your unit has a dipstick, a clean cloth will help you check the level accurately. Safety gloves will protect your hands, and goggles can shield your eyes from splashes.
Disposal Considerations
After collecting the used liquid, ensure you have a plan for disposal. Many local garages or recycling centres accept used automotive fluids. This is not only responsible but also keeps your environment clean.
For those curious about pet safety, check out this link: can small dogs use electric fence.
Locate the Oil Drain Plug
To find the drain plug, first, ensure the machine is on a flat surface. This will prevent any residual liquid from spilling. Typically, the plug is situated at the lower part of the engine, often near the base of the crankcase. Look for a small, round bolt or screw, which may be black or metal, depending on the model you own.
Identifying the Correct Location
If you’re having trouble spotting it, refer to the user manual. It usually contains a diagram that clearly indicates where the drain plug is located. In many instances, it’s positioned to the side, making it accessible without needing to tilt the entire unit.
Preparation for Draining
Before you start, gather a suitable container to catch the used liquid. Position it directly beneath the plug to avoid spills. Ensure the area around the unit is clean and free from any debris that could interfere with the process. It’s advisable to wear gloves for protection against any potential mess.
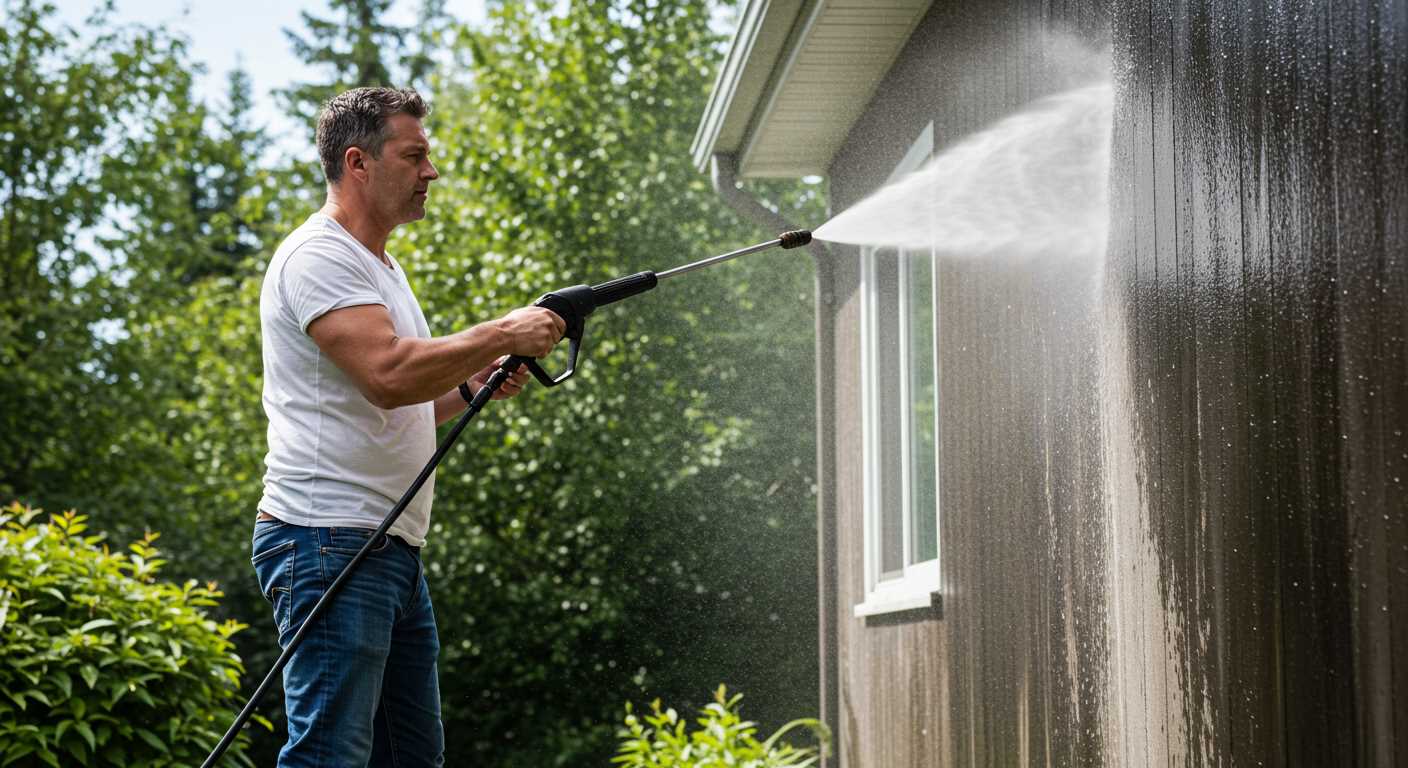
Prepare the Pressure Washer for Oil Change
Before starting the process, ensure the machine is on a flat surface to prevent spills. Turn off the engine and let it cool down completely. This reduces the risk of burns and allows the lubricant to drain effectively.
Drain the Fuel
For safety, drain the fuel tank. This prevents any accidental ignition during maintenance. You can use a siphon pump to remove the petrol easily, ensuring that the tank is empty before proceeding.
Gather Safety Gear
Put on gloves and safety goggles. This protects your skin and eyes from any residual fluids. It’s a simple precaution that goes a long way in ensuring your safety.
Check the user manual for specific instructions related to your model. This helps in identifying any unique features or requirements that might not be covered in general advice. Every little detail matters when it comes to keeping your equipment in top shape.
Drain Old Oil from the Engine
Begin by positioning your machine over a suitable drain pan to catch the used lubricant. Ensure the area is well-ventilated and free of any flammable materials. I recall one instance where I neglected this step, and the mess was a hassle to clean up.
With the equipment stable, locate the oil drain plug, which is typically found at the lowest point of the engine. Utilize a wrench to gently loosen it. If it’s too tight, applying a bit of penetrating oil can help ease the process. Be cautious, as the engine may still be warm from previous use.
Once the plug is removed, allow the fluid to flow completely into the pan. This may take a few minutes. I’ve often found that tilting the unit slightly can help expedite the draining process, ensuring that all residues are removed. It’s critical to wait until the flow has ceased before replacing the plug to avoid any leaks later on.
After draining, inspect the old lubricant for any unusual particles or discolouration, which can indicate internal issues. This moment has often helped me catch potential problems before they escalate. Once satisfied, securely replace the drain plug and clean up any spills to maintain a tidy workspace.
Replace Oil Filter if Applicable
If your unit has an oil filter, it’s essential to replace it at this stage. A clean filter ensures optimal performance and longevity of the engine. Here’s how to handle it effectively:
- Check the owner’s manual to confirm the presence of an oil filter. Some models do not include one.
- Gather a replacement filter that matches the specifications provided in the manual. Using an incorrect filter can lead to engine issues.
- Locate the oil filter, usually situated near the engine block. It looks like a small cylindrical component.
- Use an oil filter wrench to loosen and remove the old filter. Be prepared for some residual oil to spill out.
- Before installing the new filter, apply a thin layer of fresh lubricant to the rubber gasket of the new filter. This helps create a proper seal and makes future removal easier.
- Install the new filter by hand. Tighten it securely, but avoid overtightening to prevent damage.
After replacing the filter, continue with the procedure to fill the engine with fresh lubricant, ensuring you maintain the correct level as specified in the manual. Regular maintenance of the filter is key to preventing engine wear and tear.
Fill with New Oil to the Recommended Level
After successfully draining the old lubricant and ensuring the engine is primed for its new fluid, proceed to fill it with fresh lubricant. Use a funnel to avoid spillage and ensure precision. Pour slowly, checking the level frequently. It’s crucial to stop once you reach the indicated mark on the dipstick to prevent overfilling, which can lead to operational issues.
For most models, the acceptable volume is typically between 0.5 to 1 litre, but always refer to the user manual for specific requirements. After filling, wait a moment, then check the dipstick again. If the level is still below the recommended mark, add a little more until you achieve the proper level. This attention to detail can greatly enhance the longevity and performance of your machine.
Once filled, securely replace the dipstick and ensure all caps are tightened. Running the engine for a few minutes allows the new fluid to circulate properly. After this, it’s wise to check for leaks around the fill area and the drain plug to confirm everything is sealed correctly.
| Step | Action |
|---|---|
| 1 | Use a funnel for filling. |
| 2 | Pour slowly and check the level frequently. |
| 3 | Refer to the manual for volume specifications. |
| 4 | Run the engine briefly and check for leaks. |
Maintaining the right fluid level is essential for optimal function. If you’re considering a compact machine for home tasks, check out this small pressure washer for home use. Keeping everything in top shape ensures that your equipment works effectively for years to come.
Dispose of Old Oil Properly
Dispose of used lubricant responsibly to minimise environmental impact. Never pour it down the drain or on the ground. Here’s how to safely get rid of it:
- Collect in a Suitable Container: Use a clean, sealed container, like a jug or bottle, to gather the used fluid. Ensure it’s clearly labelled to avoid confusion.
- Locate Recycling Centres: Research local recycling facilities or hazardous waste collection sites. Many municipalities have specific drop-off days for such materials.
- Check with Retailers: Some auto parts or home improvement stores offer disposal services for used lubricants. It’s worth calling ahead to confirm their policies.
- Follow Local Regulations: Adhere to local laws regarding disposal. Regulations vary by region, so it’s essential to ensure compliance.
Remember the importance of proper disposal. Not only does it protect the environment, but it also promotes responsible maintenance practices. I’ve seen too many individuals neglect this step, leading to unnecessary pollution. Taking a few extra minutes to dispose of used lubricant correctly goes a long way in preserving our surroundings.

.jpg)


