
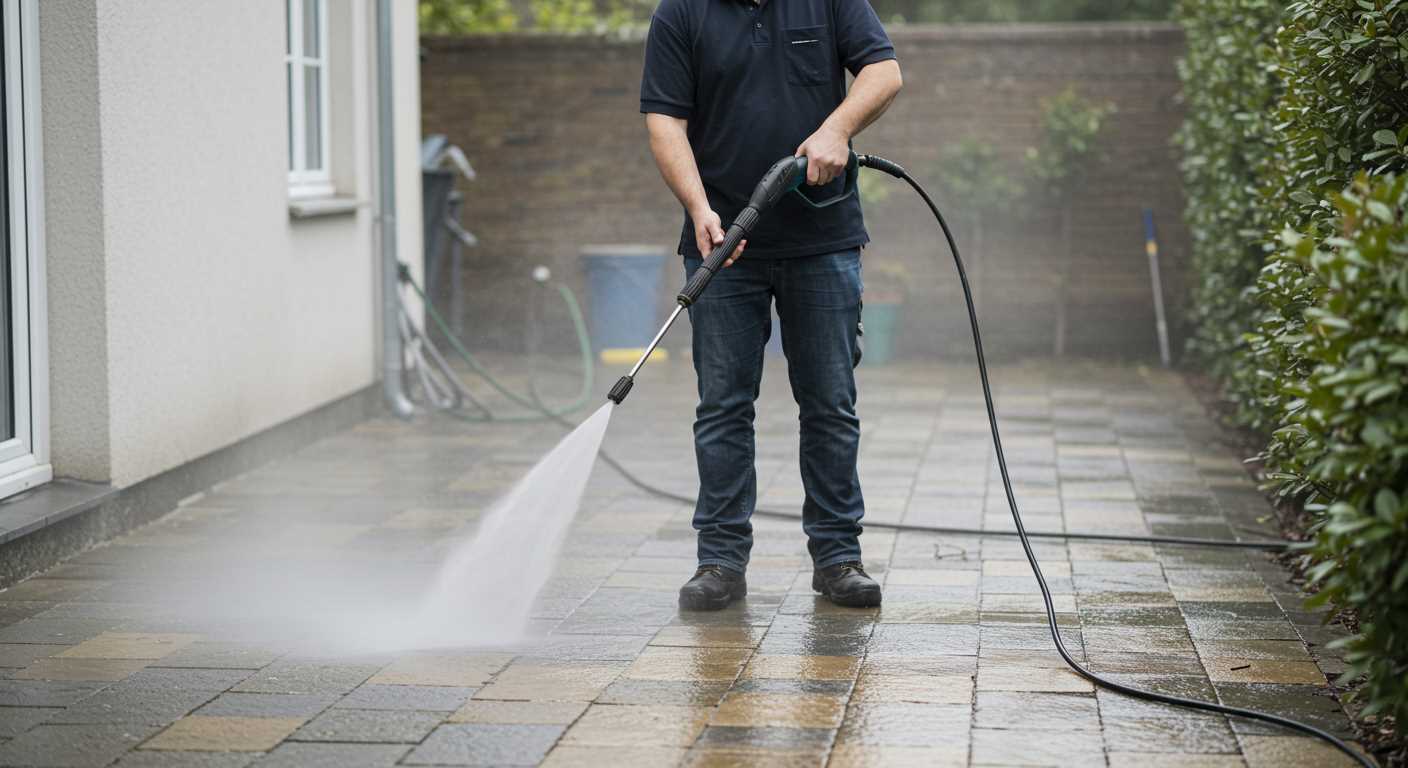


To achieve optimal results, selecting the right cleaning nozzle is key. I recommend having a variety of nozzles on hand, including those with different spray angles and pressure ratings. This allows for precise adjustments based on the surface you’re tackling–be it delicate wood or tough concrete.
During my time in the industry, I often encountered situations where using the wrong attachment led to damage or inadequate cleaning. For instance, a friend once used a narrow-stream nozzle on a painted surface, resulting in peeling paint. Remember that a wider angle is often safer for sensitive materials. Using a 25-degree nozzle can provide a good balance between power and safety for most surfaces.
When it’s time to swap out the nozzle, ensure your machine is powered down and disconnected from the water source. Most nozzles simply twist off, but some might require a quick-release mechanism. Keep an eye out for any debris that might be stuck in the couplings, as this can lead to reduced performance.
After securing the new nozzle, always test it on a small, inconspicuous area first. This will help you gauge the pressure and spray pattern before committing to the entire surface. In my experience, this precaution saves a lot of hassle and potential rework.
Changing the Nozzle on Your Cleaning Machine
First, ensure the device is turned off and disconnected from the power source. This prevents any accidental activation while you’re working. With the unit safely powered down, locate the nozzle lock mechanism, usually positioned at the front end of the lance. Press the release button or lever to detach the current nozzle.
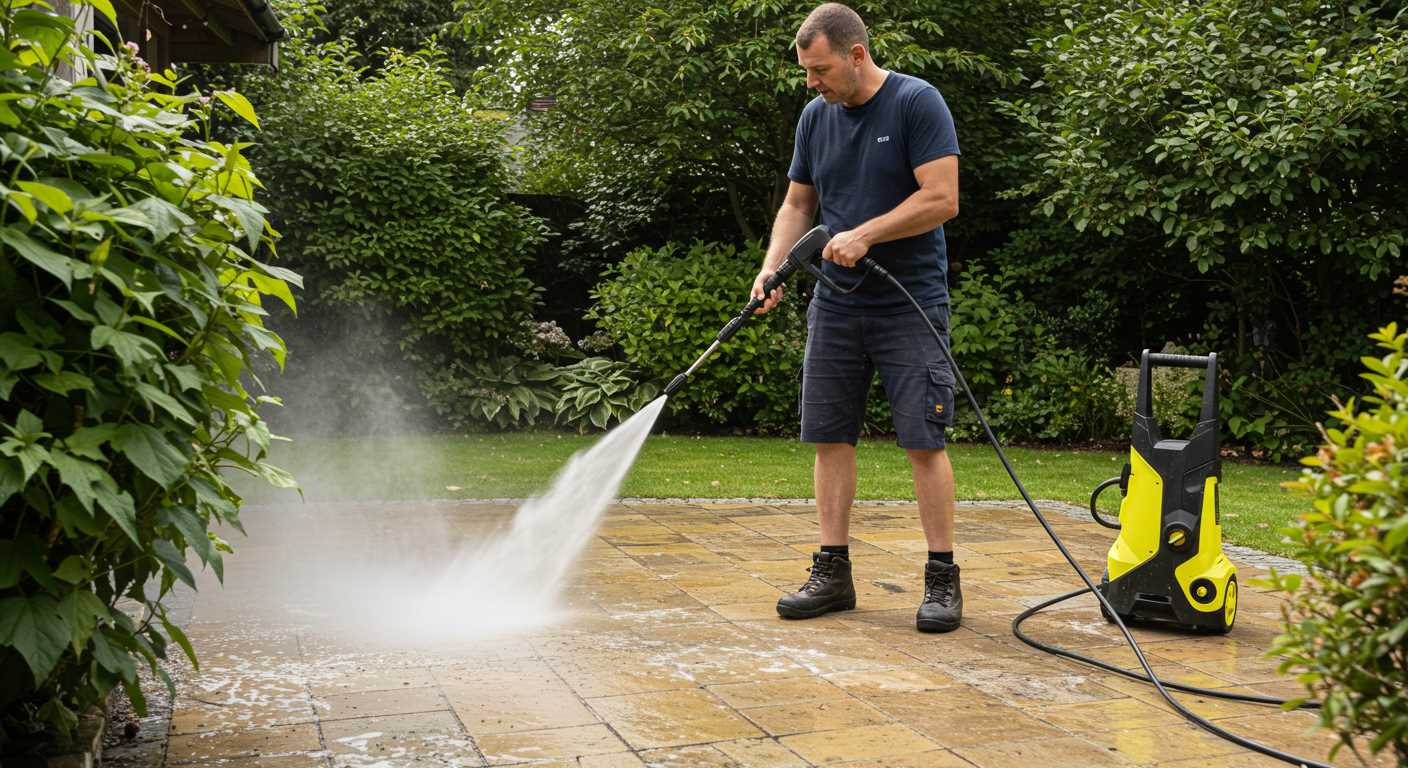
Choose a new nozzle that suits your task. I often recommend a 15-degree nozzle for tougher grime or a wide-angle 40-degree nozzle for gentler cleaning on surfaces like vehicles. Once you’ve selected the appropriate attachment, align it with the lance’s connector. Slide it in until you hear a click, indicating a secure fit.
After securing the new nozzle, connect the water supply and power it on. Test the operation briefly to confirm that the new attachment is functioning correctly. Adjust your cleaning approach based on the spray pattern and intensity, ensuring optimal results for your specific cleaning project.
Over time, I’ve learned to keep a variety of nozzles handy. Each has its purpose, and having them within reach saves time and ensures you’re always equipped for the task at hand. Regularly inspect the nozzles for wear and tear; a damaged nozzle can lead to inefficient cleaning and potential harm to surfaces.
Identifying the Right Tip for Your Pressure Washer
Choosing the correct nozzle for your cleaning machine is straightforward if you know the specific tasks you intend to tackle. For general cleaning, a 25-degree nozzle is ideal, providing a good balance between power and coverage. If you’re dealing with tough stains or grime, such as oil or mildew, opt for a 0-degree nozzle, which delivers a concentrated stream for maximum effectiveness.
When washing vehicles, a 15-degree nozzle works well, as it offers more power without risking damage to the paint. For delicate surfaces, like wood decks or painted areas, a 40-degree nozzle is suitable, providing a gentler spray that won’t strip away finishes.
It’s also vital to consider the PSI (pounds per square inch) rating of your unit. Higher PSI models can benefit from smaller nozzles, while lower PSI units should stick to wider sprays. Remember to test the nozzle on a small, inconspicuous area before proceeding with the entire surface to avoid unintended damage.
Lastly, ensure compatibility with your machine. Most nozzles are colour-coded: yellow for 15 degrees, green for 25 degrees, white for 40 degrees, and black for soap application. If you ever feel uncertain, refer to your manual or consult the manufacturer for guidance.
For a different type of safety concern, you might wonder can dogs sense an electric fence? It’s interesting how various products require careful consideration to ensure safety and effectiveness.
Gathering Necessary Tools for the Tip Change
Before starting, gather the following tools and items for a smooth transition. Having everything at hand can save time and prevent frustration.
- Socket Wrench: Use this to remove any bolts or screws holding the nozzle in place. A set with various sizes is ideal.
- Adjustable Wrench: Handy for loosening or tightening fittings that may require a bit more grip.
- Flathead and Phillips Screwdrivers: These are essential for different types of screws you might encounter on your unit.
- Protective Gloves: Always a good idea to protect your hands from potential sharp edges or cleaning agents.
- Safety Goggles: Keep your eyes safe from debris or cleaning solution splashes while working.
- Soft Cloth: Useful for cleaning the area around the nozzle and ensuring a proper seal when reassembling.
- Replacement Nozzles: Make sure you have the correct nozzles ready for installation. Check compatibility with your equipment.
In my experience, having this toolkit prepared can make all the difference. I once attempted a quick swap without my gloves and ended up with a few cuts from the sharp edges. Lesson learned! Besides, safety should always come first.
After gathering your tools, it’s wise to lay them out neatly. This organisation helps in quickly identifying what you need, ensuring the process is streamlined. I’ve noticed that when my workspace is tidy, I work more efficiently and with less stress.
Finally, before you start, double-check your user manual for any specific instructions or recommendations related to your model. It can save you from unexpected surprises during the process.
Safely Disconnecting the Pressure Washer from Power Source
Before performing any maintenance or adjustments on your cleaning device, ensure that it is completely disconnected from its power source. This prevents any accidental activation and ensures your safety during the process.
First, locate the power cord. For electric models, unplugging the cord from the wall socket is the primary step. Always grip the plug, not the cord, to avoid damaging it. In the case of gas-operated models, ensure the engine is turned off and the fuel valve is closed.
If your equipment has a battery, remove it according to the manufacturer’s instructions. Make it a habit to check that the power indicator is off before proceeding with any work on the unit.
Here’s a quick reference table summarising the steps:
| Type of Unit | Disconnection Steps |
|---|---|
| Electric | Unplug from the wall socket, grip the plug firmly. |
| Gas | Turn off the engine, close the fuel valve. |
| Battery | Follow manufacturer’s guidelines to remove the battery. |
After disconnection, inspect the power cord and connections for any wear or damage. If you notice any issues, do not attempt repairs yourself; contact a professional. Your safety is paramount, and taking these precautions will help ensure a smooth experience when changing the nozzle or performing other maintenance tasks.
Removing the Existing Pressure Washer Tip
Begin by firmly gripping the existing nozzle. Most models feature a quick-connect mechanism, allowing for straightforward removal. If your setup has a retaining collar, push or pull it back, depending on the design, to release the current attachment.
While you’re at it, check for any build-up of grime or debris around the nozzle. This can sometimes make it tricky to detach. A quick wipe with a cloth can help ease the process. If you encounter resistance, avoid forcing it; instead, apply a lubricant designed for plastic components to loosen it up.
In some cases, the nozzle may be threaded rather than quick-connect. If that’s true for your device, turn it counterclockwise to unscrew it. Be cautious not to over-tighten any new attachment during installation, as this can lead to damage or leaks.
Keep your workspace clear and organised. Losing small parts can be frustrating, especially if you need to source replacements. Lay everything out neatly, so you’re ready for the next steps once the old nozzle is off.
Installing the New Pressure Washer Tip
Position the new nozzle firmly onto the lance. Ensure it aligns with the locking mechanism, which varies by model. For many units, a simple push until you hear a click guarantees a secure fit. This sound indicates that the attachment is properly seated and won’t detach during use.
Testing the Connection
Before firing up the machine, do a quick inspection. Check for any gaps or misalignment. If everything looks good, turn on the water supply and start the motor. Test the functionality at a low setting first. This allows you to confirm that the new attachment works correctly without causing any strain on the equipment.
Final Adjustments
If the spray pattern seems off, adjust the angle or twist the nozzle slightly. Some models allow for further modifications, enabling you to dial in the perfect spray for your task. After ensuring everything operates smoothly, you’re ready to tackle your cleaning projects with confidence.
Testing the New Tip for Proper Functionality
After installing the new nozzle, it’s time for a quick assessment to ensure everything is functioning correctly. Begin by connecting the equipment back to the water supply. Make sure all connections are secure to prevent leaks during operation.
Before starting, check the spray pattern by triggering the lance. Stand a safe distance away, as the force can be significant. Observe the stream; it should be a solid, focused line for most nozzles. If it appears scattered or weak, there may be an issue with the installation.
Next, engage the motor and allow the machine to reach its optimal operating pressure. As it runs, pay attention to any unusual sounds or vibrations. A well-fitted nozzle should operate smoothly without excessive noise. If you hear rattling or grinding, stop immediately and reassess the nozzle fit.
Test the new attachment on a small, inconspicuous area of your cleaning surface. This will help you gauge its effectiveness without risking damage to more visible areas. Adjust your distance and angle as you observe the cleaning results. If the dirt and grime lift away easily, the nozzle is functioning as intended.
Finally, don’t forget to check for any leaks around the connection points. A small drip can indicate a loose fit that may worsen with use. Tightening the connections should resolve this, but if leaks persist, consider inspecting the nozzle or the fitting for damage.
Caring for and Storing Pressure Washer Tips
To prolong the life of your nozzles, always rinse them thoroughly after use. This removes any detergent residue or debris that can lead to clogging. A quick soak in warm water can help dissolve stubborn deposits. Make sure to inspect each nozzle for any signs of wear or damage.
Storage Recommendations
Proper storage is key to maintaining the integrity of your nozzles. Here are some tips:
- Keep nozzles in a dry, cool place away from direct sunlight.
- Use a dedicated container to prevent them from rolling around and getting damaged.
- Label your nozzles if you have multiple types, making it easier to find the right one when needed.
Regular Maintenance Practices
Incorporate these practices into your routine:
- Inspect the O-rings for cracks or wear. Replace them if necessary to prevent leaks.
- Occasionally apply a silicone lubricant to the nozzles’ connection points to ensure a tight seal.
- Store in a way that avoids contact with harsh chemicals or corrosive materials.
After a period of inactivity, test each nozzle before use. This ensures they are functioning correctly and saves you from potential issues during your next cleaning session. Following these guidelines will keep your nozzles in good condition, ready for any task ahead.
Troubleshooting Common Issues After Changing Tips
If your equipment isn’t performing as expected after swapping out the nozzle, start with checking for clogs. Inspect the new attachment closely; debris can easily obstruct water flow. A simple rinse can often clear any blockages.
Spray Pattern Problems

A common challenge is an uneven spray pattern. This may stem from improper installation. Ensure the new attachment is securely fastened, and look for any signs of damage around the connection. If the spray remains uneven, consider testing with a different nozzle to determine if the issue is with the new piece itself.
Pressure Loss
If you notice a drop in water pressure, verify that the hose is free from kinks and that all connections are tight. Sometimes, the water supply can cause issues; check that your source is providing adequate flow. In some cases, using an incompatible nozzle can lead to reduced performance. For specific applications, like cleaning a pool deck, ensure you’re using the correct attachment for optimal results. For recommendations, check out this pressure washer for pool deck.
Lastly, if you still face issues, consult the user manual for troubleshooting steps specific to your model. It can provide insights into common problems and their solutions.
.jpg)


