
.jpg)


.jpg "How to change setting on karcher pressure washer")
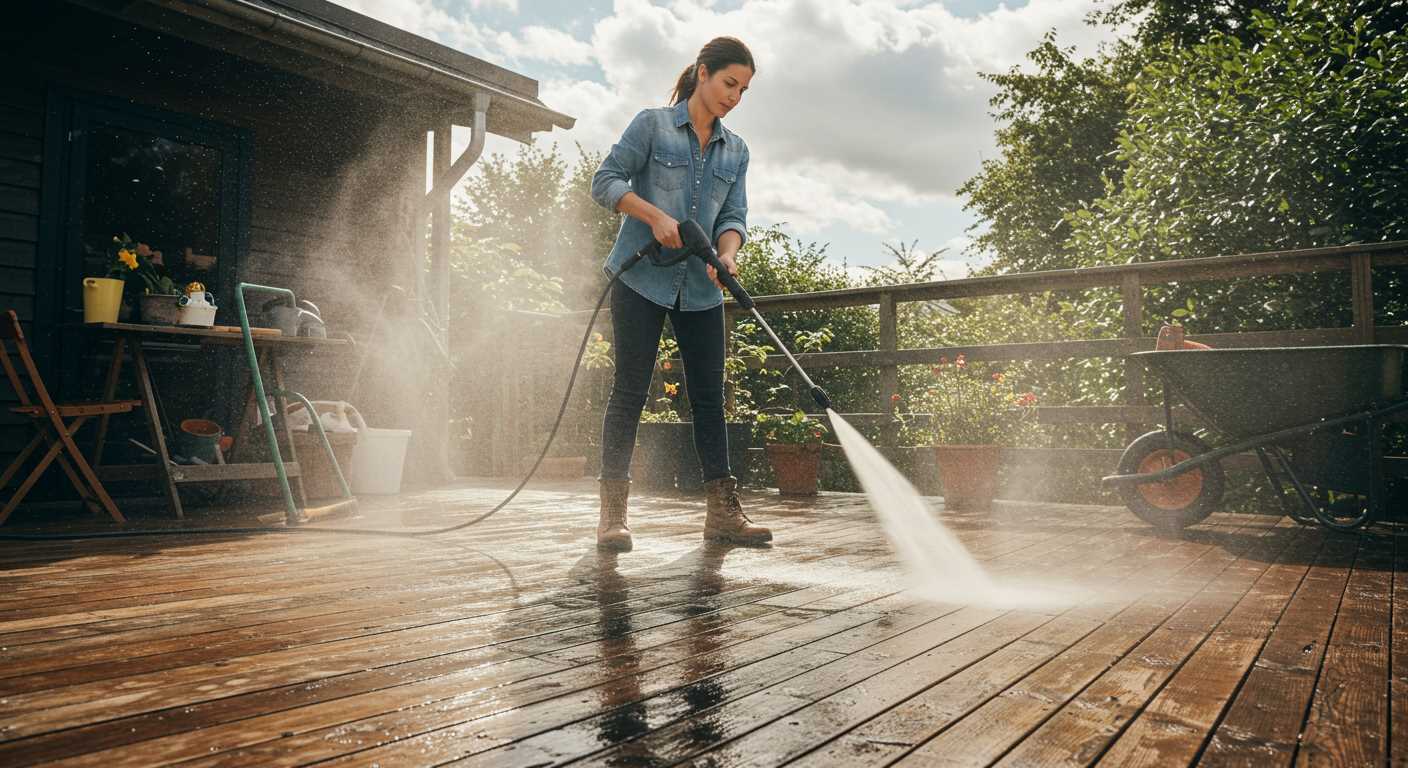
For optimal performance, ensure your device is set to the correct pressure level before use. I recall a time when a friend attempted to clean his patio with insufficient force, resulting in hours of scrubbing that could have been avoided. A quick adjustment to the machine’s pressure dial resolved the issue, transforming his cleaning experience.
To modify the output intensity, locate the pressure control knob, typically situated on the unit’s body. Turn it clockwise to increase the pressure or counterclockwise to decrease it. Always test the new setting on a small, inconspicuous area first. This simple practice not only protects delicate surfaces but also helps you gauge the appropriate force needed for specific tasks.

Another tip from my years in the field: if your equipment features interchangeable nozzles, switch to the appropriate one for the job at hand. A wider spray pattern is ideal for delicate surfaces, while a narrower jet is perfect for tackling stubborn grime. I once cleaned my vehicle with the wrong nozzle and regretted the damage caused, a lesson learned through experience.
Adjusting Functions on Your Kärcher Pressure Cleaner
For optimal performance, it’s crucial to adapt the functions of your Kärcher unit according to the task at hand. I recall a time when I tackled a particularly stubborn driveway stain. I realised quickly that using the incorrect mode could lead to frustration and less-than-ideal results. Here’s how you can fine-tune your machine effectively.
First, ensure the unit is powered down and disconnected from the mains. Safety is paramount. Next, locate the dial or control panel, usually situated on the front of the device. This is your command centre for different operations.
For light cleaning tasks, such as washing vehicles or garden furniture, switch to the low-pressure option. This setting uses less water and is gentler on surfaces. Conversely, for tougher jobs like removing grime from patios, select a higher pressure setting. This adjustment allows for a more vigorous clean without damaging the surface.
Another useful feature is the interchangeable nozzles. These typically range from a wide spray for larger areas to a narrow jet for concentrated cleaning. When I first experimented with these attachments, I was amazed at the difference they made. Using the right nozzle can be the difference between a mediocre result and a brilliant clean.
Additionally, if your model includes a detergent tank, ensure you switch to the detergent mode when applying cleaning solutions. This setting mixes the detergent with water, allowing for a thorough clean. I remember using this feature on a particularly grimy BBQ grill, and it worked wonders.
| Task | Recommended Pressure | Nozzle Type |
|---|---|---|
| Car Washing | Low | Wide Spray |
| Patio Cleaning | High | Narrow Jet |
| Applying Detergent | Variable | Special Detergent Nozzle |
After making your selections, don’t forget to test the machine on a small area first. This way, you can ensure the adjustments are suitable for your specific cleaning needs. Each time I’ve done this, it has saved me from potential mishaps and ensured I achieve the best results possible.
Identifying the Model of Your Karcher Pressure Washer
To pinpoint the model of your cleaning equipment, first check the data plate, usually located on the base or rear of the unit. It displays vital information, including the model number and serial number. This is your go-to place for accurate identification.
Decoding the Model Number
The model number typically starts with a letter followed by numbers, such as K2, K3, K4, etc. Each series signifies different specifications and capabilities. For instance, the K2 series is ideal for light tasks, while K4 and above cater to medium or heavy-duty jobs.
Consulting the Manual
If the data plate is hard to find or damaged, the user manual is another reliable source. It not only lists the model number but also provides insights on features and maintenance. You can often find a digital copy online if the physical version is missing. For more specific tips on cleaning tasks, check out this guide on how to clean laminate wood floors steam mop.
For those looking for affordable options, consider models available under £200. Knowing your model helps in choosing the right accessories and understanding what tasks it can handle.
Adjusting the pressure settings for different tasks
For optimal performance, it’s crucial to select the right pressure level based on the task at hand. For delicate surfaces like car paint or wooden decks, I usually set the pressure lower, around 1100-1300 PSI. This helps avoid damage while still effectively removing dirt and grime.
Cleaning Vehicles
When tackling vehicles, I find that using a wide spray nozzle with a lower PSI works wonders. It allows for thorough cleaning without risking scratches. Always start from a distance of about two feet, gradually moving closer as you assess the cleaning power. If you notice stubborn spots, I recommend switching to a concentrated nozzle for a brief moment, then reverting back to the wider one.
Heavy-Duty Tasks
For tougher jobs, such as cleaning driveways or patios, I crank the pressure up to around 2500 PSI. This setting effectively removes embedded dirt and stains without leaving behind residue. Use a rotating nozzle for maximum impact, as it helps break down grime efficiently. Just be cautious of surrounding areas; higher pressures can damage softer materials like wood or certain types of paint.
Remember, always test on a small, inconspicuous area first to ensure you’re using the proper level for your specific needs.
Changing the Nozzle for Specific Cleaning Applications
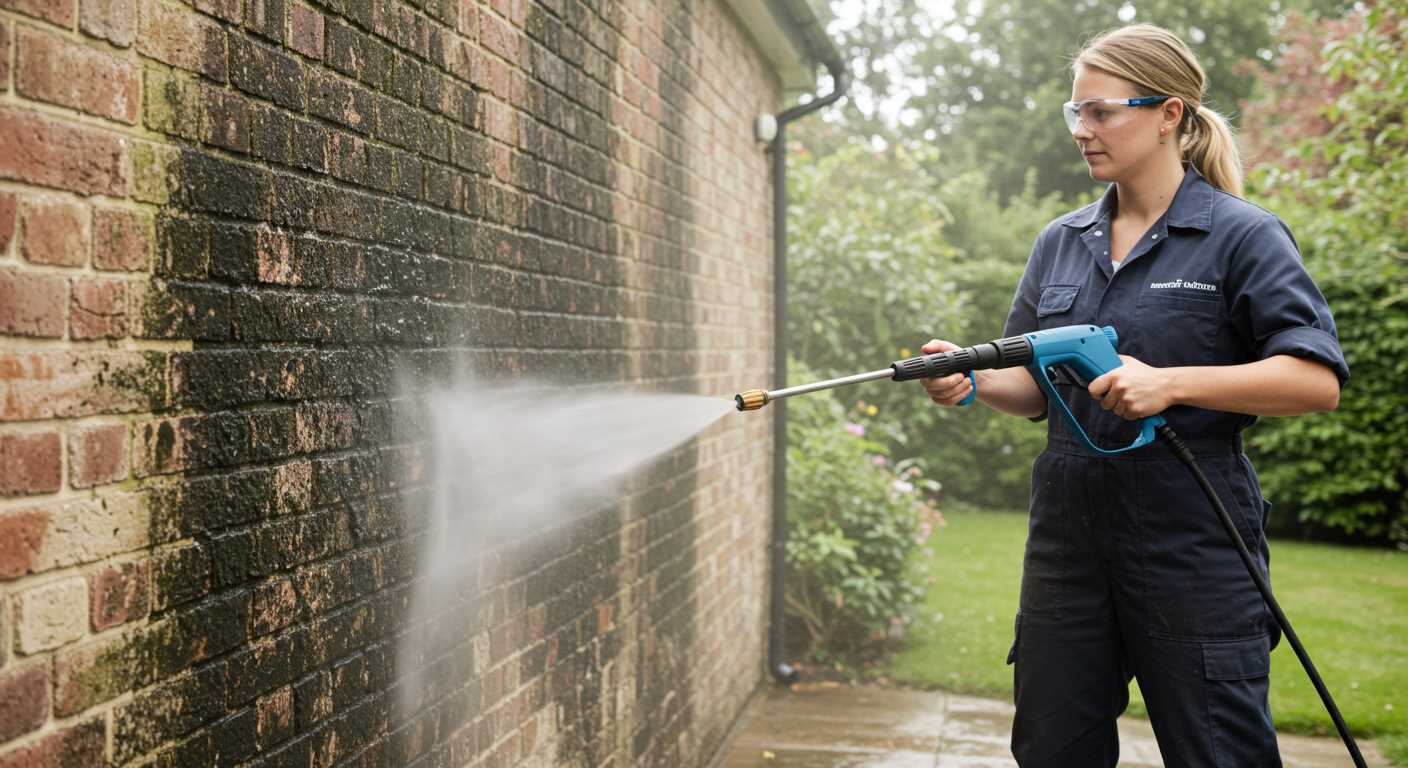
Switching nozzles can significantly enhance the cleaning process. For instance, a 0-degree nozzle delivers a concentrated jet for stubborn stains, perfect for removing grime from concrete or brick surfaces. I remember tackling a particularly tough oil stain on my driveway; that narrow stream worked wonders, cutting through the grease with ease.
Types of Nozzles and Their Uses
The 15-degree nozzle is another favourite of mine. It provides a wider spray pattern, making it ideal for cleaning decks and patios. I once used it for refreshing a wooden deck that hadn’t seen maintenance in years. The results were impressive, and the wood regained its natural colour without any damage.
Quick Tips for Nozzle Replacement
To swap out the nozzle, ensure the unit is off and unplugged for safety. Gently twist the current nozzle to detach it, then align and push the new one into place until you hear a click. Always test the new nozzle on a small, inconspicuous area first to avoid any surprises. I learned this the hard way when I misjudged the power of a nozzle on painted surfaces. Take your time, and you’ll achieve the best results.
Modifying the Detergent Settings for Optimal Performance
To achieve the best results when using cleaning agents, it’s vital to adjust the mixture concentration appropriately. Depending on the task, a standard ratio is generally one part detergent to five parts water, but this can vary based on the cleaning challenge at hand. For instance, when tackling tough grime on patios or driveways, increasing the detergent concentration can significantly enhance cleaning efficiency.
Selecting the Right Detergent
Choosing the correct cleaning solution is as important as the application method. It’s wise to opt for a biodegradable detergent that suits the surface material you are working with. For example, when cleaning wooden decks, a gentle formula will prevent damage while still effectively removing dirt and mildew. I remember using a harsh chemical once, and it ended up stripping the wood’s finish. Always read the label and ensure compatibility with your equipment.
Applying Detergent Correctly
When ready to apply the detergent, activate the low-pressure mode on your equipment to ensure an even distribution. This method not only maximises the coverage but also allows the solution to dwell longer on the surface, enhancing its cleaning power. A good practice I’ve found is to let the detergent sit for a few minutes before rinsing, allowing it to break down stubborn stains. After the dwell time, switch to high-pressure mode to rinse off the residue thoroughly. This two-step approach has consistently yielded impressive results in my experience.
Resetting the Pressure Cleaner to Factory Defaults
To restore your device to its original configuration, locate the reset button usually situated near the power switch or on the control panel. Press and hold this button for about five seconds until you see the indicator light blink, signalling a successful reset.
Steps to Follow
- Ensure the machine is turned off and unplugged for safety.
- Find the reset button on the unit.
- Press and hold the button until the light indicates a reset has occurred.
- Reconnect the unit to power and turn it on.
- Verify the settings have reverted to factory defaults by checking the display or indicators.
Common Issues Resolved by Resetting
- Incorrect pressure levels that do not correspond with specific tasks.
- Inconsistent operation after making adjustments.
- Restoration of lost configurations after power outages.
Experiencing odd behaviour from your cleaner can be frustrating. I’ve encountered situations where customers were puzzled by sudden changes in performance. A simple reset often resolved these issues, allowing the equipment to function smoothly once more.
If problems persist post-reset, consult the user manual for troubleshooting tips or consider reaching out to customer support for further assistance. Regular maintenance can also prevent the need for frequent resets and ensure longevity of your device.
Troubleshooting Common Setting-Related Issues
If the equipment is not performing as expected, the first step is to verify the connection to the power supply. A loose plug or tripped circuit breaker can prevent proper operation. Always ensure the device is plugged in securely and that the outlet is functioning.
Next, examine the water supply. Insufficient water flow can lead to poor performance. Check for kinks in the hose or any blockages in the inlet filter. If the hose is too long or damaged, replace it to improve water delivery.
Pressure Fluctuations
Inconsistent output can often be traced back to the nozzle. A clogged or worn nozzle can affect the spray pattern and pressure. Clear any debris using a soft brush or replace it if necessary. If this doesn’t resolve the issue, inspect the detergent system for blockages, as this can also disrupt flow.
Unusual Noises
If the machine emits strange sounds during operation, check the pump. Low oil levels can cause excessive wear and noise. Ensure the pump is adequately lubricated according to the manufacturer’s guidelines. Additionally, listen for air leaks in the hoses or connections; these can significantly impact performance.
FAQ:
How do I adjust the pressure settings on my Karcher pressure washer?
To adjust the pressure settings on your Karcher pressure washer, locate the pressure adjustment knob or dial, usually found on the spray gun or the machine itself. Turn the knob clockwise to increase the pressure and counterclockwise to decrease it. Make sure to test the pressure on a small area before using it on a larger surface to ensure it meets your cleaning needs.
Can I change the nozzle on my Karcher pressure washer to alter the water flow?
Yes, you can change the nozzle on your Karcher pressure washer to modify the water flow. Different nozzles provide varying spray patterns and pressures. To change the nozzle, simply pull back the collar on the spray wand and slide the nozzle out. Insert the desired nozzle and ensure it clicks into place securely. This allows you to switch between a narrow, high-pressure jet and a wider spray, depending on your cleaning task.
What should I do if my Karcher pressure washer is not adjusting the pressure correctly?
If your Karcher pressure washer isn’t adjusting the pressure correctly, first check for any obstructions in the nozzle or hose. These can impact performance. Clean or replace the nozzle if necessary. If the problem persists, inspect the pressure adjustment mechanism for any signs of damage or wear. Consult the user manual for troubleshooting tips specific to your model, or consider contacting Karcher customer support for further assistance.
Is it possible to switch between different cleaning modes on the Karcher pressure washer?
Yes, many Karcher pressure washers come with multiple cleaning modes or settings. To switch modes, look for a mode selector on the machine. Depending on the model, you may have options for surface cleaning, detergent application, or eco mode. Select the desired mode by turning the dial or pressing the button, and ensure to follow the instructions in the manual for optimal use of each setting.
How can I maintain the pressure settings on my Karcher pressure washer?
To maintain the pressure settings on your Karcher pressure washer, regularly check the nozzle and hoses for clogs or wear. Clean the nozzle after each use to prevent buildup that can affect pressure. Store the machine in a dry place and avoid leaving water in the system for extended periods. Additionally, consult your user manual for any specific maintenance tips related to pressure settings and components, ensuring consistent performance over time.
What settings can I change on my Karcher pressure washer?
On your Karcher pressure washer, you can adjust several settings to optimise its performance for different cleaning tasks. These include the pressure setting, which can be modified to suit various surfaces, and the detergent dosage, allowing you to control how much cleaning solution is mixed with the water. Additionally, you can change the nozzle type to alter the spray pattern, whether you need a wide spray for rinsing or a focused jet for tough stains. Reviewing your model’s manual will offer specific guidance on the available settings and how to adjust them.
.jpg)


