


First, ensure that the device is powered off and disconnected from the water supply. This simple step prevents accidents and makes the swap much safer. I’ve seen countless users forget this and end up with unexpected sprays when they least expect it.
Next, locate the nozzle assembly. Depending on your model, it may require a bit of twisting or pulling. I recall one time fumbling with a stubborn attachment, only to find that a gentle twist was all it needed. Don’t force it; check for any locking mechanisms that might be in place.
Once you’ve successfully removed the old nozzle, it’s time to select a new one. The variety available can be overwhelming, but think about the task at hand. For instance, a narrower spray is great for stubborn stains, while a wider fan is ideal for rinsing large surfaces. I once had an enlightening moment when I realised that using the right nozzle could cut my cleaning time in half.
Attach the new nozzle securely, ensuring it clicks into place. A loose fit can lead to inefficiency or even damage. I’ve learned the hard way that a well-seated attachment saves hassle down the line. Finally, reconnect the water supply and power up the unit to test your new setup.
With practice, this process becomes second nature, and the results are well worth the effort. Enjoy your refreshed cleaning experience!
Replacing Nozzle on Your High-Pressure Cleaner
Begin by ensuring the machine is unplugged. Safety comes first. Next, locate the existing nozzle at the end of the lance. It’s typically secured with a simple locking mechanism or a twist-off design. Gently twist or press the release button, depending on the model, to detach it from the lance.
Before attaching a new nozzle, inspect the lance for any debris or damage. Clean it with a soft cloth to ensure a secure fit. Choose the appropriate nozzle based on your cleaning needs; different nozzles provide varying spray patterns and pressure levels. For instance, a narrow jet is ideal for tough stains, while a wider spray is perfect for delicate surfaces.
Align the new nozzle with the lance, ensuring it fits snugly. If it features a locking mechanism, listen for a click to confirm it’s securely attached. If it twists on, turn it clockwise until tight. Always test the connection by gently tugging on the nozzle to ensure it’s firmly in place.
Finally, reconnect the water supply, plug in the power source, and turn on the machine. Test the new nozzle on a small area to ensure it operates as expected. Adjust the angle or pressure settings as needed for optimal performance.
| Nozzle Type | Usage |
|---|---|
| 0° (Red) | Intense cleaning for stubborn stains. |
| 15° (Yellow) | Cleaning concrete and brick surfaces. |
| 25° (Green) | General cleaning for most surfaces. |
| 40° (White) | Gentle cleaning for delicate surfaces. |
| Soap (Black) | Applying detergent for extra cleaning power. |
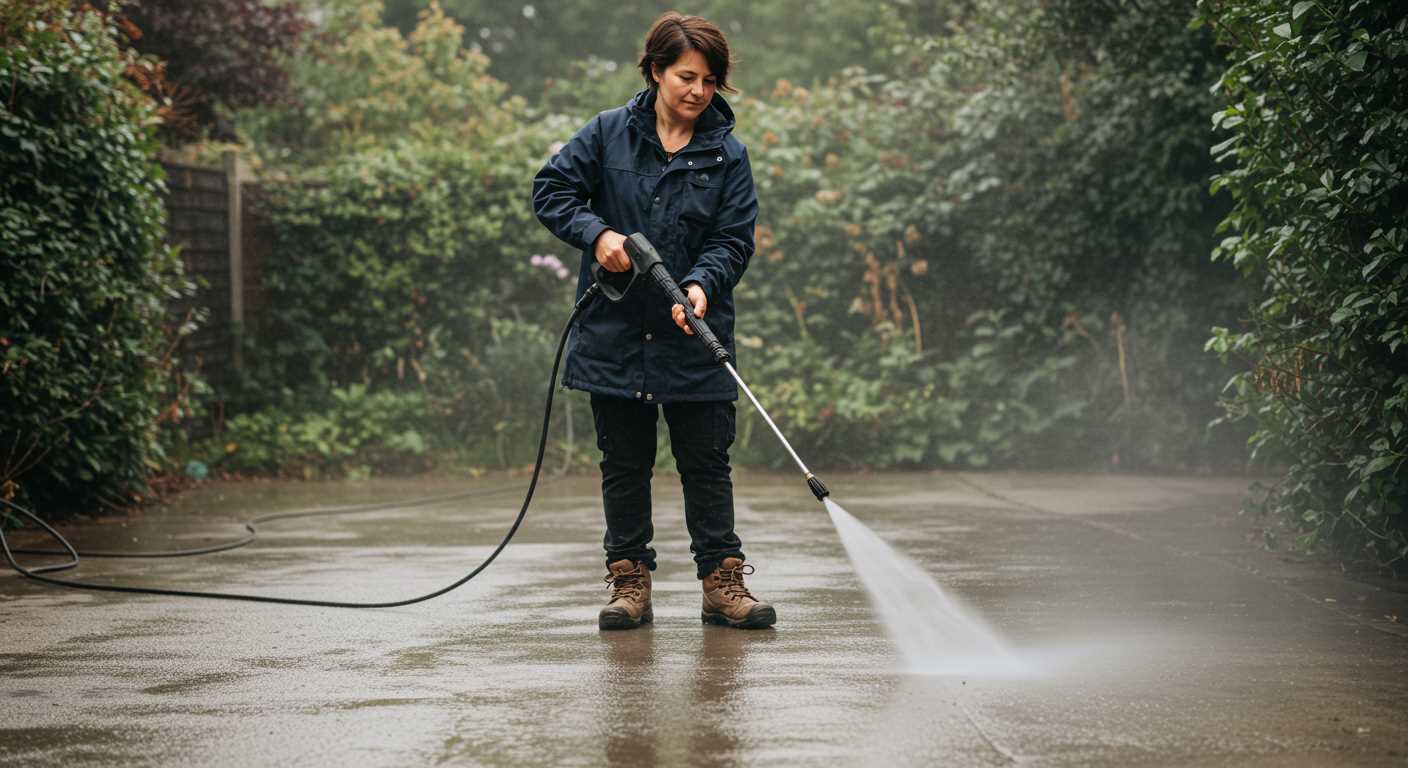
In my experience, using the right nozzle can make a significant difference in cleaning efficiency. I once tackled a driveway covered in moss with the narrow jet nozzle and was amazed by the results. It cut through the grime effortlessly, showcasing how essential it is to have the correct attachment for your task.
Identifying the Correct Replacement Head Model
To ensure compatibility, always check the model number on your current nozzle or refer to the user manual of your device. Each series of equipment typically has specific attachments designed for it. For instance, if you own a K2 series, you’ll need a nozzle specifically labelled for that series. Avoid guessing, as using the wrong accessory can lead to inefficiencies or damage.
Consult Manufacturer Resources
Visit the manufacturer’s website for detailed specifications. They often provide a list of compatible accessories for each model. Additionally, customer service can assist in finding the right part, ensuring you make an informed decision.
Physical Characteristics
When inspecting potential replacements, consider the connection type and size. Most nozzles have a universal fitting, but variations exist. Measure the diameter of your current attachment to confirm a proper fit. Also, observe the spray pattern options; different models may offer varying spray angles or cleaning intensities, suited for specific tasks.
Gathering Necessary Tools for Head Replacement
Before starting, ensure you have all required tools within reach. It saves time and avoids interruptions. Here’s what you’ll need:
Essential Tools
| Tool | Purpose |
|---|---|
| Socket Wrench Set | For loosening and tightening bolts on the attachment. |
| Flathead Screwdriver | Helpful for prying off any stubborn components. |
| Phillips Screwdriver | Necessary for unscrewing any screws securing the attachment. |
| Pliers | Useful for gripping and manipulating small parts. |
| Replacement Nozzle | The new component that will be fitted. |
| Cleaning Cloth | To wipe down surfaces and remove debris. |
Safety Equipment
Don’t overlook safety gear. Protective gloves safeguard your hands from sharp edges. Safety goggles protect your eyes from any debris that could fly during disassembly or reassembly. A sturdy work surface also helps keep everything organised and secure.
Having everything prepared beforehand streamlines the entire process. I remember a time I had to search for tools mid-task, and it made simple replacements take much longer than necessary. Avoid that hassle by gathering these items in advance.
Disconnecting the Pressure Washer from Power and Water Supply
Before any maintenance or part replacement, ensure the unit is completely disconnected from both the electrical source and water supply. First, locate the power cord and unplug it from the wall socket. It’s essential to avoid any accidental activation while working.
Next, turn off the water supply at the faucet. Once the water is off, release any remaining pressure in the system by squeezing the trigger on the spray gun. This step prevents any water from spraying unexpectedly during the replacement process.
After releasing the pressure, detach the water inlet hose from the machine. Most models have a quick-connect fitting, making this step straightforward. Always check for any leaks in the hose or fittings before continuing your work.
Lastly, if your unit has a detergent tank, ensure it’s empty. This prevents any residual cleaning solution from interfering with your tasks. Following these steps will set a safe environment for replacing components.
Removing the Old Head Safely and Properly
Ensure you’re wearing safety goggles and gloves before starting this procedure. Protecting yourself from potential debris and accidental sprays is paramount.
Gathering Necessary Equipment
- Socket wrench or pliers
- Flathead screwdriver (if needed)
- Container for any residual water
Steps to Remove the Old Component
- Locate the locking mechanism. Most models have a simple twist-lock or quick-release feature.
- If it’s a twist-lock, turn the nozzle counterclockwise until it comes loose. For a quick-release, press the release button or lever while pulling the attachment away.
- Be cautious of any residual water. Angle the unit downwards and allow any remaining water to drain into your container.
- For stubborn attachments, use a socket wrench or pliers to gently twist free. Avoid excessive force to prevent damage.
- Inspect the connection area for debris or wear. Clean the area with a damp cloth to ensure a good fit for the new component.
After completing these steps, you’ll be ready to install the new nozzle with confidence. Remember, a well-maintained unit operates more efficiently and lasts longer.
Preparing the New Head for Installation
Before you proceed with installation, ensure that the replacement attachment is clean and free from any debris. I recall a time when I overlooked this step, resulting in improper fitting and subsequent leaks. A simple wipe with a damp cloth can make a significant difference.
Check for any protective covers or seals that may be present on the new piece. These are often included to prevent damage during transport. Remove them carefully to avoid scratching or damaging sensitive surfaces. I once made the mistake of rushing through this, which led to a frustrating installation process.
Inspect the connection points on the new component. Look for any signs of wear or manufacturing defects; a visual check can save a lot of hassle later. I’ve encountered faulty units before, and returning them after installation is always a headache.
If your replacement includes gaskets or O-rings, verify that they are properly seated. A loose or misaligned gasket can cause leaks, which I learned the hard way during a particularly busy weekend. Always keep an eye on these small but crucial parts.
Lastly, have your instruction manual handy. While I’ve installed many attachments, each model can have unique features or requirements. Referring to the manual can help clarify any specific steps or precautions to take. It’s a straightforward way to ensure everything goes smoothly.
Attaching the New Nozzle to the Cleaner
Ensure the new nozzle aligns perfectly with the connector on your device. This alignment is crucial for optimal performance and to prevent leaks. Gently slide the nozzle into the connector until you hear a click, indicating it is securely in place.
Securing the Nozzle
Once attached, give the nozzle a slight tug to confirm it’s firmly secured. If there’s any wobble, it may not be locked properly. This step prevents any unexpected disconnections during use, which could lead to accidents or damage.
Testing the Connection
Before using your equipment, turn on the water supply and power. Test the connection by running the machine briefly. Observe for any leaks around the nozzle. If you see any, disconnect and reattach, ensuring everything is aligned correctly. Regular checks after each use will help maintain your equipment’s longevity.
If you’re considering a model suitable for maintaining pathways, check out this pressure washer for paths.
Safety is paramount, especially if you have pets. If you’re concerned about any hazards, such as whether an electric cattle fence can hurt a dog, make sure to take proper precautions during cleaning sessions.
Testing the New Nozzle for Proper Functionality
After installing the new nozzle, ensure it operates correctly before use. Start by reconnecting the water supply and power, but do not activate the machine just yet.
Visual Inspection
- Check for any visible leaks around the connection points.
- Ensure that the nozzle is securely attached and does not wobble.
Functionality Check
- Turn on the water supply and allow it to flow through the unit for a minute.
- Next, plug in the machine and switch it on without pulling the trigger; listen for unusual sounds indicating malfunction.
- Finally, with caution, press the trigger to release water. Observe the spray pattern closely.
It should produce a consistent and strong stream. If the spray is uneven or weak, double-check the installation and the compatibility of the nozzle. Sometimes, a quick rinse of the nozzle can clear any debris or blockages affecting performance.
After testing, run the unit for a few moments to ensure everything is functioning smoothly. If all checks are satisfactory, you are ready to tackle your cleaning tasks effectively.
Caring for Your Pressure Washer After Head Replacement
Once you’ve successfully swapped out the nozzle, maintaining your equipment is key to longevity. First, run clean water through the machine for a few minutes. This flushes out any residual chemicals or debris that might have accumulated during use. I’ve seen too many units fail prematurely simply because owners neglected this simple step.
Regular Inspection of Components
Check the new nozzle regularly for wear and tear. Inspect for any signs of cracks, clogs, or misalignment. I recall a time when I overlooked a tiny crack on a newly installed nozzle, which eventually led to inconsistent spray patterns. Replace any damaged parts immediately to avoid further complications.
Storing Your Equipment Properly
After each use, ensure the machine is stored in a dry, cool area. I learned this the hard way when a friend left his unit exposed to the elements. The internal components corroded, leading to costly repairs. Additionally, if you won’t be using the equipment for an extended period, consider adding a stabiliser to the fuel or draining it entirely, depending on your model’s requirements.
Finally, keep the manual handy for specific maintenance guidelines related to your model. Each piece of equipment has unique needs, and following those recommendations ensures optimal performance for years to come.
.jpg)


