


Begin with gathering the necessary supplies: a suitable container for the used liquid, a funnel, a fresh batch of lubricant, and a wrench. These items streamline the process and help avoid messes. Make sure to choose a high-quality fluid recommended for your specific model to ensure optimal performance.
First, ensure that the machine is completely powered down and cool to the touch. This is crucial to avoid burns or other injuries. Once cooled, locate the drain plug, which is typically situated at the bottom of the reservoir. Using your wrench, carefully loosen the plug and let the old fluid flow into your container. Allow sufficient time for complete drainage; this step is often overlooked but vital for maximum efficiency.

After draining, securely reattach the plug and prepare for the new lubricant. Position your funnel over the fill hole and pour in the fresh liquid, ensuring you do not exceed the recommended level. This attention to detail can prevent leaks and damage to the machine. Finally, check for any spills and clean up promptly to maintain a safe work environment.
With regular upkeep, including this liquid swap, you’ll find your equipment operates smoothly and lasts longer. In my experience, neglecting this aspect can lead to decreased performance and costly repairs down the line. Always make it a priority to keep your machine in top shape; it pays off in the long run.
Steps for Refreshing Lubricant on Your Honda Cleaning Unit
First, ensure the engine is cool to avoid burns. Place the unit on a level surface to facilitate draining. Locate the dipstick, usually found on the side of the engine. Remove it and wipe it clean with a cloth.
Next, position a suitable container beneath the drain plug, which is typically located at the bottom of the engine. Carefully unscrew the plug and allow the used liquid to flow into the container. Make sure to collect all the old substance to prevent spills.
Once completely drained, replace the drain plug securely. It’s important to avoid overtightening, as this can damage the threads. Now, refer to your owner’s manual for the appropriate amount of new lubricant required. Use a funnel for a clean pour into the dipstick tube. Fill gradually, checking the level frequently to prevent overfilling.
After filling, reinsert the dipstick without screwing it in to check the level. It should be within the marked range on the dipstick. If necessary, add more liquid until it reaches the correct mark.
| Task | Details |
|---|---|
| Cool Down | Ensure unit is not hot before starting. |
| Draining | Remove the drain plug and collect the old lubricant. |
| Refilling | Use a funnel, fill to the recommended level. |
| Check Level | Use dipstick to ensure correct amount is achieved. |
Finally, clean the area around the drain plug and dipstick to prevent dirt from entering the engine. Regular maintenance like this keeps your machine running smoothly and extends its lifespan. In my experience, a well-lubricated engine performs significantly better and lasts much longer. Don’t skip this step; it’s a small investment of your time for a substantial return in performance.
Gather Necessary Tools and Materials
To ensure a seamless experience while maintaining your machine, prepare the following items before you begin: a suitable container for draining old liquid, a funnel for easy pouring, and a wrench for removing any necessary components. A clean rag will also come in handy for wiping spills or cleaning the dipstick.
Make sure to have the right type of lubricant on hand. Refer to the user manual for specifications regarding the appropriate fluid type and volume required for your specific model. Additionally, gloves can protect your hands from any residues, while safety goggles are wise to use if you’re working in a garage with limited ventilation.
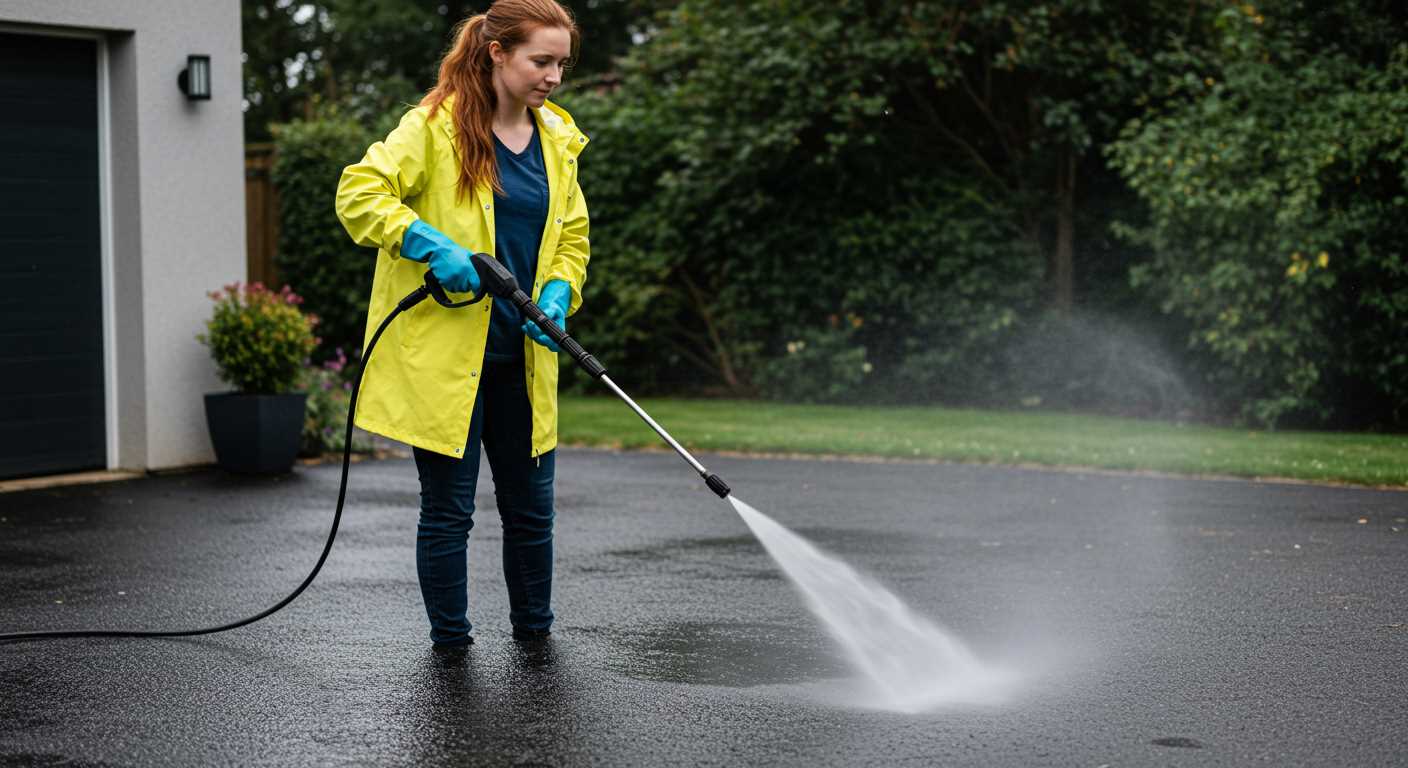
If you’re unsure about the right equipment for your needs, consider looking into a comparison of electric vs gas pressure washer which is right for you. Understanding the differences can help you make informed choices regarding maintenance.
For those who utilise air tools, having a reliable compressor is beneficial. Check out the best air compressor for continuous use to ensure you have adequate support for all your cleaning tasks.
Identify the Correct Oil Type for Your Model
Refer to your user manual for specifications regarding lubricant suitability. Honda typically recommends SAE 10W-30 for most models, ensuring optimal engine performance and protection across varying temperatures. Verify if your specific variant requires synthetic or conventional blends, as this can influence both longevity and efficiency.
Consulting Manufacturer Guidelines
Manufacturer documentation is your best resource. Look for sections detailing maintenance schedules and lubricant types. If the manual is unavailable, Honda’s website offers downloadable versions and additional support. Maintaining adherence to these guidelines is crucial for warranty compliance.
Consider Environmental Conditions
Climate can impact your selection. In colder climates, a lower viscosity grade like 5W-30 may be advisable to ensure smoother starts. Conversely, hotter environments can benefit from 10W-40, providing enhanced stability during operation. Always align your choice with both model specifications and environmental factors for optimal performance.
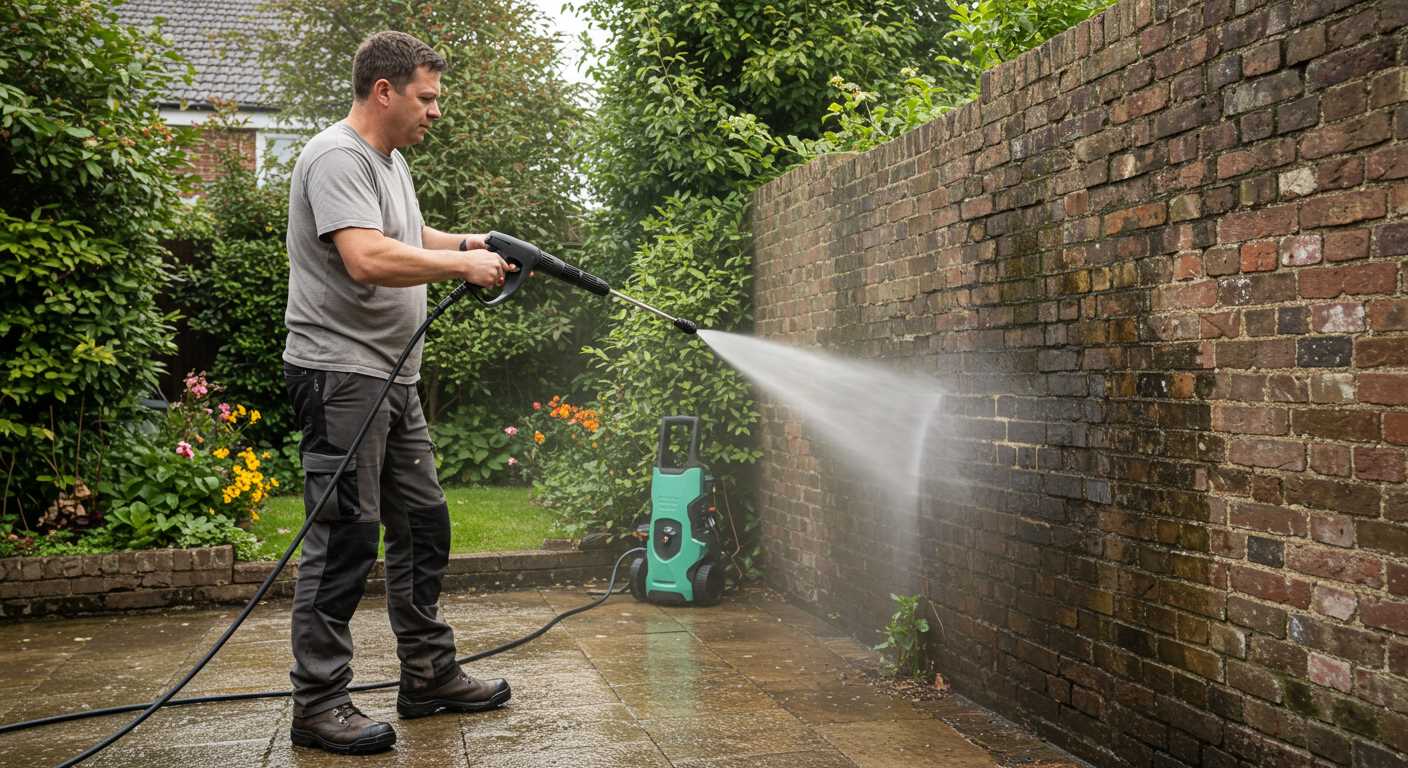
Prepare the Pressure Washer for Oil Change
Ensure the unit is on a flat surface. This prevents any spills during the draining process. Before starting, disconnect the spark plug wire. This avoids accidental ignition while you work. It’s a simple step but crucial for safety.
Allow the engine to cool if it has been recently used. Hot components can cause burns or other injuries. Give it a good 15 to 30 minutes to cool down completely.
Next, gather your supplies. You’ll need a collection pan for used liquid and a funnel for pouring the new substance. A clean rag is handy for wiping any spills or drips that may occur.
- Flat surface
- Spark plug wire disconnected
- Cool engine
- Collection pan
- Funnel
- Clean rag
Before proceeding, take a moment to inspect the surrounding area. Ensure there are no flammable materials nearby. Working in a well-ventilated space helps avoid inhaling fumes.
By preparing thoroughly, you set the stage for a smooth and hassle-free process. Trust me, having everything in order makes a significant difference in efficiency and safety.
Drain the Old Fluid Safely
Ensure you have a suitable container ready to collect the used lubricant. I prefer a sturdy bucket or a dedicated oil drain pan; it prevents spills and makes disposal easier.
Before starting, park the equipment on a flat surface and let it cool for at least 15 minutes. This allows the remaining liquid to settle and reduces the risk of burns. Once cooled, locate the drain plug, usually positioned at the bottom of the crankcase. Use the appropriate wrench to loosen it, but do this carefully to avoid stripping the threads.
Executing the Drain
Position your container directly under the drain plug. Slowly unscrew the plug and allow the fluid to flow freely into the container. It’s crucial to keep an eye on the flow to avoid overfilling the container. I’ve had instances where I underestimated the volume and ended up with a mess.
Once the fluid has completely drained, reattach the drain plug securely. This step is often overlooked; a loose plug can lead to leaks and potential damage. Wipe any spills around the area with a cloth to maintain cleanliness.
Disposal of Used Fluid

Always dispose of the old lubricant at a recycling centre or a designated hazardous waste location. Most auto parts stores or local municipalities have proper disposal options. Remember, pouring it down the drain or disposing of it improperly can cause environmental harm.
Having a systematic approach to draining the old lubricant not only extends the life of your equipment but also contributes to eco-friendliness. I’ve learned the importance of these steps through years of hands-on experience. Trust me, a little extra care goes a long way.
Fill with New Liquid Properly
Pouring the fresh lubricant into the reservoir is a straightforward task, but attention to detail is crucial. Start by using a funnel to prevent spills and ensure an accurate fill. Align the funnel with the opening and gradually pour the liquid, watching the level closely.
Monitor the Level
Avoid overfilling. Keep an eye on the dipstick or the fill line, typically marked on the side of the container. Stop pouring as soon as the liquid reaches the recommended level. If you accidentally add too much, it’s better to drain a bit out than to risk leakage or damage.
Seal and Clean Up
Once filled, securely tighten the cap to prevent contamination and leakage. Wipe any spills with a cloth to maintain cleanliness around the equipment. This small step can save you from potential issues later on.
Dispose of Old Oil in an Environmentally Friendly Manner
Take your used lubricant to a designated recycling centre. Many local service stations and recycling facilities accept spent fluids. Contact them beforehand to confirm their policies and ensure proper disposal.
Consider using a sealed container for transport. A clean, leak-proof jug or bottle is ideal. Label the container clearly to avoid confusion and inform staff at the recycling site of its contents.
Some municipalities offer special collection events for hazardous materials. Stay informed about these opportunities to dispose of used liquid responsibly. This method helps prevent environmental contamination.
Never pour spent lubricant down the drain or onto the ground. Such actions can lead to soil and water pollution, harming wildlife and ecosystems. Always prioritise safe disposal practices to protect our environment.
Keep records of your disposal activities. Tracking where and when you disposed of the used fluid can be helpful for personal reference and in case you need to verify compliance with local regulations.
.jpg)


